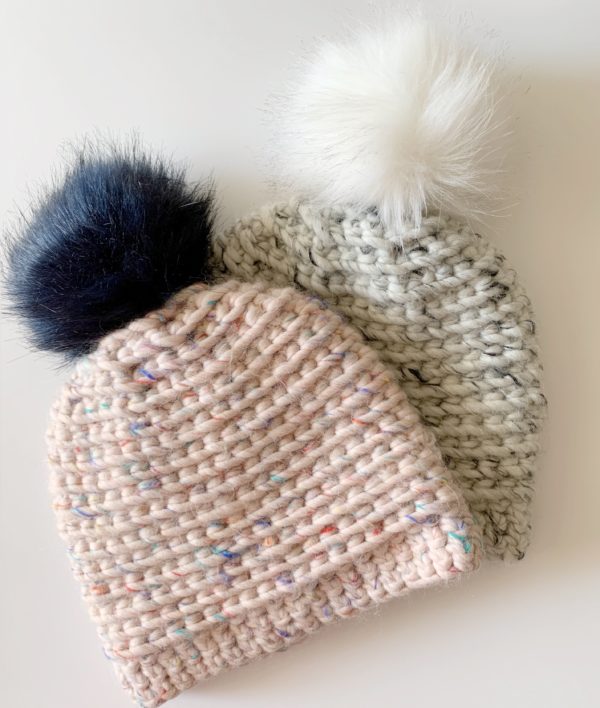
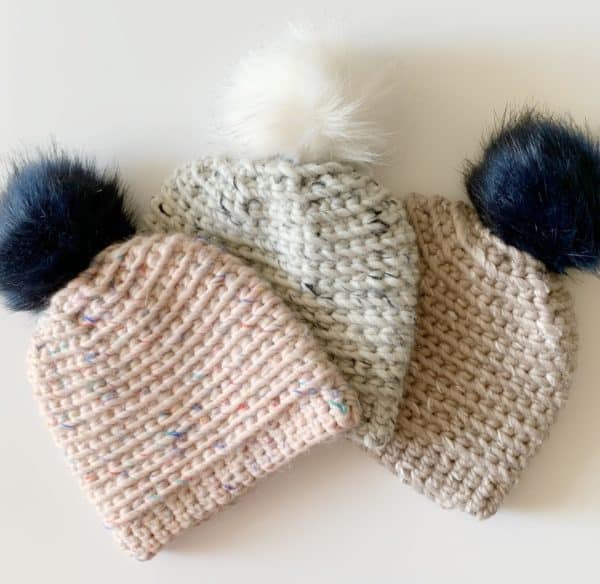
Hello crochet friends and happy new year! At the beginning of December I found some really cool Buttercream Cozy yarn at my local Joann’s so I spent my Christmas break making some hats for my sisters :).

I wanted to challenge myself and learn something new so I tried out my mom’s Front Loop Single Crochet Spiral Hat pattern, and it was much easier than I thought it would be! I made the hat exactly the same way as she did, except I used a much bigger hook and on the last three rows I switched to back loop single crochet to give the hat a ribbed looking brim.
This hat starts with a magic circle then goes around and around in a spiral, so if you’ve never done that before, you’ll definitely want to watch my mom’s video tutorial (scroll down to the end of the pattern for video). It took me a few times of starting over to get my magic circle the right tension, but once I figured it out, the rest of the hat worked up really fast. I promise it’s not as complicated as it looks!
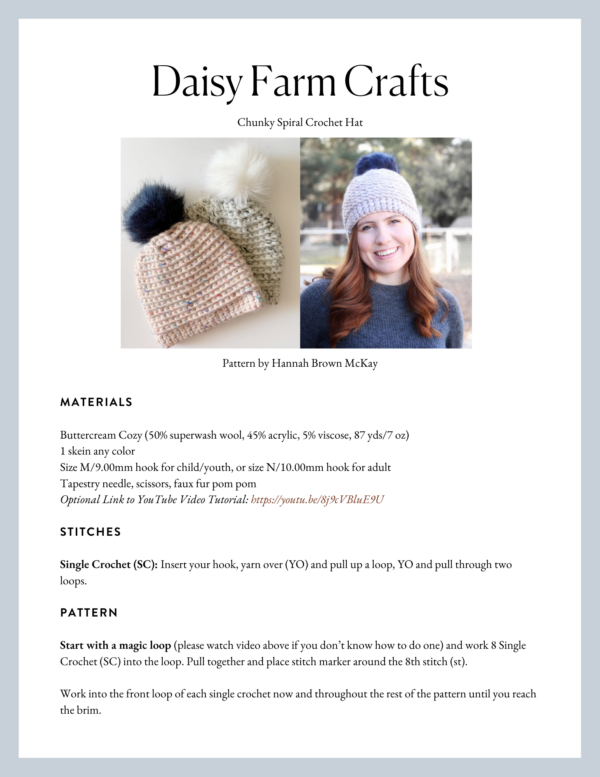
Materials
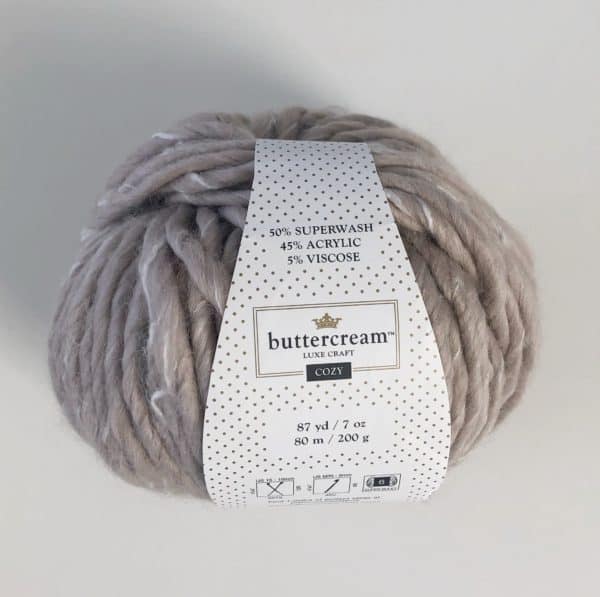
Buttercream Cozy (50% superwash wool, 45% acrylic, 5% viscose, 87 yds/7 oz)
1 skein any color
Size M/9.00mm hook for child/youth, or size N/10.00mm hook for adult
Tapestry needle, scissors, faux fur pom pom
Stitch
Single Crochet (SC): Insert your hook, yarn over (YO) and pull up a loop, YO and pull through two loops.
Pattern
Start with a magic loop (please watch video below if you don’t know how to do one) and work 8 Single Crochet (SC) into the loop. Pull together and place stitch marker around the 8th stitch (st).
Work into the front loop of each single crochet now and throughout the rest of the pattern until you reach the brim.
Round 1: Work 2 SC into each front loop of the single crochet from the row below. (16 SC) Place marker into the 16th stitch.
Round 2: Work *2 SC in next st, 1 SC in next, repeat from * around to the marker. (24 SC) Place marker into the 24th st.
Round 3: Work *2 SC in next st, 1 SC into each of the next 2 sts. Repeat from * around to the marker. (32 SC) Place marker into the 32nd st.
Round 4: Work *2 SC in next st, 1 sc in each of the next 3 sts. Repeat from * around to the marker. (40) Place marker into the 40th st.
Rounds 5 through 14: Work 1 SC into each st. Leave stitch marker in so on the last row you will know when the round is complete.
Rounds 15 through 17 (brim): Work 1 SC into the back loop of each st. When you reach the stitch that lines up with the stitch marker at the top of your hat, slip stitch to next stitch, then tie off and weave in the ends.
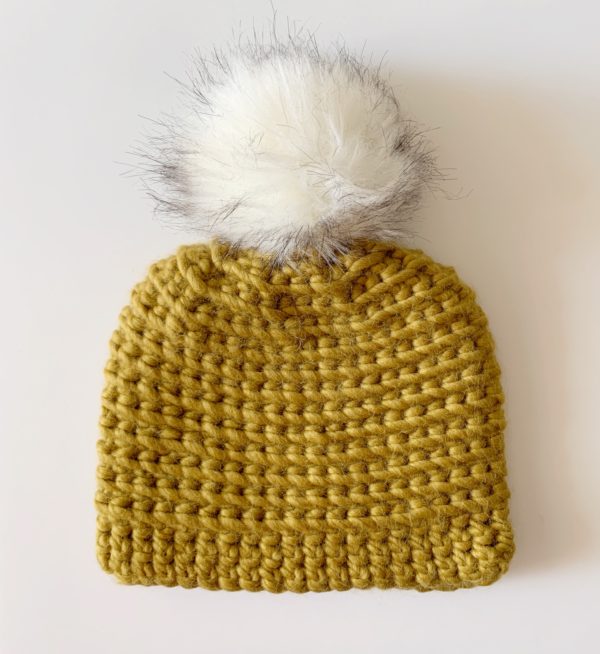
Attach a pom pom.
Here’s the video!
Thank you so much for coming to read this pattern and best of luck with your hat! When you’re finished, please come share a picture with us on Facebook or Instagram using #daisyfarmcrafts, we’d love to see!
Here’s some more pics of my sisters wearing their hats :).


Happy Crocheting! xo, Hannah
Click here or on image below for printable pattern