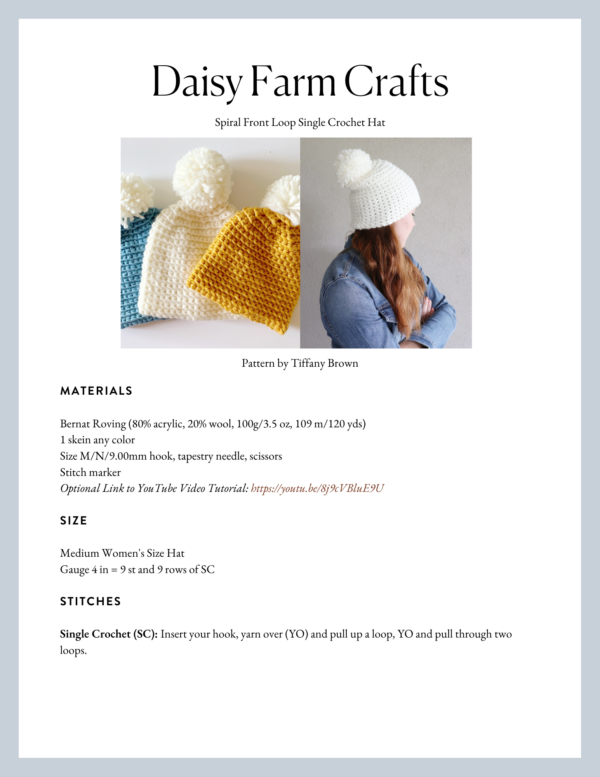
I have a really simple and beginner hat pattern for you! It’s worked in the round so there are no seams. I really like a seamless hat. I’m using a single crochet stitch in the front loop for the entire project so if that’s the only crochet stitch you know, you can do this!
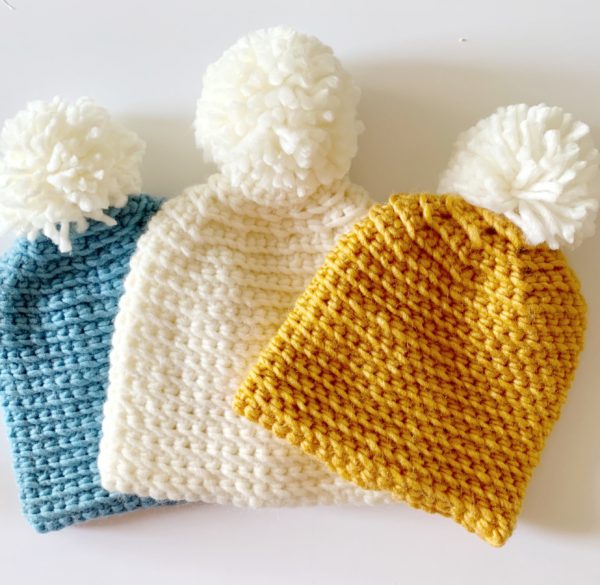
This is made with thick bulky 5 weight yarn. I used Bernat Roving because it has a smooth matte finish to it that I really like. I didn’t experiment with other 5 weight yarns, but I’d guess you’d have similar results. If you use a 4 weight yarn, I think it will be a child size hat. (But that’s a guess, I didn’t make one with that yarn…yet. )

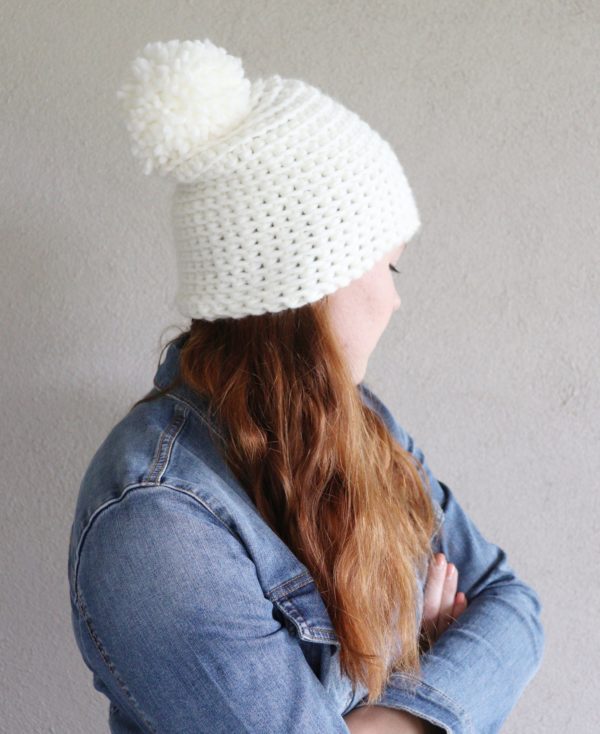
That’s my darling Annie modeling the hat for us! It’s a nice beanie that she said fit snug but still had some room at the top where if she pulled it down lower she could fold up for a brim.
Here’s another shot:
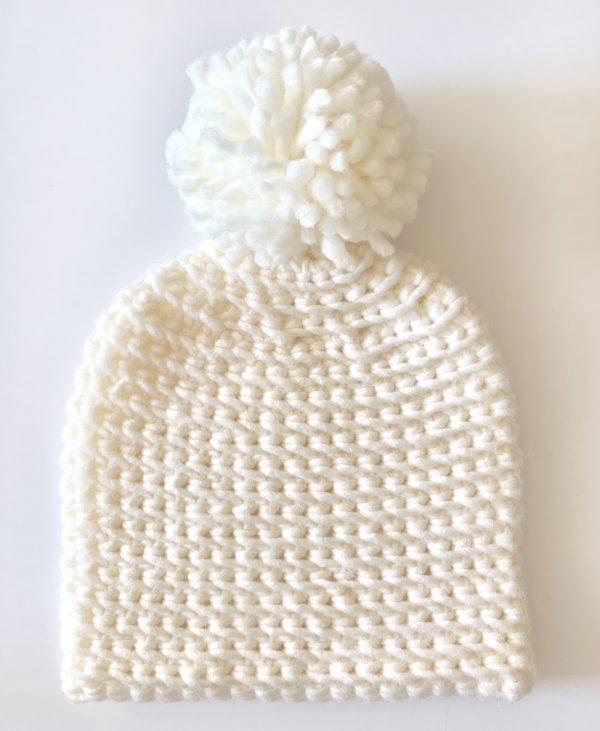
I made the pom pom with my Clover Extra Large Pom Pom Maker* but you can also just buy a pom.
Just in case you are a visual learner, I do have a Youtube Tutorial that shows you how. I begin with a magic loop and I hope you’ll give it a try. It really helps to tighten the starting loop so there isn’t a hole in the top.
Here’s the video:
Materials
Bernat Roving (80% acrylic, 20% wool, 100g/3.5 oz, 109 m/120 yds)
1 skein any color
Size M/N/9.00mm hook, tapestry needle, scissors
Stitch marker
Size
Medium Women’s Size Hat
Gauge 4 in = 9 st and 9 rows of SC
Stitches
Single Crochet (SC): Insert your hook, yarn over (YO) and pull up a loop, YO and pull through two loops.
Pattern
Start with a magic loop (please watch video above if you don’t know how to do one). and work 8 Single Crochet (SC) into the loop. Pull together and place stitch marker around the 8th stitch (st).
Work into the front loop of each single crochet now and throughout the rest of the pattern.
Round 1: Work 2 SC into each front loop of the single crochet from the row below. (16 SC) Place marker into the 16th stitch.
Round 2: Work *2 SC in next st, 1 SC in next, repeat from * around to the marker. (24 SC) Place marker into the 24th st.
Round 3: Work *2 SC in next st, 1 SC into each of the next 2 sts. Repeat from * around to the marker. (32 SC) Place marker into the 32nd st.
Round 4: Work *2 SC in next st, 1 sc in each of the next 3 sts. Repeat from * around to the marker. (40) Place marker into the 40th st.
Rounds 5 through 14: Work 1 SC into each st. Leave stitch marker in so on the 14th row you will know when the round is complete. Slip Stitch to next stitch, tie off and weave in the ends.
Attach a pom pom.
Note: Working 14 rows is adjustable. Start trying on the hat around row 12, or add more rows if you’d like a brim that turns up.
I had enough yarn leftover to make a pom pom. But, if you do make a brim for the hat, you’ll need extra yarn to make a pom pom so you’ll want to have 2 balls of yarn. You could always just purchase a pom as well.
Thank you for coming by! I hope you find success making your hat! If you’d like to share, come find us on Facebook or Instagram. We’d love to see!
xo, Tiffany
*As an Amazon Associate I earn from qualifying purchases.
Click here or on image below for printable pattern