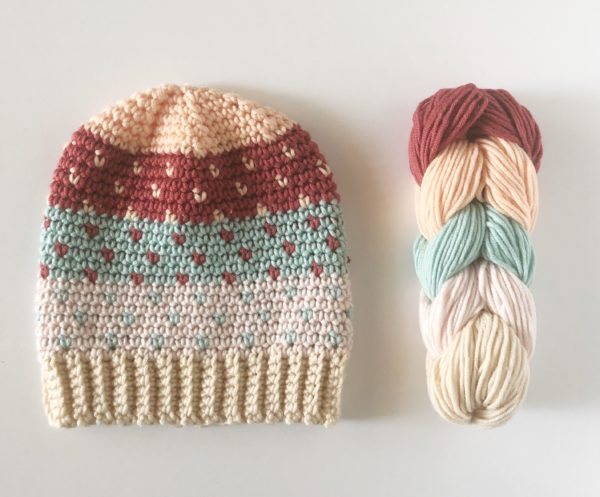
GUYS!! Yarnspirations has a new line of yarn available and they sent me some a few weeks ago to try it out!
And I am saying yes! to this yarn. You will love it!
Here is the genius part about this. You can make a multi-colored hat with one multi-colored skein, already pre-cut for you to have just enough for each section. No more buying 5 huge skeins to create variety in your hat choices.
Want to know another bonus??
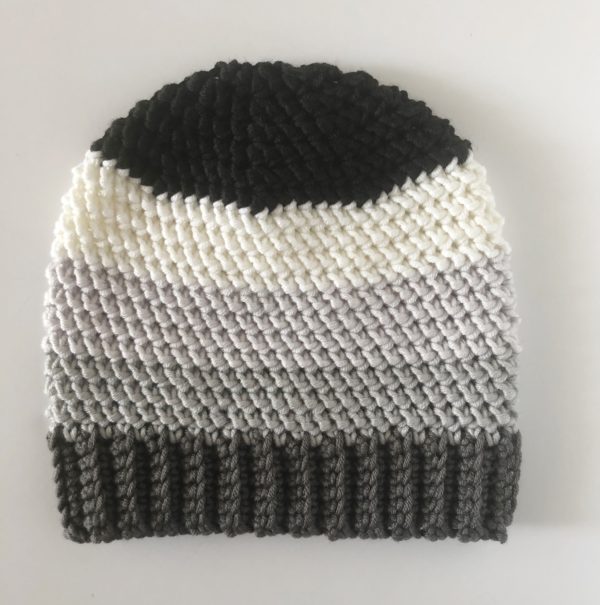
The colors are from the professional Pantone color wheel! What that means is that these colors are the same that graphic designers, fashion designers, professionals in any field are using to achieve rich, correct colors.
It’s my dream come true! I mean look at shades of these teal colors.
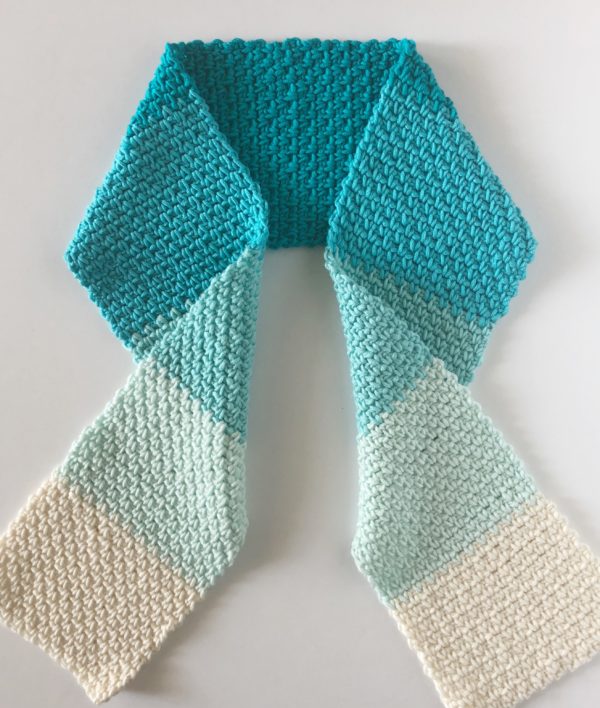
(The scarf took 2 skeins of yarn, and I forgot to take a picture before I took them apart and used them right up!)
This is my beautiful daughter-in-law, Elizabeth modeling the scarf for me! So gorgeous! Her and the scarf. Hannah said that the scarf reminded her of Disney’s Frozen Elsa. I’m sure the colors are right on point.
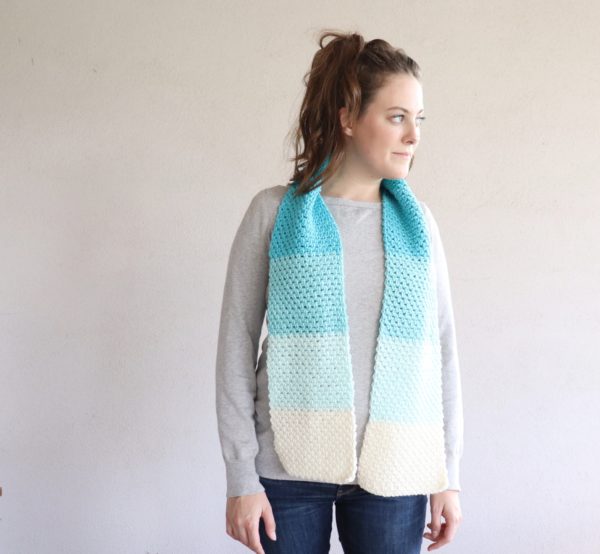
The pattern is my moss stitch scarf. I started with the cream color and worked my way through to the darkest teal of one skein, then worked my way back through the next skein from darkest to the cream.
This is my son Tanner, doing me a huge favor by modeling the gray toned hat! I made that pattern up using my favorite herringbone half stitch worked all in the round. (Pattern posted at the bottom of the page.)
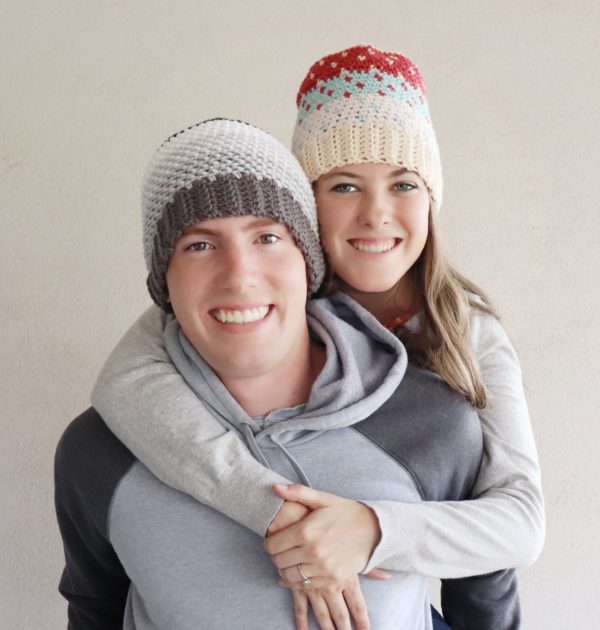
Hard to choose just one photo of these kids!
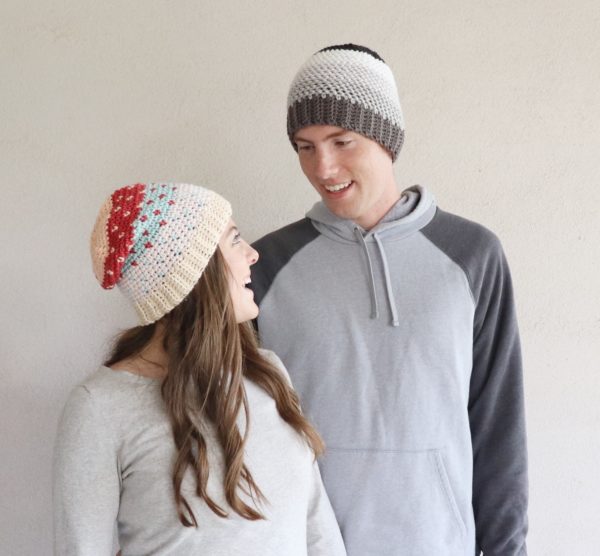
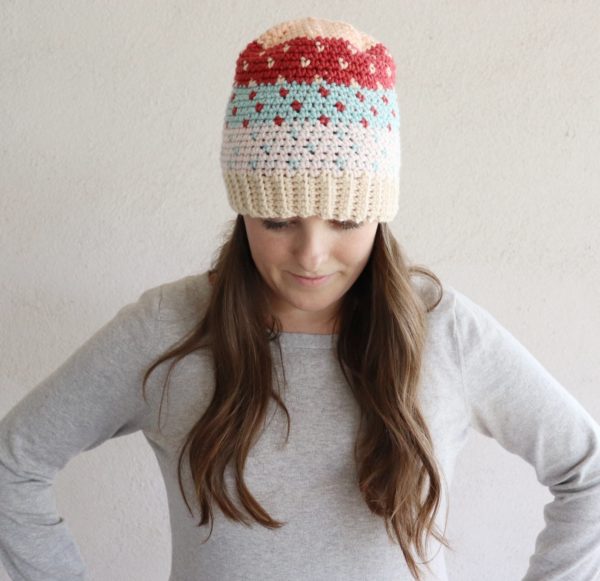
This multi-colored hat is made with a pattern on Yarnspirations site! And guess what? If you have been making my gingham blankets, and have learned tapestry crochet and know how to carry yarn through the row, you can make this hat! It’s all single crochet, worked in the same direction. In every other row, you carry a bit of color through, that’s what makes the little specks of color. Do not be afraid to try this out!
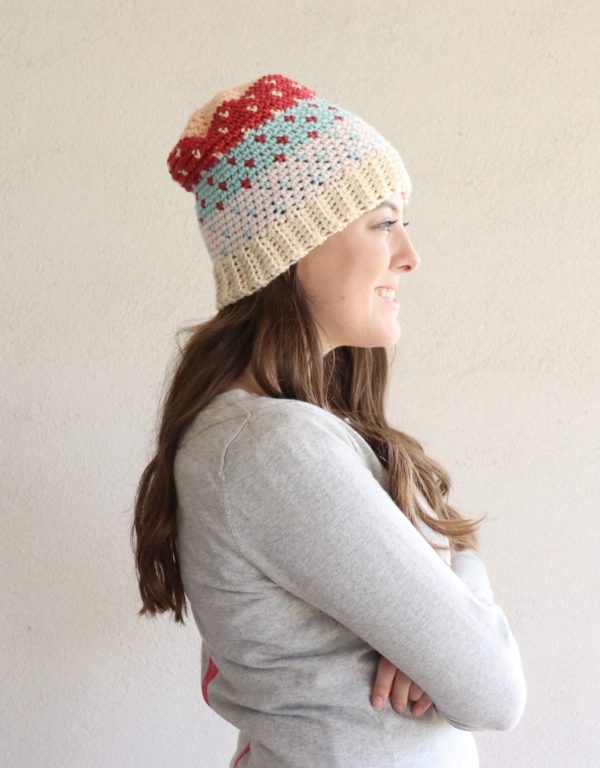
One other thing you must try when you visit Yarnspirations.com is the color play tool. When you choose a pattern, you can then click on all the different color choices to see what the project will look like. It’s super handy and fun to play around with! This specific hat I made, using the free pattern on the Yarnspirations website is called the Fair Isle hat in Peach Blush Parfait.
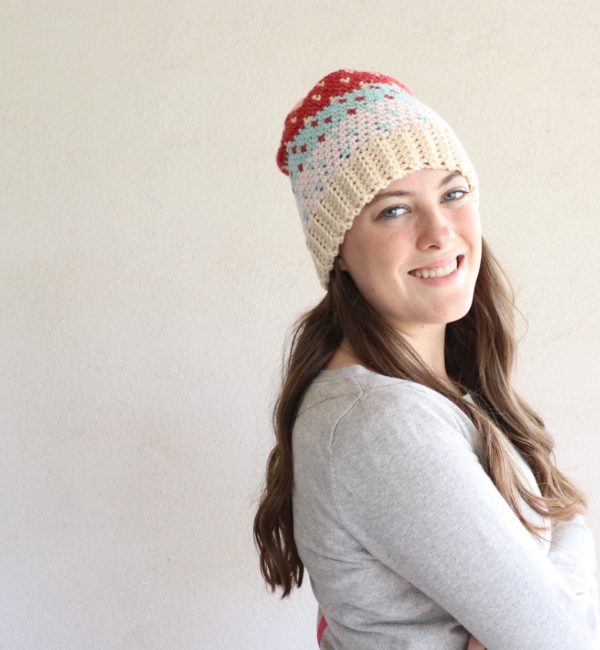
Another thing I love, love, love about this yarn is that it’s mostly acrylic, but part wool and part nylon. I don’t know what it is about nylon, but I’ve noticed that when it is added into the yarn, it makes it so incredibly soft, and incredibly easy to work with. I feel like it helps hold the tension easier. Maybe that’s just me, but I’m not sad about having a little bit of extra fibers woven into this. It feels like affordable luxury.
I wanted to see what the grey scale hat looked like on Elizabeth so I had her take a turn for me modeling the hat, and then I was even more in love with it! So bonus! It’s unisex.
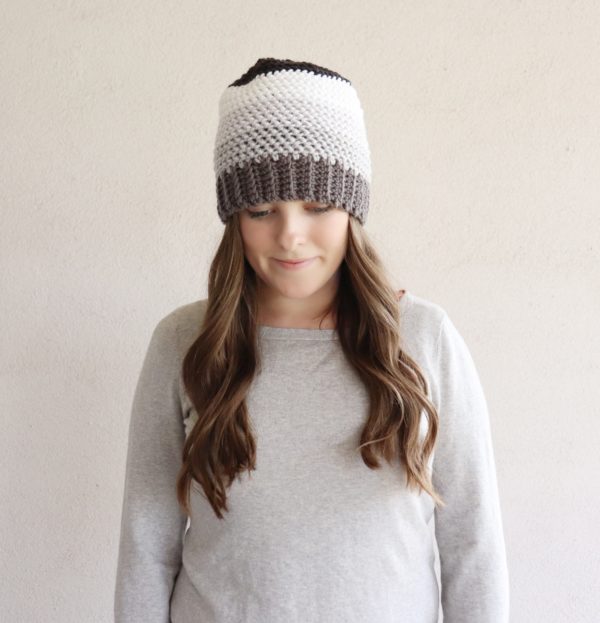
Here’s the pattern for the grey scale hat.
(I’ll leave it up to you how you’d like to work the colors of whatever skein you buy.)
I used the recommended hook size J.
Start by making the brim by chaining 8. SC in the second chain from the hook, SC in each remaining chain. (7 SC). CH 1 and turn. SC in the back loop only in each of the 7 SC. Always chain 1 and turn and always work in the back loops for the remaining rows. Make approximately 54-56 rows depending on your head size. Join the two ends together with a slip stitch or working SC, or with a tapestry needle.
With your next color, join and chain 1, SC evenly spaced around the edge of the brim 56 SC. Join with a slip stitch to the first SC, CH 2 and continue working in the same direction. HHDC (Herringbone Half Double crochet) into the next stitch and in each stitch around. When you complete the round, slip stitch just underneath the chain 2 space, CH 2 and begin working your HHDC in each stitch around.
Each color change is 4 rows of HHDC. After you use 4 colors, you will now start decreasing the rounds. With the 5th color, join and work 5 HHDC. Across the next 2 stitches, work a HHDC2tog. (Yarn over, insert hook, yarn over pull through and pull through first loop, yarn over, insert hook into next stitch, yarn over pull through and pull through first loop, Yarn over and pull through all remaining loops.) Repeat 5 HHDC, HHDC2tog around. Slip stitch as usual, ch 2 and beging the next decrease row. Except this time work 4 HHDC and then HHDC2tog repeating around.
On the next decrease row work 3 HHDC, HHDC2tog and repeat around. And on the next decrease row work 2 HHDC, HHDC2tog repeat around. And on the next decrease row work 1 HHDC followed by HHDC2tog repeat around. On the final round, work HHDC2tog, tie off and weave end through final loops to gather the hat the rest of the way in.
Weave in all the other ends, and you’ve got yourself a hat!
My thanks to Yarnspirations for sending me this yarn to try and introduce to you all! I absolutely loved working with it and can’t wait to design some matching mittens!
Thank you for stopping by the website! You know I love to share any Daisy Farm Crafts pattern that you make! Find me on Facebook and share it to my wall and I’ll share to the group! Or, use the hashtag #daisyfarmcrafts on Instagram!
xoxo,
Tiffany
