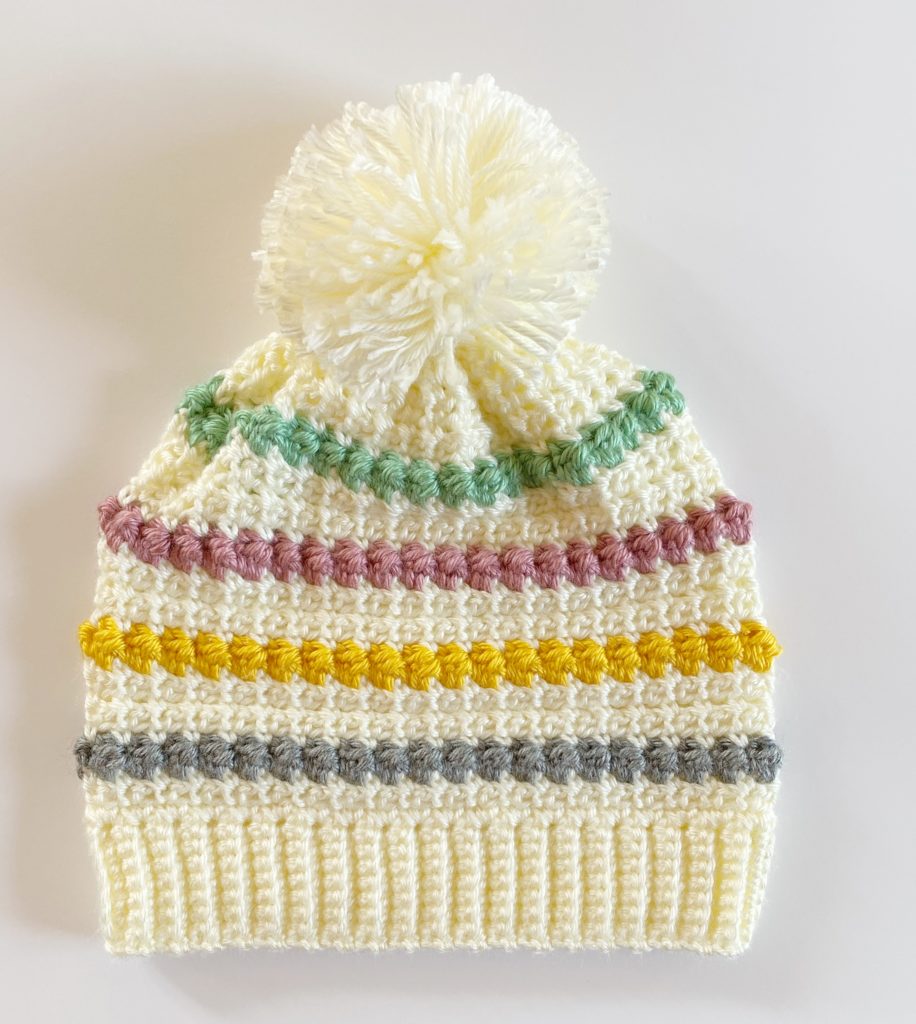
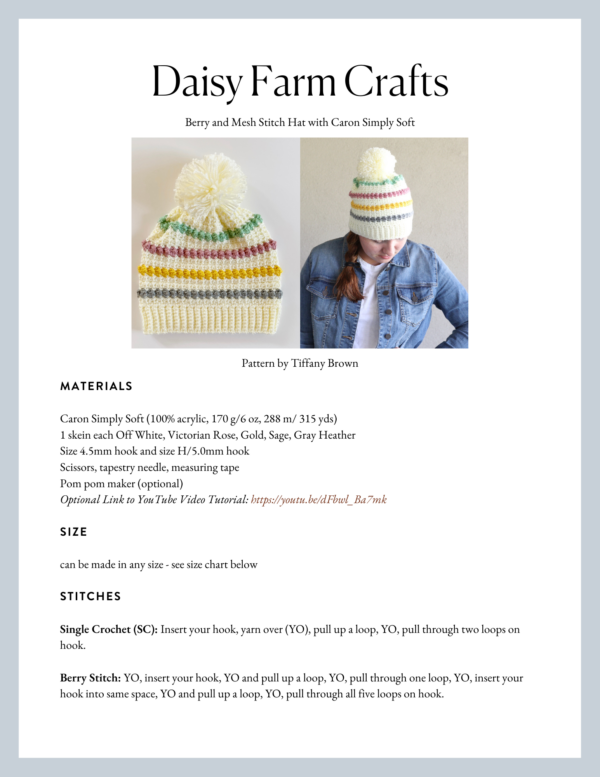
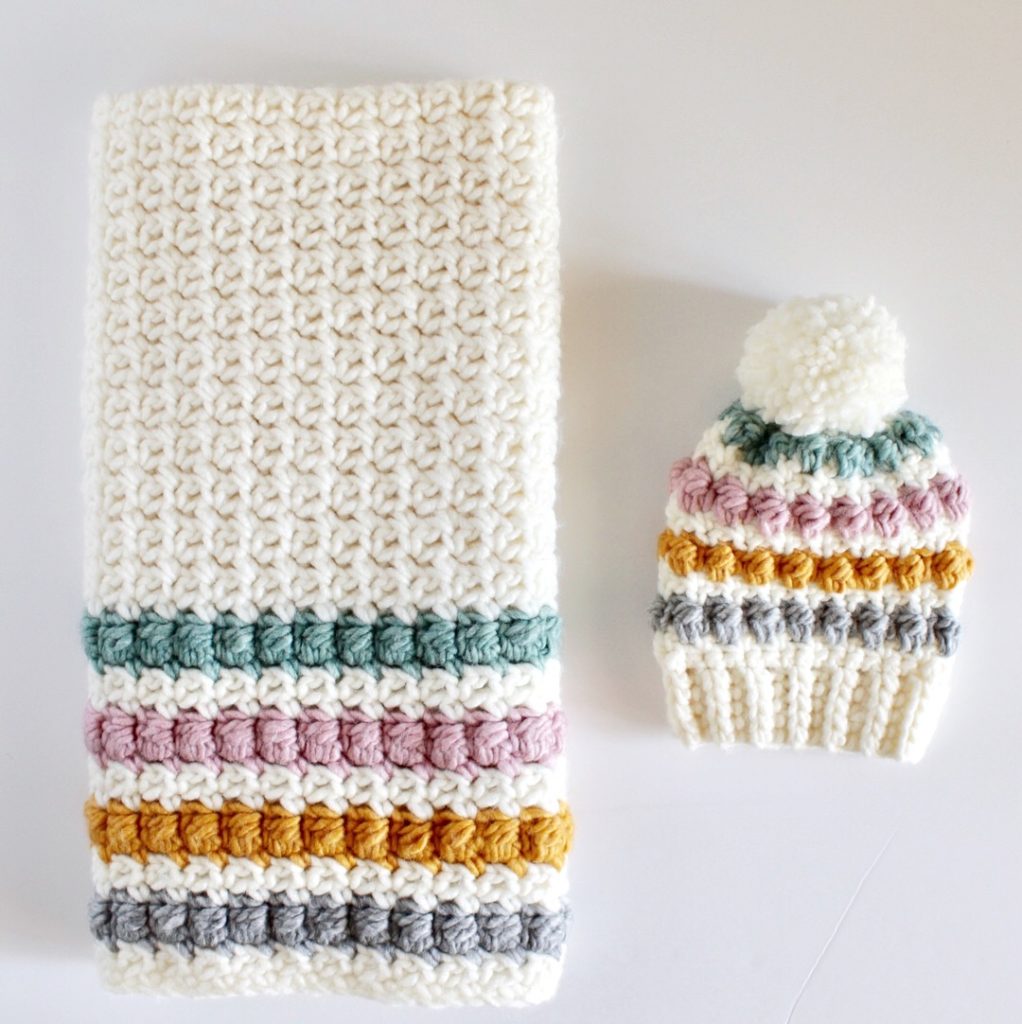
Hi everyone! I’ve updated our Mesh and Berry Stitch Hat pattern from the original. Here’s the original hat you may have seen:
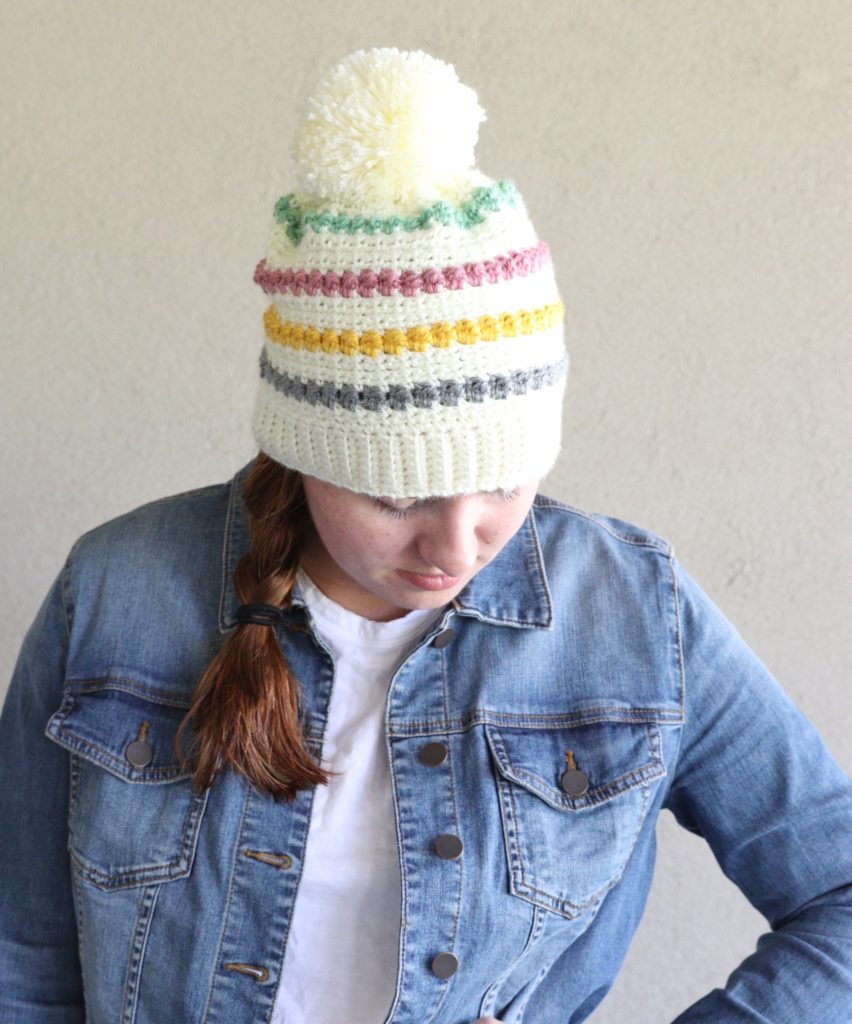
I do love the original hat, but since making it, some of the yarn colors have been discontinued. So I made one with Caron Simply Soft for my daughter and she really likes it.
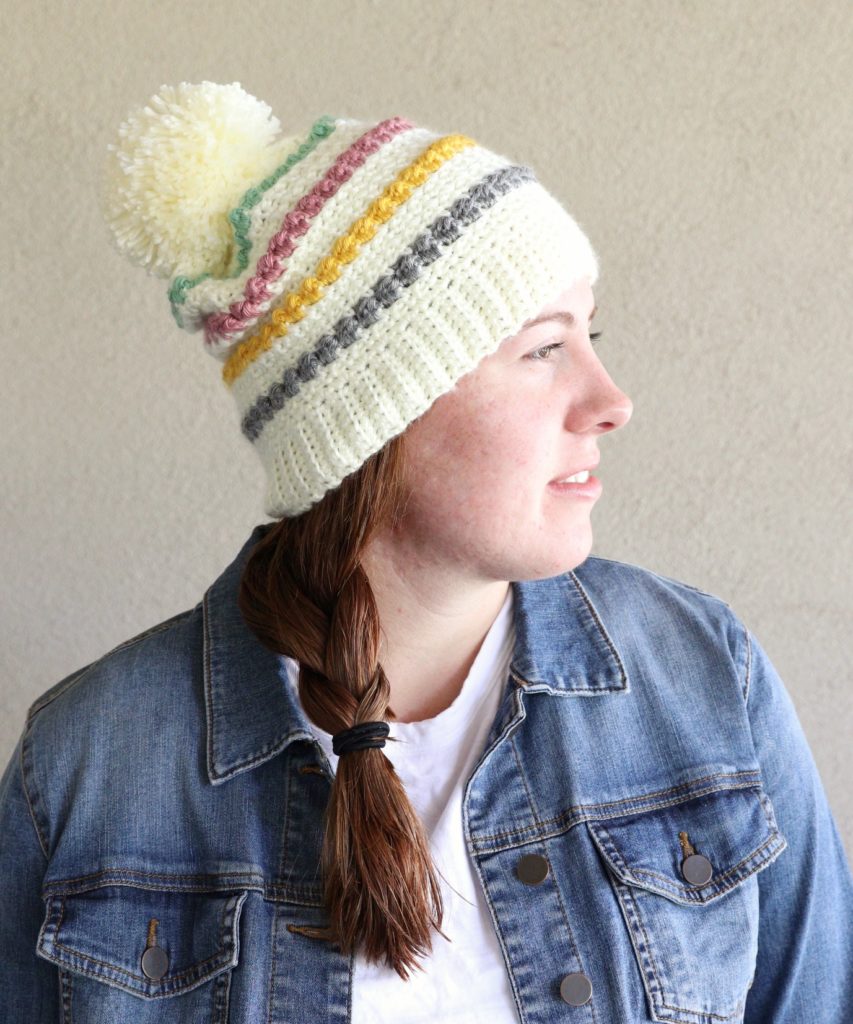
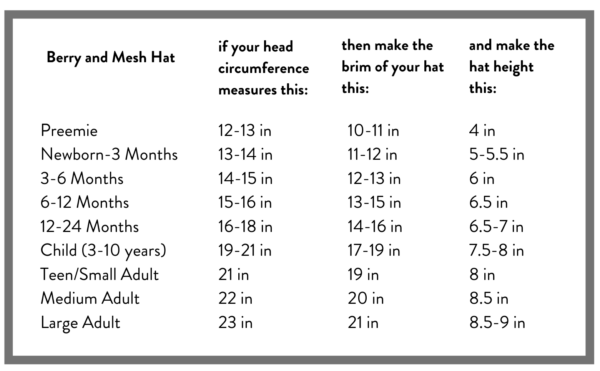
This hat can be made any size with any type of yarn you’d like by following the sizing guide below. This pattern will be for a 4 weight yarn, (Caron Simply Soft), and at the end I will link you to the pattern for the chunky weight hat.
Materials
Caron Simply Soft (100% acrylic, 170 g/6 oz, 288 m/ 315 yds)
1 skein each Off White, Victorian Rose, Gold, Sage, Gray Heather
Size 4.5 mm hook and size H/5.0 mm hook
Scissors, tapestry needle, measuring tape
Pom pom maker (optional)
Size
Stitches
Single Crochet (SC): Insert your hook, yarn over (YO), pull up a loop, YO, pull through two loops on hook.
Berry Stitch: YO, insert your hook, YO and pull up a loop, YO, pull through one loop, YO, insert your hook into same space, YO and pull up a loop, YO, pull through all five loops on hook.
Pattern
Brim
With Off White and size 4.5mm hook, chain 10. (Leave a long tail to use to sew the brim together.)
ROW 1: Work 1 SC in the second chain from the hook. 1 SC in each chain across the row, chain 1 and turn. (9)
ROW 2: Work 1 SC under both loops in the first stitch, 1 SC in the back loop of each of the next 7 stitches. 1 SC in both loops of the last stitch, chain one and turn.
ROW 3: Repeat row 2 until your band measures the size you need. Refer to the graph.
Don’t tie off but mark the stitch as a place holder. Remove your hook while you join the band with your tapestry needle and sew the ends together forming a circle.
Hat
ROUND 1: Change to your size H-5mm size hook. Return to the marked stitch and turn the band so that you are working into the side of the first row of sc made for the brim. Work 1 SC into that space. Work 2 SC into the end of the next row. *Skip one row, work 2 SC into the end of the next row. Repeat from * around the edge of the circle. Join with a slip stitch to the first SC. CH 1 and turn.
ROUND 2: Work 1 SC into the first SC. *CH 1, skip the next stitch, 1 SC into the next stitch. Repeat from * around. Join with a slip stitch, CH 1 and turn.
ROUND 3: Repeat instructions for round 2, pulling through with new color on the slip stitch, CH 1 and turn.
ROUND 4: (Berry Stitch Round) Work 1 SC into the first SC. *Berry Stitch into the ch 1 space. 1 SC into the next stitch. Repeat from * around. Join with a slip stitch pulling the Off-White through to change colors.
ROUNDS 5 – 9: Repeat Round 2 instructions for 5 rows, on last round pull through with new color.
Repeat round 4 and rounds 5-9 three more times.
FIRST DECREASE ROUND: Work 1 SC into each SC around. Join with a slip stitch to first stitch, ch 1 and turn.
SECOND DECREASE ROUND: Work 1 SC into first SC, *skip one SC, work 1 SC into the next SC. Repeat from * around. Join with a slip stitch, chain 1 and turn.
Tie off and leave a long tail for sewing.
Gather the hat the rest of the way in by using your tapestry needle and weaving in and out of last row of SC. Pull tight and weave in the end.
Attach a pom pom.
If you need a video tutorial, watch below:
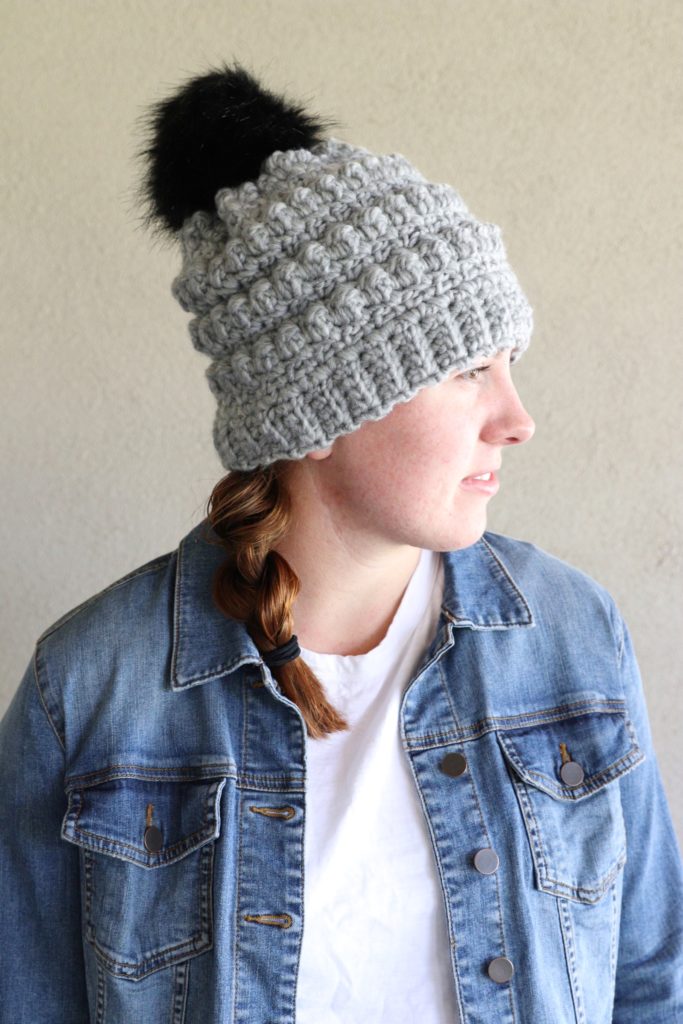
Making the hat with chunky yarn alters the pattern by the number of mesh stitch rows in between the berry stitch rows. Click here or click the photo to be taken to the pattern for the chunky hat.
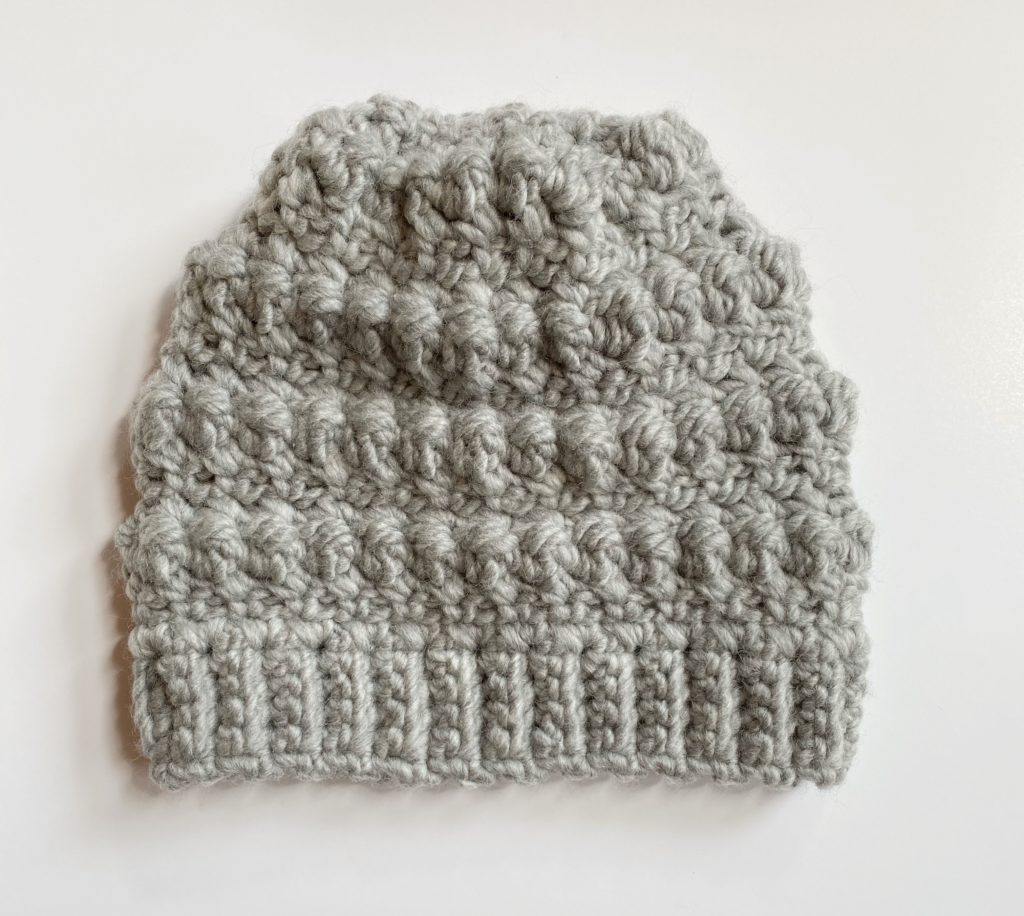
It’s such a fun and easy hat to make and I love how the mesh stitch keeps me on track as to where to place the berry stitch.
Thanks for coming by the site, if you’d like, come and join the Daisy Farm Crafters Group and show us your version of the hat! We’d love to see.
Happy Crocheting, Tiffany

