A blessing blanket is a tradition my mom started in our family for each of her grandchildren. (She has 30!)
Each baby has a beautiful crocheted white blanket as a keepsake and an heirloom.
In our religious tradition, the dad or grandpa usually will give the baby a blessing either at church or home.
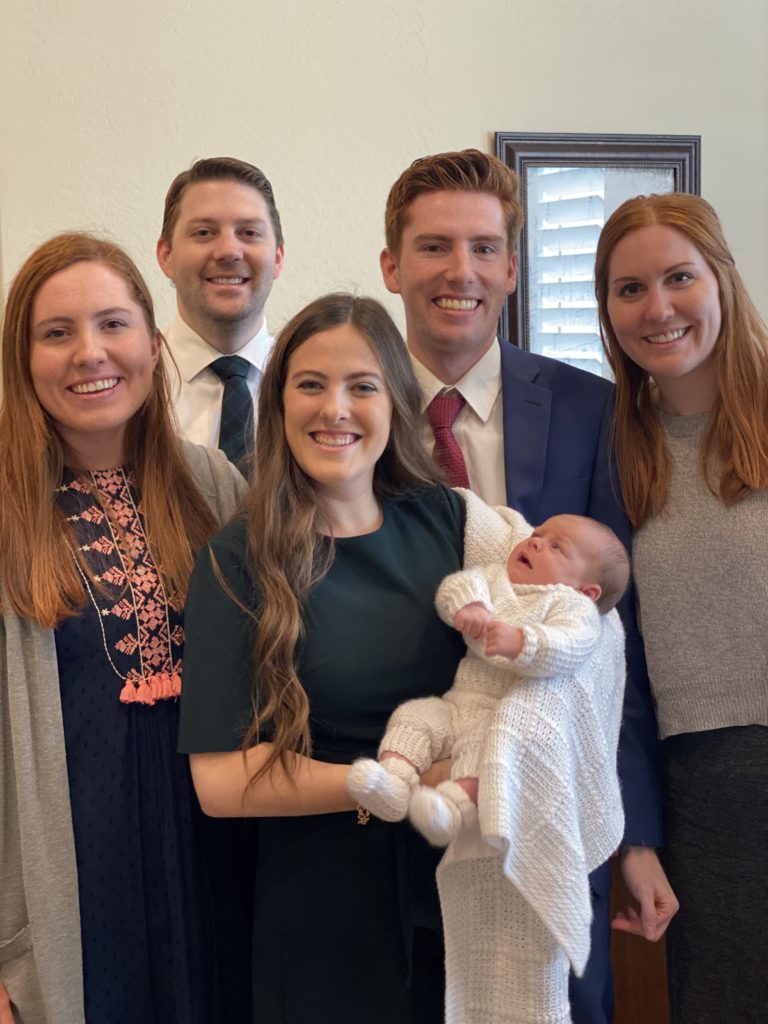
Baby James was just recently blessed by Will, my son-in-law, in his childhood home.

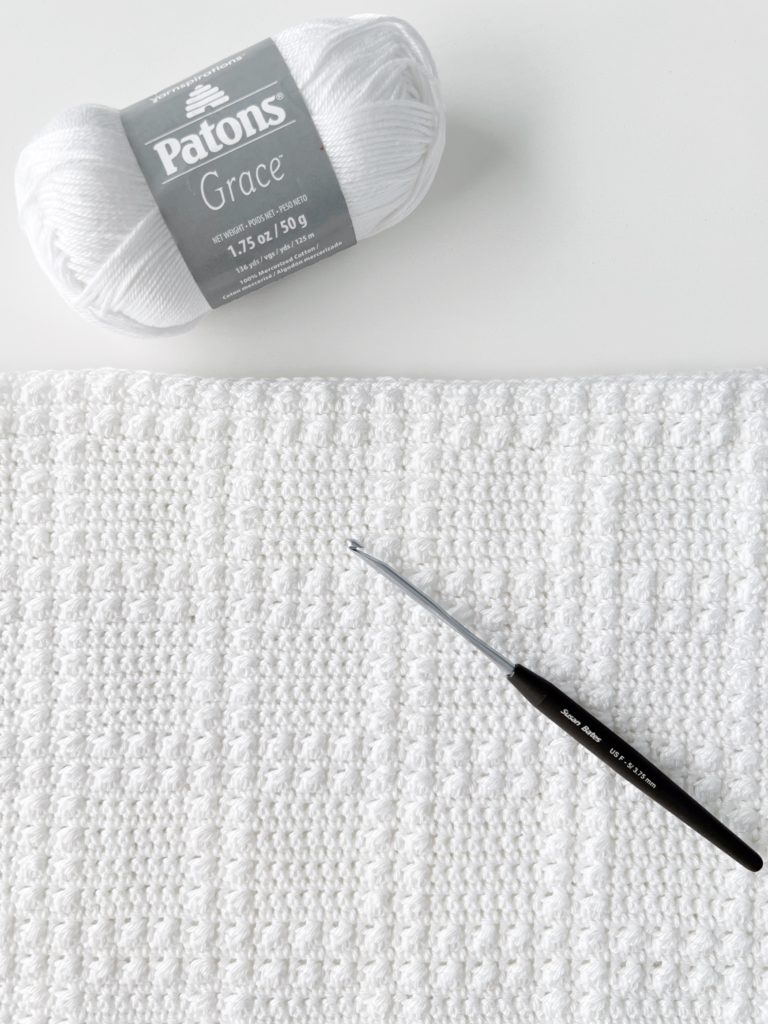
I made James the Windowpane Berry Blanket as his special keepsake.
Tap here for the pattern to the Windowpane Berry Blanket
(This is me holding James in the Windowpane Berry Blanket)

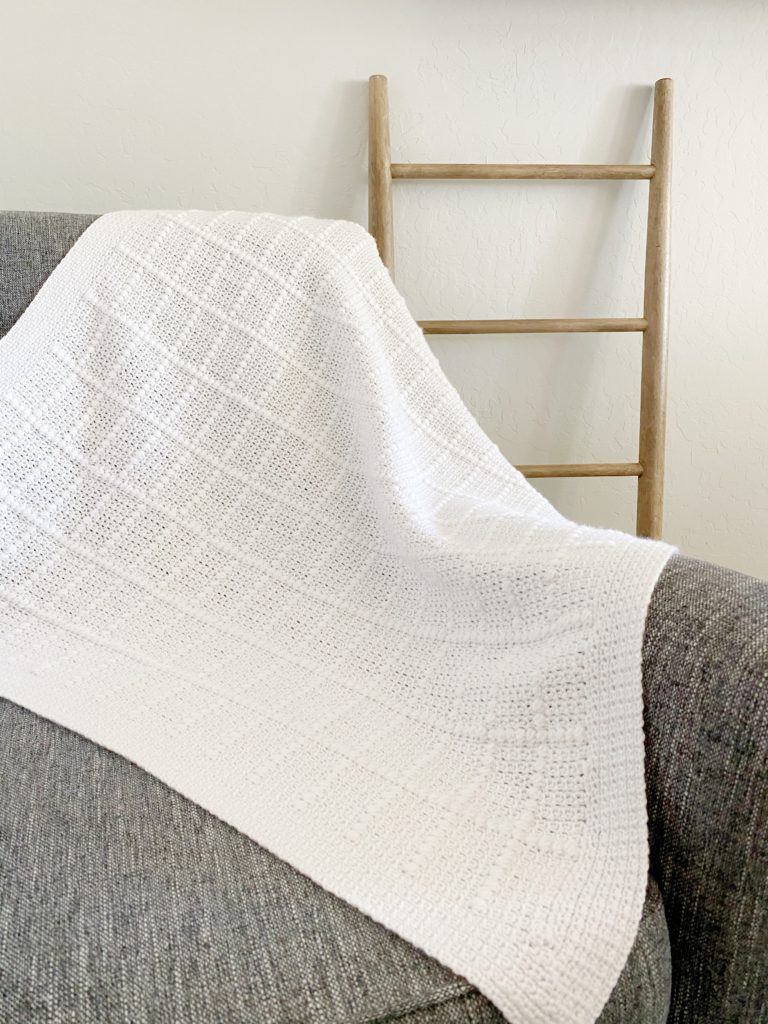
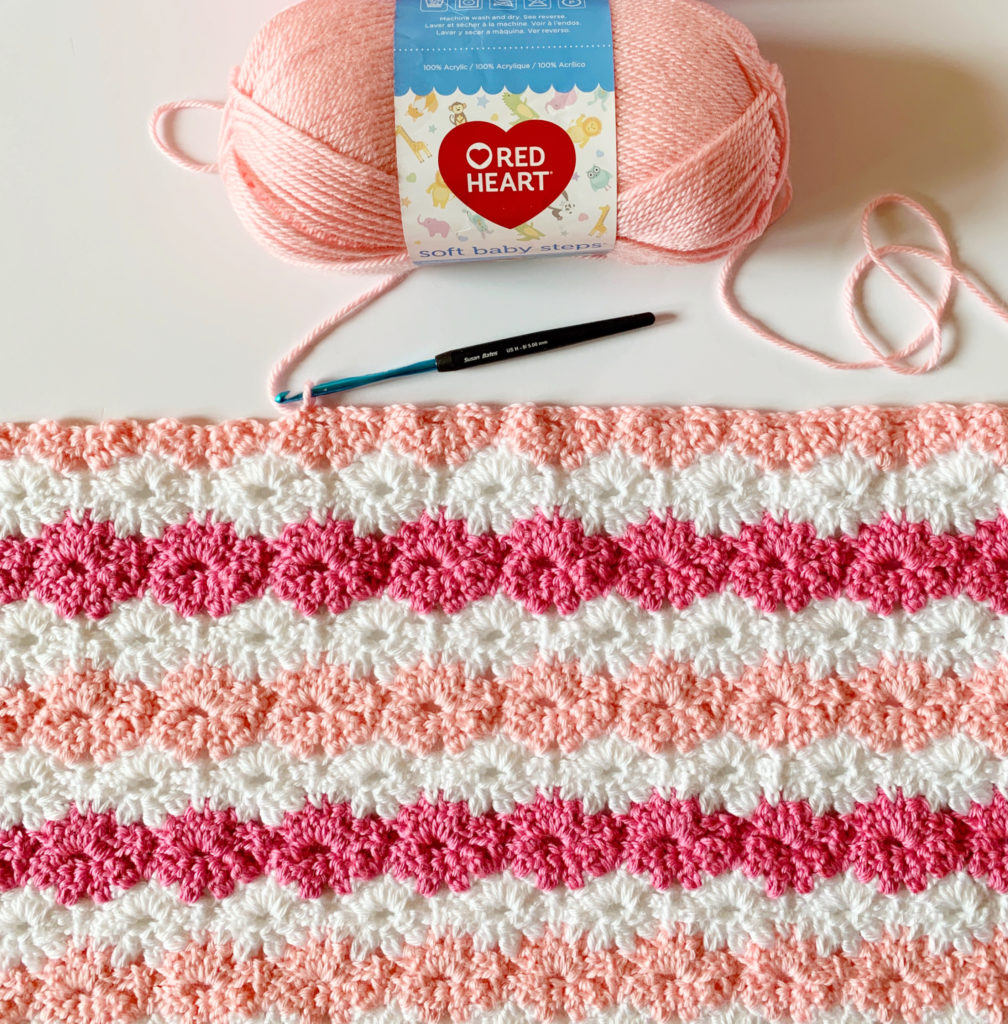
I made baby Jack the Windowpane Puff baby blanket for his special day.
Tap here for the pattern to the Windowpane Puff Baby Blanket
He was blessed in Elizabeth’s family home.
This has been something I’ve been looking forward to doing and I’m so happy to carry on her tradition with my own grandchildren.
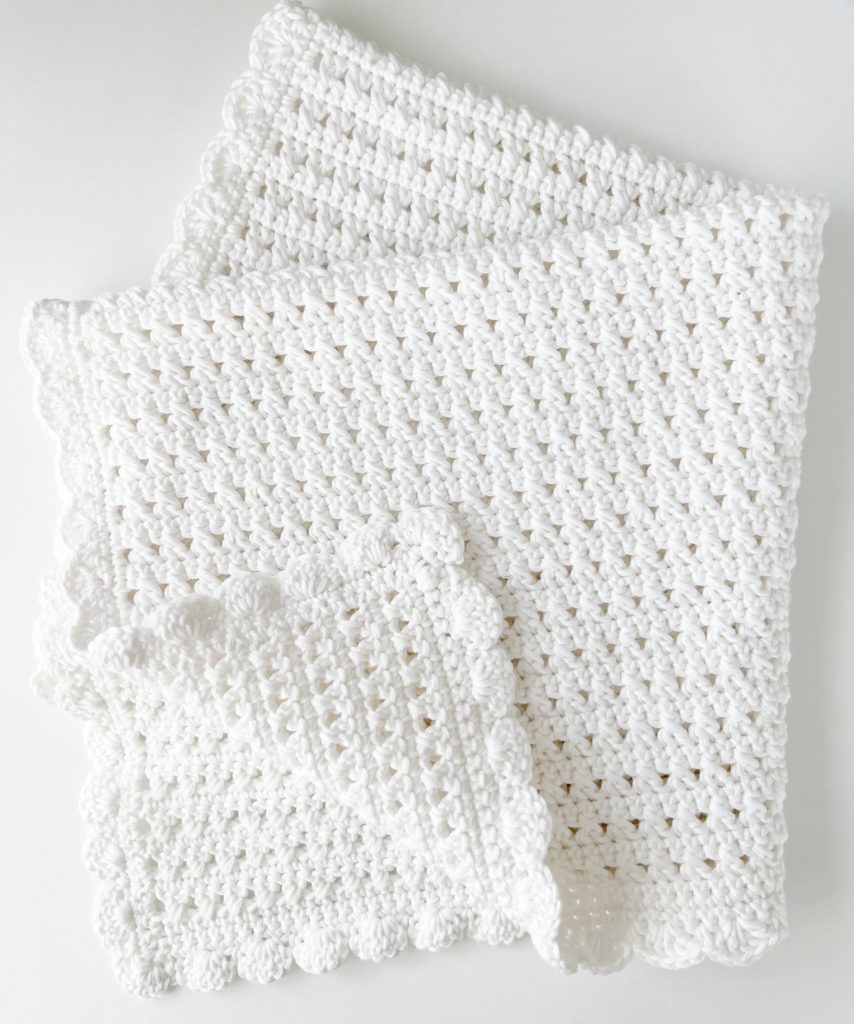
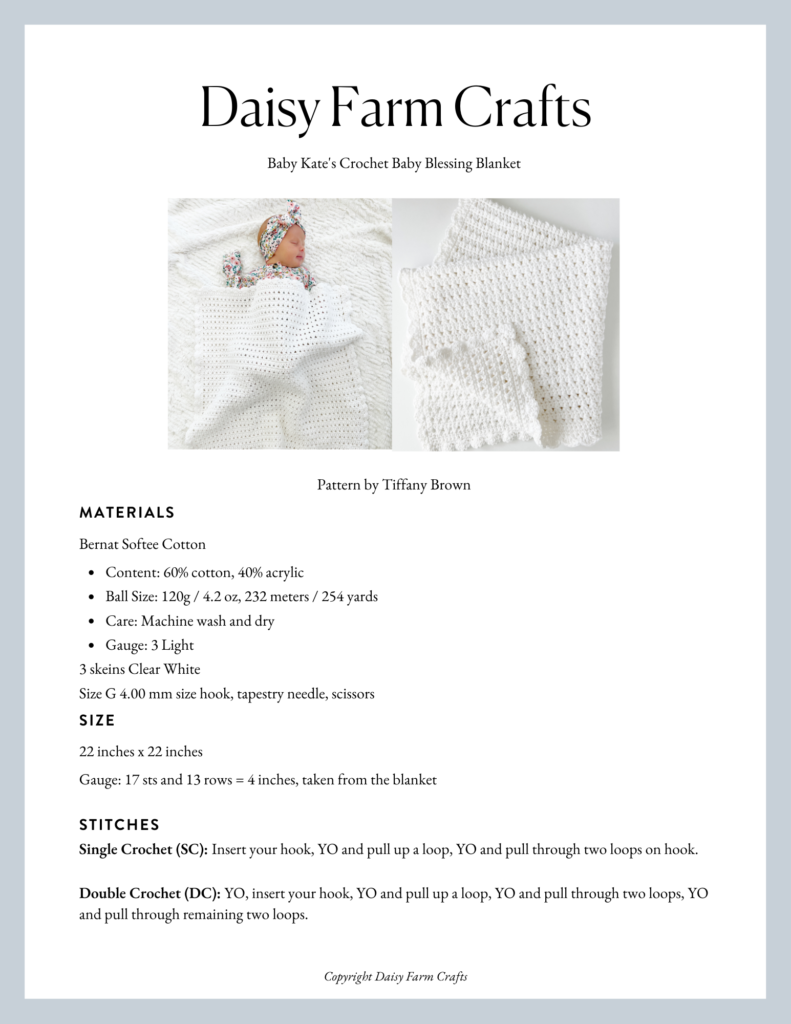
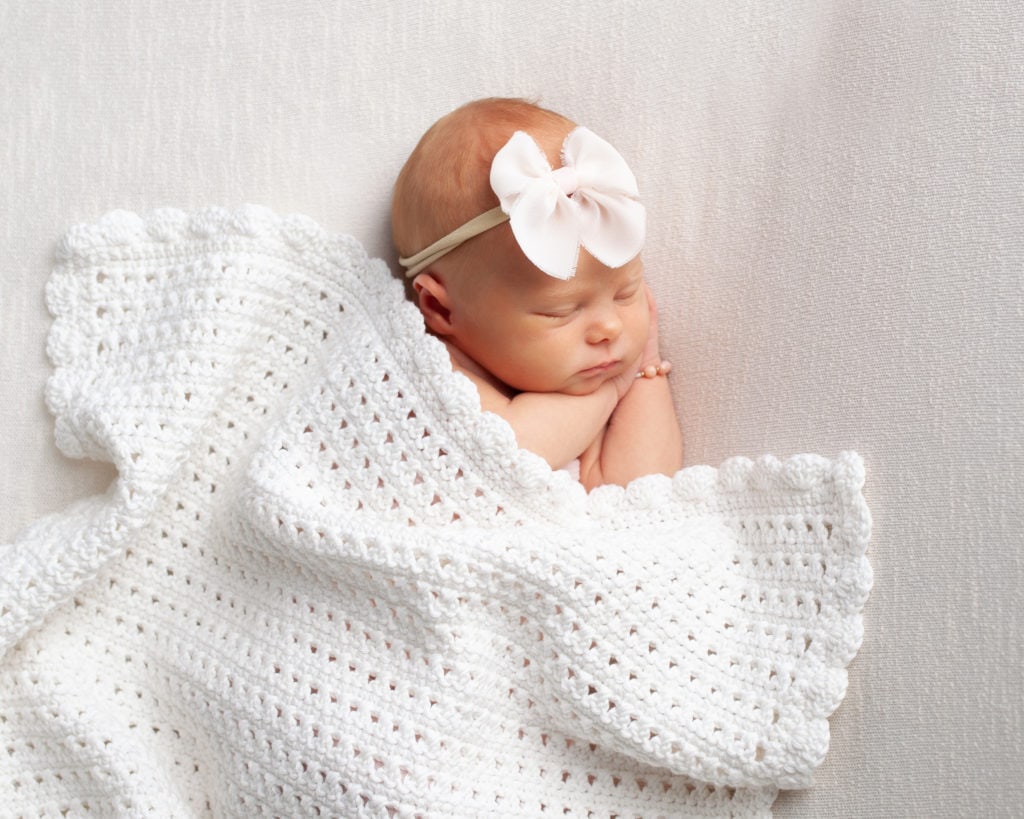
For Kate’s blessing blanket, I wanted to do something simple with a scalloped border.
I wanted it to be more open in the stitch pattern, yet very uniform looking.
(I considered doing the petal stitch blanket which I still might do later for her.)
Tap here for the pattern to the petal stitch blanket.
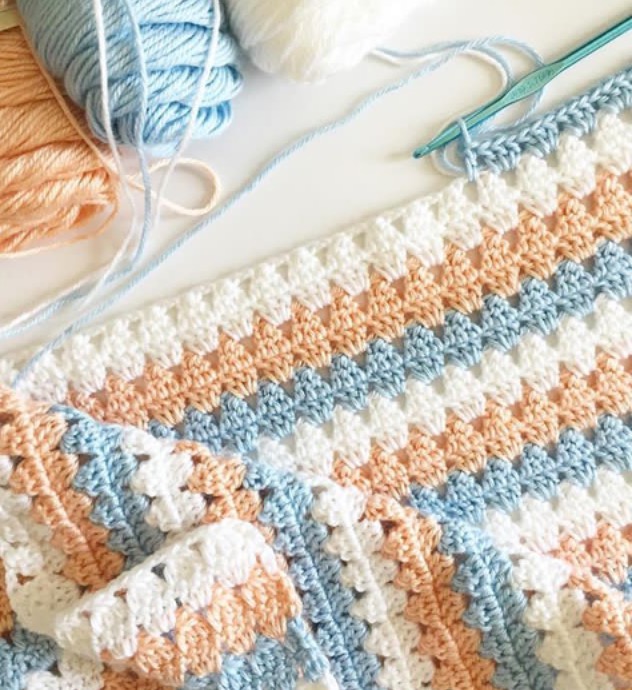
And I also considered doing our Modern Granny Blanket in Peach and Blue, but all in white.
Tap here for the pattern to Modern Granny in Peach and Blue
In one of my stitch books, I saw this crossed double crochet stitch and when I worked a sample in this Bernat Softee Cotton, I fell in love.
And decided this would be perfect for baby Kate.
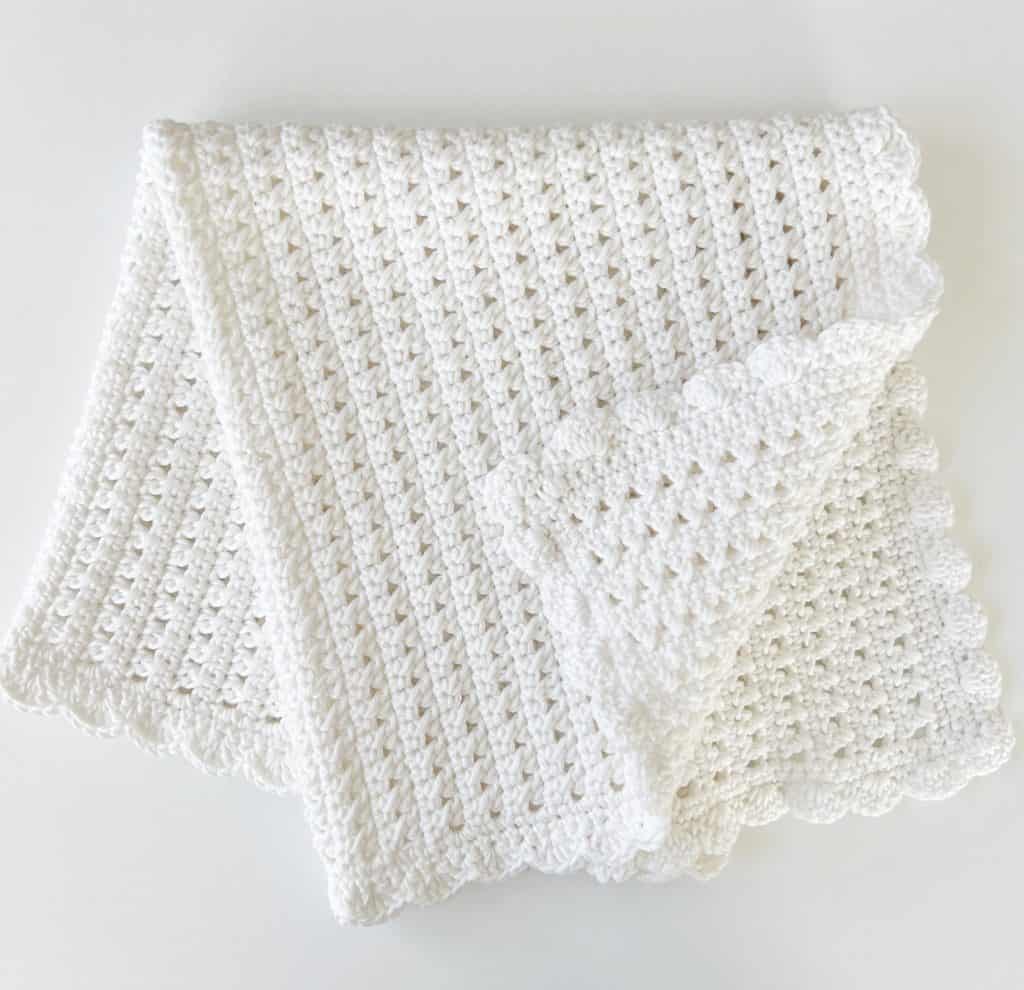
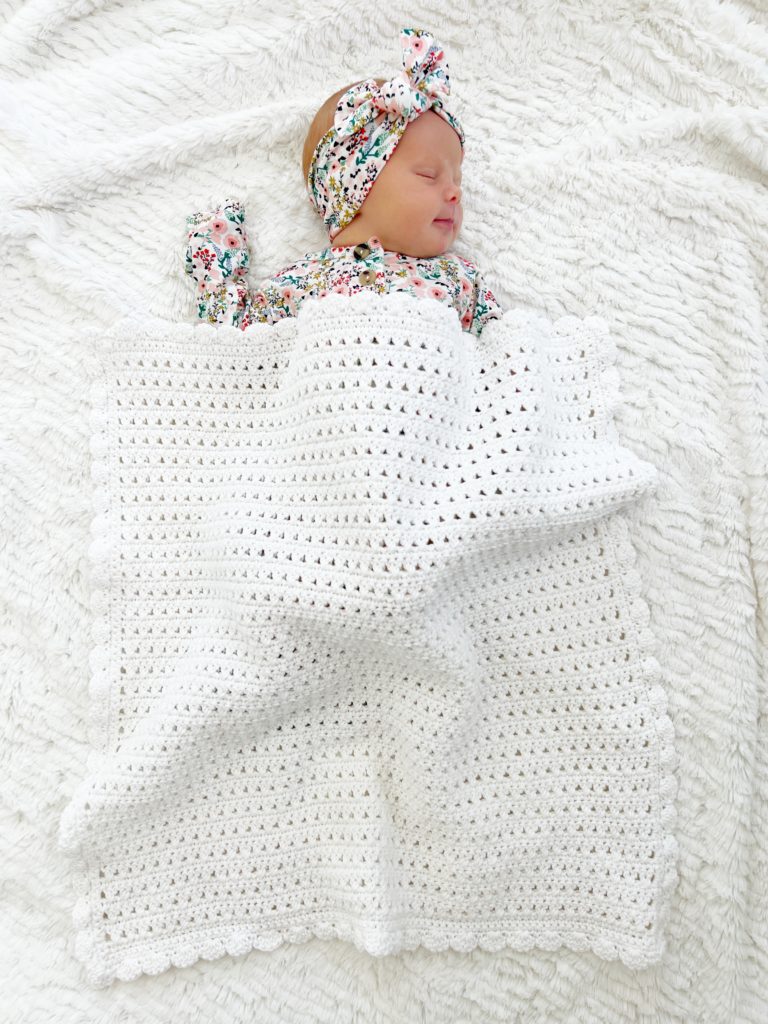
I kept this blanket a little smaller than the boys’ blankets which I think will be a little easier to store since it’s going to be saved as an heirloom.
Overall, I really am happy with the look and the yarn and hope baby Kate will know how much I love her already.
Be sure and scroll to the end of the post for the video tutorial and the free written printable pdf.
Materials
(tap name of yarn to see on Yarnspirations.com)
- Content: 60% cotton, 40% acrylic
- Ball Size: 120g / 4.2 oz, 232 meters / 254 yards
- Care: Machine wash and dry
- Gauge: 3 Light
3 skeins Clear White
Size G 4.00 mm size hook, tapestry needle, scissors
Size
22 x 22 inches
gauge: 17 sts and 13 rows = 4 inches, taken from the blanket
Stitches
Single Crochet (SC): Insert your hook, YO and pull up a loop, YO and pull through two loops on hook.
Double Crochet (DC): YO, insert your hook, YO and pull up a loop, YO and pull through two loops, YO and pull through remaining two loops.
(Tap highlighted name of stitch for video demonstration)
Pattern
Chain 89 (Or any odd number to the width you like)
Row 1: Beginning in the second chain from the hook, work 1 SC. SC into each remaining chain across. CH 2 and turn. (88)
Row 2: Beginning in the third stitch from the hook, (the turning chain counts as the first stitch, skip the next stitch, work into the next), work 1 DC. *DC into the skipped stitch. Skip one stitch and DC into the next st. Repeat from * across the row. Work 1 DC into the final stitch. CH 1 and turn.
Row 3: Beginning in the first stitch of the row, work 1 SC into each st across the row, the last SC will be worked into the top of the turning chain. CH 2 and turn.
Repeat rows 2 and 3 until blanket is square.
Border:
Round 1: Chain 1 and turn after finishing the last row of the blanket with Row 3 instructions. Work 1 SC into each stitch, [SC, CH 2, SC] into each corner, SC per the end of SC rows, and 2 SC per the end of DC rows for the sides. When you return to the starting SC, CH 2 and join with a SL ST to the starting SC. CH 1 and turn.
Round 2: Work [SC, CH 2, SC] into the chain 2 space, work 1 SC into each SC around. Work [SC, CH 2, SC] around each ch 2 space in the corners. Join with a SL ST to starting SC. CH 1 and turn.
Round 3: Begin with SC in first st of the round. *Skip one st, 5 DC into the next st. Skip one st, SC into next st. Repeat from * around.
(Tip: try to look ahead when you are getting close to the corners to possibly skip 2 stitches, or don’t skip, when making the shell in order to place the shell around the ch 2’s for the corners.)
Join with a SL ST to the starting st, tie off and weave in all the ends.
For a video tutorial see below:
The free printable is below:
Click here or the image below for a free download of the pattern.
Thank you!
XO, Tiffany
P.S. We took Kate to a professional photographer and she took a few photos with the blessing blanket:

Absolutely precious! My heart.


