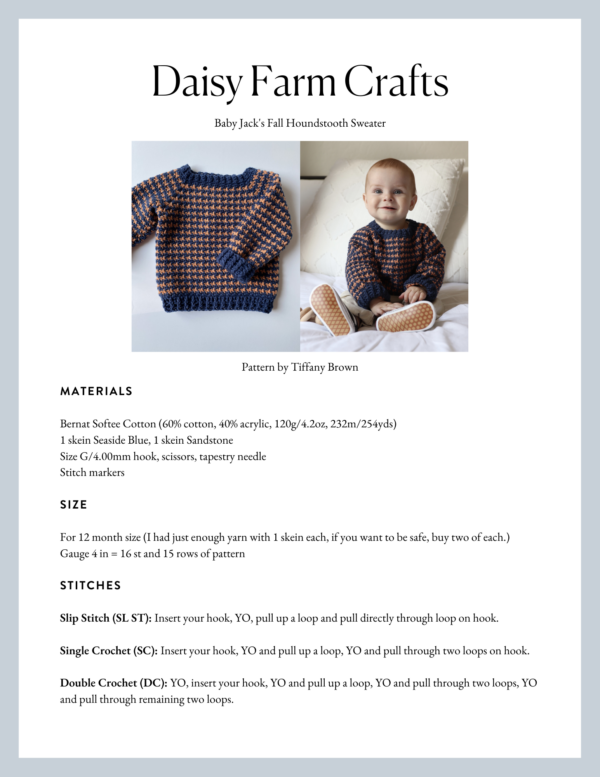
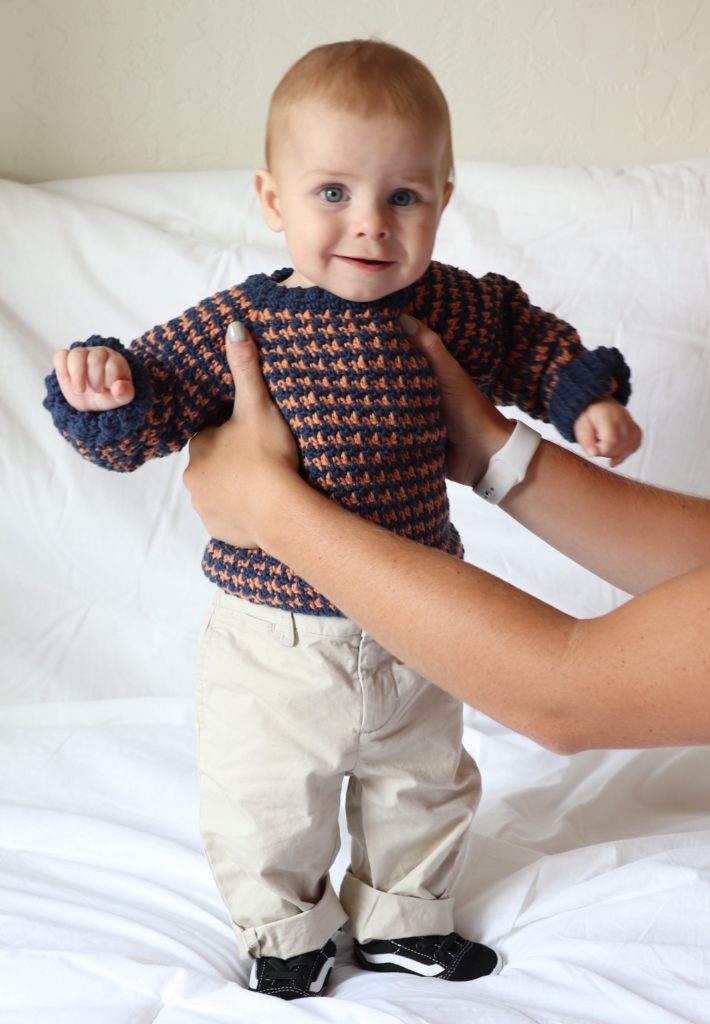
In case you haven’t met my first grandbaby..this is baby Jack! And oh how I’ve been looking forward to the day when I could make him fall baby sweaters! Also been waiting for the day for his hair to grow in a bit so I would know for sure that it was red. So cute!
The houndstooth look is made by using the Griddle Stitch (alternating SC and DC) and changing colors every row. For this pattern, you really need to be comfortable joining the rounds.
We have a houndstooth hat pattern if you want to practice on smaller project that also has a video. This sweater pattern does not have a video.
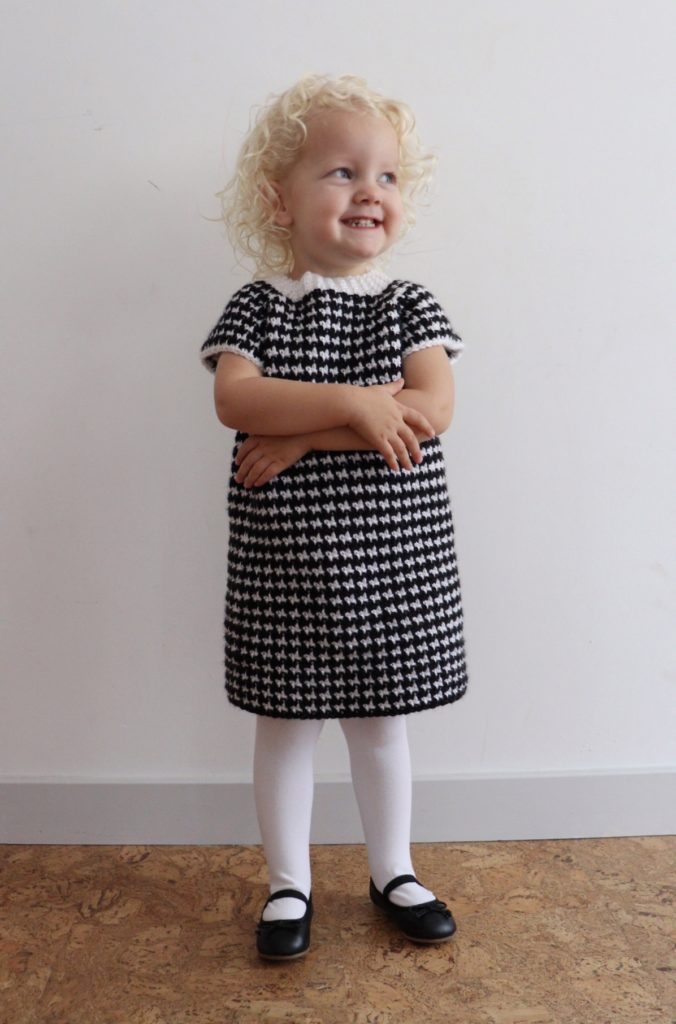
This sweater is a pattern I made before as a Christmas dress for my neighbor’s baby girl Gigi:
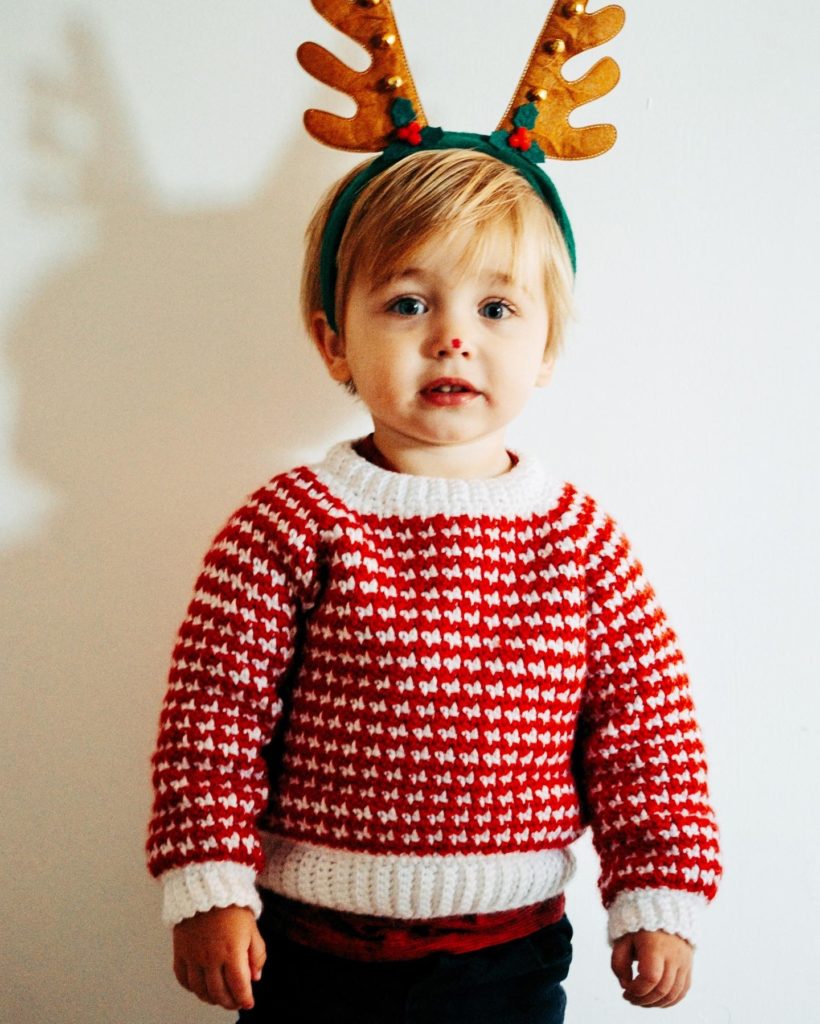
And using the same pattern I turned it into a Christmas sweater for Ames who is the son of my former babysitter.
Besides changing the yarn type and colors, I used a different stitch for the cuffs and waistband for Jack’s sweater. Otherwise I used the same pattern.
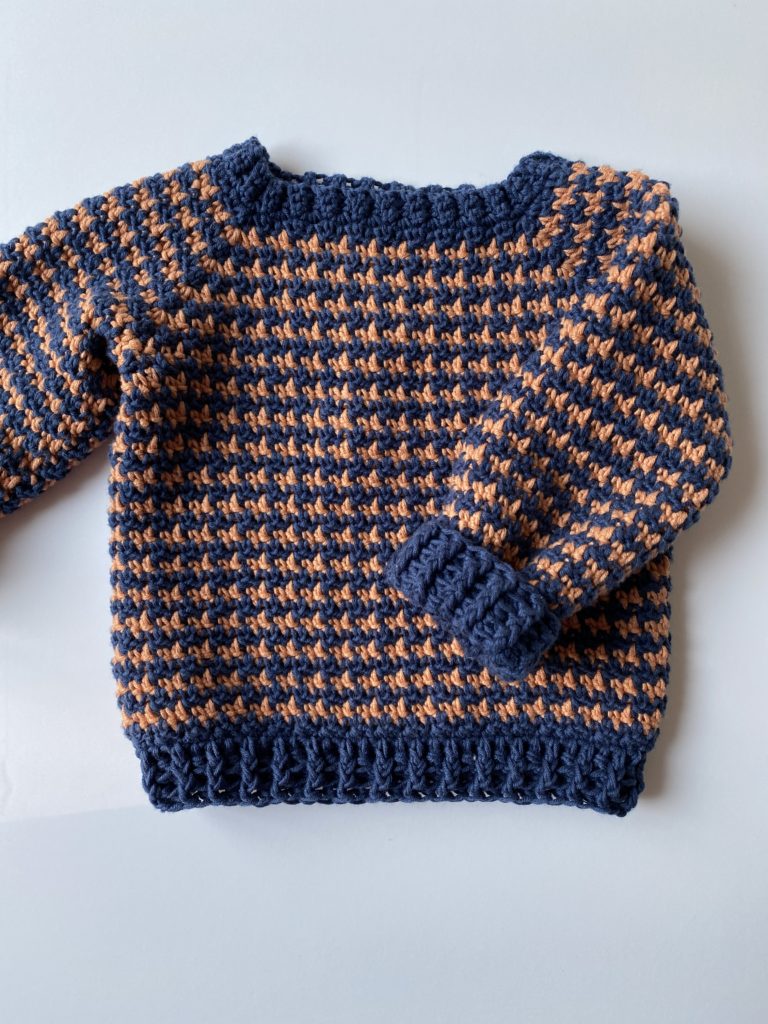
The cuffs and waist are made with the double crochet ribbing stitch.
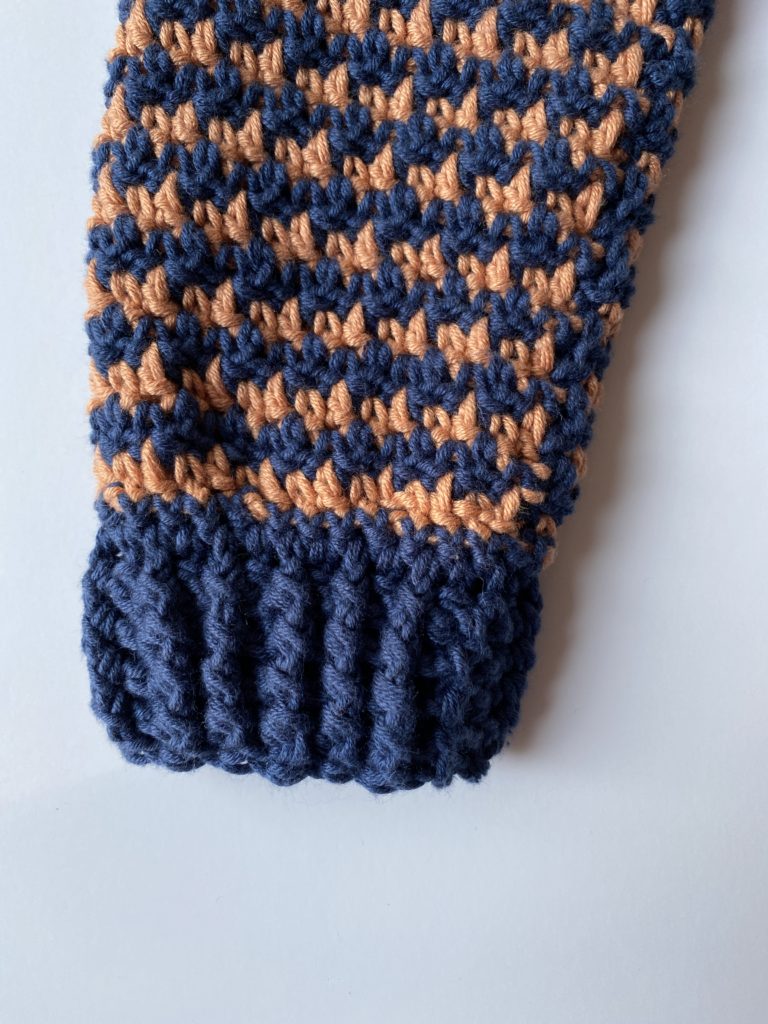
I made the sleeves a bit longer for Jack and then loved folding the ribbing back. We also wanted the sweater a bit larger so it will last through the winter.
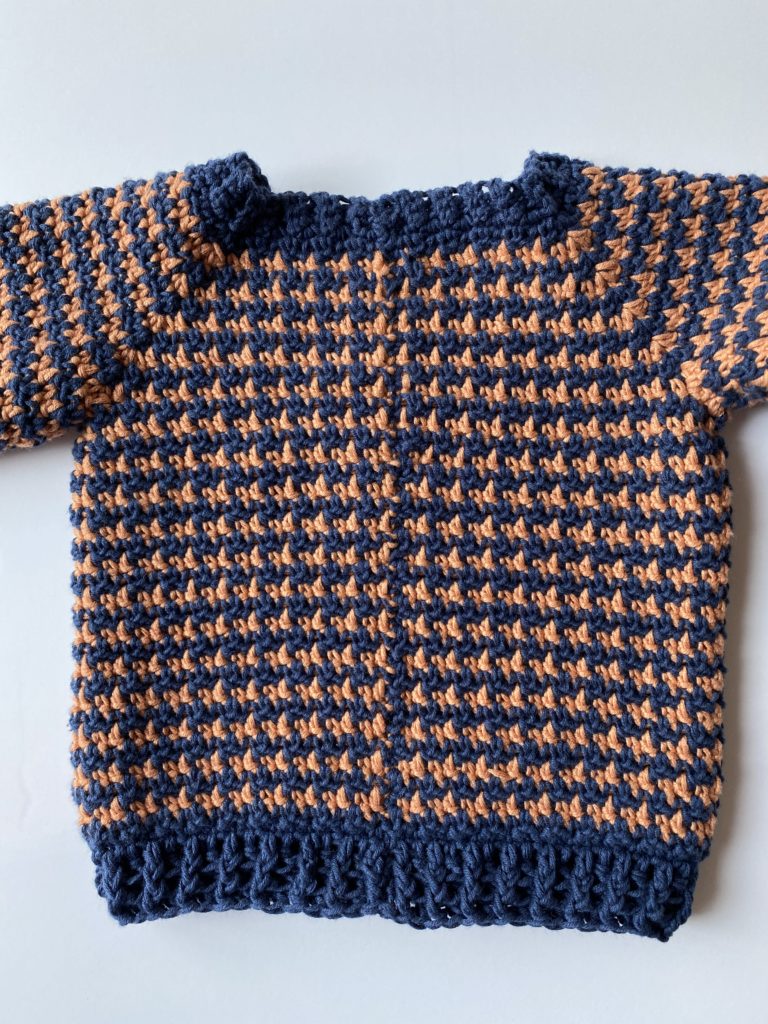
Here’s a picture of the back of the sweater. It’s important to me to try and disguise the seam as much as possible. The way the houndstooth stitch works is by alternating colors every row. You also need to join and turn.
I used this size chart to help me measure as I went. Baby Jack’s sweater is 12 months size. I think that if you use a 4 weight yarn and a larger hook, you could make this sweater up to a size 3T. (Check the original post about the red and white sweater for sizing tips.)

Materials
Bernat Softee Cotton (60% cotton, 40% acrylic, 120g/4.2oz, 232m/254yds)
1 skein Seaside Blue, 1 skein Sandstone
Size G/4.00mm hook, scissors, tapestry needle
Stitch markers
Size
For 12 month size (I had just enough yarn with 1 skein each, if you want to be safe, buy two of each.)
Gauge 4 in = 16 st and 15 rows of pattern
Stitches
Slip Stitch (SL ST): Insert your hook, YO, pull up a loop and pull directly through loop on hook.
Single Crochet (SC): Insert your hook, YO and pull up a loop, YO and pull through two loops on hook.
Double Crochet (DC): YO, insert your hook, YO and pull up a loop, YO and pull through two loops, YO and pull through remaining two loops.
Front and Back Post Double Crochet (FPDC & BPDC): A front post double crochet means you insert your hook from front to back around the post of the next DC and work a DC. A back post double crochet means you insert your hook from back to front around the post of the next DC and work a DC.
Pattern
Starting with the neck, chain (CH) 6 with Seaside Blue.
ROW 1: In the second chain from the hook, work 1 SC. Work 1 SC into each of the remaining chains. CH 1 and turn. (5 SC)
ROW 2: *Work 1 SC into the first st. Work 1 SC into the back loop of each of the next 3 sts. Work 1 SC into the last stitch of each stitch, CH 1 and turn after each row. Repeat from * for 56 rows.
With a tapestry needle, use the starting tail to sew the two ends together to form a circle. CH 1 and SC around the circle working one SC into each space at the end of a row. Join with a slip stitch to the first SC of the round. (56 SC)
Place stitch markers. Count from the first SC of the round (the stitch you slip stitched into is stitch #1) and mark stitch #10, #19, #38, #47. You will have 18 stitches in between two markers for the front and back, and 8 stitches in between 2 markers for over the shoulders.
Round 1 of griddle stitch: CH 1 and turn. In the next st. work 1 SC, in the next st work 1 DC. Repeat from * to the first marker. In the marked st, work “DC,SC,DC.” Repeat from * to the next marker. Work “SC,DC,SC” in marked st. Work DC in next st, SC in next and continue alternating to the next marked st. “DC,SC,DC” in marked st. Alternate SC and DC to the next marked st, work “SC,DC,SC” in marked stitch. Alternate DC and SC to the end of the round. Slip stitch to the first stitch pulling through with Sandstone. CH 1 and turn.
(Tip: The second stitch of the 3 stitches in each marked corner are now the middle stitch or marked st. Mark this if you need to for the next round. You will be working 3 stitches into this marked stitch to increase for the round.)
Round 2: *DC into the top of the SC from row below, SC into top of DC from row below. (This is the griddle stitch) Repeat from * to the middle stitch of the corner. Work the next 3 stitches required to keep the alternating DC, SC sequence into that middle stitch. Continue working the griddle stitch to the next corner space, work the three stitches into the middle stitch and continue in this manner around. Slip stitch to the starting stitch, pulling through with seaside blue.
Rounds 3-10 (or however rounds needed for size🙂 Repeat rounds 1 and 2.
Joining for the armholes:
Next Round: Work the griddle stitch to the first corner stitch. *SC into the corner stitch (even if it is a SC and you are breaking the griddle stitch pattern. This will be the only time you will do that. It helps to not have a hole in the underarm area.) CH 4, skip over all the stitches to the next corner stitch and SC. Continue the griddle stitch pattern to around the front of the sweater to the next corner and repeat the instructions from the *.
Rounds to the length you desire: Continue working the griddle stitch into each stitch, including the chain 4’s that make up the underarm area. Continue alternating colors and joining the rounds with a slip stitch, ch 1 and turn, until you have the length you desire. End on a Sandstone row, pull through with blue to begin the ribbing.
Round 1: *Work 1 SC into each of the next 3 stitches, 1 SC2tog across the next 2 stitches. Repeat from * around. Join with a slip stitch, chain 2 and turn.
Round 2: Work 1 DC into each stitch around. Join with a slip stitch to chain 2, continue in same direction.
Round 3: *Work 1 FPDC around next DC, 1 BPDC around next DC. Repeat from * around. Join with a slip stitch, chain 2 continue in the same direction.
Rounds 4 – 6: Work 1 FPDC around next FPDC, 1 BPDC around next BPDC. (Tip: just make sure you are popping the posts in the same direction as the row below to form the ribbing.)
SLEEVES
Making sure the V’s are facing away from you and as if you chained and turned your work, pull up a loop and chain 1, between the 4 stitches that are around the chain 4. (put your hook so 2 stitches are on one side and 2 on the other.) SC where you pulled up a loop. Continue griddle stitch around the armhole.
Slip Stitch to the starting SC, pull through with Color A, chain 1 and turn.
Round 2 to the length you need: Work the griddle stitch around, join with a slip stitch, ch 1 and turn.
(Tip: after round 2, count how many stitches you have around, as you will want to make sure you have the same amount when you make the other sleeve and you will want to make the same number each round.)
WRIST
On a round with Seaside Blue, work a round of decrease and rounds of ribbing in the same manner as the bottom of the sweater.
Tie off and weave in all ends.
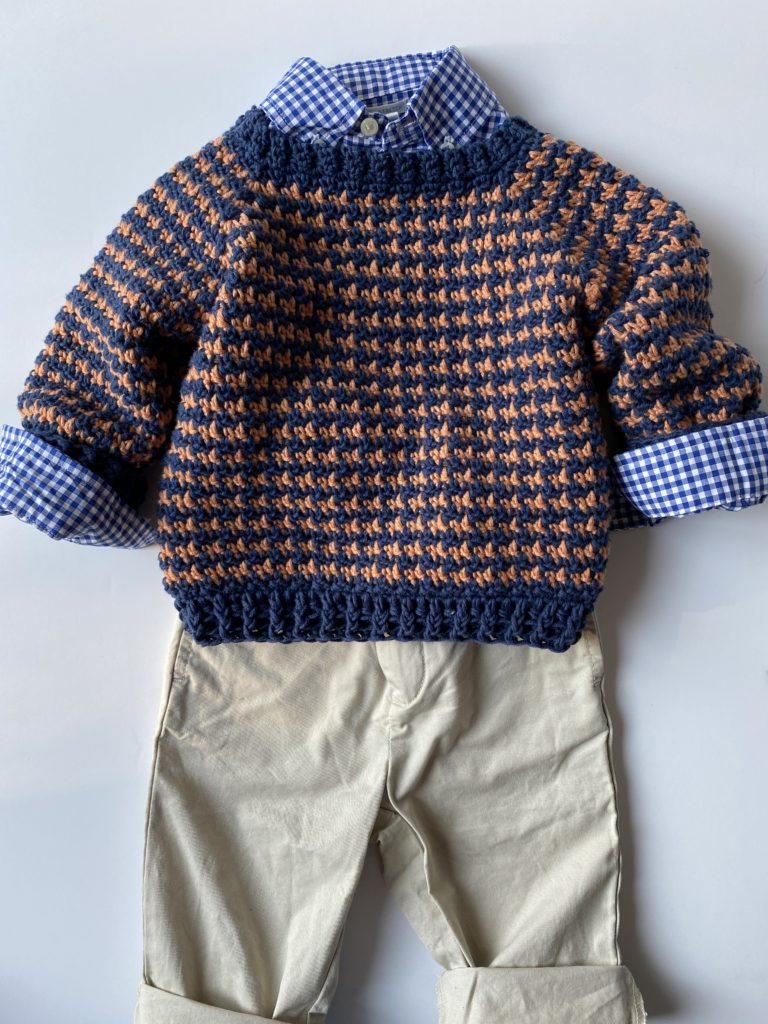
Here’s a styling idea and how Jack is going to wear this to church:
XO,
Tiffany
Click here or on image below for printable pattern