Hi Crochet Friends! It’s Cyndi, Tiffany’s sister!
I am still having so much fun learning how to crochet, but also using the stitches I do know to create fun sweaters for myself!
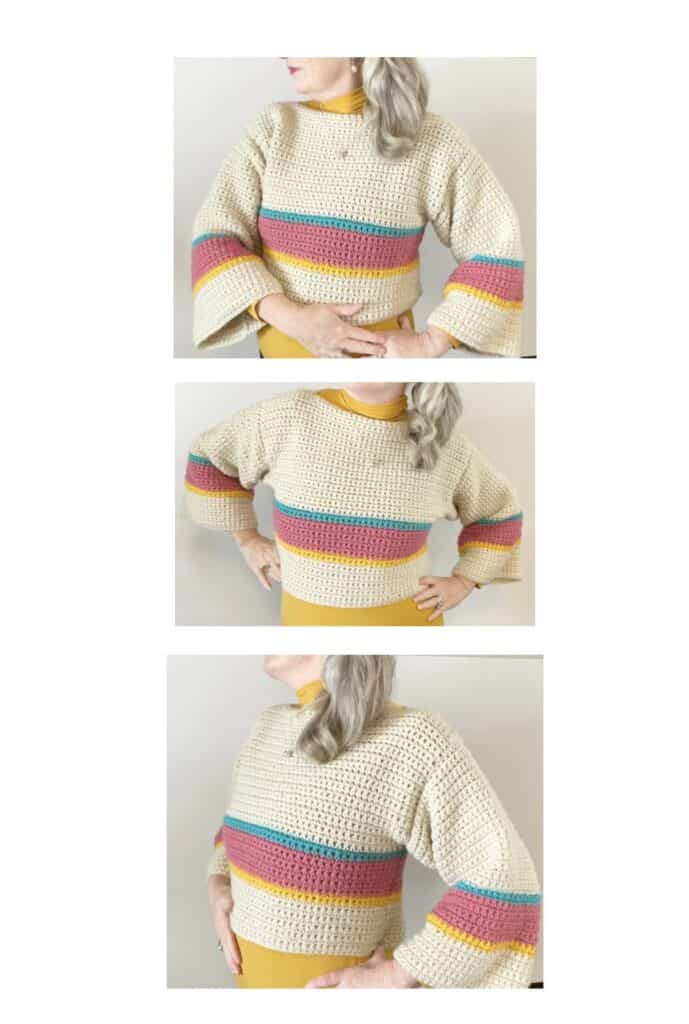
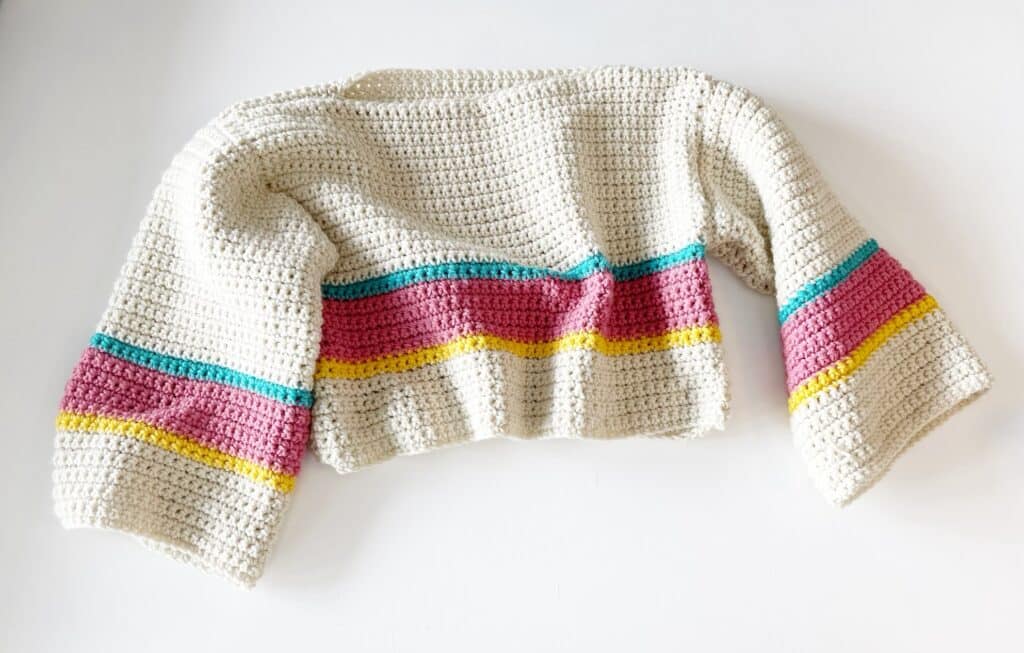
This super easy-to-make single crochet crop top is another fun variation on the Easy Single Crochet Bubble Sleeve Crop Top with Removable Turtleneck from last week’s blog post.
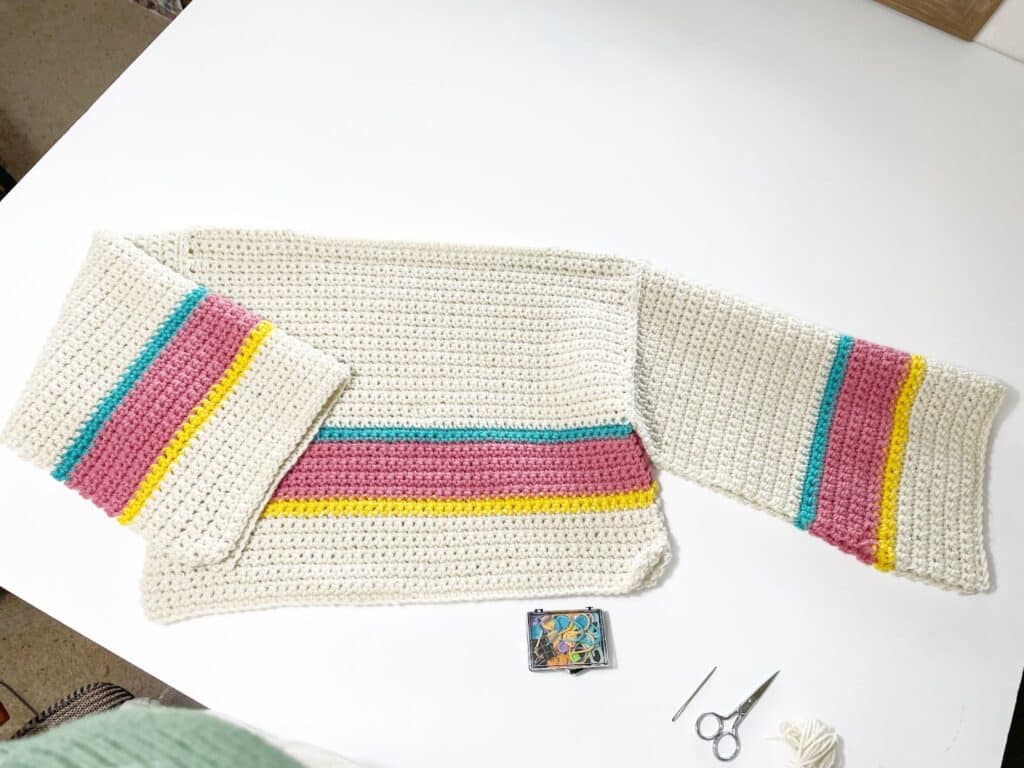
The top consists of four single crochet panels, all the same size, two are for the front and back and two are for the sleeves, stitched together at the shoulders and underarms.
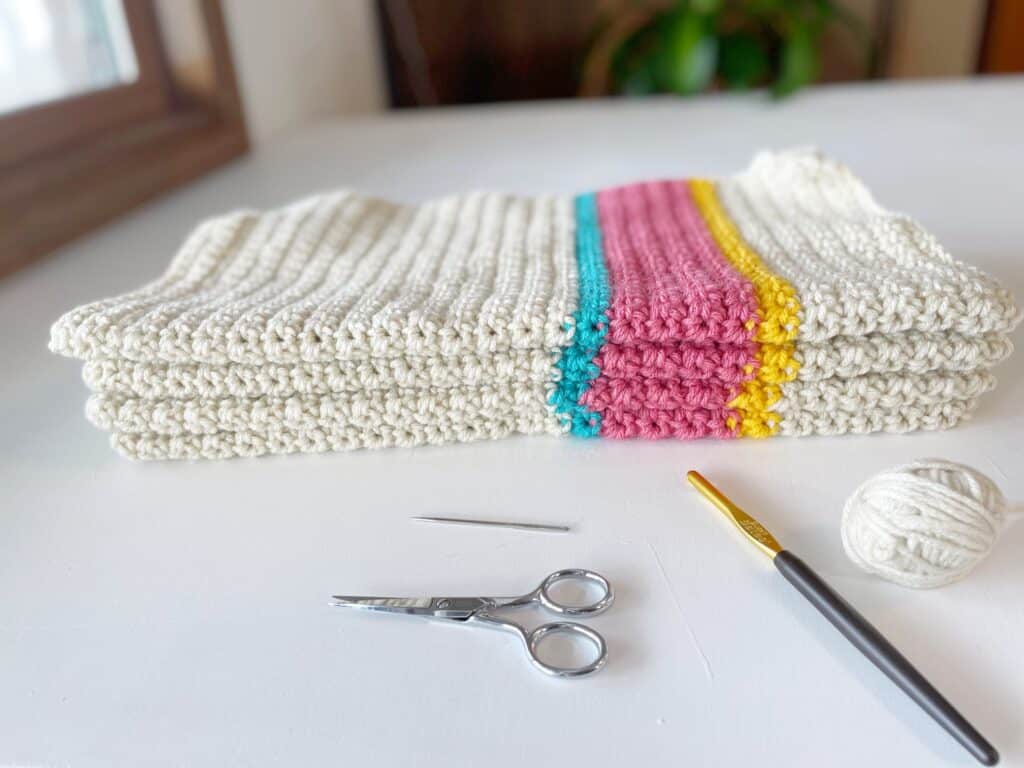
I’m going to share my process for how I determined my size, and I think if you have a tape measure handy, you could make four panels to be your size.
And of course, add the stripes however you like, I was going for a fun 80’s vibe!
Materials
Caron One Pound (100% acrylic, 16 oz/453.6 g, 812 yds/ 742 m) Tap Here to shop the yarn on Yarnspirations.com.
1 skein, Off White
1 skein Sunflower
1 skein Rose
1 skein Aqua
Size J/7mm hook, large metal tapestry needle, scissors, 10 to 20 stitch markers, measuring tape.
Stitches
SINGLE CROCHET (SC): Insert your hook, YO and pull up a loop, YO and pull through two loops on hook.
Measurements
The measurements you will need:
- Shoulder to shoulder (width)
- Shoulder to high waist (length)
I used my measurements for the pattern and you can make the necessary adjustments, larger or smaller, based on that.
For reference, I am 5’ 7’, 160lbs and wear a size 10/12 US and my measurements are 38”, 36”, 39”
My shoulder-to-shoulder measurement: 21”
And shoulder to under bustline: 19”
Make 4 panels 21” X 19”.
Pattern
Chain 51 or the amount needed for approximately 21”.
Panels:
ROW 1: Starting in the 2nd chain from hook, work SC. SC into each of the remaining chains for 50 total stitches. CH 1 and turn. Repeat for approximately 52 rows or 19” referring to the color changes below.
At the end of each panel cut yarn, secure the last stitch by pulling it through the loop to create a knot then weave in the end with a tapestry needle.
Stripe Color Grid:
12 Off White
2 Sunflower
8 Rose
2 Aqua
30 Off White
Construction
- On a flat surface lay out Panel 1 and Panel 2 one on top of the other.
- Fold in half and insert a stitch marker through both panels at the midway point.
- Unfold and lay flat. With stitch markers attach all four corners of the panels together. Depending on how well your panels match up you might have to do a little stretching to match. As long as your initial chain count on both panels are the same you’ll be fine.
- The next measurement you will need is for the neck opening. I measured my collarbone from approximately ear to ear for 11”.
- From the marked center on the panels measure 4.5” on each side for a total of 11”. Mark with stitch markers matching the panels together stitch to stitch.
- Using a large tapestry needle and enough yarn to complete the seam, secure the yarn with a knot at the corner and leave a tail long enough to weave in and join the panels together using a blanket stitch starting at the corner and ending at the stitch marking the neck opening. Repeat on the other side. Secure and weave in the ends.
- Open the stitched together panels and lay flat with seam side up.
- To find the center fold sleeve panels in half and mark the center point with a stitch marker.
- Lay sleeve flat and match the center point of the sleeve with the shoulder seam of the stitched panels.
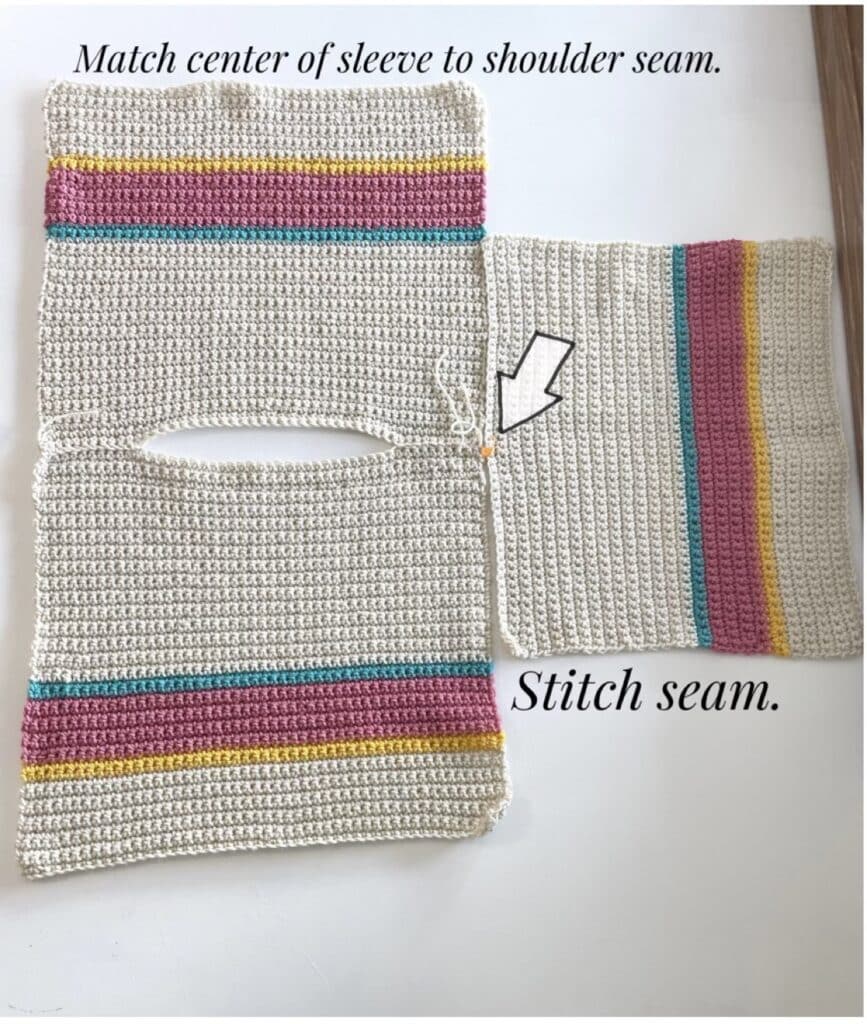
- Secure with stitch markers and stitch the sleeve to the body. Repeat on other side.
- Fold in half at the shoulder seam. Line up the sleeves and sides. Secure with stitch markers.
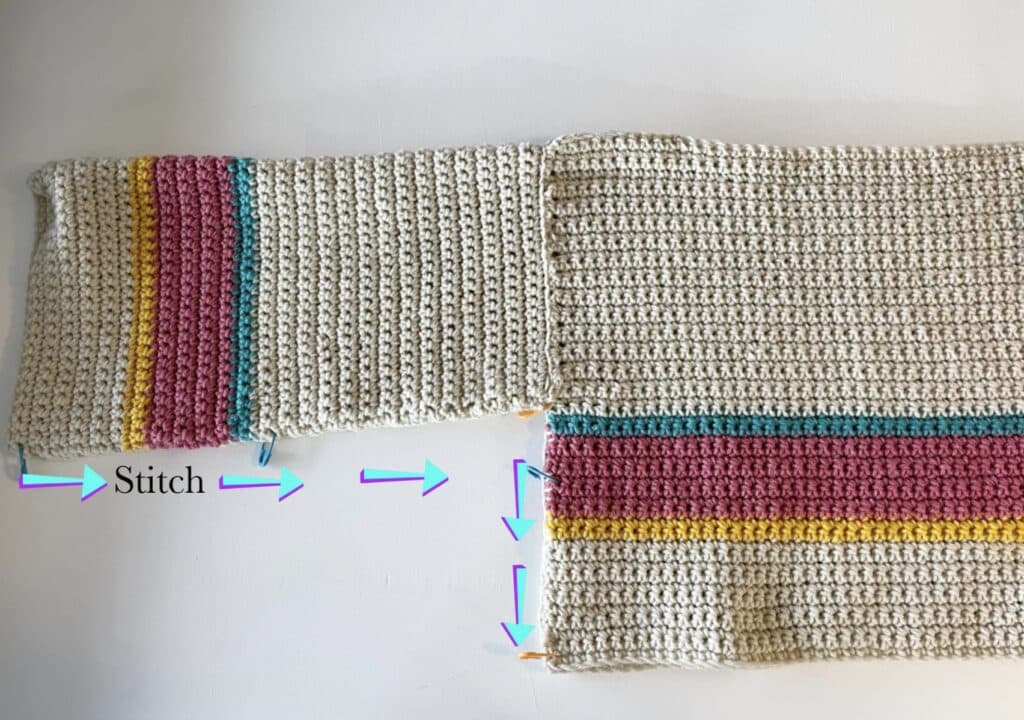
- With the tapestry needle weave in the ends.
- Turn right-side-out and it’s finished!
A video tutorial is available on my YouTube channel Sugar Joye if you’d like to see how this is sewn together. See the video below:
Thank you so much for stopping by and if you are on Instagram make sure to tag your sweater with #daisyfarmcrafts I would love to see it!
Cheers!
Cyndi aka Sugar Joye
