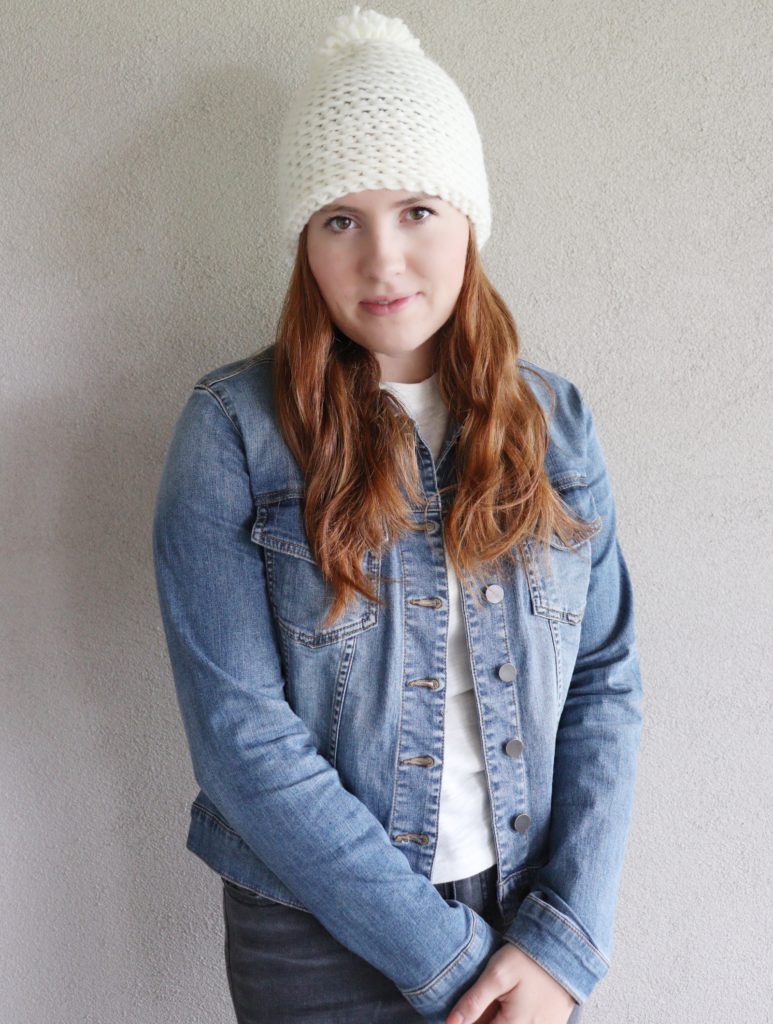
These hats work up so fast, I almost could name them One-Hour Beanies. They turn out perfect every time. There are no seams, no worry about joining rounds, have a stitch marker on hand and they are a joy to make!
Oh, and you can also choose which side you like best. Or, leave the pom pom off and they are completely reversible.

So this is me, Tiffany! Hello!
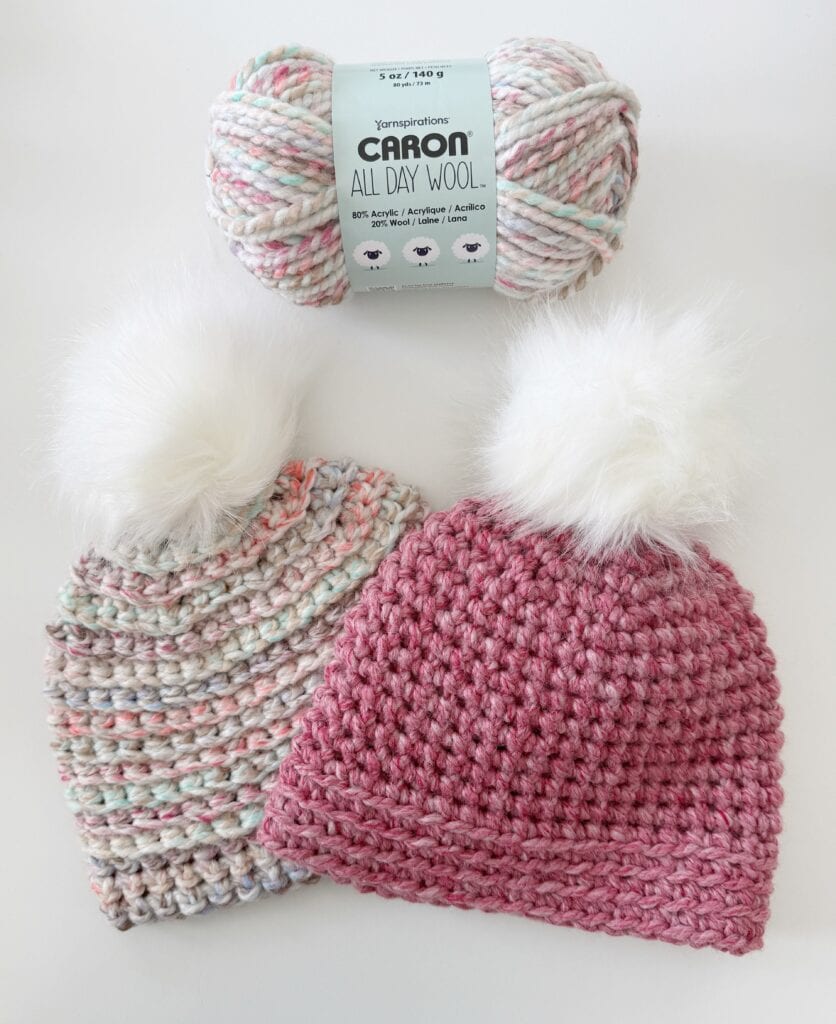
I am also using the fantastic Caron All Day Wool and a 9mm hook to whip these up for my nieces this winter. And maybe a few more for my daughters who live in cold weather.
If you are curious how the brim looks different, and worried it might be hard, it’s just the difference of working the final rounds in the back loops. The rest of the hat is worked in the front loops, and the entire hat is single crochet. It’s so beginner-friendly!

I can’t decide which side I like best! But I absolutely love Caron All Day Wool. Currently, you can shop at Yarnspirations.com, and a single skein costs $6.49. That’s all you need to make one hat.
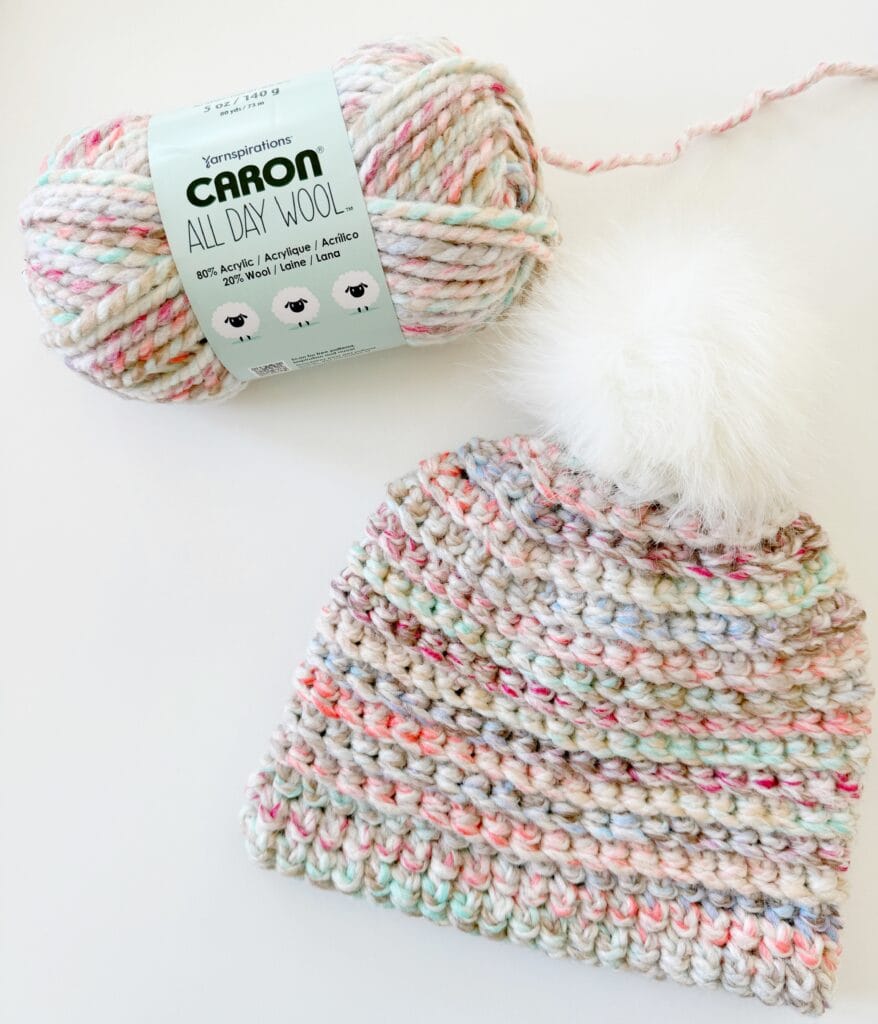
Be sure to shop for your snap-on pom poms from *Amazon. I used the 6-inch size for this hat.
Materials
One ball Caron All Day Wool
Solids • 170 g/6 oz, 99 meters/108 yards
Variegated/Stripes • 140 g/5 oz, 73 meters/80 yards
Tap name of yarn to shop on Yarnspirations.com
Tap here to shop Caron All Day Wool on *Amazon
*as an Amazon Associate we may earn from qualifying purchases
Size M 9mm hook, tapestry needle, scissors, faux fur pom pom with a snap (optional)
Stitches
Single Crochet (SC): Insert your hook, yarn over (YO) and pull up a loop, YO and pull through two loops.
Pattern
Start with a magic loop (please watch video below if you don’t know how to do one) and work 8 Single Crochet (SC) into the loop. Pull together and place stitch marker around the 8th stitch (st).
Work into the front loop of each single crochet now and throughout the rest of the pattern until you reach the brim.
Round 1: Work 2 SC into each front loop of the single crochet from the row below. (16 SC) Place marker into the 16th stitch.
Round 2: Work *2 SC in next st, 1 SC in next, repeat from * around to the marker. (24 SC) Place marker into the 24th st.
Round 3: Work *2 SC in next st, 1 SC into each of the next 2 sts. Repeat from * around to the marker. (32 SC) Place marker into the 32nd st.
Round 4: Work *2 SC in next st, 1 sc in each of the next 3 sts. Repeat from * around to the marker. (40) Place marker into the 40th st.
Rounds 5 through 14: Work 1 SC into each st. Leave stitch marker in so on the last row you will know when the round is complete.
Rounds 15 through 17 (brim): Work 1 SC into the back loop of each st. When you reach the stitch that lines up with the stitch marker at the top of your hat, slip stitch to next stitch, then tie off and weave in the ends.
Attach a pom pom by sewing one half of the snap onto the top of the hat. (Choose which side of the hat you’d like to be the outside before sewing the snap onto the top.)
This is the original video tutorial from the first Spiral Hat I made; the only thing it is missing is working into the back loop for the final three rounds and attaching a pom pom with a snap.
Here are our previous versions of this hat, one made with Buttercream, the other with Bernat Roving, both yarns, however, are discontinued.


They really turn out so well and make a great gift. Enjoy!
XO, Tiffany
Click here or image below to download the free pdf.
![]()