POST UPDATE:
This pattern is now available as a free PDF download from Yarnspirations!

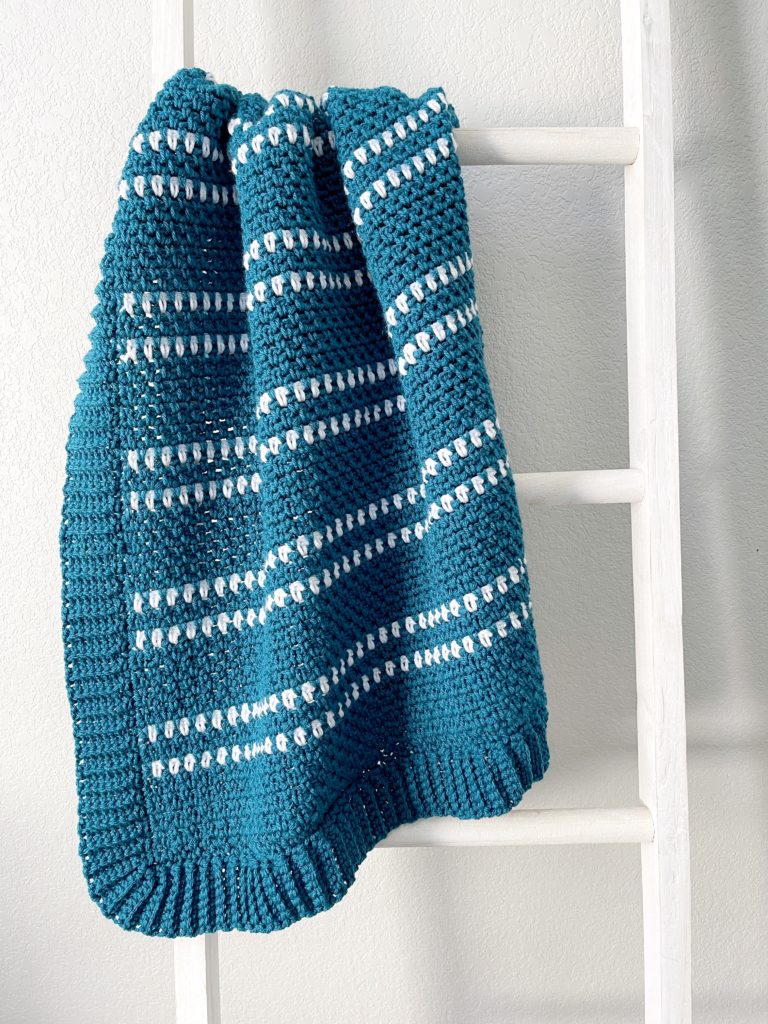
Hello Hannah here, with a baby blanket sized version of our classic Modern Moss Stitch Blanket! This pattern was one of the first blankets I ever made and it’s still one of my favorites. This is a great blanket pattern to start with if you are just learning to crochet!

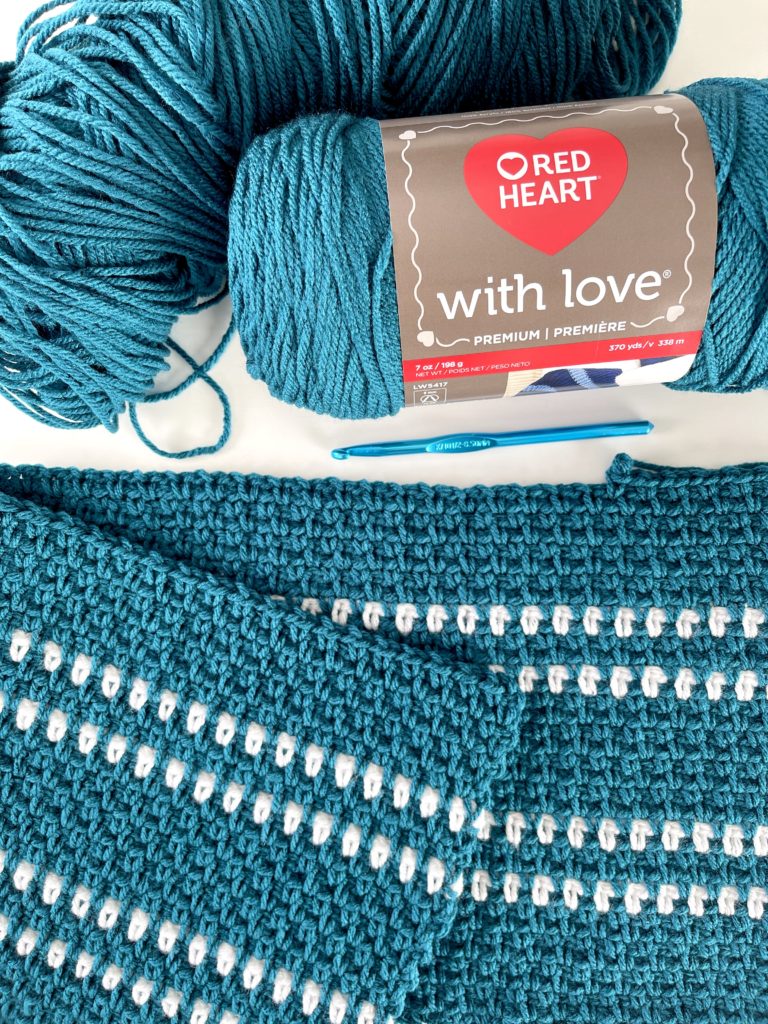
I made this blanket with Red Heart With Love yarn, which comes in so many beautiful colors! I chose this beautiful teal color because I thought it would make a nice modern looking blanket for a baby boy.
Materials
Red Heart With Love (100% acrylic, 198 g/7 oz, 338 m/370 yds)
2 skeins Mallard, 1 skein White
Size K/6.5mm hook, tapestry needle, scissors
Size
Finished size 32 in x 37 in
Pattern
With Mallard (Blue color), chain 100. (To make your blanket bigger or smaller, chain any even number.)
ROW 1: Starting in the 4th chain from the hook, work SC, CH 1. *Skip one chain, then SC, CH 1 in the next chain. Repeat from * until the last chain. Work a SC into the last chain, then CH 2 and turn.
ROWS 2 – 9: Insert your hook into the first chain one space from the previous row, and SC, CH 1. Work SC, CH 1 into each chain one space across the row. Work the last SC into the space between the last SC and turning chain of the row below. CH 2 and turn. At the end of row 9, pull through with White before you finish the last SC, then CH 2 and turn.
Note: At this point you can either cut the Blue yarn and leave a long tail to weave into the blanket later, or you can bring it with you as you work the next row in White, by laying the Blue across the top of your work and crocheting over it as you go. When I made my blanket I chose to always carry the Blue yarn and crochet over it each time I worked a White row so I could easily pick it up on the other side, and I always cut the White and left tails to weave in at the end.
ROW 10: With White, work SC, CH 1 into each chain one space across the row. At the end of the row, pull through with Blue before you finish the last SC. CH 2 and turn (cut the White).
ROWS 11 – 13: With Blue, work SC, CH 1 into each chain one space across the row. Work a SC into final space, CH 2 and turn. At the end of row 13, pull through with White, CH 2 and turn.
ROW 14: Repeat row 10.
ROWS 15 – 23: With Blue, work SC, CH 1 into each chain one space across the row. Work a SC into final space, CH 2 and turn.
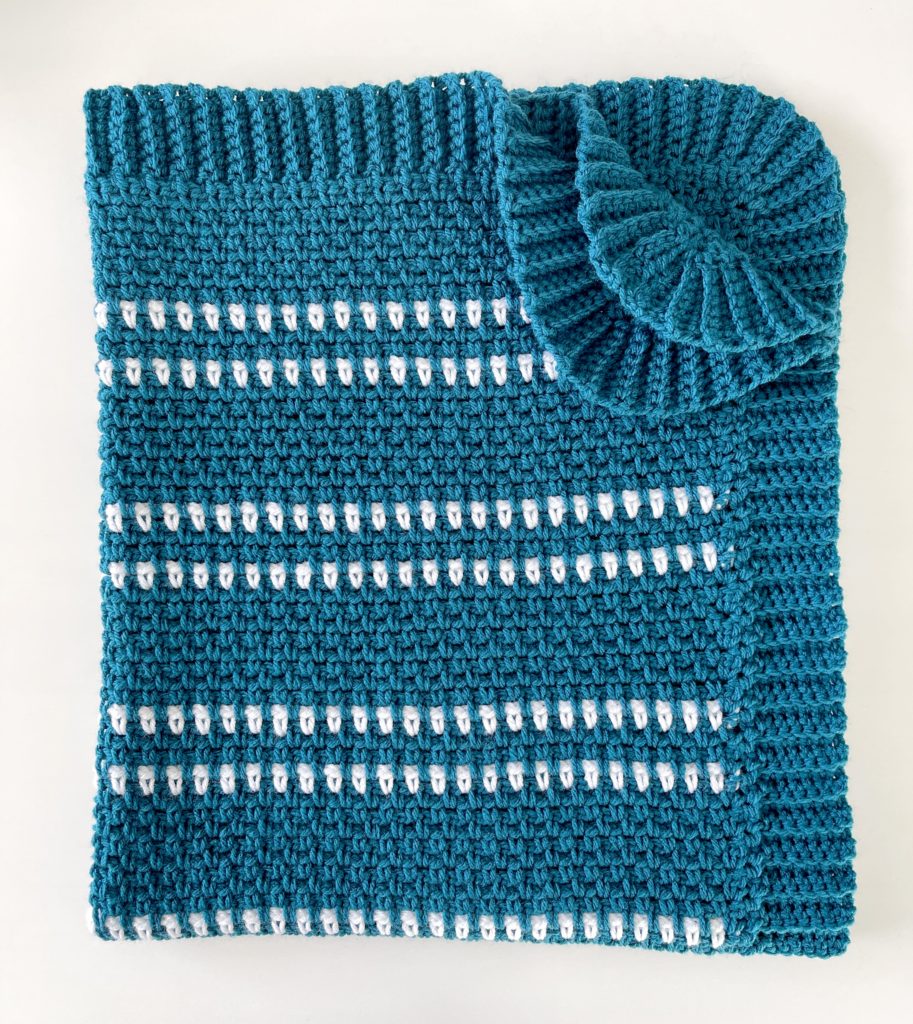
REPEAT ROWS 10 THROUGH 23 for remainder of blanket, until you have 14 total white rows or you reach your desired length. In simple terms, the color pattern I used is 9 rows Blue, 1 row White, 3 rows Blue, 1 row White, repeat.

Border
Weave in all ends with a tapestry needle.
ROUND 1: With Blue, pull up a loop in any corner and CH 2. Work the moss stitch (SC, CH 1, skip 1) around the sides and ends of the blanket. Work SC, CH 1, SC into each corner. When you reach the corner you started with, work your last SC then slip stitch into the starting stitch.
ROUND 2: Continuing on in the same direction, CH 8 (or any number if you’d like your border wider or more narrow.) Starting in the second chain from the hook, work SC in each of the 7 chains back toward the edge of the blanket. Slip stitch into the next space, and in the next space. Turn and work in the back loops of each of the 7 SC you just made. CH 1 and turn. Work back down the SC in the back loops only. (Be careful not to miss the 7th, it sometimes pulls tight and is hard to see.)
In the first of the three stitches that make the corner, only slip stitch once, before turning and working the SC back up to the edge. Return and slip stitch into the corner space. Turn and work the SC back up to the edge. When you return to the corner space, slip stitch again into the same corner space, then work the SC up to the edge. Upon returning, slip stitch one more time into the same corner space for a total of 3 times, before moving on and only slip stitching one time into the next space.
When you reach the corner you started with, slip stitch into the corner and tie off, leaving yourself a long tail, then use the tail to sew the sides of the corners together with a tapestry needle.
Here is a video that shows how to work the stitches for the main part of the blanket and the border:
Thanks so much for visiting our blog, I hope you enjoy this pattern! xo, Hannah

