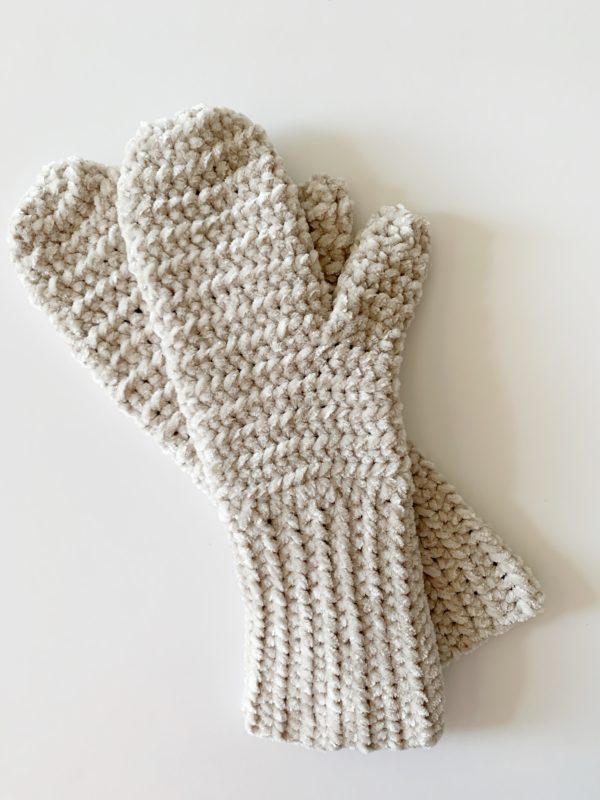
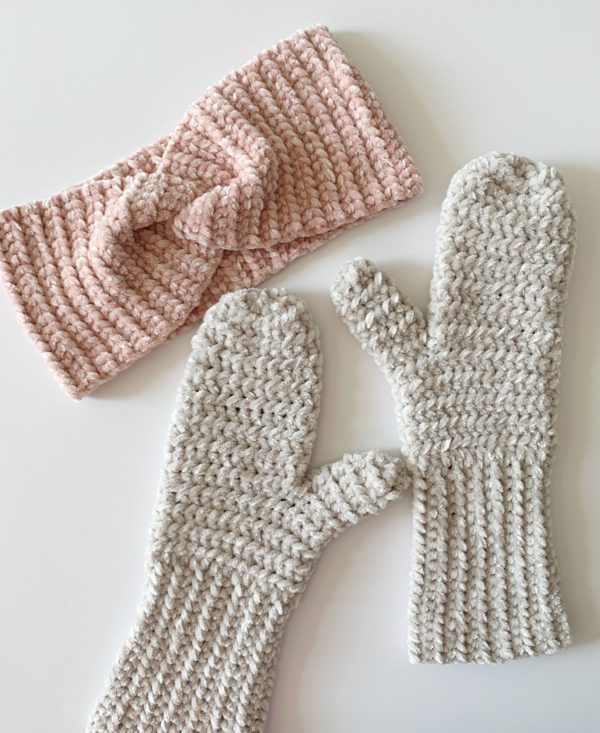
We have a pattern for mittens made out of beautiful velvet. These make a great gift. I made Velvet Twist Headbands, and they would be nice to accompany the mittens and gift a set.
Here are a few things I realized while making and designing these mittens. First, the velvet isn’t very “springy” meaning once the velvet stretches out, it doesn’t return to its original shape as much as regular yarn. So, if these feel tight at first, they do stretch out.
Second, it’s always a good idea to keep your stitches tight to avoid the velvet from “worming” its way out. That’s a new term I heard this week to describe loops that will pop out while working with velvet. Velvet is slippery so I like using stitches that are more dense. I believe the half double stitch I used for this pattern accomplishes this task.
And last, I made up a sample in Caron Simply Soft to see if the pattern would work with a substitute yarn and it really didn’t work out. So to be safe, I’m only suggesting that you use velvet.
I do however think you could use regular Bernat Velvet and it would make a nice slightly thicker version. (I’m assuming, I haven’t had time yet to make one up yet, but I have worked with regular Bernat Velvet and it is a heavier weight yarn than baby.)
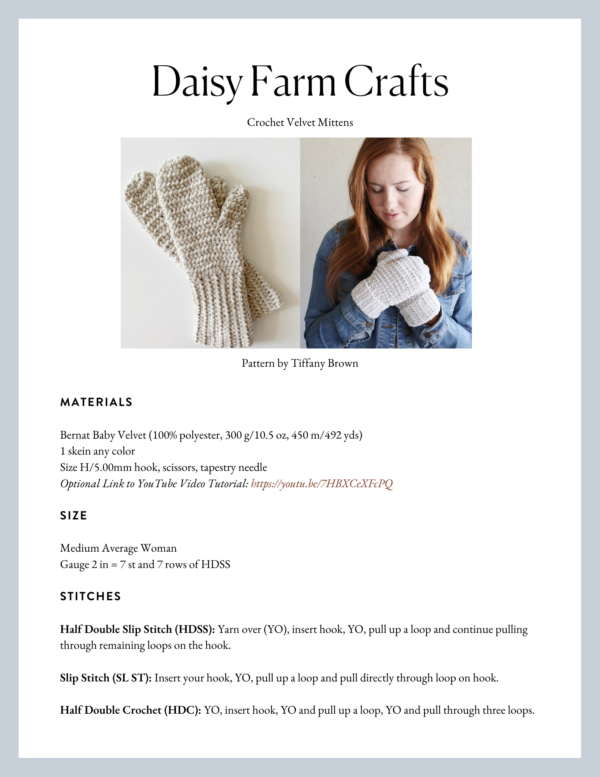
Materials
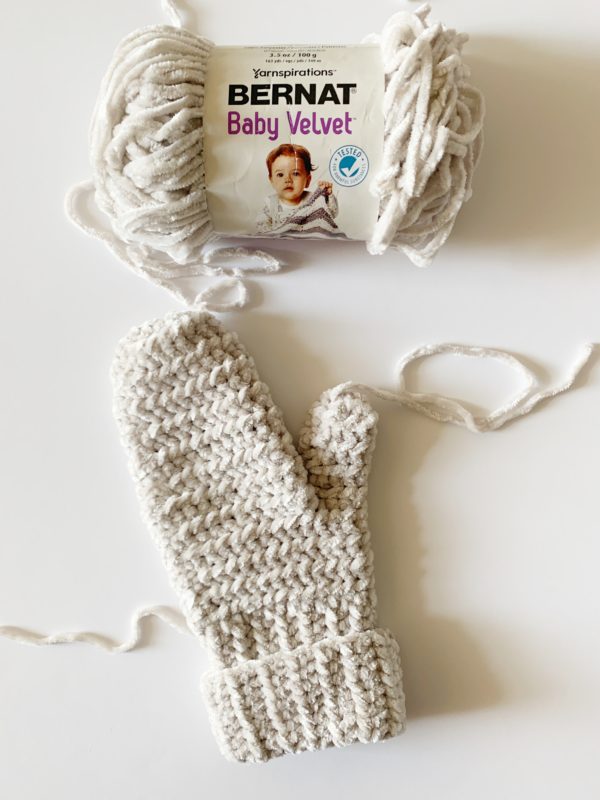
Bernat Baby Velvet (100% polyester, 300 g/10.5 oz, 450 m/492 yds)
1 skein any color
Size H/5.00mm hook, scissors, tapestry needle
Size
Medium Average Woman
Gauge 2 in = 7 st and 7 rows of HDSS
Stitches
Half Double Slip Stitch (HDSS): Yarn over (YO), insert hook, YO, pull up a loop and continue pulling through remaining loops on the hook.
Slip Stitch (SL ST): Insert your hook, YO, pull up a loop and pull directly through loop on hook.
Half Double Crochet (HDC): YO, insert hook, YO and pull up a loop, YO and pull through three loops.
Pattern
Chain 20, leaving a long tail (at least 36 inches) to use to sew the two sides together.
Row 1: Work HDSS in second chain from hook and into each chain to the end. CH 1 and turn. (19)
Rows 2 – 28: Work HDSS in each st. CH 1 and turn. (19) Mark your stitch, sew the two ends together forming a circle.
Return to stitch, work 30 HDC around the top. Slip stitch to beginning HDC. CH 1 and turn.
Rounds 2 – 8: HDSS into each stitch going around, slip stitch to beginning stitch, CH 1 and turn. (30)
Tip: before you join with a slip stitch and turn, count your stitches. You should have made 30 HDSS. This will help you keep the mitten even as you work.
Round 9: Work 1 HDSS into each of the next 8 sts. 2 HDSS in each of the next 2 sts. Skip over the next 9 sts. Work 2 HDSS in each of the next 2 sts. Work 1 HDSS in each of the next 8 sts. Join with a slip stitch, CH 1 and turn. (24)
Rounds 10 – 25: Work 1 HDSS into each of the next 24 sts. CH 1 and turn.
Tie off with a long tail. Use a tapestry needle to gather the end of the thumb closed. Weave in and secure the tail.
Thumb
Pull up a loop on the mitten side of the hole. CH 1 and HDSS in the same space. Work 1 HDSS into each of the next 11 sts. Join with a slip stitch to the first HDSS. (12)
Rounds 2 – 9: Work 1 HDSS into each stitch around, slip stitch to the first stitch, CH 1 and turn.
Tie off with a long tail. Use a tapestry needle to gather the end of the thumb closed. Weave in and secure the tail.
I was able to film a tutorial to help you out if you need it. Here’s the video below:
Thank you for being interested in what we are making! In case this is your first time here to Daisy Farm Crafts, we are a mom and daughter team sharing our love of crochet with you. We love crocheting as a hobby and write down what we are making.
Happy Crocheting!
Click here or on image below for printable pattern