We love Bernat Baby Velvet! And using it with the front post and back post double crochet stitch has turned out amazing.
This is a new product that only launched late last year, so we’ve been experimenting and designing new patterns to use with it.
But that also means there have been a lot of questions.
In fact, many of you have been emailing me about working with Bernat Baby Velvet and I’d like to answer a few of them before we get to the pattern if that’s okay.
Is it hard to work with? Yes and no.
We are finding that if you keep your tension tight, maybe by going down a hook size, it can help to keep loops from pulling loose.
(You almost have to try it to see what I’m talking about.)
Otherwise, it is very soft and smooth. Your hook glides through easily.
Is it washable? Yes, it is washable.
We put this finished blanket in a laundry bag, put it in the washing machine on delicate, and then laid it flat to dry.
After it was dry it was in good condition.
No new loops had pulled out.
(The ones before washing still there, due to not keeping the tension tight.) .
What is the best stitch to use?
We have been experimenting a lot and so far we really like HDC worked in between each post and under all three loops the HDC makes.
It is hard to see where to insert your hook into the tops of stitches with velvet.
We also like the front post or back post DC.
Any stitch basically that eliminates working into the top of a stitch is turning out to be our favorite.
How are you weaving in the ends?
At first, we were doing it traditionally with a tapestry needle.
But we also are noticing that within a ball of velvet ends are tied together into tight knots and if a color change is not needed, we are tying ends together by knotting it twice or more, then clipping it close and crocheting on.
The knots are not noticeable with velvet.
But there still are times where we need to weave them in and we are making the tails very very long and weaving in and out as much as possible to make sure they stay put.
Should a beginner use this yarn?
That is totally up to you.
I think a beginner who is comfortable with holding the hook and keeping tension should be fine.
It’s so hard for us to say. Work a practice swatch and see what you think.
Is it heavy when finished?
The answer to this depends on the stitch you use.
In general, if you use the half double crochet worked in between the posts, the blanket is slightly lighter than 4 weight acrylic.
But if you use the front post and back post double crochet, the blanket is going to turn out heavier because that stitch makes a tighter, dense blanket and uses more yarn.
I hope that answers a few of the concerns you might have.
These are things we have noticed working with velvet.
In the long run, we have decided to overlook our loops that pull out here and there, because the blanket is so incredibly soft and luxe.
I will say that with this latest pattern using the DC post stitches, the loops pulling out were considerably less than with the HDC stitch.
And who knows, maybe you won’t have any problem at all.
It’s so hard to say when these are handmade items.
Everyone crochets so differently, don’t you think?
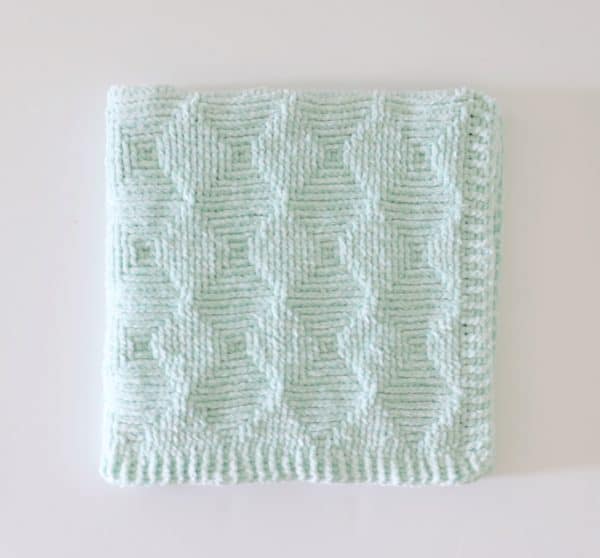
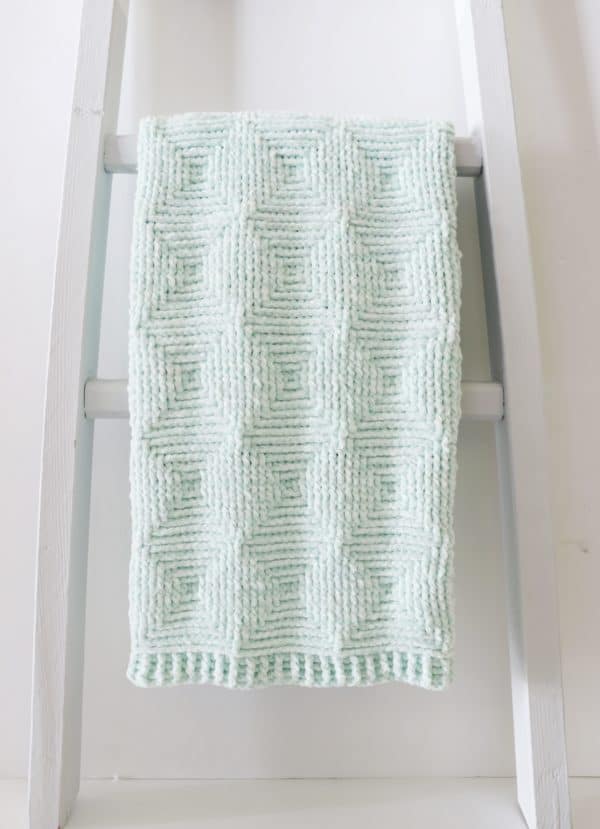
I chose to complete the blanket with a ribbed border so the entire blanket is made with one type of stitch and one technique.
If you do not know how to make a front post or back post DC, it’s just a matter of inserting your hook to get the post of a stitch to pop forward or backward.
I have a video tutorial that you can watch below.
Tap here to watch the video or tap the YouTube play button below:
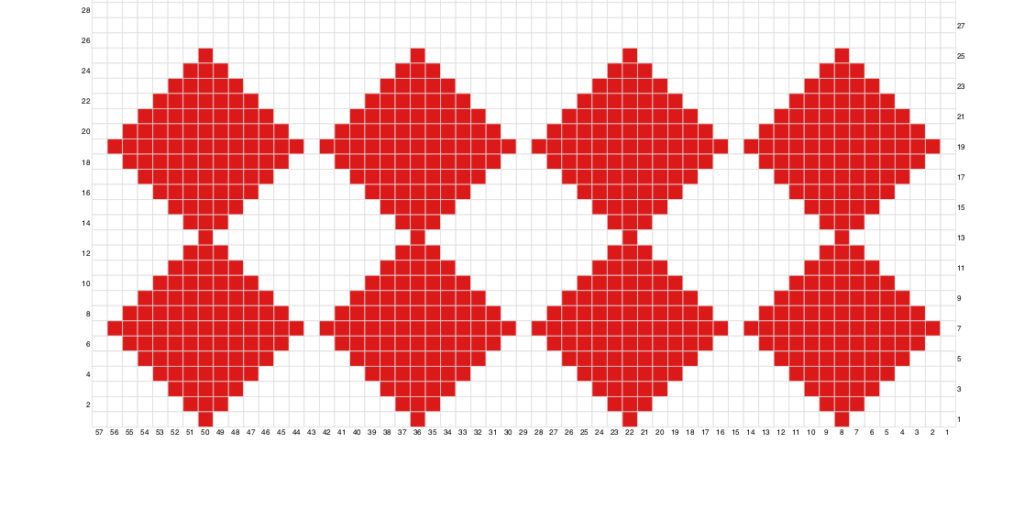
This graph will help you to keep the pattern straight as well. Each block represents a post stitch.
This is just a snapshot, you will be making more diamonds across the row, but it’s helpful to see how the final stitches of the row work out.
The chain 2 turning chain will count as a stitch.
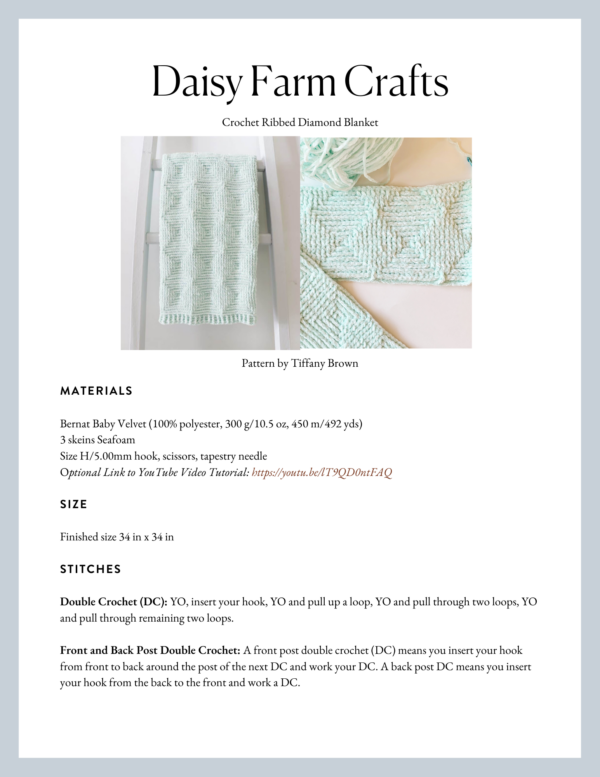
Materials
Bernat Baby Velvet (100% polyester, 300 g/10.5 oz, 450 m/492 yds)
3 skeins Seafoam
Size H/5.00mm hook, scissors, tapestry needle
Size
Finished size 34 in x 34 in
Stitches
Double Crochet (DC): YO, insert your hook, YO and pull up a loop, YO and pull through two loops, YO and pull through remaining two loops.
Front and Back Post Double Crochet: A front post double crochet (DC) means you insert your hook from front to back around the post of the next DC and work your DC. A back post DC means you insert your hook from the back to the front and work a DC.
Pattern
Chain 115. (The pattern repeat is 14 plus 3. That means if you’d like to make your blanket larger, multiply any number times 14, then add 3.)
Base Row: In the 3rd chain from the hook, work 1 DC. Work 1 DC into each of the next chain spaces. Chain 2 and turn.
Row 1: Start in the bottom right hand corner of the graph working right to left. The chain 2 turning chain counts as the first stitch. Work 1 front post DC (FPDC) around each of the next 6 DC. *Work 1 back post DC (BPDC) around the next DC. Work 1 FPDC around each of the next 13 DC. Repeat from * across the row, working the last 7 dc with FPDC, (do nothing with the starting skipped two chains.) CH 2 and turn.
Row 2: Work left to right on the graph. The turning chain is the first DC. Work BPDC around each of the next 5 posts. (Keep the work popping out in the same direction.) *Work FPDC around each of the next 3 posts. Work BPDC around each of the next 11 posts. Repeat from * across the row. Working last 5 BPDC stitches around posts. The final DC underneath the turning chain. CH 2 and turn.
Row 3: Work the graph right to left, Work FPDC around each of the next 4 posts. (Remember that the 1st square of the graph is the turning chain, now and throughout) *Work BPDC around each of the next 5 posts. FPDC around each of the next 9 posts. Repeat from * across the row ending 1 FPDC around each of final 4 posts and 1 DC under turning chain. CH 2 and turn.
Row 4: BPDC around each of the next 3 posts. *FPDC around each of the next 7 posts. BPDC around each of the next 7 posts. Repeat from * across the row ending 1 BPDC around each of final 3 posts and 1 DC under turning chain. CH 2 and turn.
Row 5: FPDC around each of the next 2 posts. *BPDC around each of the next 9 posts. FPDC around each of the next 5 posts. Repeat from * across the row, ending with FPDC around each of the final 2 posts and 1 DC under the turning chain. CH 2 and turn.
Row 6: BPDC around the next post, *FPDC around each of the next 11 posts. BPDC around each of the next 3 posts. Repeat from * across the row ending with BPDC around last post and DC around turning chain. CH 2 and turn.
Row 7: (Remember that the chain 2 is the first stitch, the first block on the graph) *BPDC the next 13 posts. FPDC the next post. Repeat from * across the row. (Your last stitch will be a DC around the turning chain and that is the last white space on the graph.) CH 2 and turn.
Row 8: 1 BPDC. *FPDC around next 11 posts. BPDC in each of next 3 posts. Repeat from * across the row ending with 1 BPDC around last post and DC around turning chain. CH 2 and turn.
Row 9: FPDC around each of next 2 posts. *BPDC around each of next 9 posts. FPDC around each of next 5 posts. Repeat from * across the row ending with FPDC around last 2 posts and DC around turning chain. CH 2 and turn.
Row 10: BPDC around each of next 3 posts. *FPDC around each of next 7 posts. BPDC around each of next 7 posts. Repeat from * across the row ending with BPDC around last 3 posts and DC around turning ch. CH 2 and turn.
Row 11: FPDC around each of next 4 posts. *BPDC around each of next 5 posts. FPDC around each of next 9 posts. Repeat from * across the row ending with FPDC around last 4 posts and DC around turning ch. CH 2 and turn.
Row 12: BPDC around each of next 5 posts. *FPDC around each of next 3 posts. BPDC around each of next 11 posts. Repeat from * across the row ending with BPDC around last 5 posts and DC around turning ch. CH 2 and turn.
Row 13: FPDC around each of next 6 posts. *BPDC around next post. FPDC around each of next 13 posts. Repeat from * across the row ending with FPDC around last 6 posts, DC around the turning ch. CH 2 and turn.
Row 14: BPDC around each of the next 5 posts. *FPDC around each of next 3 posts. BPDC around each of the next 11 posts. Repeat from * across the row ending with BPDC around last 5 posts, DC under turning ch. CH 2 and turn.
Row 15: FPDC around each of next 4 posts. *BPDC around each of next 5 posts. FPDC around each of the next 9 posts. Repeat from * across the row ending with FPDC around last 4 posts, DC under turning ch. CH 2 and turn.
Row 16: BPDC around each of the next 3 posts. *FPDC around each of next 7 posts. BPDC around each of the next 7 posts. Repeat from * across the row ending with BPDC around last 3 posts, DC under turning ch. CH 2 and turn.
Row 17: FPDC around each of the next 2 posts. *BPDC around each of the next 9 posts. FPDC around each of the next 5 posts. Repeat from * across the row ending with FPDC round last 2 posts, DC under turning ch. CH 2 and turn.
Row 18: BPDC around next post. *FPDC around each of the next 11 posts. BPDC around each of the next 3 posts. Repeat from * across the row ending with BPDC around last post, DC under turning ch. CH 2 and turn.
Row 19: *BPDC around next 13 posts. FPDC around next. Repeat from * across the row ending with DC under turning ch. CH 2 and turn.
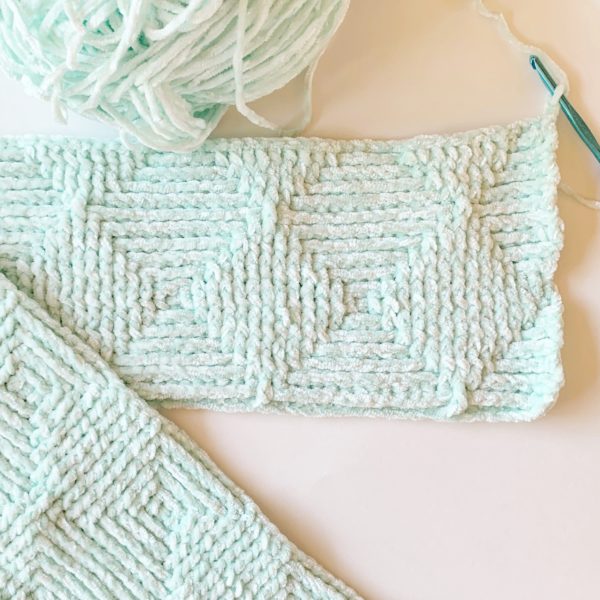
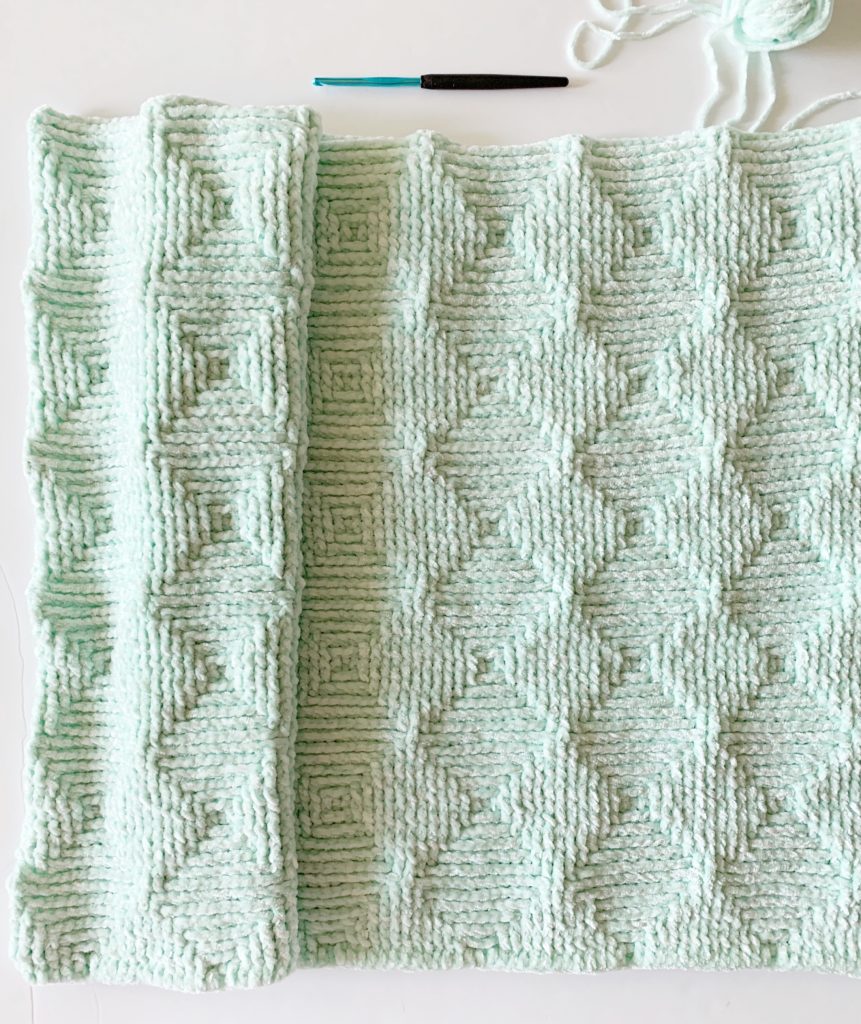
Repeat rows 8 – 19 until you have 7 sets of full diamonds or approximately 32 inches of height. (Picture below is almost complete, not quite.)
Border
Round 1: Do not cut or tie off. CH 2 and turn blanket to work down a side. Work 1 DC per row. Work 3 DC in each corner. Work DC around each post at the bottom of blanket, (choosing FP or BP it’s up to you) Do not join at the end of the round, work one DC into last corner and then work 3 alternating FPDC/BPDC around the starting ch 2.
Round 2: Continue on in the same direction alternating FPDC and BPDC on each stitch. Work 3 alternating FPDC/BPDC around the middle of the 3 DC that make up the corners. Do not join the round.
Rounds 3 and 4: as round 2.
Tie off and weave in all the ends.
Thanks for coming by! Share a picture with us! Come and find us on Instagram and use the hashtag #daisyfarmcrafts on your post. Or share a picture to our Facebook page. We love to see!
Happy Crocheting!
xo, Tiffany
Click here or on image below for printable pattern