Post Update:
Be sure and scroll to the end of this post for a second version of this blanket with a more helpful video tutorial.
Thanks all! xo, Tiffany
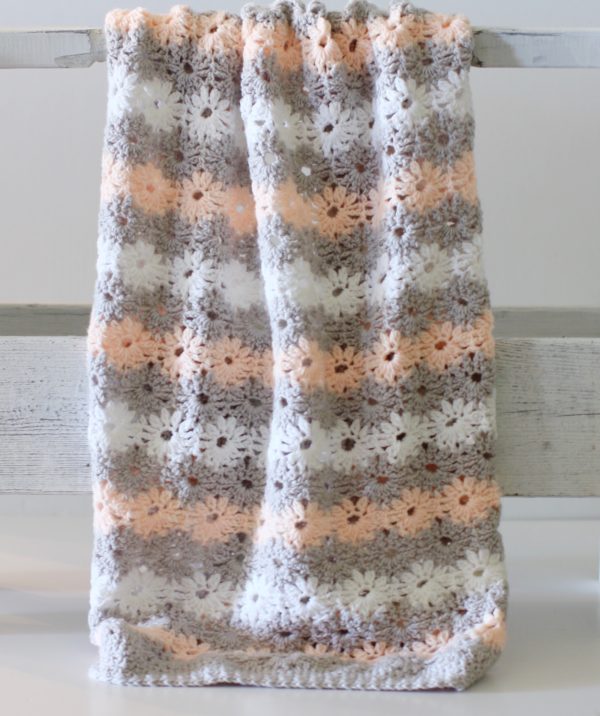
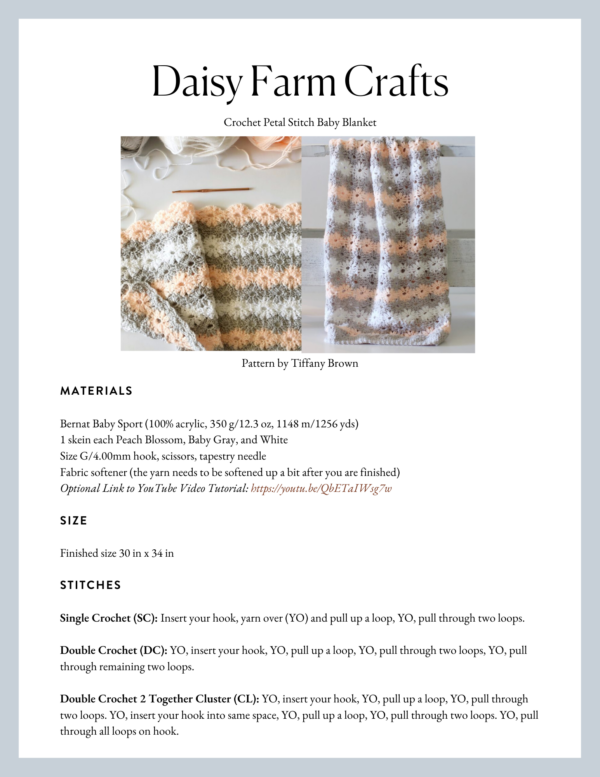
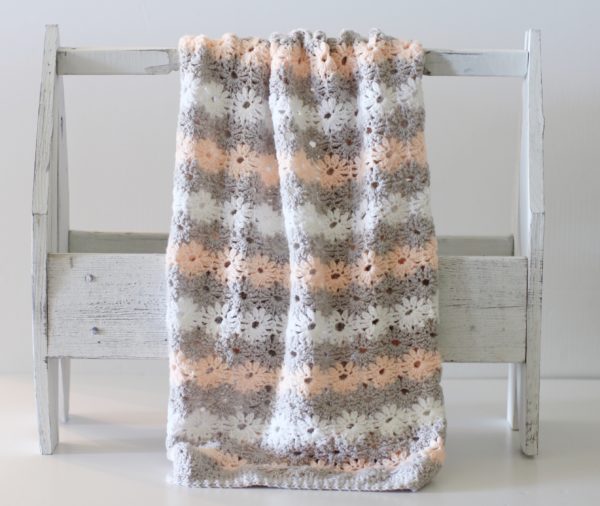
My next Grandma-in-training blanket is this dainty crochet petal stitch blanket! I love the antique and classic crochet look of this stitch.
Paired with the perfect peach yarn from Yarnspirations.com, I think it turned out so fabulous!
So, if you’ve been following me along on Instagram, you know that I have been asked to design a monthly project for Yarnspirations.
Back in January, I was able to look through swatches of yarn colors and when I saw this peach blossom next to the baby grey, I knew immediately that the classic crochet petal stitch would look beautiful!
I love the extra pop of a row of white. Separating each color with grey worked well to set them apart and give the illusion of daisies!
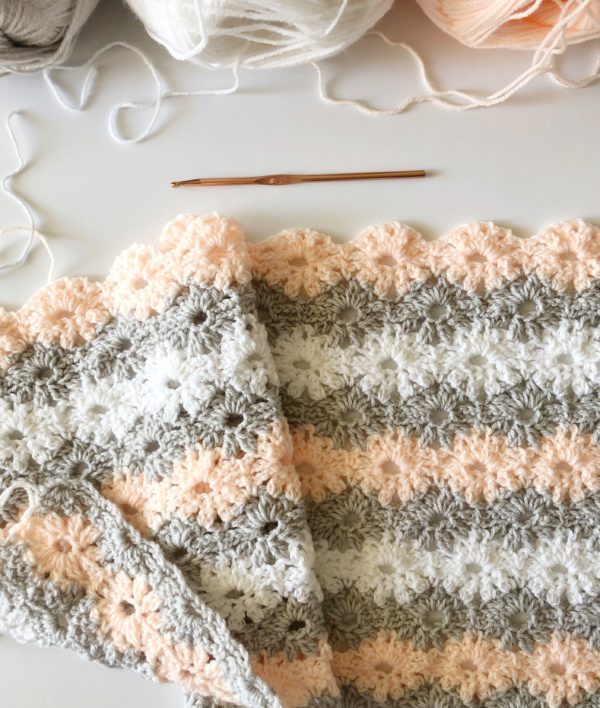
The petal stitch pattern is a classic in crochet. I have found it in two separate stitch dictionaries and since have been notified that it also is in a Leisure Arts publication as a large afghan with no border.
I love that about this blanket. I love finding stitches that have passed on down through time!
I designed this blanket from the stitch dictionary and added a border and made it baby blanket size. The finished size is about 34 x 30.
I also recorded a video showing how I made this blanket by creating a swatch. While creating the swatch, I realized that I could simplify the border further by stopping a few rows early!
It won’t be noticeable in the pictures, and you’ll see what I mean if you watch the video, but I eliminated the need to fill in the valleys to create a straight line.
I decided to end on half a flower, to mirror the first of the blanket. That made filling in for the border much neater and cleaner.
One last thing about this blanket, as I’m sure you can see, this is not beginner-friendly.
There are 7 rows of pattern to repeat, and although the stitches are relatively easy, I suggest you tackle this after you have several blankets under your belt.
A good gauge would be if you can easily understand the chevron patterns, or have a really firm understanding on what each type of stitch looks like so you’ll know exactly where to place your hook.
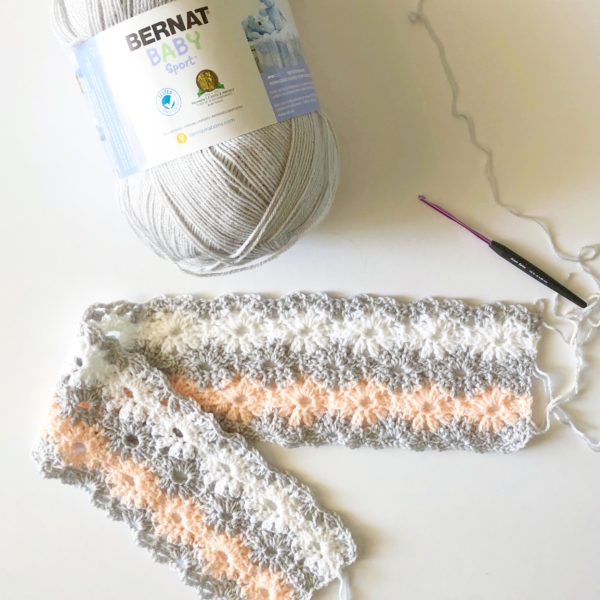
You will be crocheting into the tops of clusters, sometimes into chain spaces, finding single crochet spaces at the end of the rows sometimes, and other times finding the tops of turning chains.
If all of that made good sense to you, proceed.
But I never want to discourage anyone from taking your crochet to the next level, so if you are ready to learn a few new things, but have the basics mastered, jump in!
This is a fun challenge with pretty results! Below is a video tutorial for this blanket (or click here to watch on YouTube.)
Oh, and one more last thing, I practiced this stitch with chunky yarn, size 4 weight yarn, and liked 3 weight the best because the bigger the yarn, the bigger the hole became that the “petals” were worked into.
So just a little fyi. But by all means, experiment yourself and maybe you’ll use this stitch for something else! But for a blanket, the hole was just a bit too big for my taste.
Materials
Bernat Baby Sport (100% acrylic, 350 g/12.3 oz, 1148 m/1256 yds)
1 skein each Peach Blossom, Baby Gray, and White
Size G/4.00mm hook, scissors, tapestry needle
Fabric softener (the yarn needs to be softened up a bit after you are finished)
Size
Finished size 30 in x 34 in
Stitches
Single Crochet (SC): Insert your hook, yarn over (YO) and pull up a loop, YO, pull through two loops.
Double Crochet (DC): YO, insert your hook, YO, pull up a loop, YO, pull through two loops, YO, pull through remaining two loops.
Double Crochet 2 Together Cluster (CL): YO, insert your hook, YO, pull up a loop, YO, pull through two loops. YO, insert your hook into same space, YO, pull up a loop, YO, pull through two loops. YO, pull through all loops on hook.
Pattern
Chain 146 with baby gray. (Pattern repeat is 11+3.)
Row 1: In the second chain from the hook, single crochet (SC), Chain (CH) 1, Skip (SK) over the next CH, 1 SC into the next CH. *CH 3, SK over 3 CH, 1 SC into the next space (sp). CH 3, SK over 3 CH, 1 SC into the next sp. CH 2, SK 2 CH, 1 SC into the next CH. Repeat from * until 10 chains remain. Then CH 3, SK 3 CH, 1 SC in next sp, CH 3 again, SK 3 CH, 1 SC in the next sp, CH 1, SK 1, SC in the last space.
Row 2: CH 3 and turn. In the first CH sp, work a double crochet 2 together cluster (CL), CH 2, CL. CH 1, SK over SC and CH 3’s, 1 SC into next SC. *CH 1, SK over CH 3’s and SK SC, CL into CH 2 sp. work “2 CH CL” 3 times in same CH 2 sp. CH 1. SK over CH 3’s, 1 SC into next SC, repeat from * to last 7 spaces. CH 1, SK over CH 3’s, into the last CH 1 sp, work “CL, 2 CH, CL” 1 dc into last SC pulling through with new color. (peach blossom)
Row 3: CH 1 and turn. 1 SC into first dc, *CH 3, 1 CL into the tops of the next 4 CL’s, CH 3, 1 SC into next 2 CH sp: repeat from * to the end, working last SC into top of turning CH.
Row 4: CH 1 and turn. 1 SC into first SC, *CH 3, 1 SC into the top of next CL, CH 2, SK 2 CL, 1 SC into top of next CL, CH 3, 1 SC into next SC. repeat from * to the end.
Row 5: CH 1 and turn, 1 SC into first SC. *CH 1, skip over 3 CHs, CL into next CH 2 sp. “CH 2, CL,” 3 times in same CH 2 space. CH 1, SK over 3 CHs, 1 SC into next SC. repeat from *to the end, pulling through with new color. (baby gray)
Row 6: CH 3 and turn. 1 CL into each of next two CL, CH 3, 1 SC in CH 2 sp, CH 3. *CL into next four CL, CH 3, 1 SC into CH 2 sp, CH 3, repeat from * to last 2 CL’s, work 1 CL into each, 1 dc into last SC.
Row 7: CH 1 and turn, 1 SC into first DC, CH 1, SK 1 CL, 1 SC into next CL, CH 3, 1 SC into next SC, CH 3, *1 SC into next CL, CH 2, SK 2 CL’s, 1 SC into top of next CL. CH 3, 1 SC into next SC, CH 3 repeat from *to last 2 CL, 1 SC into next CL, CH 1, SK CL, 1 SC into top of turning chain.
Repeat rows 2 – 7, changing colors after row 2, alternating between peach blossom and white, and after row 5 back to baby gray.
6 rows of peach blossom, 5 rows of white and 10 complete rows of baby gray.
Stop after row 7 with a half way completed grey flower. Place a marker through this stitch, don’t pull through and cut off, you’ll be starting the border from this point.
Before starting the border, weave in all the ends with your tapestry needle, working in and out of the loops several times, then cutting the yarn close to the blanket to hide the end.
Border
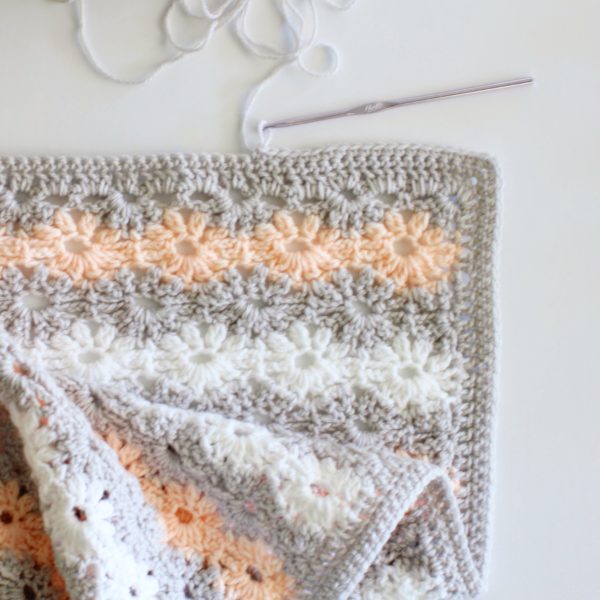
Start at the last stitch you made, CH 3 and turn. dc into the same stitch. Work 3 DC in the next CH 3 space, SK over the SC, DC 3 into the next CH 3 space. SK over the next SC, work 2 DC into the CH 2 space. Continue across the entire row working in this manner. When you get to the next corner, work 1 DC into the CH 1 space and then 3 DC into the SC.
Now work the side of the blanket paying close attention to working one DC per SC and 2 DC around a DC post or CH 3. Try as best you can to keep these stitches even. When you get to the next corner, DC 3 into the corner stitch.
Work across the bottom of the blanket in the same manner you did at the top, 3 DC into CH 3 spaces, skip over SC’s, and 2 DC into CH 2 spaces. Don’t forget the CH 1 spaces at the beginning and end of the row. Work 3 DC into the corner.
Work back up the side in the same manner as listed above.
Work one final DC into the space where you started with CH 3 and 1 DC. Slip stitch into the top of the CH 3. CH 1 and turn.
SC into each DC around, working 3 SC into each corner. Join with a slip stitch to complete the round, CH 1 and turn. Work 5 rounds of SC.
OPTIONAL (Substitute the final 3 rounds in mesh stitch. I chained 1 and turned, worked 1 SC, CH 1, SK over 1 CH, 1 SC into the next. Repeating this pattern around, working SC, CH 1, SC into each corner. Slip stitch to join, CH 1 and turn. SC into the top of SC, CH 1, SK over CH 1, SC into the top of SC, repeating around, working “SC, CH 1, SC” into the middle CH 1 space of each corner.)
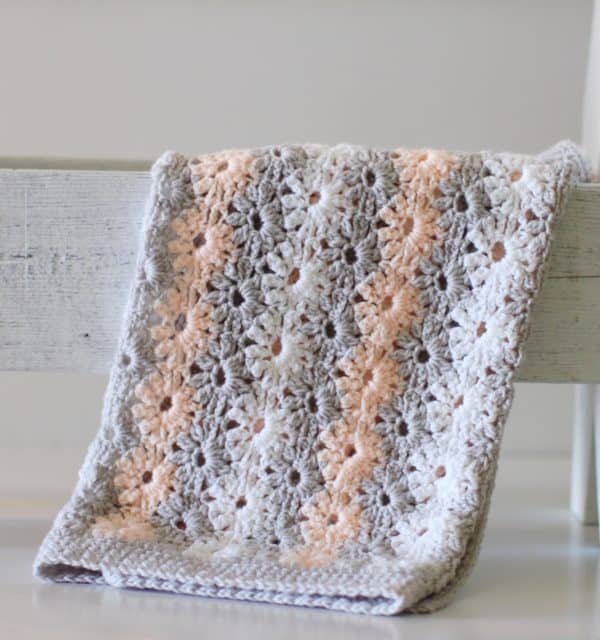
Thank you all for stopping by! Come and find me on Instagram, I share as I go, so if you’d like to follow along and see my process or what stitches I’m brainstorming with, come and join in!
xo, Tiffany

