
What to say about this latest blanket? Only that I’m in love again with these bright colors. I’m calling this one the Camping Stripe blanket, even though it’s very similar to the Hudson’s Bay inspired blanket I made last year. Here’s the one you might be familiar with if you’ve been following us along on our crochet journey for awhile:
A few weeks ago I was able to celebrate my 30th wedding anniversary by cruising to Alaska, and when we returned, we took a stop in Portland, Oregon and happened to stop in at a Pendleton Store where I saw a baby blanket in these very colors. (I also saw the pattern in a pair of socks and those I bought!)
I’ve since googled and the design I’m inspired by is called the Glacier National Park Blanket. I’m not sure really about the connection between Hudson’s Bay blankets and Pendleton as to the history, but what I think I’m figuring out is that Hudson’s Bay blankets have a navy blue stripe and the Pendleton have the black or charcoal grey. But that’s just a guess.
What I love, is that it feels vintage and perfect for a baby boy!

I chose the back loop single crochet ribbing stitch for the border and I when I look at it, as it sits right here in my lap as I write these words, it looks just like a sweater. I love that. Now don’t be worried if you don’t know how to do this border, I actually put together a video and it is at the end of this post.

We need to have a conversation about weaving in all the ends though. There will be a lot. But don’t let this scare you! It’s three episodes of The Office at most. Get your Netflix loaded and before you know it the ends will be all gone. 
That’s just a glimpse of how the border will be worked. Okay let’s get to the Materials and Pattern.
Materials
Caron Simply Soft (100% acrylic, 170 g/6 oz, 288 m/315 yds)
3 skeins White, 1 skein each Dark Sage, Sunshine, Autumn Red and Heather Gray
Size H/5.00mm hook, tapestry needle, scissors
Size
Finished size 32 in x 40 in
Stitches
Single Crochet (SC): Insert your hook, yarn over (YO) and pull up a loop, YO and pull through two loops on hook.
Herringbone Half Double Crochet (HHDC): YO, insert your hook, YO, pull up a loop and pull directly through first loop on hook. YO and pull through two loops on hook.
Pattern
Chain 100 with white.
Row 1: Starting in the third chain from the hook, work 1 HHDC into each chain space. Chain 2 and turn. (98 HHDC)
Row 2 to the end: (The turning chain does not count as a stitch.) In the first stitch from the hook, work HHDC in each stitch across, chain 2 and turn.
Each stripe of color, including the white, are three rows of HHDC. Here are the color changes in the order I used: Heather Gray, White, Sunshine, White, Autumn Red, White, Dark Sage. (Repeat 4 times)
Get comfortable and weave in those ends!
Border
Starting in any corner, pull up a loop, chain 2. Work one HHDC in each stitch around the blanket, working three HHDC into each corner and doing your best to work the sides of the blanket as evenly as possible. (Try for 3 to 4 HHDC per stripe of color.)
Slip Stitch to the starting CH 2. Continuing on in the same direction. CH 8. In the second chain from the hook, work one SC. Work SC in each of the 7 chains back toward the edge of the blanket. Slip stitch into the next space, and in the next space. Turn and work in the back loops of each of the 7 SC you just made. CH 1 and turn. Work back down the SC in the back loops only. (Be careful not to miss the 7th, it sometimes pulls tight and is hard to see.)
When you return to the edge of the blanket, slip stitch into the next space and the next. Continue in this manner until you reach the corner.

In the first of the three stitches that make the corner, only slip stitch once, before turning and working the SC back up to the edge. Return and slip stitch into the corner space. Turn and work the SC back up to the edge. When you return to the corner space, Slip Stitch again into the same corner space, then work the SC up to the edge. Upon returning, Slip Stitch one more time into the same corner space for a total of 3 times, before moving on and only slip stitching one time into the next space.
After working around the corner, return to slip stitching into the next two stitches until you get to the next corner and repeat the instructions above.
When you return to the final corner, end your work at the top edge of the blanket, tie off leaving a long tail to sew and join the final row of SC to the first row of SC. Weave in the end.
Please watch the video tutorial if you need a visual on how to get this blanket started and how to work the border:
If this video won’t load for you, click this to find the video on YouTube.
Thank you all so much for stopping by! I’m happy to share my patterns with you! It’s been so fun to share my crochet journey to grandma-hood with you all.
Come and share your finished blanket if you’d like by using the #daisyfarmcrafts on Instagram! Or if you are on Facebook, share a picture to my page. I’d love to see.
Have a wonderful crochet day!
Tiffany
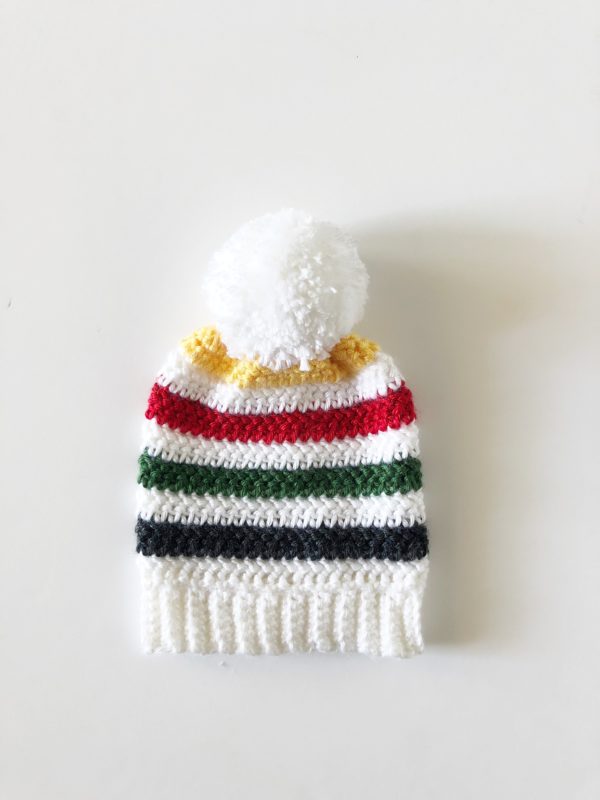
P.S. I’ve made a matching hat! Isn’t so cute! You should have plenty of leftover yarn.
Click here or on image below for printable pattern
![]()