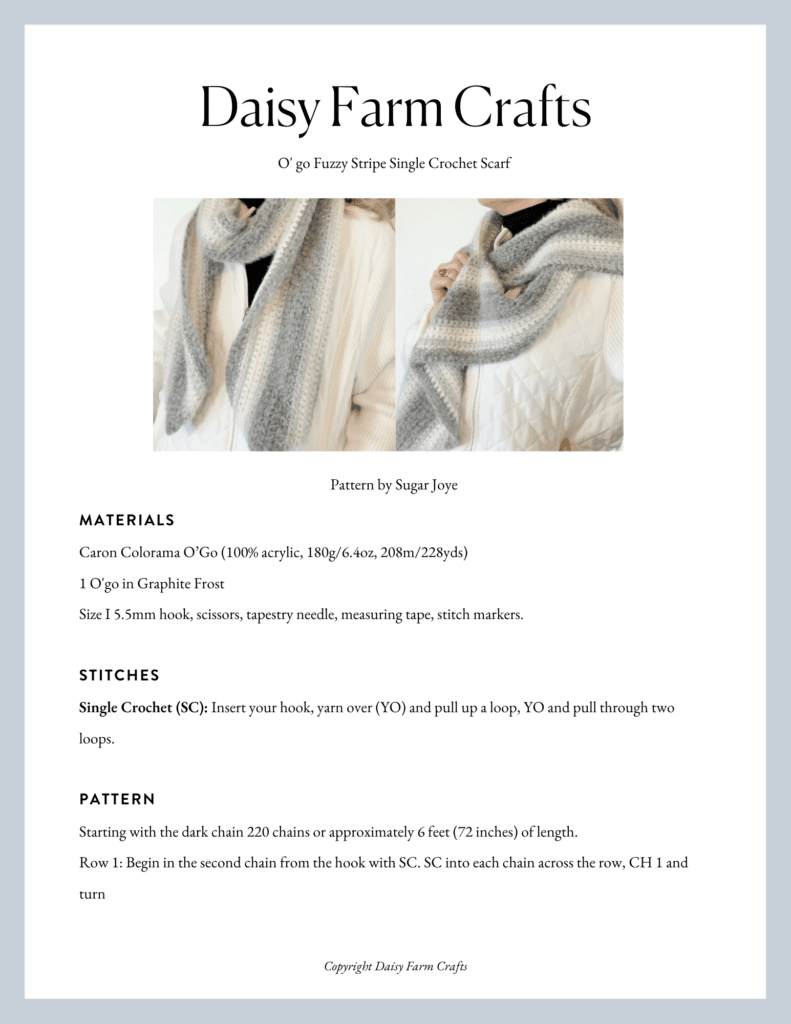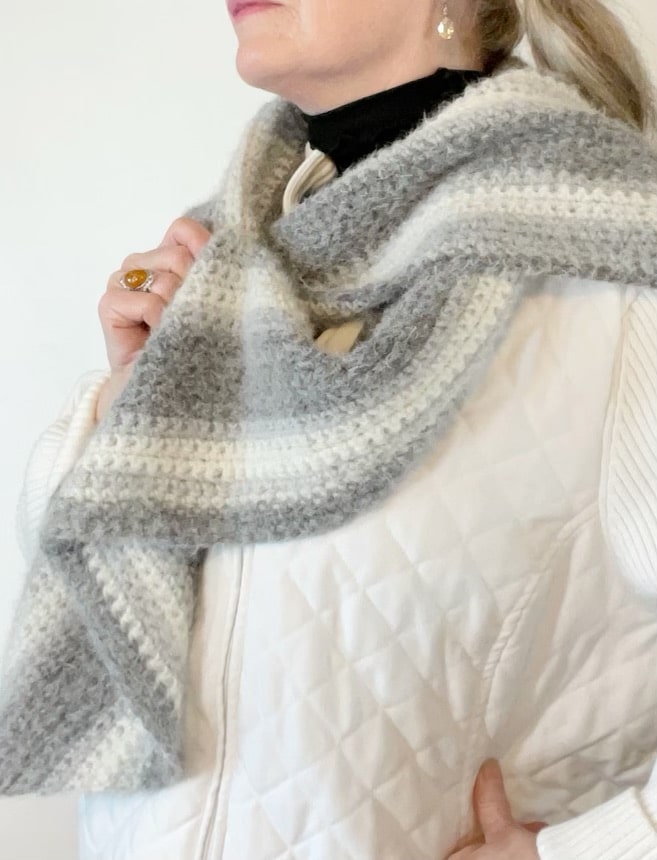
Hello Crochet Friends!
This is Cyndi, Tiffany’s older sister and for the past few months, she has been teaching me the joys of crochet!
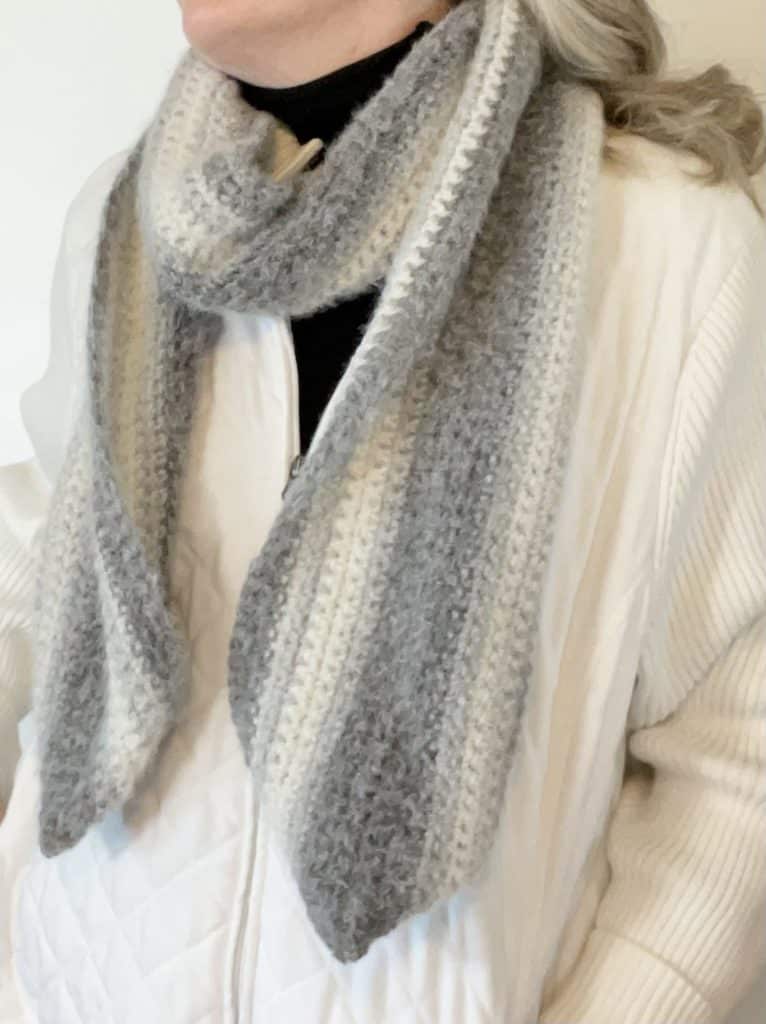
This cozy scarf is one of the first projects I tried out with the very first stitch I learned- the single crochet.
I used one skein of the Caron O’go Colorama Halo.
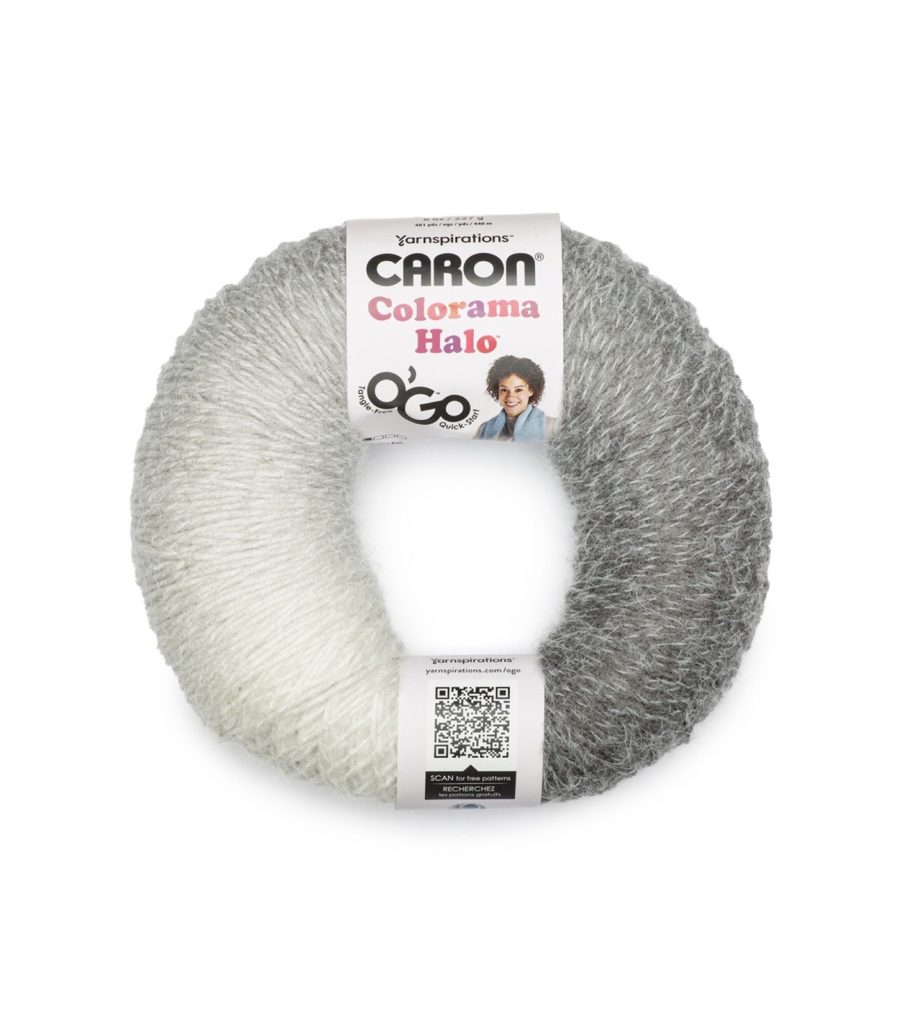
I really wanted to try out a striped pattern design instead of using the yarn all at once.
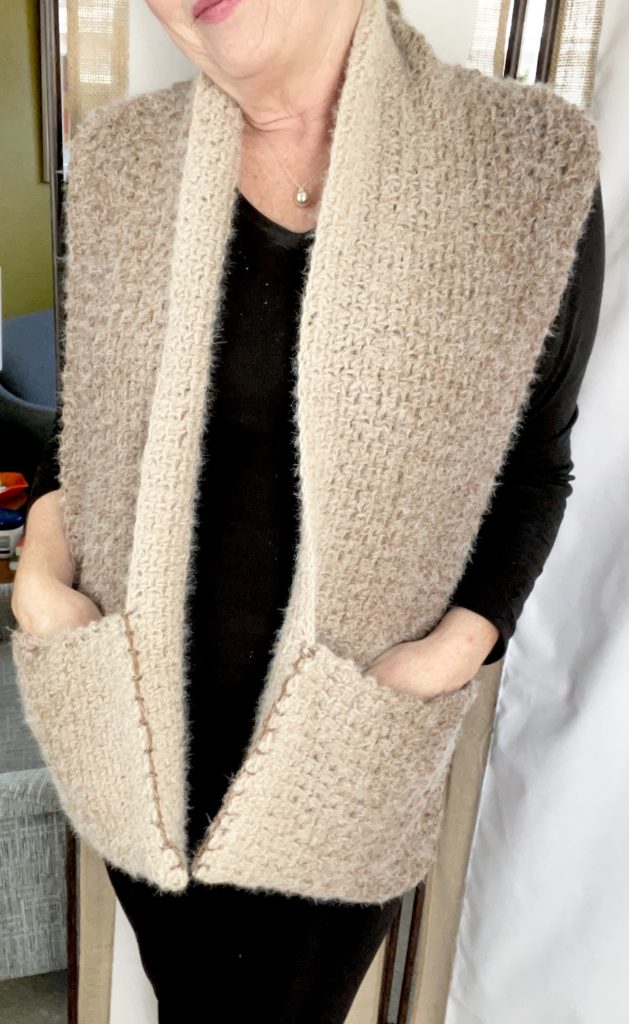
It does create a lovely hombre look which I used in my Ombre Crochet Moss Stitch with Pockets pattern if you want to check that out.
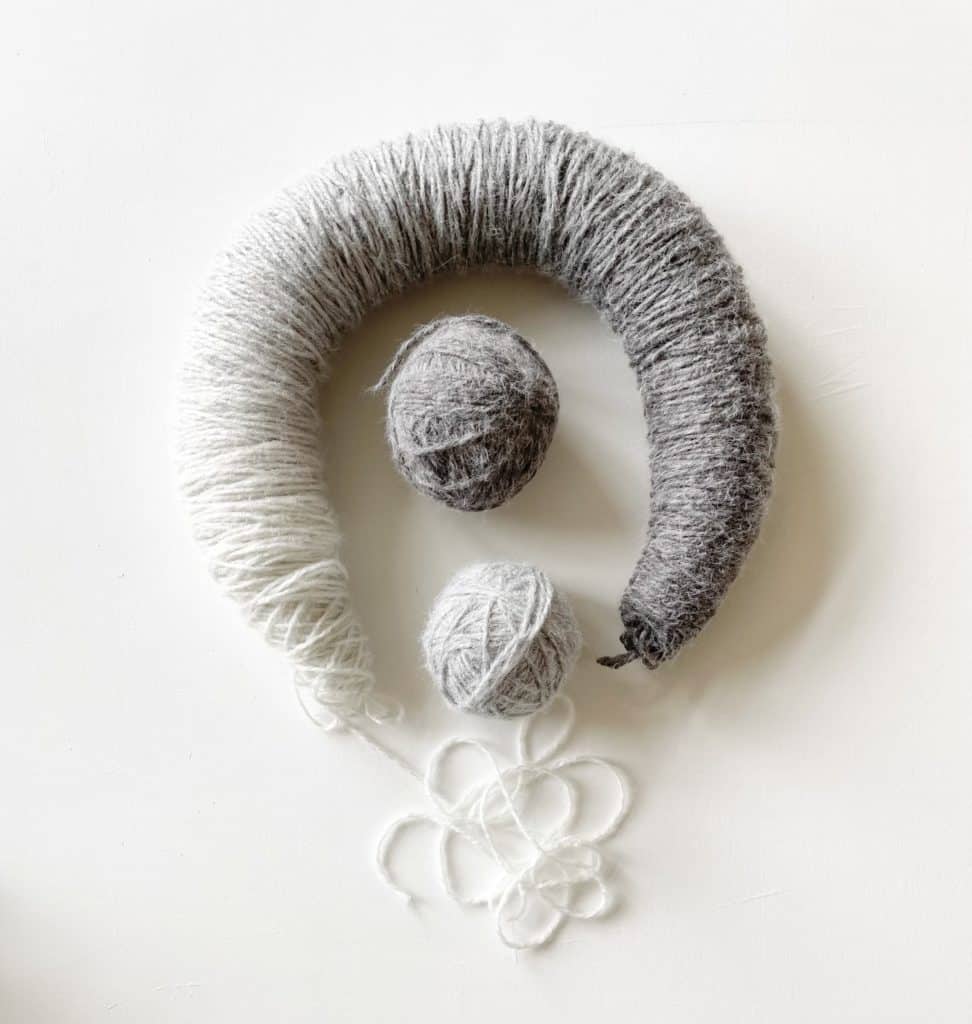
But, I wanted a different look so I decided to break the roll up into three balls; light, medium and dark.
Don’t worry if the color distribution isn’t exact, I just tried to make the balls about the same size.
I really like how it turned out and I think you will enjoy it as well!
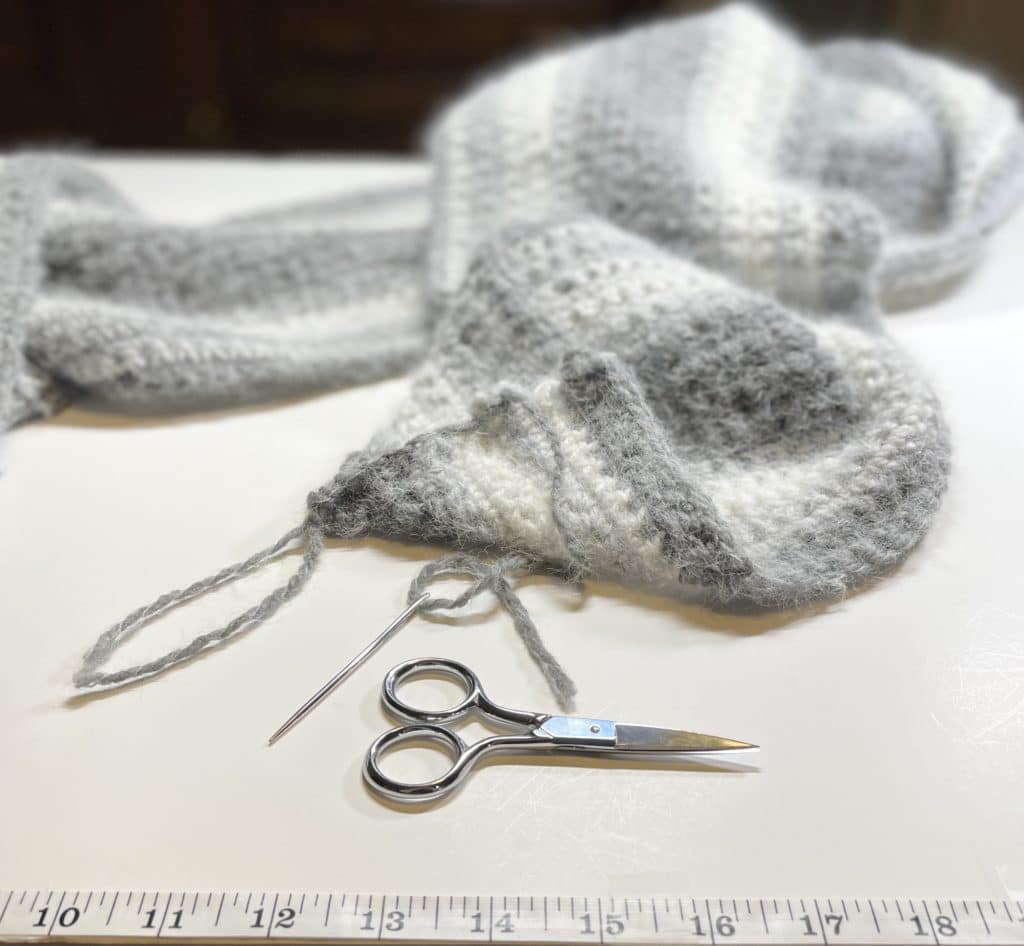
And since I am still a beginner, my ends were wobbly and uneven. So, I stitched the ends together with an easy clean finish that I think looks like cute little badger ears:)
Materials
Caron Colorama O’Go (100% acrylic, 180g/6.4oz, 208m/228yds) (tap name of yarn to see on Yarnspirations.com)
1 O’go in Graphite Frost
Size I 5.5mm hook, scissors, tapestry needle, measuring tape, stitch markers.
Stitches
SINGLE CROCHET (SC): Insert your hook, yarn over (YO) and pull up a loop, YO and pull through two loops.
Pattern
Starting with the dark chain 220 chains or approximately 6 feet (72 inches) of length.
Row 1: Begin in the second chain from the hook with SC. SC into each chain across the row, CH 1 and turn.
Row 2: SC into each st across the row. CH 1 and turn.
Repeat Row 2 instructions for the remainder of the scarf.
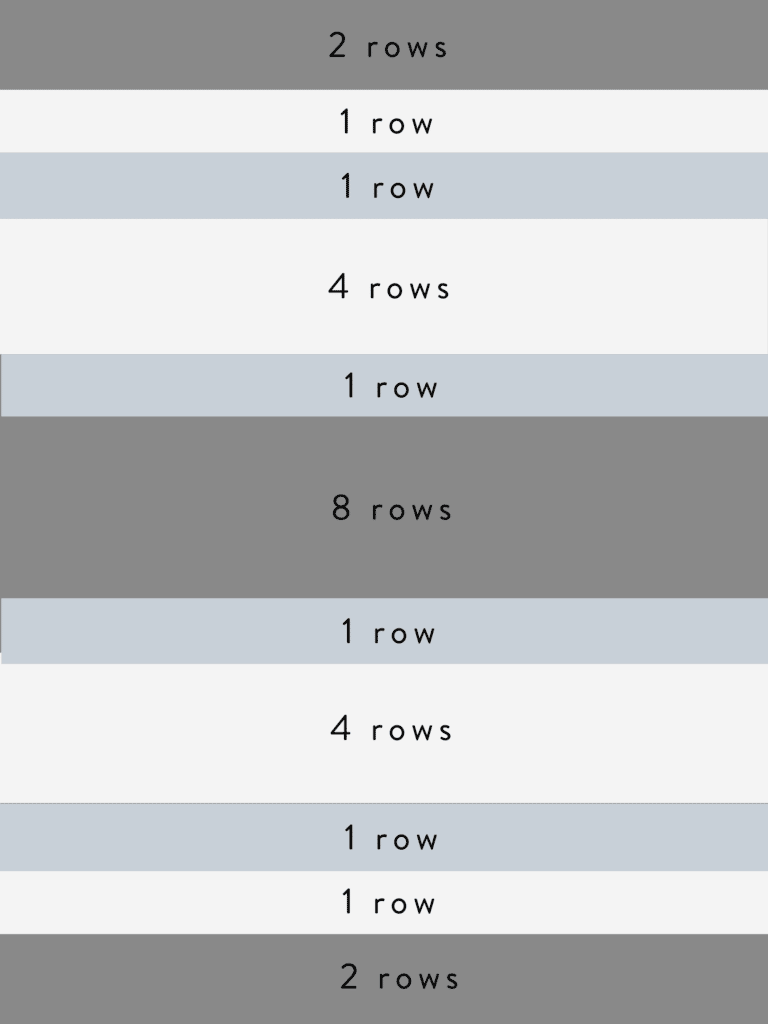
To change color, refer to the chart below. To add new color, lay new color across hook and pull through on the last step of the last SC of the row. Then CH 1 and turn with new color.
Cut yarn and leave a 8 inch tail to weave in at the end.
Fox Ear Finish
Fold the ends up into triangles and secure them with stitch markers. Thread a tapestry needle with some leftover yarn and whip stitch together.
Leave long tails at both ends of the seams. Turn the seam inside facing the scarf and with the finishing end tack the seam to the scarf in the middle so the ends stay with the scarf and don’t flop out.
And for some holiday gift wrap ideas and to see more upcoming projects I’m working on, pop on over to my Youtube channel linked here:
Thank you so much for joining me on my crochet journey! And make sure to check out Tiff and me on the Daisy Farm Crafts Youtube Channel for our Crochet Sister Chat where we laugh a lot, discuss all kinds of things and Tiff answers all of my newbie crochet questions!
Cheers!
Cyndi aka Sugar Joye
Click here or image below for free download of pattern.

