Hi there! It’s me Tiffany and I can’t believe I’ve had the beautiful opportunity of sharing our patterns with you all. What started out as a personal journey of making blankets in hopes someday of becoming a grandma and writing down what I was making while I waited, has turned into so much more.
And thankfully along the way my skills have improved and I have used so many different types of yarn, hooks, and stitches that I feel more confident to share with you my thoughts on what I think has helped me make a crocheted blanket or any type of project look the best I can.
![]()
As Hannah and I work on blanket designs together, one of the questions we ask about each project is if it’s a blanket we would be proud to give someone, and would it be a blanket they would actually bring out and use in public.
Most of our blankets are made for friends or family, and we love making sure they are a nice gift that they will like.
In saying that, I also want you to know that in all our giving, most are just so very thrilled to receive something handmade, and they probably are not as picky as we are about the look.
Crochet is a gift in that way, it cannot be replicated by a machine like a knitted item. It truly must be made by two human hands and that is why we want to practice this art, share it, and keep it going.
So here are a few tips that I’d like to share that have really helped me to make a nice giftable blanket.
1. make a swatch
I resisted making swatches for so long! I loved diving into a pattern to get going as if there was some race I was trying to win. If you want a great-looking blanket, start small. You need to work out your own personal tension, the yarn you choose, the hook you are using, the stitch you are trying to learn.
You can dive right in, start making that giant blanket, but be very disappointed in the end result and take it all out and start again. (Which I’ve done…lots!) Or, just start small, really practice and learn and see what your end result might look like.
You might discover that you make a starting chain that is so loose, the bottom of the blanket sags, or the opposite, your starting chain is so tight, the subsequent rows turn the blanket into a rainbow shape. On small samples, it’s easy to adjust by changing hook sizes to make a more even appearance.
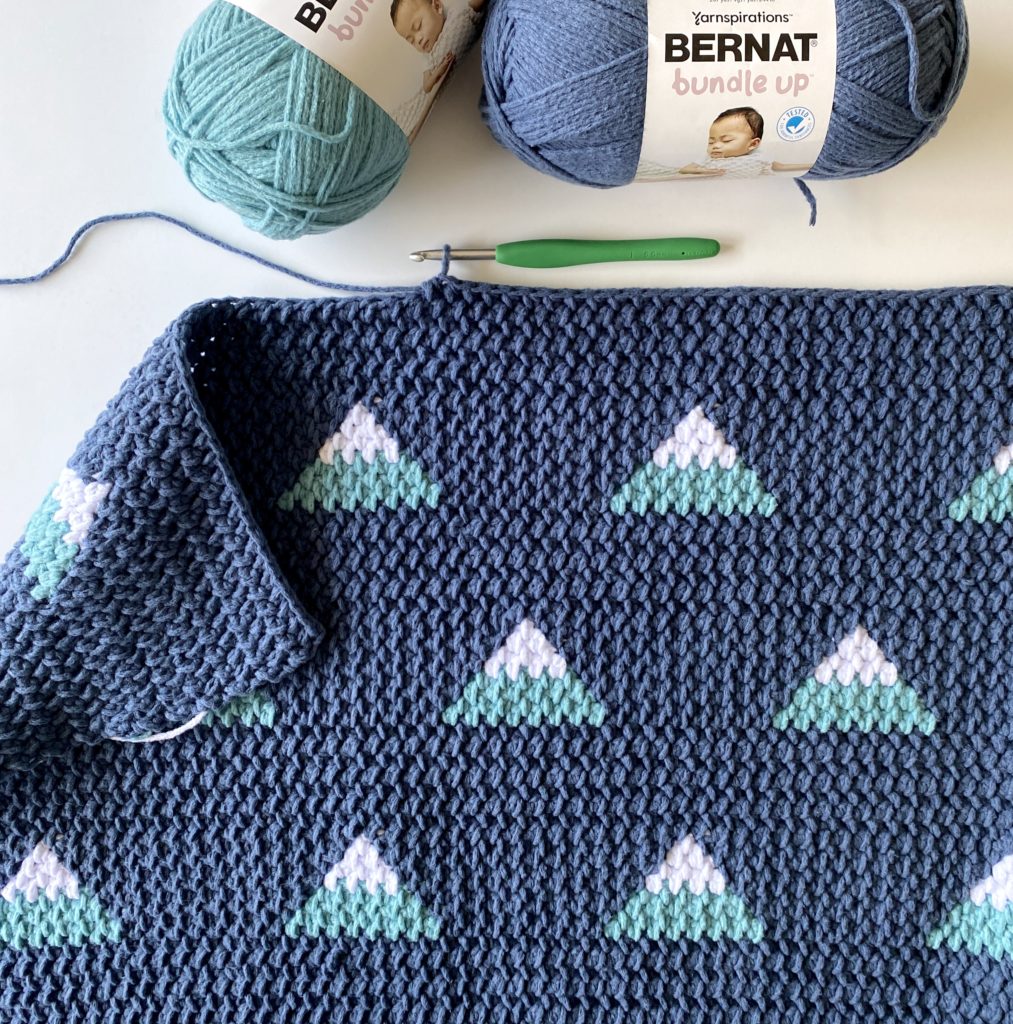
I would say 90% of the time, crocheters use different yarn than the pattern, yet expect the same result. Different yarn, crochets differently. A small practice swatch helps you decide if the yarn you chose will work with the pattern you are trying to do.
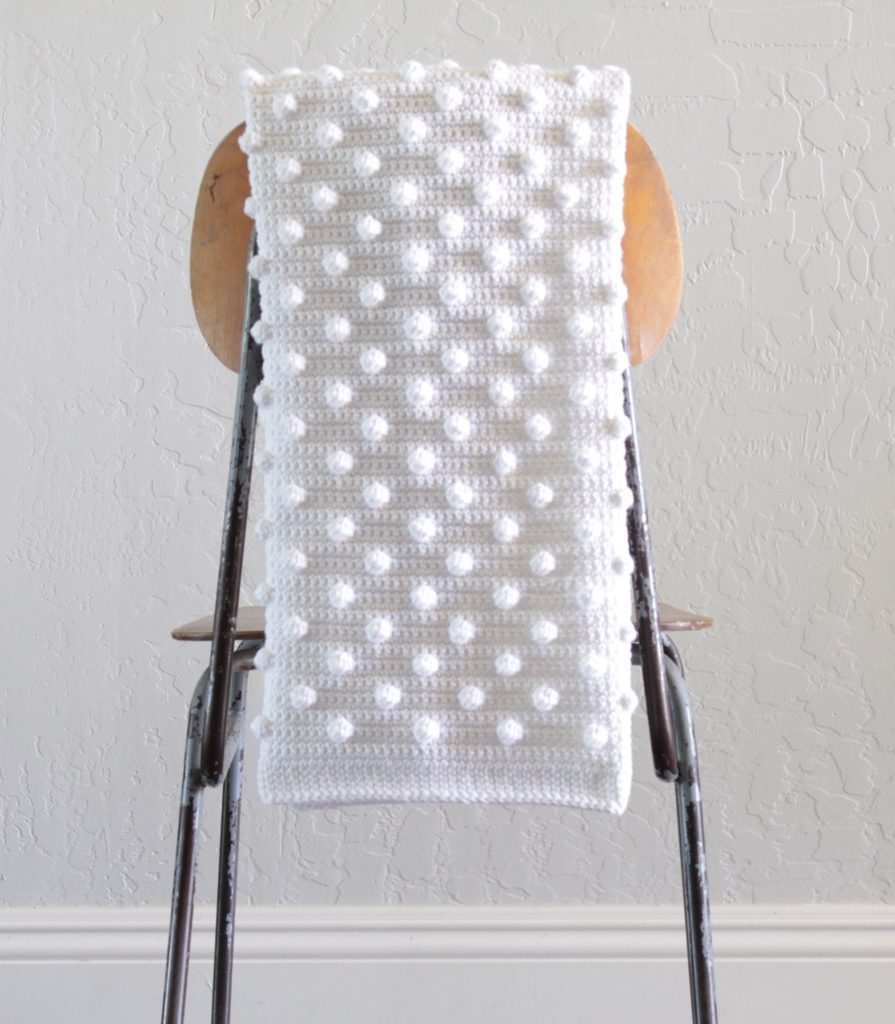
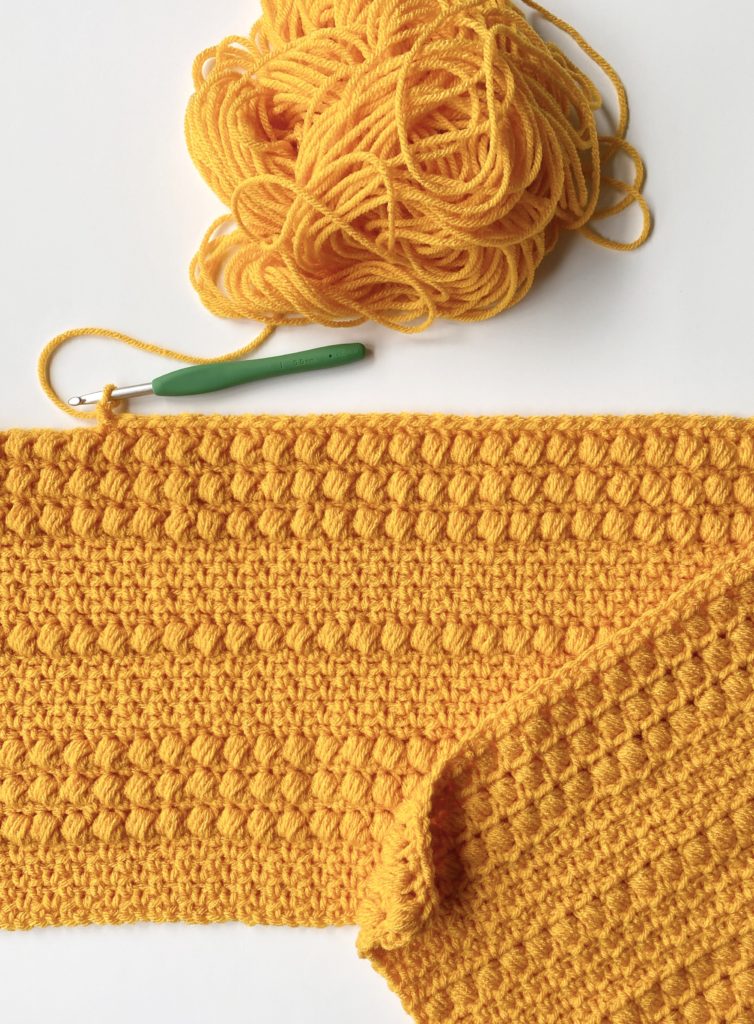
You may find the yarn you chose has a different drape, meaning it’s stiffer, or the opposite, more relaxed. Say you are in love with a polka dot bobble blanket, but as you are making it you realize your bobbles just aren’t popping as the pattern pictures. It could be that you are using a softer yarn causing the bobbles to be flatter.
Making a swatch will help you see ahead of time the problems that might pop up and let you adjust before you’ve committed hours into the project.
2. take mistakes out as soon as you see them
And I mean it. Don’t hesitate, just get to undoing. It’s too painful if you think about the hours you’ve been crocheting after the mistake. I don’t ruminate on it, don’t make myself feel bad about it, or internally scold myself.
I undo, and as I undo, I remind myself that this is the beautiful part of crochet, the ease of undoing and starting again. If I don’t undo, the mistake will just stay forever. The time of undoing and re-doing is just a part of the process.
Now, in saying that, there are some mistakes I will accept. I don’t mind a missing bobble in a polka dot blanket, or a missed stitch at the end of the row that I’ve added back in a few rows later. Borders can help a lot of wavy ends, but if it’s excessive and really noticeable, it’s time to undo.
3. use stitch markers
This is a tip I wish I would have discovered as a beginner. Marking the first and last stitch of every row is a must in learning how to keep the sides of your blanket straight.
It can add extra time, but so worth it. Stitches just look different when you turn the blanket and are looking at them from the opposite side. It is really hard to identify them when you are new and not familiar.
I don’t think I can say much more than that. Use them and you’ll be so glad. And after a while you’ll see that you won’t need to use them throughout the whole project.
4. put on a good movie to weave in the ends
I have decided to be at peace with weaving in ends. I used to dread it and set projects aside and wait til the last moment to weave them in, or have the project never get finished because of the ends. Or, even worse, not do a project with too many color changes because I didn’t want to weave them in.
I made a mental shift and now look forward to weaving them in.
But I save a movie I’ve been wanting to watch, or a podcast I’ve wanted to listen to, or even I call one of my sisters and chat while I’m doing it. It just is a part of crochet, I’ve come to accept it, and made it an enjoyable part of the experience.
5. make an even border
And when I say even, I’m mostly talking about making the sides of the blanket evenly stitched. The top and bottom are usually not the problem, it’s the sides with the turning chains, and sides of stitches. If you work too many stitches, the blanket stretches and “rainbows”, too few, the blanket wrinkles or pulls in.
The best way I know how to do this, is to use a tape measure. For example, if 6 rows of your half double crochet stitching is 2 inches in height, measure how many stitches are in 2 inches of width. Then make that many half double crochet stitches on the sides per that many rows.
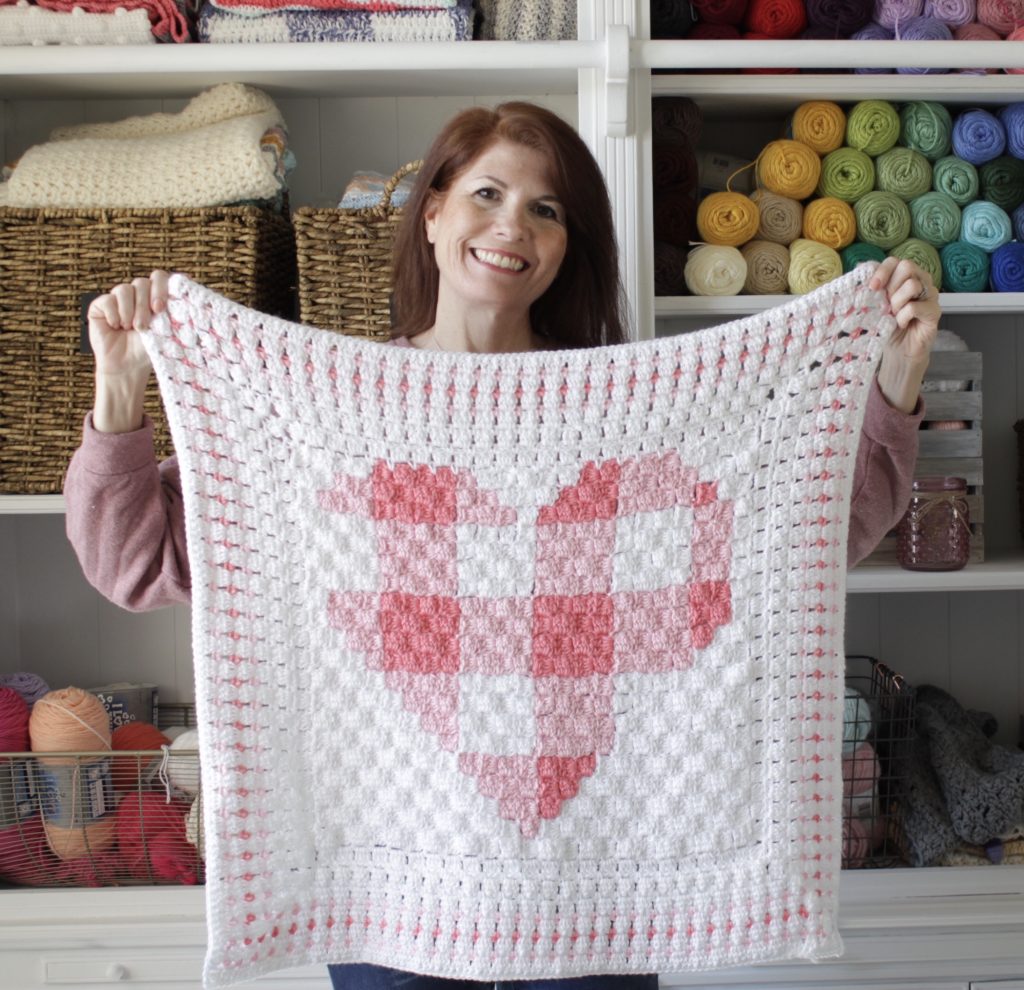
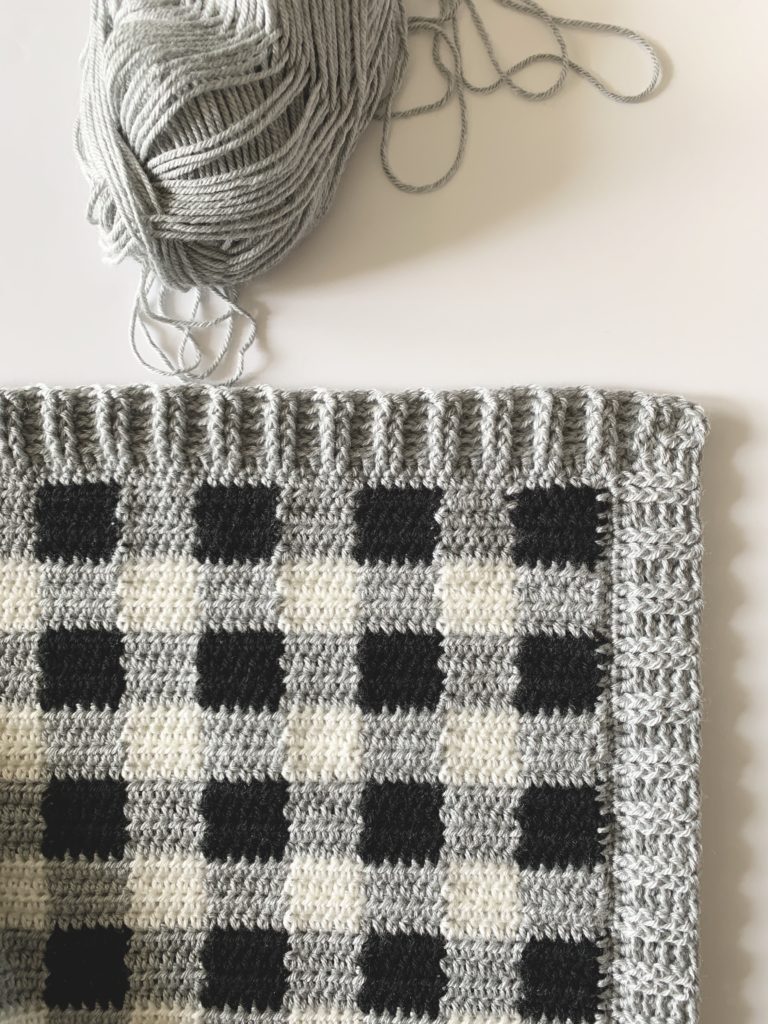
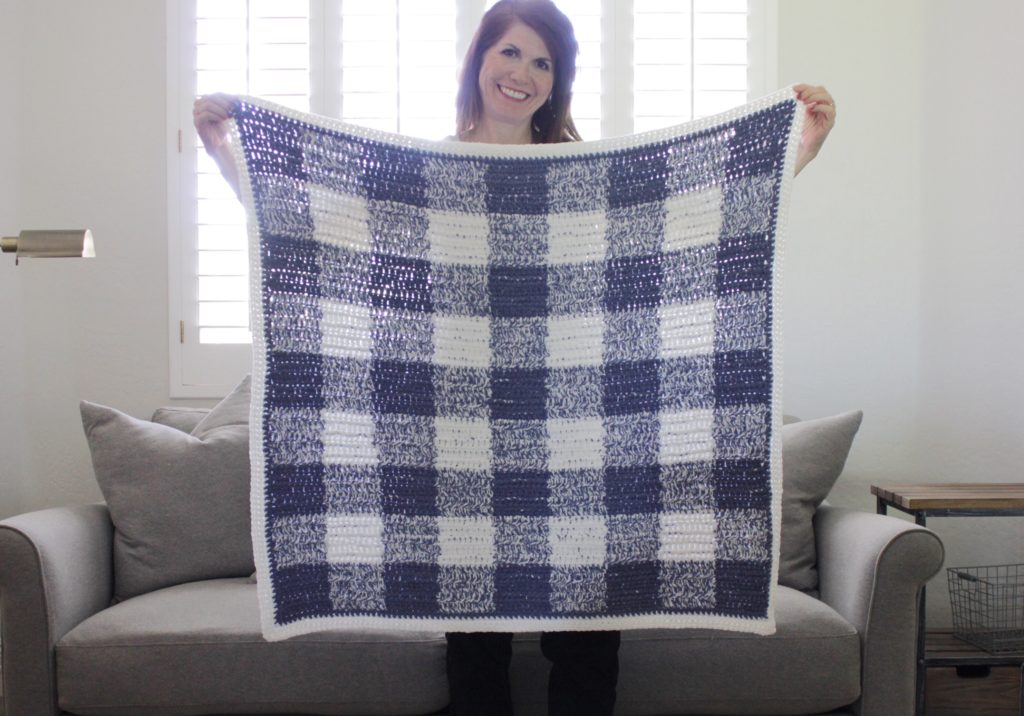
I came across this making gingham blankets. I noticed that in the patterns I wanted the gingham look to be square, I made the stitches 8 across, and 6 rows high. So on the sides of the gingham blanket, I needed 8 stitches on the sides of the squares for every 6 rows.
That tip works if you are using the same stitch as the blanket for the first round of the border.
Another good tip is to start with one round of single crochet as evenly placed as you can. Usually 1 single crochet per the end of a single crochet row, and 2 single crochet per the end of a double crochet row.
6. soften scratchy yarn
There are several ways to do this. I personally like handwashing my baby blankets made with yarn that is affordable with Zote soap. It’s a pink bar of laundry soap that smells so good and softens the yarn.
Tips I’ve seen offered in our Daisy Farm Crafters Group include washing the blanket with a tablespoon of vinegar or simply tossing the blanket into a hot dryer with a dryer sheet for a few minutes.
But can we have a little conversation about affordable scratchy yarn? I used to avoid it, but the more I’ve worked with so many different varieties offered from Red Heart and Caron, I have a new appreciation for a Super Saver type yarn.
I really think the stitch definition and tension is more easily achieved, especially for beginners with this type of yarn. And, if you use the tips above, your blanket will be softer anyway after the first wash.
7. block the blanket
What does this even mean? To state it simply, it’s getting your blanket wet or slightly damp and pinning it to a towel, a foam mat, or even spreading it out on a bed and massaging it into a square shape.
I do this before gifting or photographing a blanket. It is not a necessary step for all yarn types or if you don’t want to do it. Some yarn naturally finishes off so nicely the stitches don’t need any help to sort of loosen and get into shape.
I’ve never blocked Bernat Blanket yarn for example.
I also think that as my skills have improved, the need to block the blanket to straighten it out has lessened. I think it helps a lot of beginner projects that my girls have made to get the blanket looking the best it can before we photograph it.
Will it retain the shape after washing? I don’t think so, lay it out flat to dry if you want it in that perfect shape again. I honestly never do, most blankets are cuddled around people and no one cares if they are perfectly square anymore.
Mostly the term “blocking” is used when you are making garments that need to be sewed together and you need a certain measurement, or making granny square blankets. (Which I haven’t made hardly at all, but I would definitely block the squares to make sure they are all the same size before I crocheted them together.)
8. keep practicing and don’t compare with others
I consider each blanket I make new practice. I know I’ll learn something with each blanket that will make me a better crocheter on the next blanket. I also go easy on myself and don’t compare my work with others. I make it the best I can, and if I absolutely don’t like it, I just take it out and start over.
(I should probably show you all my designs that never see the light of day! My daughters are not shy in offering their critiques for me.)
And maybe it is just my passion for crochet showing through, but I really hardly skip a day without crocheting something. I’m to the point where I cannot just sit and watch tv without crocheting. It just seems like a waste of time.
I love going into my Daisy Farm room and think of new yarn combos or new stitch combos and just make swatches and practice.

I hope my tips are a little helpful, I know there are probably a million more, but mostly I hope you can find love for the art of crochet and come to appreciate it in a beautiful way that inspires you to keep sharing and gifting.
I want to wish you all a beautiful crochet day and thank you from the very bottom of my heart for all the love you show me and my family. Sharing our crochet with you all wherever you are in the world has brought me great joy.
Sending you all my warmest internet hugs and I can’t wait to see what sort of creations are on the horizon.
All my love,
Tiffany