This modern crochet granny blanket is a series of triangles nestled in between each other which gives the blanket a modern feel.
This blanket works up fast and is fun to memorize and pick up easily where you left off.
We have loved making this blanket so much that we have actually made four more versions of the Modern Granny.
The first one I’d like to share with you is the Striped Modern Granny.
Tap here for the Striped Modern Granny pattern.
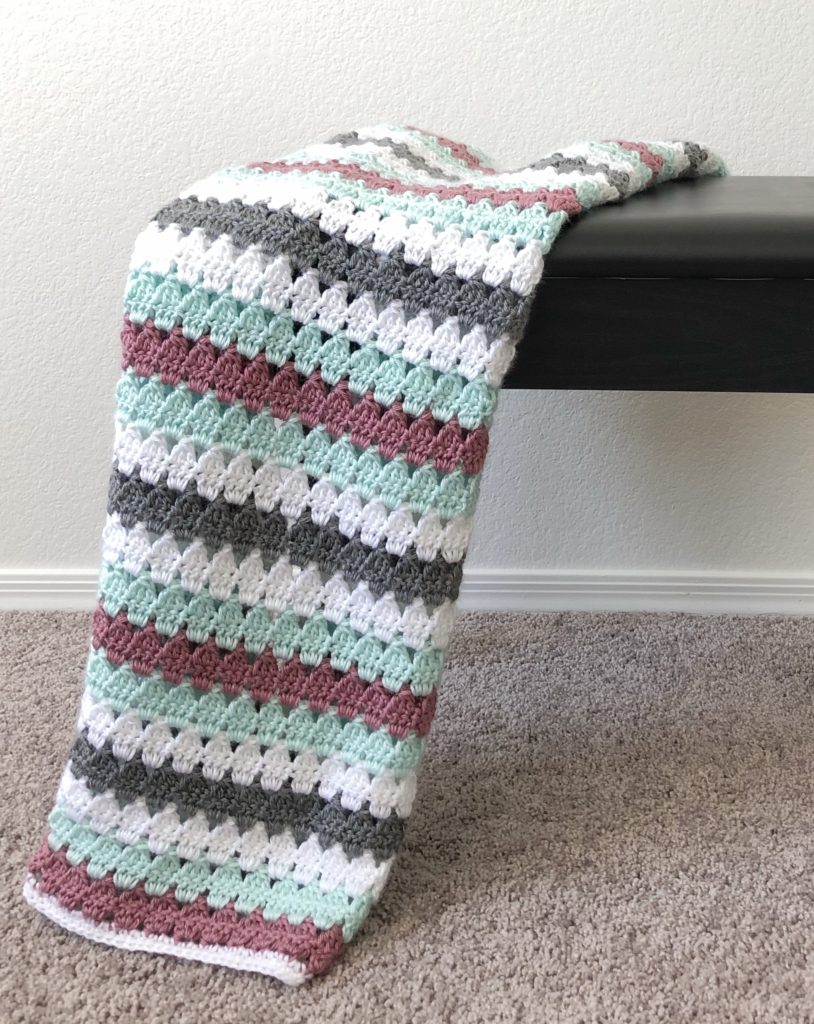
Hannah made that one using colors from Caron Simply Soft in white, soft green, plum wine, and grey heather.
Tap here to buy the yarn on Yarnspirations.com
She was a beginner crocheter when she made it, so if you have some experience with crochet, this pattern could be a good one for you.
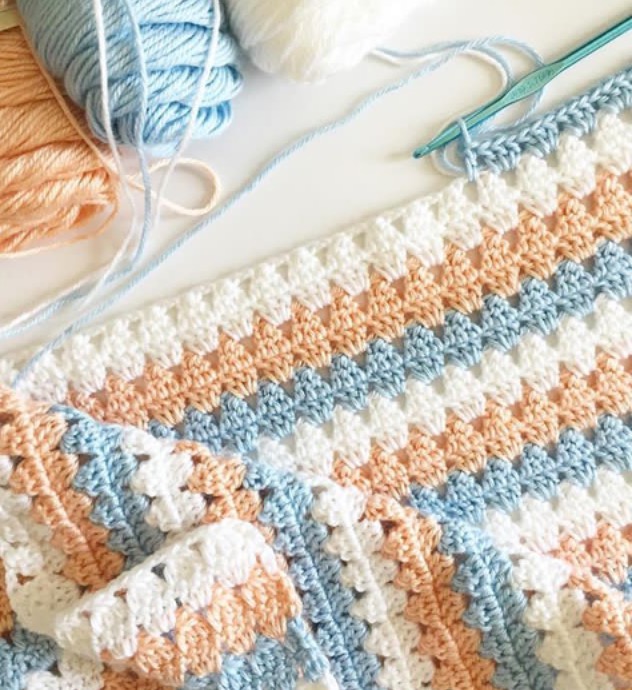
Then, I made one with Caron Simply Soft in Peach and Blue, which has been a very popular version of the blanket.
Tap here for the pattern to the Modern Granny in Peach and Blue
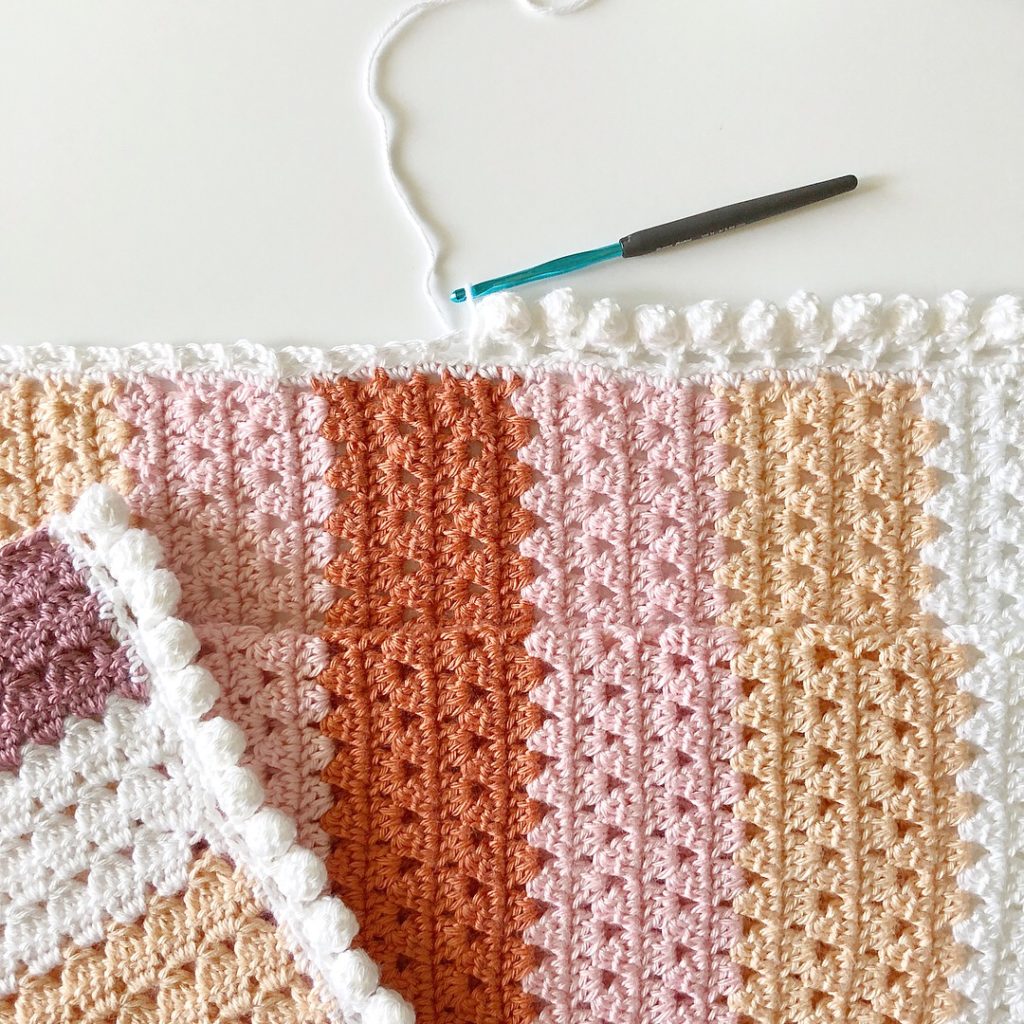
And then, I also made one with what we like to call a modern boho look.
It has sections of color as well as a cute pom pom border to give it the boho vibe. Again, I used Caron Simply Soft yarn.
But, you can use any 4 weight acrylic as a substitute.
Tap here for the Modern Boho Granny Blanket.
You really can use any yarn you would like with this pattern.
The pattern shared in this post is made with a baby 3 weight yarn and it turns out so delightful. It is wonderful as a baby gift.
Be sure and scroll to the end of the post for a free printable pdf.
Also linked at the end of the post is a video tutorial to help you make the blanket.
Happy Crocheting!
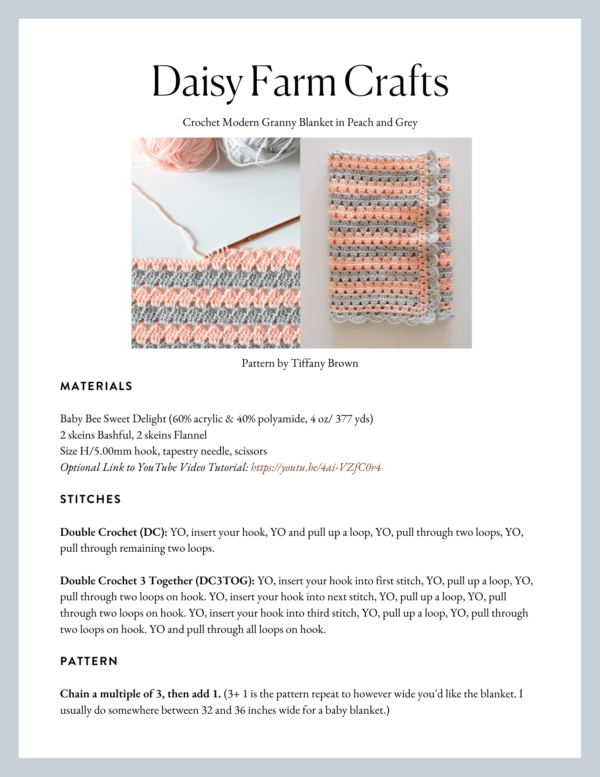
Materials
Baby Bee Sweet Delight (60% acrylic & 40% polyamide, 4 oz/ 377 yds)
2 skeins Bashful, 2 skeins Flannel
Size H/5.00mm hook, tapestry needle, scissors
Stitches
Double Crochet (DC): YO, insert your hook, YO and pull up a loop, YO, pull through two loops, YO, pull through remaining two loops.
Double Crochet 3 Together (DC3TOG): YO, insert your hook into first stitch, YO, pull up a loop, YO, pull through two loops on hook. YO, insert your hook into next stitch, YO, pull up a loop, YO, pull through two loops on hook. YO, insert your hook into third stitch, YO, pull up a loop, YO, pull through two loops on hook. YO and pull through all loops on hook.
Pattern
Chain a multiple of 3, then add 1. (3+ 1 is the pattern repeat to however wide you’d like the blanket. I usually do somewhere between 32 and 36 inches wide for a baby blanket.)
ROW 1: 1 DC into 4th chain from hook, *SK next 2 chains, 3 DC into next chain, repeat * ending with 2 DC into last chain, turn.
ROW 2: CH 3, 1 DC into next DC, (Chain 3 counts as first DC), *CH 2, DC3TOG, repeat * ending with CH 2, DC into next DC, DC into top of turning chain, pulling through with new color just before you finish the DC.
NEW COLOR
ROW 3: CH 3, 3 DC in the chain 2 space between the last DC3TOG and 2 DC of the previous row, *3 DC into next chain 2 space, repeat * ending with 1 DC in top of the turning chain.
ROW 4: CH 4, (counts as 1 DC and 1 CH), *DC3TOG in top of each 3 DC of previous row, CH 2, repeat * across and end with CH 1, DC into top of CH 3 turning chain, pulling through with new color.
NEW COLOR
ROW 5: CH 3, 1 DC into DC (the base of the ch 3, the top of the last DC you made), *3 DC in next CH 2 space, repeat * across ending with 2 DC into the top of 3rd chain of the turning chain.
ROW 6: CH 3, 1 DC into the next DC, *CH 2, DC3TOG, repeat * ending with CH 2, DC into next DC, DC into 3rd of ch 3 pulling through with new color just before you finish the stitch.
Repeat rows 3 – 6 until you have a desired length of blanket.
I have made a video for my other Modern Granny Blanket in Peach and Blue that I think can help you understand how to turn this blanket and how to make the DC3TOG. Watch below:
Notes
Here are a few tips I realized while making this blanket that might be helpful to you.
Since each finished “triangle” (the DC that stack on each other) are nestled in between each other, you will notice that the number of them will be different each color change.
For example, I did a small swatch to test the pattern and I ended up with 8 “triangles in one row, then 9 in the next, then back to 8 then back to 9.
What I noticed are the rows that have 8 are also the rows where you have 2 DC and the end of the rows. The rows that had 9 “triangles” only had 1 DC on the end.
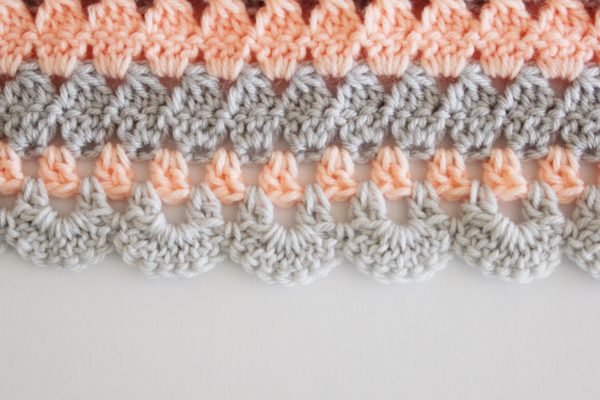
Below is the border I decided to create and add around my blanket. I did a very zoomed in shot so you could see that I went around the whole blanket working 2 DC in each space. (To start the work with a new color, join in any corner and CH 3, that counts as one of your DC)
However, on the sides of the blanket, you will be working 2 DC around the post of a DC. (Look closely at the next picture of the finished blanket.)
Now, it might be the yarn I was using, my own personal tension, and yours may be different, but I did have to work a chain in between the 2 DC across the top and bottom.
The sides did not need that extra chain. I tried doing it without, because I wanted the stitch to match the sides, but it pulled and puckered. This to me is when you get to be smarter than the pattern.
It’s much better to work an extra stitch and have it look right, than get your counts exact. Again, you might not have this problem.
For the corners on this round I did add a chain in between the two sets of DC. (2 DC, CH1, 2 DC for the corners)
Continuing on in the same direction for the second round, join with the new color (flannel) and slip stitch one over and CH 3. (This gives the appearance of the first dc into the chain space. Then work one DC into the chain space. CH 2 and work 2 DC into the next space. Repeat this all the way around the blanket, working 2 sets into each corner. When you return back to the original CH 3, slip stitch into the top of that.
Chain 3 and turn your work to go the opposite direction. I hope you are in a corner for this CH 3 is the middle of the shell. DC 4 more times into that space and then SC into the next chain space. You want to work 7 DC into the next chain space, then one SC into the next chain space and repeat this all the way around. However, because I had problems on the sides being closer together than the top and bottom, I only worked 6 DC. I found that working 6 showed no difference, but if I worked 7, the side shells were rippling. Again, this might not happen to you at all. When you return to the corner you started with, work the remaining 3 DC and then slip stitch to the top of the turning chain. Tie off and weave in ends and you are done.
Extra Tips
For the corners, I was able to work a complete 7 DC into each. But, for a crocheter like me who doesn’t like to count, (I know, shhh don’t tell) I felt so lucky that it just so happened to turn out that way. (Sometimes my one SC turns out to be the corner stitch and it looks okay, just not my favorite.) If you are better at math than me and want to make sure you are working the shell into each corner, you may want to add more rounds of 2 DC until you find you are exactly even.
Also, if that last part confused the heck out of you, don’t do it! I almost just left the border to be the rounds of 2 DC. I thought it looked good sort of plain. But this is a gift and I decided to make it a little extra frilly.
And, just working all SC around this blanket, switching colors would look great too!

I’d love to invite you to join up on Instagram and share a photo of your completed blanket.
I’m @daisyfarmcrafts or use the #daisyfarmcrafts on your public posts.
I also have a Facebook page, a Pinterest page, a YouTube channel all named Daisy Farm Crafts.
xo, Tiffany
Click here or on image below for printable pattern