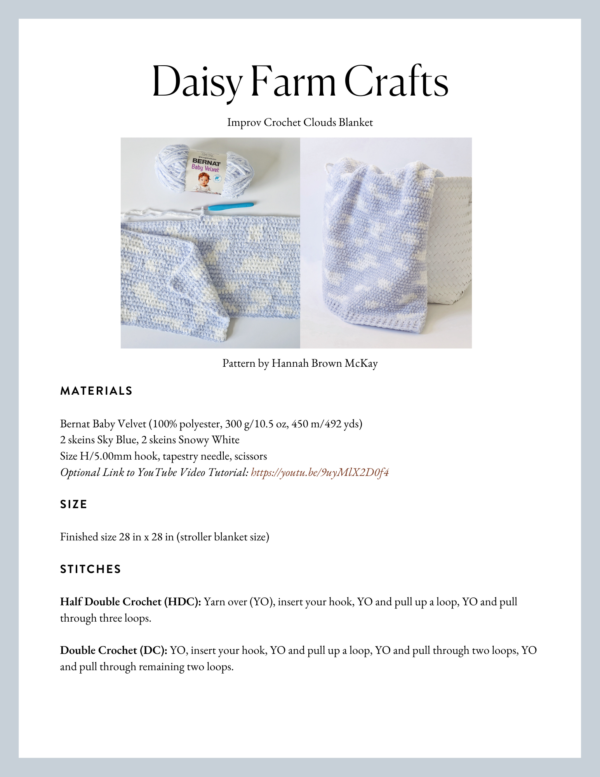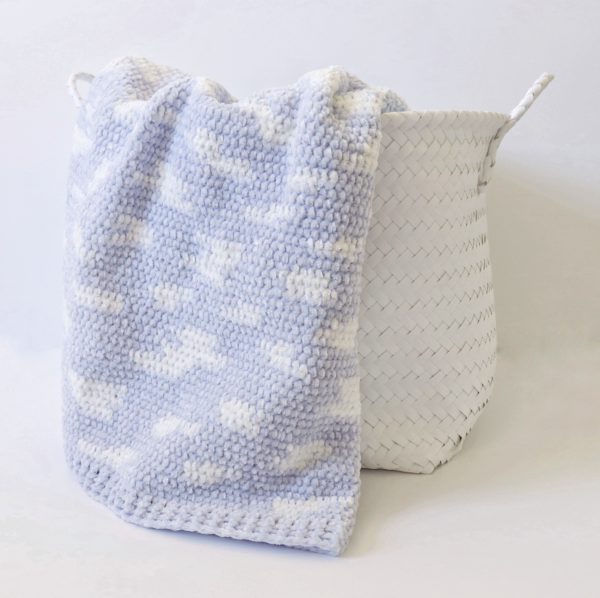
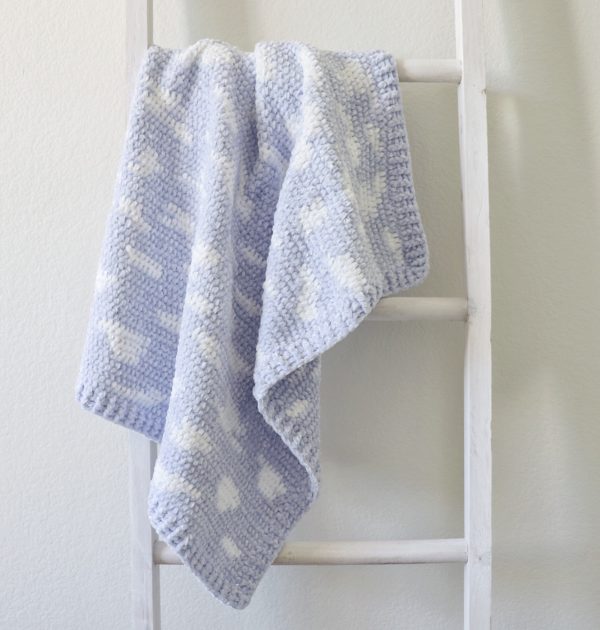
I made this fun Improv Crochet Clouds Blanket so that I can give is as a baby shower gift to go along with the book Jasper and Ollie* that is written and illustrated by our friend Alex Willan!
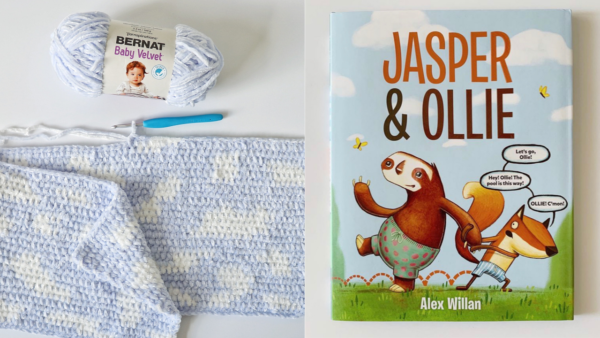
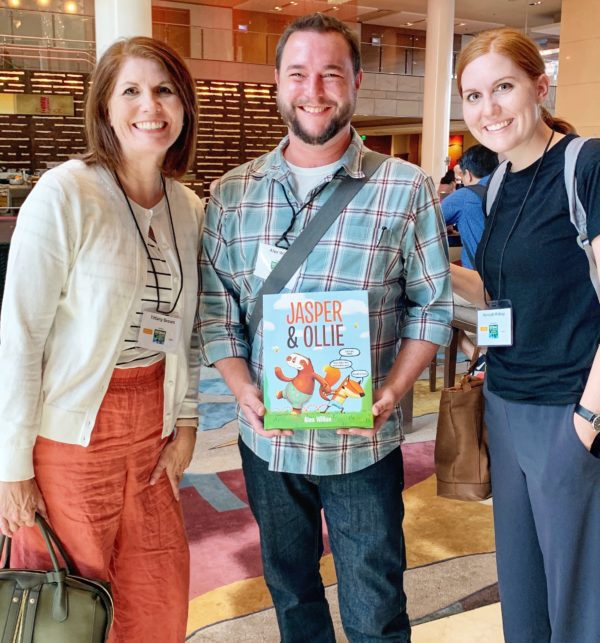
We met Alex last summer at the Society of Children’s Books Writers and Illustrators conference in Los Angeles and we love his darling picture book! I decided to make a blanket with clouds – not just because there are clouds on the cover, but also because the story is about having patience when your friend has their head in the clouds and learning to appreciate the world around you. 😊
When I first started this blanket I tried to design the clouds and make them the same and evenly spaced out, but it just wasn’t working out so I decided to use my mom’s “improv crochet” technique of carrying yarn and randomly switching colors as I go along. At first it was a little stressful since I’m more of a stick to the plan person, but I like that the clouds look more natural this way.
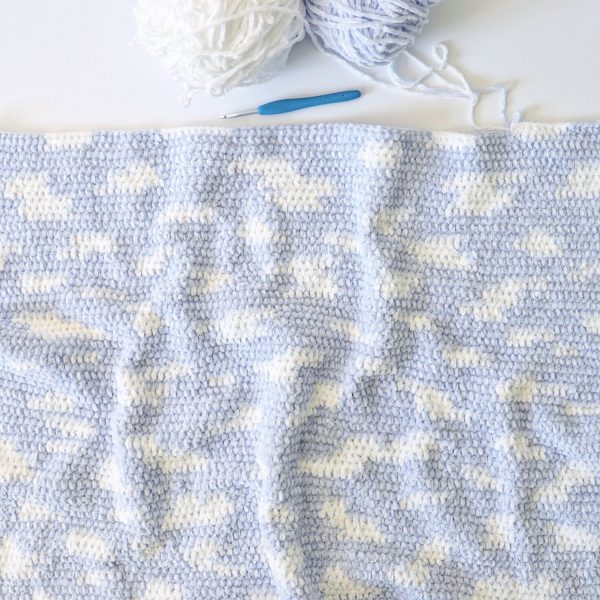
If you’ve never carried yarn before, no worries! My mom made a very similar improv velvet blanket a few months ago, and even though the colors are different, the video below will show you the exact stitches and yarn-carrying technique used in the cloud blanket.
Materials
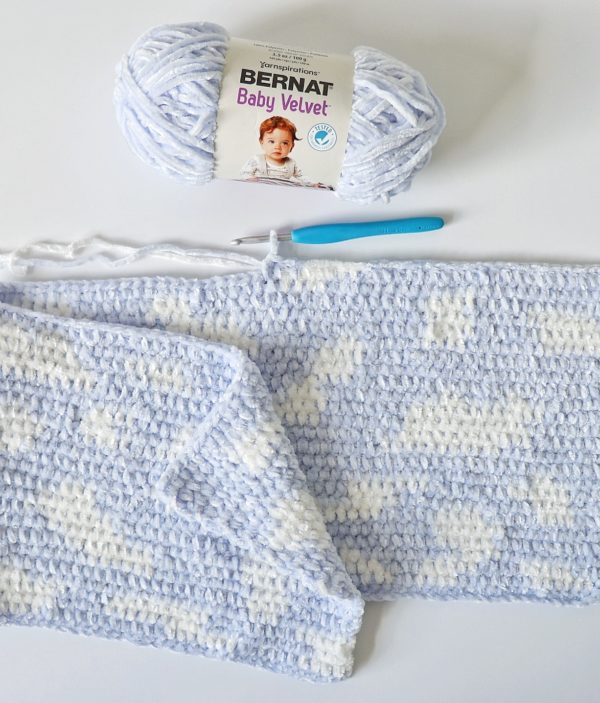
Bernat Baby Velvet (100% polyester, 300 g/10.5 oz, 450 m/492 yds)
2 skeins Sky Blue, 2 skeins Snowy White
Size H/5.00mm hook, tapestry needle, scissors
Size
Finished size 28 in x 28 in (stroller blanket size)
Stitches
Half Double Crochet (HDC): Yarn over (YO), insert your hook, YO and pull up a loop, YO and pull through three loops.
Wide Half Double Crochet (WHDC): Yarn over (YO), insert your hook between stitch posts, YO and pull up a loop, YO and pull through three loops.

Double Crochet (DC): YO, insert your hook, YO and pull up a loop, YO and pull through two loops, YO and pull through remaining two loops.
Front and Back Post Double Crochet (FPDC & BPDC): A front post DC means you insert your hook from front to back around the post of the next DC and work your DC. A back post DC means you insert your hook from the back to the front and work a DC.
Pattern
With Sky Blue, chain 100.
ROW 1: Starting in the 3rd chain from the hook, work 1 HDC in each chain. CH 2 and turn.
ROW 2: Work 1 WHDC in each space across the row. Introduce the white yarn whenever you’d like by pulling through on the last step of the stitch. Crochet over the yarn not in use, pull it snuggly along and before you change colors give it another tug to make sure it is laying flat against the row. CH 2 and turn.
Repeat row 2 for the remainder of the blanket. Always chain 2 at the end of each row.
Work your color changes as you wish. Be sure to keep one color to the front of your work and one to the back to avoid twisting the yarn. (See video above if you need a demonstration of this.)
Border
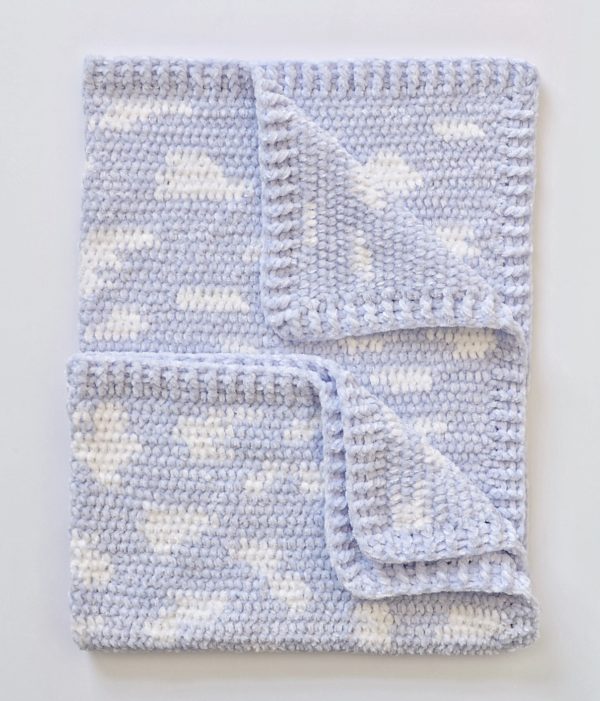
Weave in all ends before beginning. Pull up. a loop in any corner and chain 2. Work 1 round of DC around the blanket, working 3 DCs into each corner space and still inserting your hook between the posts. Work 1 DC per row as you work across the sides.
Do not join the rounds or turn. In the starting corner, finish the round with 3 DC into that corner, then around the next DC (skip the chain 2) work a FPDC, then a BPDC around the next DC. Continue alternating FP and BP double crochet. When you arrive at the first corner, around the middle post of the 3 DC, work 3 alternating FP or BP, (whichever way you had landed, it could be BP, FP, BP) around the center post.
Then continue on alternating as before. Do not join the round, just continue for 1 more round. (Or however many rounds you’d like.) Join on the final round with a slip stitch to the first DC and weave in the ends.
Notes
If you’ve worked with Bernat Baby Velvet before, you know how amazingly soft it is, but like most amazing things, it’s not without it’s challenges. 🙂 For this blanket I had to be very vigilant about always keeping my tension tight and making sure that the yarn I was carrying was pulled tight.
A few times I let my white yarn get too loose as I was carrying and it caused some loops to come up – but since it was the yarn I had carried, I pulled the loops up as far as they would go and cut them. Then I just wove the ends back into the blanket with a tapestry needle.
Thank you for coming to read this pattern! I hope you enjoy making this blanket! When you’re finished please come share a picture with us on Facebook or Instagram using #daisyfarmcrafts, we’d love to see!
xo, Hannah
*as an Amazon associate, I earn from qualifying purchases

