You might find this unusual, but I enjoy weaving in my ends at the end of a crochet project. I actually look forward to it. It hasn’t always been this way, however. I dreaded weaving them in, just like most crocheters.
I used to weave them in as I went to save time at the end of the project and help with the dread. However, I found out the hard way that this can only work if you are very confident in your ability to avoid mistakes. Having them woven in makes it very difficult to undo your work later.
So just be aware of that if you choose to crochet over the tails, or incorporate them into the stitches as you go.
I now just wait until the entire project is finished before weaving in the ends. I actually set aside a movie, a podcast, or a special audiobook to listen to as I weave the ends in. It makes the task less cumbersome and is actually finished faster.
Below is a quick summary of all the tips you need to know about how to weave in the ends of your finished project.
Leave Longer Tails
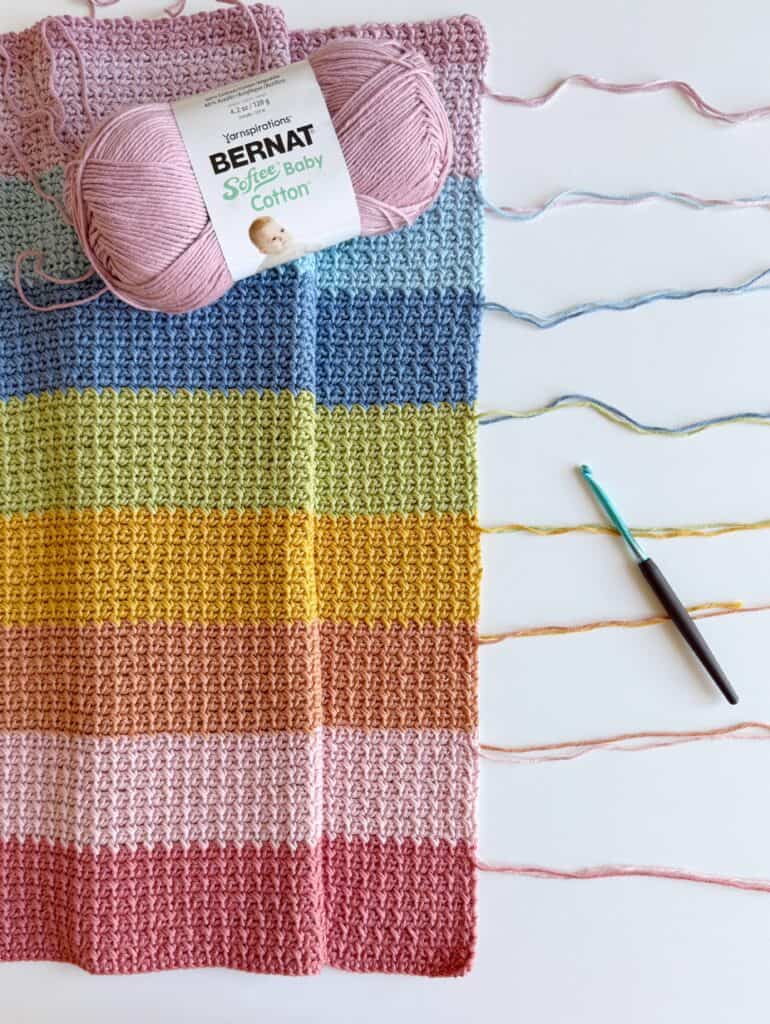
It might feel wasteful, but longer tails are key. Aim to leave 10–12 inches when fastening off. Short ends are much more likely to work their way out over time.
Weave in Multiple Directions
Instead of weaving in your end just once, change direction several times. A good rule of thumb is to go forward, back, and forward again. Some crocheters even create a small “box” pattern by changing direction multiple times. This helps lock the yarn in place.
Repeat the Process
Weaving once isn’t enough. For best results, weave your ends in at least three passes, and up to five or six if you want extra security—especially for items that will be used and washed often.
Split the Yarn
For a more secure (and less bulky) finish, try splitting the yarn tail in half and weaving each strand separately in different directions. This helps anchor the yarn without adding thickness.
Wash with Care
Even well-woven ends can loosen if handled roughly. To protect your work:
Wash on a gentle or delicate cycle
Use a laundry or blanket bag
Avoid overly aggressive washing and drying cycles when possible
Fixing Loose Ends
If an end does peek out, don’t panic. In most cases, you can simply weave it back in or trim it if it’s only slightly visible.
For bulky yarn or blanket type yarn that does not have plys:
Consider tying these ends together first into a knot and then weaving in the tail. If the yarn is super bulky, you might have to sew the remaining end with a needle and thread to secure the end to a stitch.
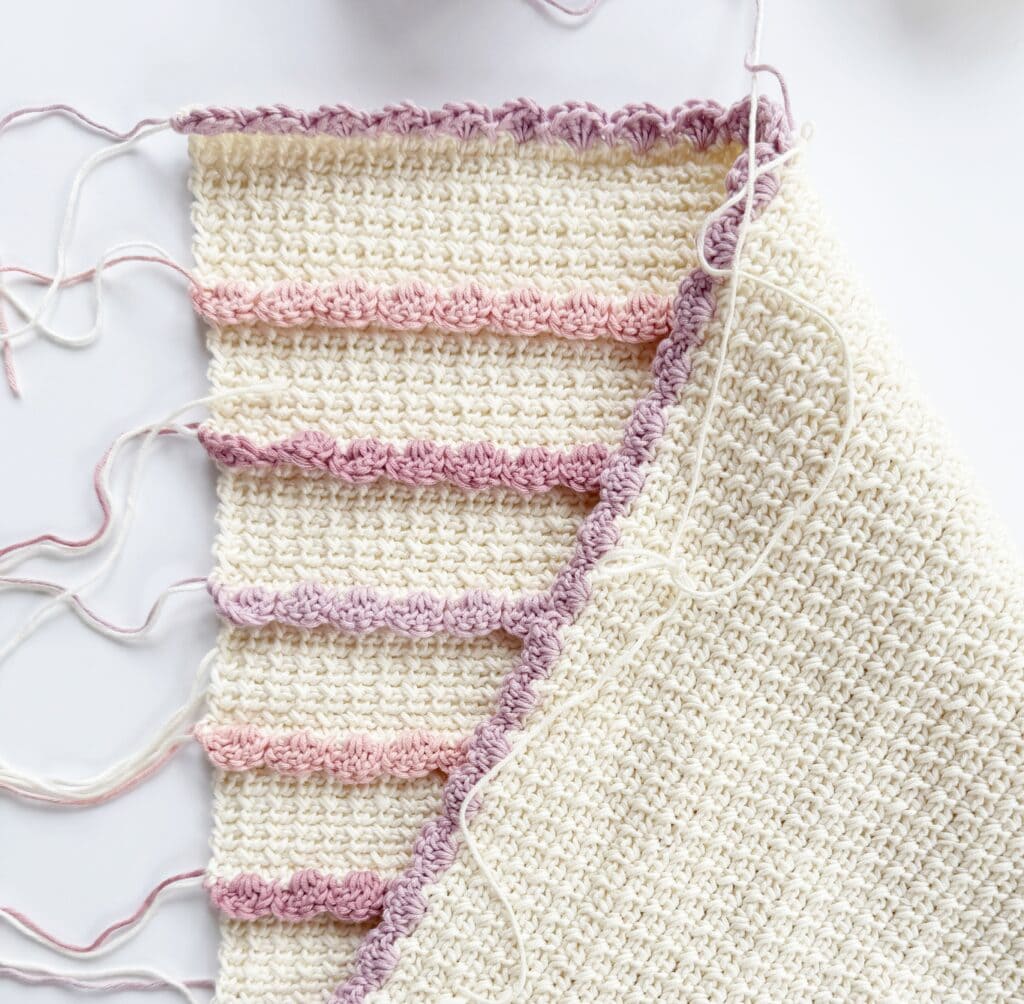
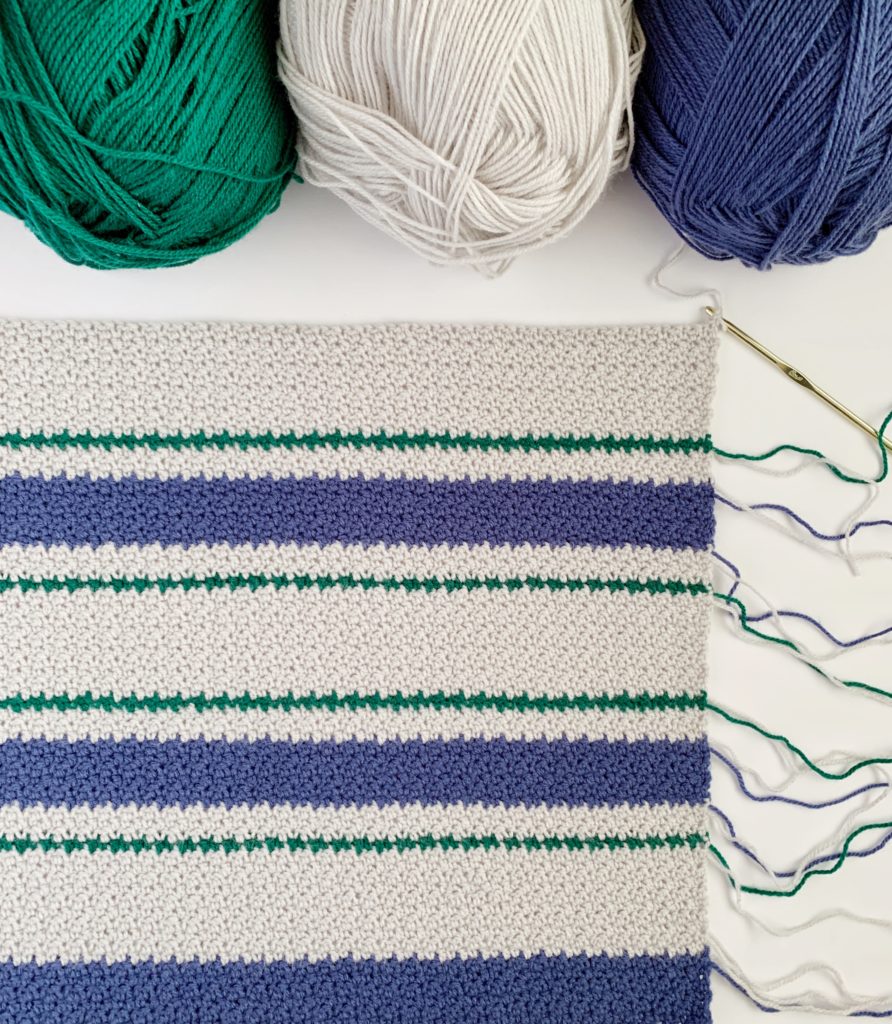
Also, consider only changing from one skein to the next at the end of the rows. Don’t change yarn in the middle of the blanket. Changing only on the sides of the blanket can help secure the ends further by placing a border around the blanket.
Taking a little extra time to properly weave in your ends can make all the difference. These small steps help ensure your crochet pieces stay beautiful, secure, and ready to be loved for years to come.
I hope you found these tips helpful! We have been working on separating our Crochet Tips into its own category and adding in more tips in the future.
Thank you all for following us along. We love sharing what we’ve learned about crochet with you!
XO, Tiffany