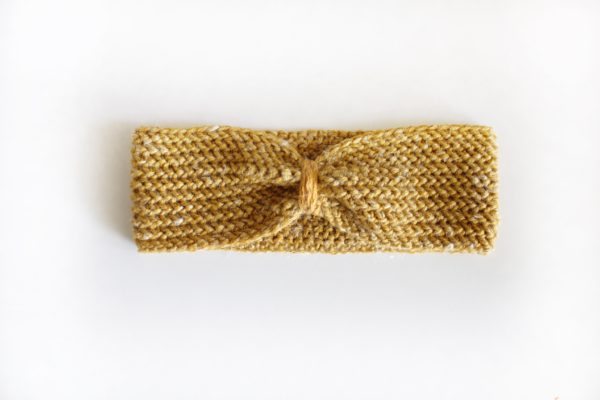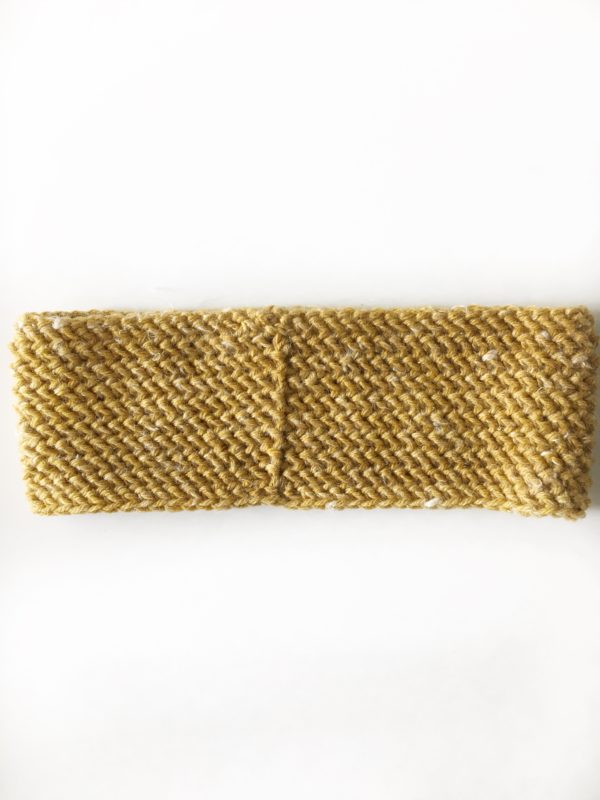
Here’s a very simple headband to make with the herringbone half stitch. This is worked all in the round and in one direction. The inside of the headband has a flat look to it. It is simple to make especially for a beginner. To finish the crochet herringbone headband, all you will be doing is gathering on the seam and winding yarn around the middle.
So first it’s helpful to know the herringbone half and how to join the rounds.
Watch this video clip for an idea of what you will be doing:
Materials
This headband is made with Hobby Lobby Yarn Bee Yarn which is a 3 weight acrylic and hemp blend but any yarn will work for this pattern. (Probably not 100% cotton, though, it might not be that stretchy. I’d do a wool, cotton or acrylic blend.)
I used a size H hook, but you’ll want one to accompany what yarn you choose.
Scissors, tapestry needle
Stitches
Herringbone Half Double Crochet (HHDC): Yarn over (YO), insert your hook, YO, pull up a loop and pull directly through first loop on hook. YO and pull through remaining two loops on hook.
Pattern
Chain a length to just fit around your head snuggly. Mine was about 22 inches. Slip stitch to the very first chain to make a big circle. Keep the stitches straight.
Chain 2. Work one HHDC (Herringbone Half Double Crochet) into each stitch around. Slip stitch into the turning chain, chain 2 and continue working the HHDC into each stitch. Repeat for 10 rows, (or to the desired width.)

Leave a long tail as you tie off the last stitch so you have a way to gather the band together. Thread the tapestry needle and work in and out along the line where you joined the rounds. Pull it tight to gather and then wind the extra yarn around. Tie the two ends together and you are finished.
Enjoy your crochet herringbone headband!
Come and find me on Instagram or Facebook! I’d love to see your project!
xo, Tiffany
