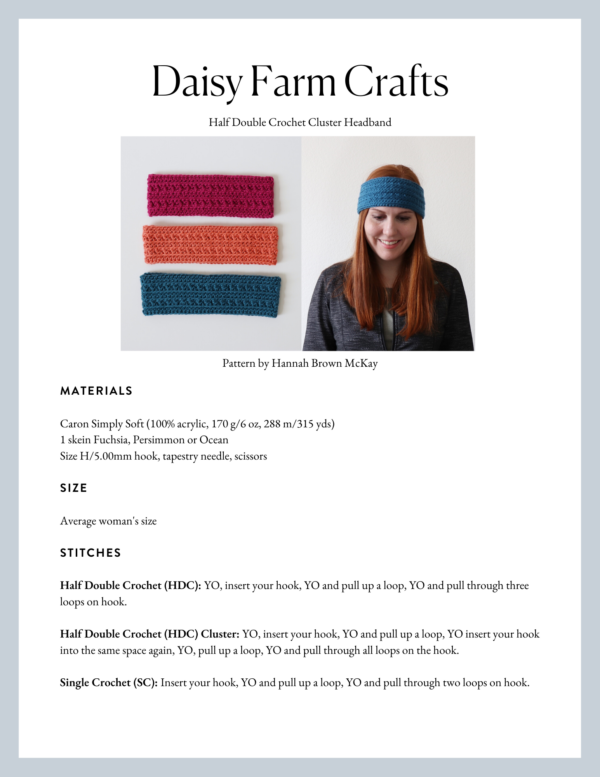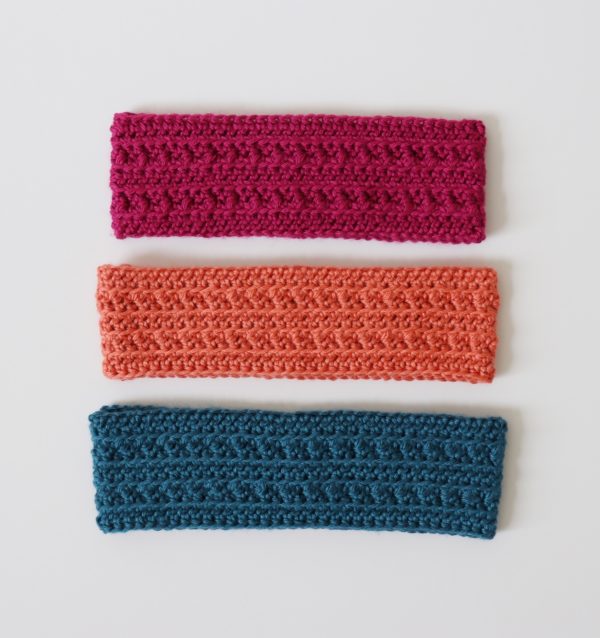
Hello, Hannah here. Last week we met up with my husband’s younger sisters who are in still in high school and they both told me that they’d rather have headbands instead of hats for Christmas, so I decided to experiment with the half double crochet front two loop cluster stitch that my mom used in her beginner friendly hat, scarf and mittens project she designed for Yarnspirations earlier this month.
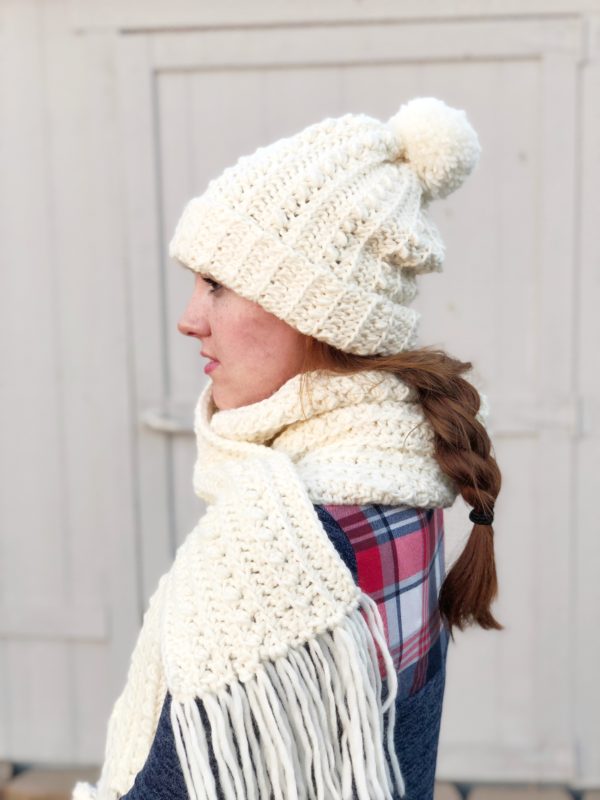
It’s not too late to sign up for the beginner program to learn any of those beautiful patterns! You can click here to sign up for emails that will give you some coupon codes for yarn and you can click here to go straight to the patterns and videos.
My mom and I both really love this half double crochet front two loop cluster stitch because it gives the appearance of cables without the complication of actually making cables. I made these headbands the same way my mom makes her hat in the Yarnspirations beginner pattern – I did not make them in the round, but just made a straight swatch and left a long tail to sew the two sides together.
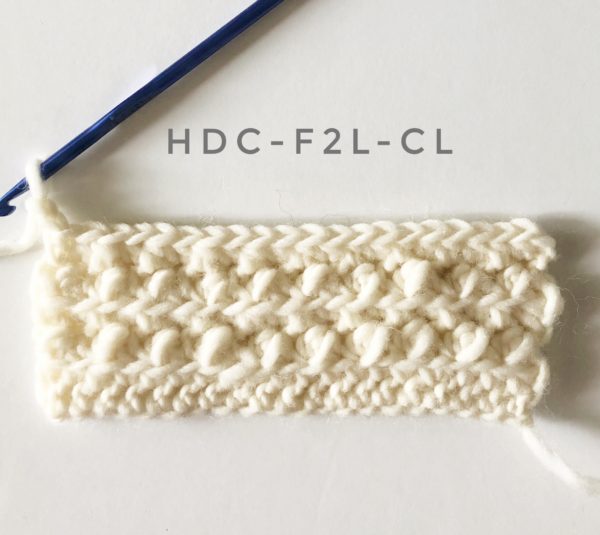
Here is a short video to help you learn the half double crochet front two loop cluster stitch if you’d like to see it done before you get started:
(You can also view the video on YouTube if you have trouble getting it to load.)
Materials
Caron Simply Soft (100% acrylic, 170 g/6 oz, 288 m/315 yds)
1 skein Fuchsia, Persimmon or Ocean
Size H/5.00mm hook, tapestry needle, scissors
Size
Average woman’s size
Stitches
Half Double Crochet (HDC): YO, insert your hook, YO and pull up a loop, YO and pull through three loops on hook.
Half Double Crochet (HDC) Cluster: YO, insert your hook, YO and pull up a loop, YO insert your hook into the same space again, YO, pull up a loop, YO and pull through all loops on the hook.
Single Crochet (SC): Insert your hook, YO and pull up a loop, YO and pull through two loops on hook.
Pattern
Chain 74 (or any even number).
Row 1: In the third chain from the hook, work 1 half double crochet (HDC). HDC to the end of the chain. Chain 2 and turn.
Row 2: HDC across the whole row, working in the front two loops only (the chain 2 does not count as your first HDC). Chain 2 and turn.
Row 3: In the first stitch of the row below, work 1 HDC Cluster in the front two loops only. SC in the next stitch, working in the front two loops only, then work another HDC Cluster in the front two loops only. Continue across the row, alternating front two loop SC and HDC Cluster. When you reach the end of the row, chain 2 and turn.
Row 4: HDC across the whole row, working in the front two loops only (when you are working into the SCs from the row below, there will only be one front loop to go through.) Chain 2 and turn.
Rows 5 – 6: Repeat row 2.
Row 7: Repeat row 3.
Row 8: Repeat row 4.
Rows 9 – 10: Repeat row 2.
When you finish the last row, you can either tie off and leave a long tail to sew the two sides of the headband together with a tapestry needle, or you can slip stitch the two sides together. I tried both ways, and they both worked fine.
If you decide to slip stitch them together, then you’ll want to make sure that the backside of the headband is facing outward when you slip stitch them together so that you can turn it inside out after you’re finished and the thicker seem will be on the inside.
Here’s some dorky pictures of me wearing the headband so you can get an idea of what it looks like when it’s on. Usually my younger sister Annie is the model for Daisy Farm Crafts but she lives in Arizona and I live in New Mexico and I’m not going home again until New Year’s so…here are we are. Maybe one day we will all be able to live in the same state again!
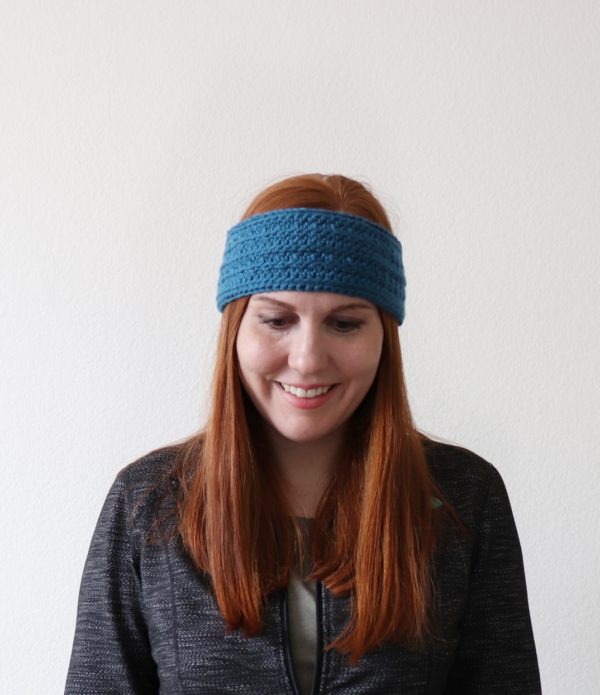
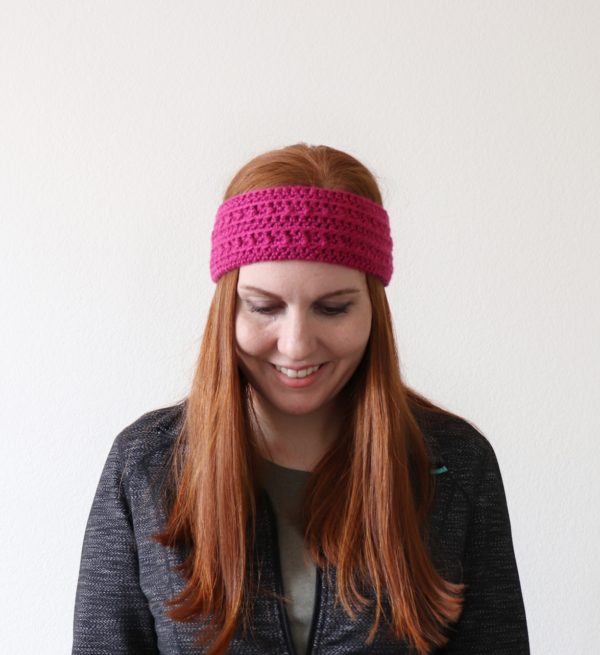
I hope you enjoy making your headband and I hope you’ll share a picture with us when you finish on Facebook or Instagram! We’d love to see!
xo, Hannah

