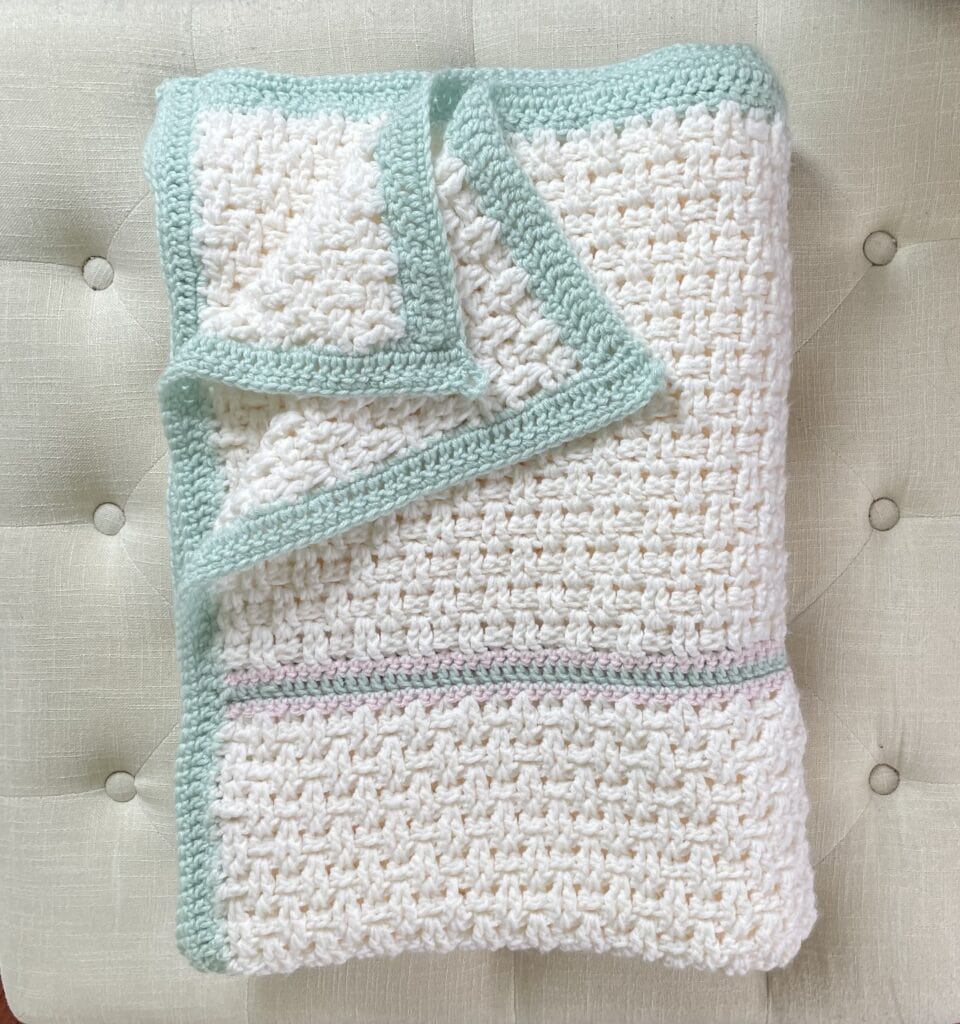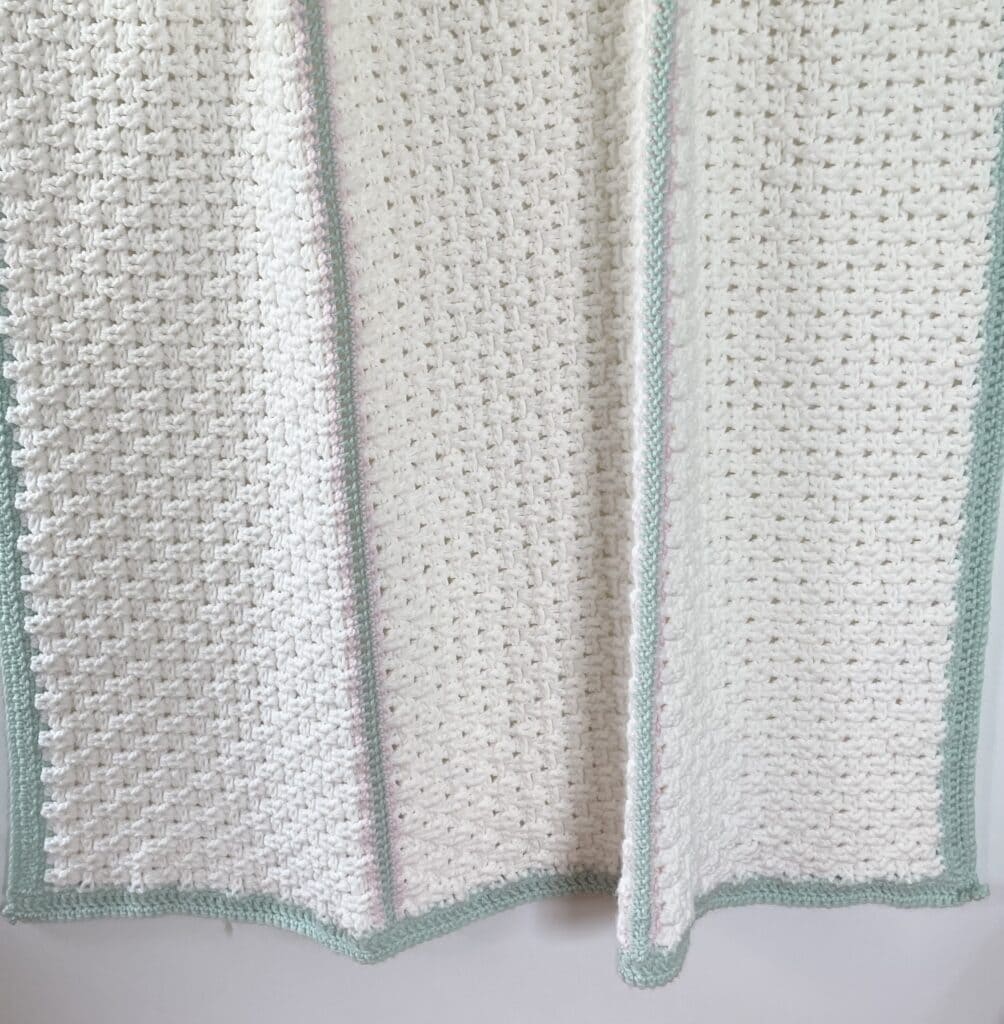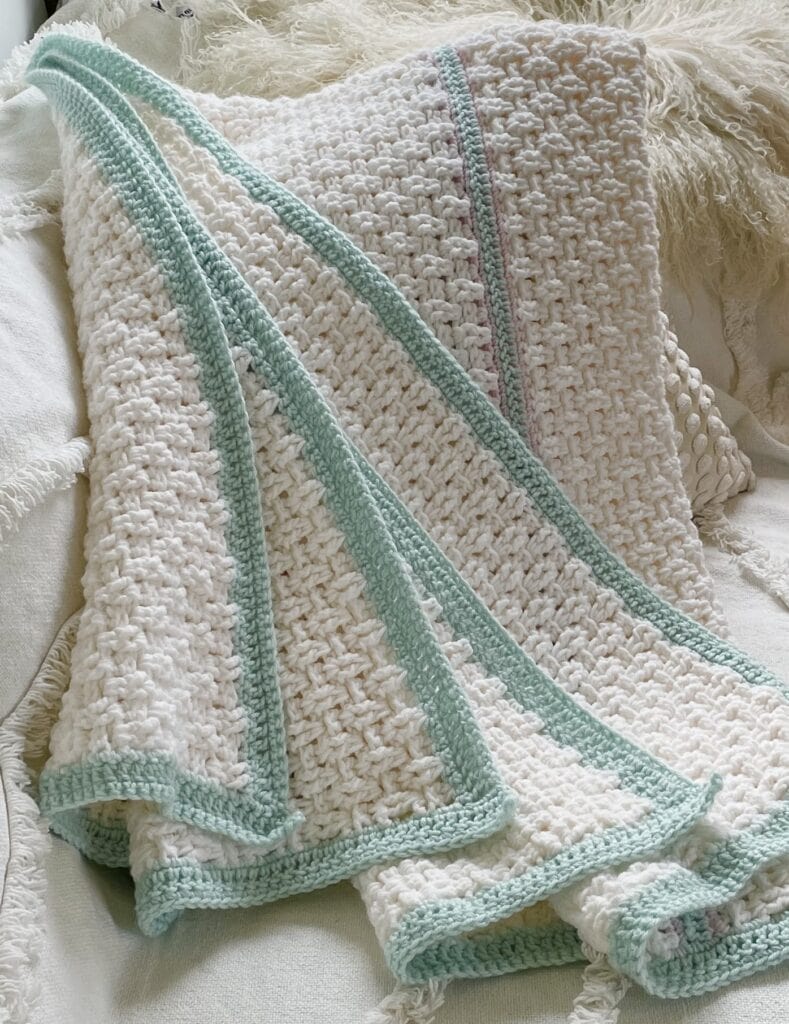
Hello friends! My sister Cyndi needed to make another wedding gift and used the Crochet Diamond Weave Throw as a starting point for her design.
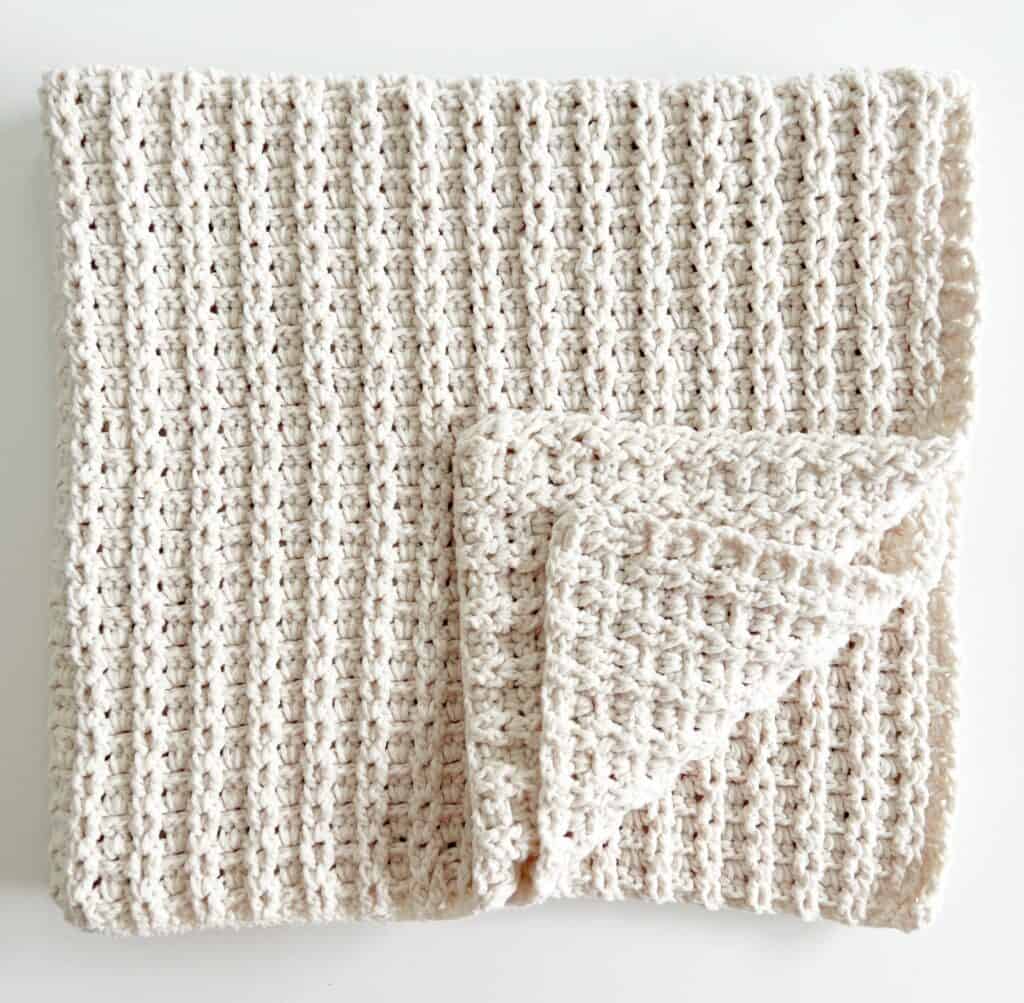
The Ribbed V-Stitch and Diamond Weave patterns are variations of the classic V-stitch pattern. In those patterns, I modified the v-stitch by working every other row with double crochet post stitches. It has become a wonderful and easy way to add texture to a blanket. It also works up fairly fast and is great for larger blankets.
Here is an example of the Ribbed V-Stitch Blanket:
And here is the variation called the Diamond Weave:
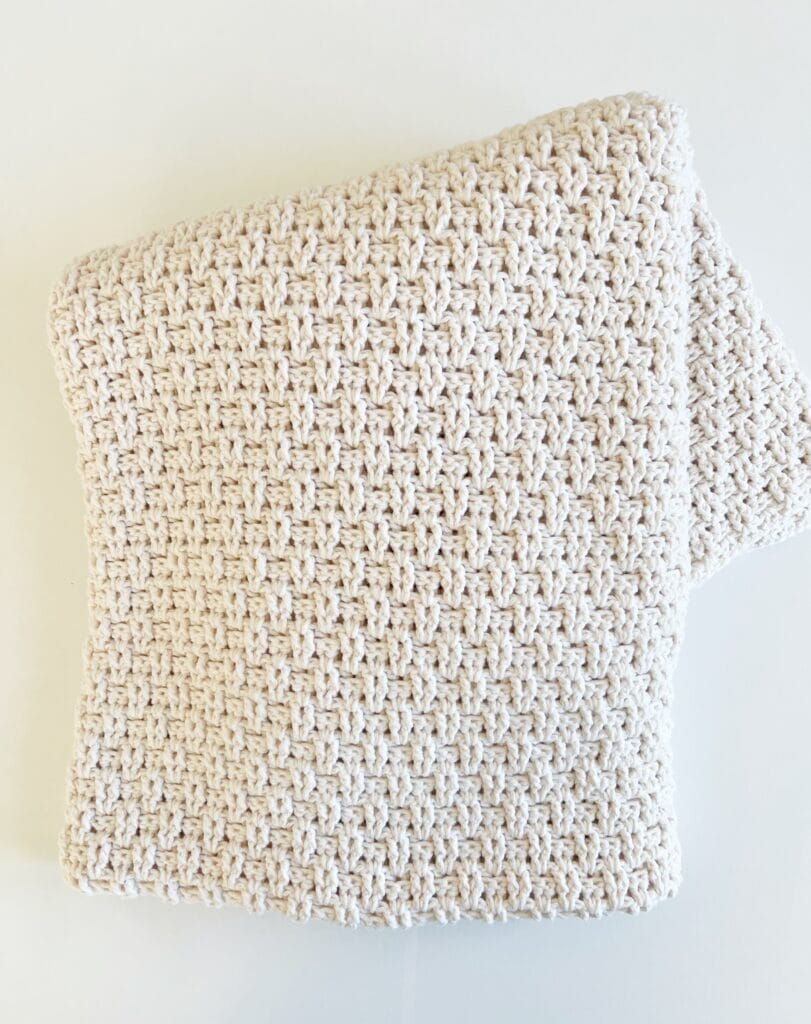
The only difference with the Diamond Weave pattern is working the post stitches in opposite directions every other row. It is a slight modification that is so fun to watch grow as you make the blanket. Both blankets also have free printable patterns and video tutorials if you’d like to learn just those stitches.
Cyndi has been practicing these stitches and enjoying breaking up the sections of Diamond Weave with three rows of one row each of SC, DC, SC. She made a Wedding Blanket for her niece a few weeks ago and called it Angela’s Wedding Blanket. In that blanket, you can see how she used the regular ribbed v-stitch then separated the blocks with the same idea of one row each of SC, DC, SC.
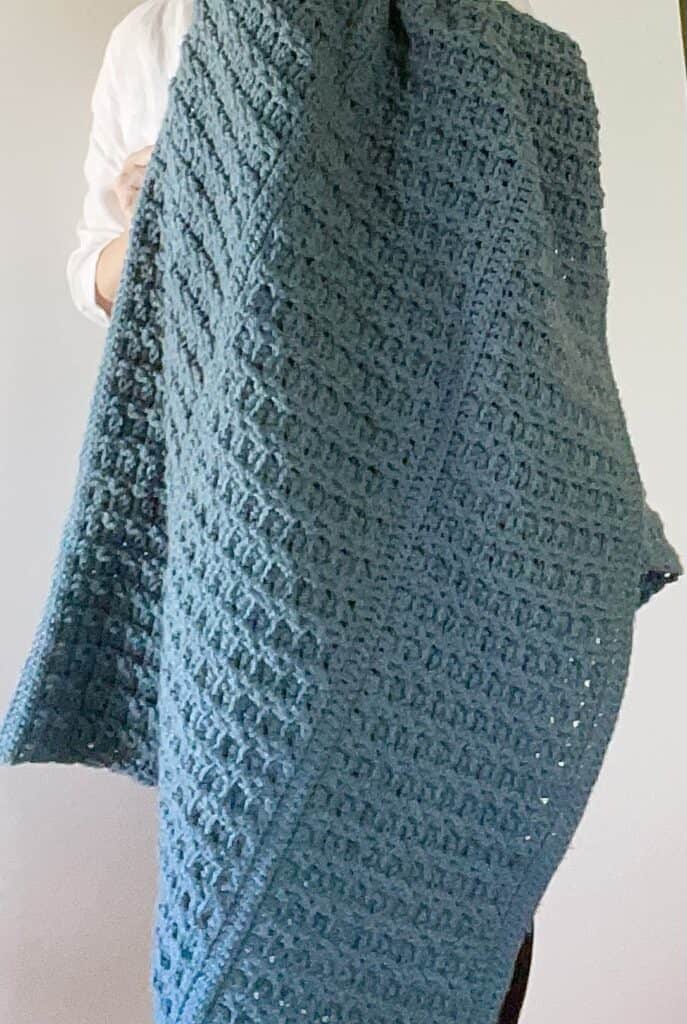
In her new blanket that she made, she used the Diamond Weave for the textured blocks, and then changed colors for the SC, DC, SC rows. I love how these small changes are creating beautiful and different looks for each blanket.
Cyndi has created a YouTube tutorial showing you how she made the blanket that you can watch below, or keep scrolling down for the written version and free printable pdf at the end of the post.
Thank you so much for following Cyndi on her beginning journey into crochet! She is a designer and artist at heart and I’ve loved setting her loose after she learns a few stitches to see where her creativity takes her. She has created many beautiful blankets and has fallen in love with crochet so I know many more will be coming!
Materials
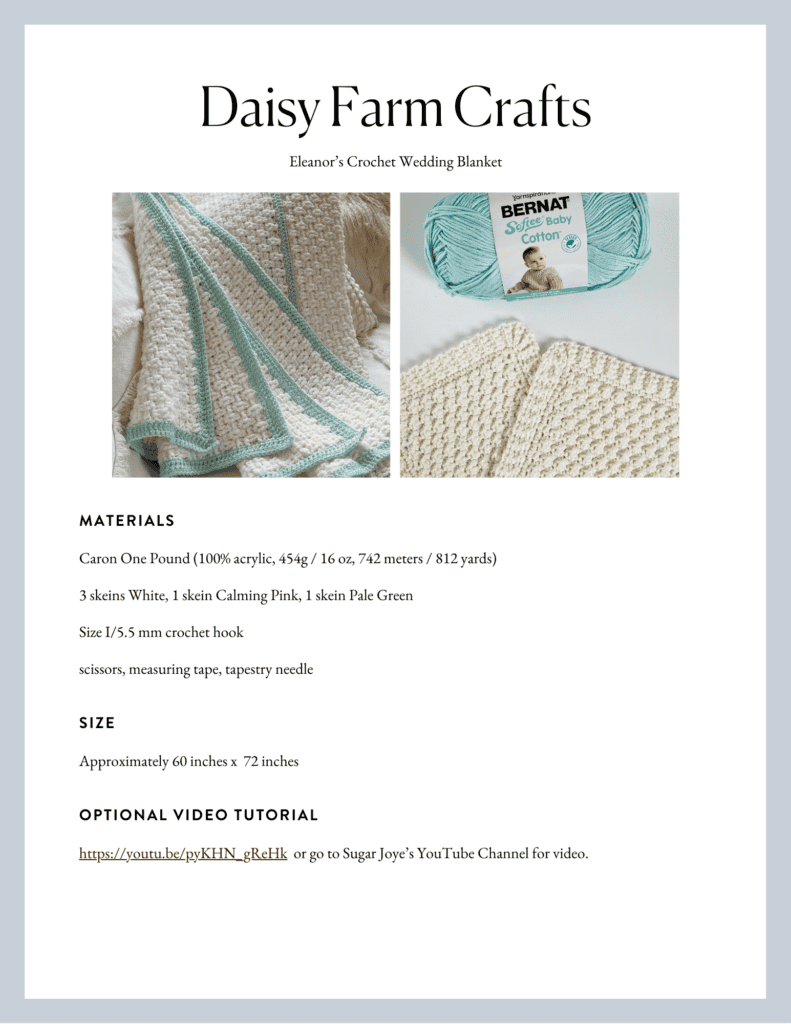
Caron One Pound (100% acrylic, 454g / 16 oz, 742 meters / 812 yards) (Tap name of yarn to shop and see other colors available)
3 skeins White, 1 skein Calming Pink, 1 skein Pale Green
Size I/5.5 mm crochet hook
scissors, measuring tape, tapestry needle
Size
Approximately 60 inches x 72 inches
Pattern
Chain 181 with Pale Green (pattern repeat is any odd number of pairs plus 3)
ROW 1: Starting in the 2nd chain from the hook, work SC. SC into each chain across the row. CH 2 and turn.
ROW 2: Chain 2 counts as first stitch of the row. Work DC into the next stitch and each stitch across the row. CH 1 and turn.
ROW 3: Work SC into the first stitch and each stitch across the row. Change color to White by pulling through on last step of the stitch of last SC, CH 2 and turn.
ROW 4: Skip (SK) first stitch, work 2 DC. SK the next stitch, *2 DC in the next stitch, SK the next st. Repeat from * across the row and work one DC into the very last st. Chain 2 and turn. (This will count as your first DC) on the next row.
ROW 5: Begin with the first set of DC from the previous row and work 1 FPDC around each DC. *1 BPDC around each of the next set. 1 FPDC around each of the next set. Repeat from * across the row. End with 1 DC worked around the turning chains, CH 2 and turn.
ROW 6: Work 2 DC in the space between the second and third DC sts, splitting the pair to form a “V.” *Skip 2 stitches, then work 2 DC in between the next pair of DC from previous row. Repeat from * across row. End row with 1 DC worked around the turning chains. CH 2 and turn.
ROW 7: Begin with the first set of DC from the previous row and work 1 BPDC around each DC. *1 FPDC around each of the next set. 1 BPDC around each of the next set. Repeat from * across the row. End with 1 DC worked around the turning chains, CH 2 and turn.
Repeat rows 5, 6, 7, then 6 again for 28 rows.
On last row of diamond weave section, change color to Calming Pink, CH 1 and turn.
ROW 29: Work SC into each st. Change color to Pale Green, CH 2 and turn.
ROW 30: Work DC into each st. Change color to Calming Pink, CH 1 and turn.
ROW 31: Work SC into each st. Change color to White, CH 2 and turn.
Repeat Diamond Weave section by starting with Row 4 instructions.
Repeat until you have 3 panels of diamond weave and 4 sections of rows 29 -31 instructions.
BORDER
The border is worked on each side of the blanket. (The top and bottom are already worked as part of the blanket pattern.)
ROW 1: With Pale Green, Work 2 SC around the end of the rows that end in DC and 1 SC around the rows that end in SC. CH 2 and turn. (Work this row as evenly as possible.)
ROW 2: Work DC into each SC. CH 1 and turn.
ROW 3: Work SC into each DC. Tie off and weave in the ends.
Repeat on the other side of the blanket.

