Hi Crochet Friends! It’s Cyndi, Tiffany’s sister!
If you have been following along this past year you know that Tiff has been teaching me how to crochet. I began my crochet journey back in August 2022.
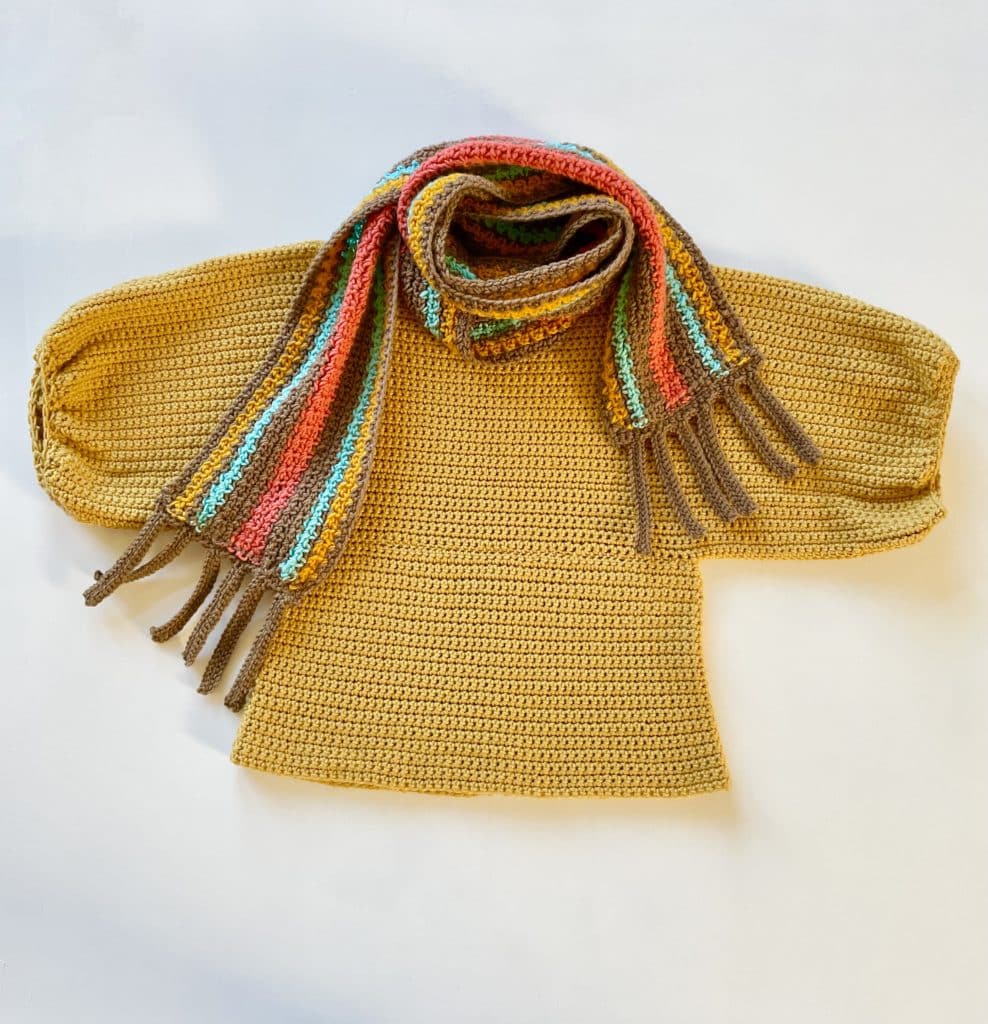
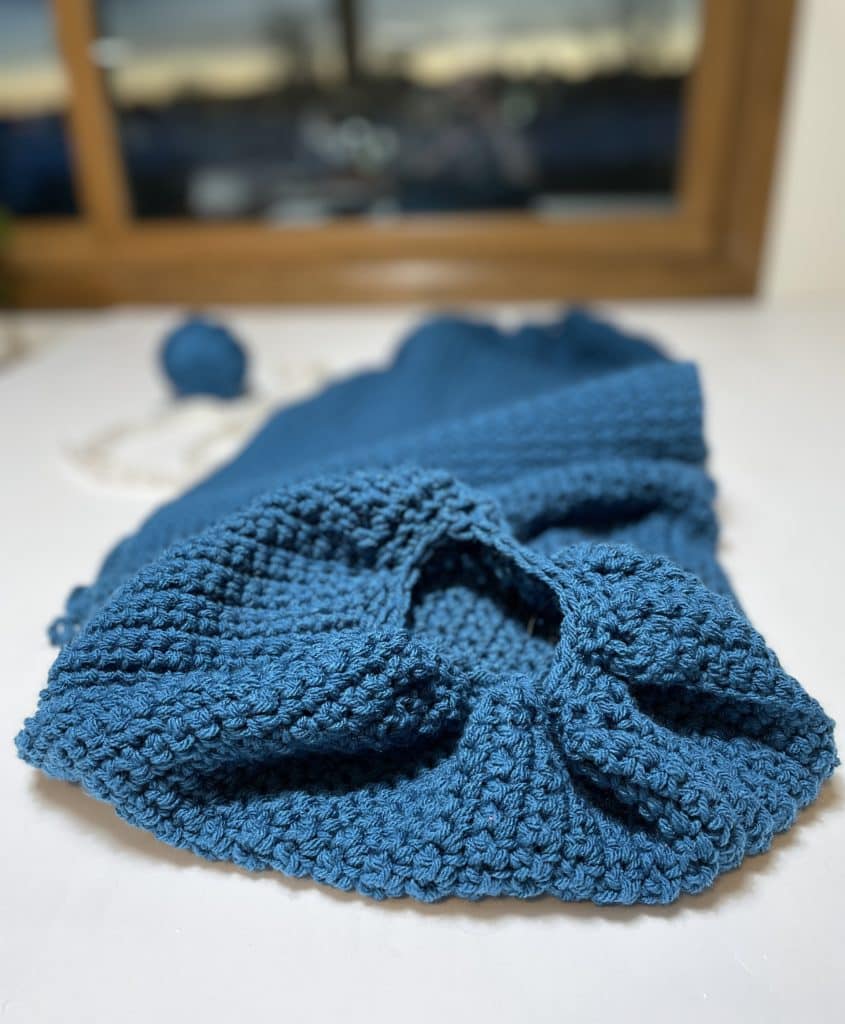
This super easy-to-make sweater is the most crocheting I have done for one project so far. 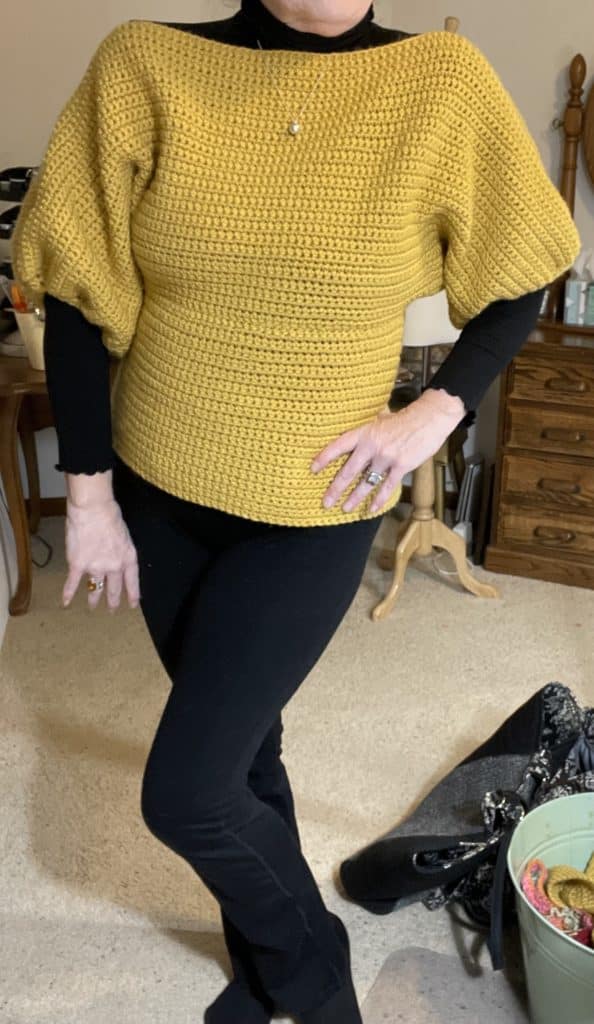
As Tiff and I talked about in Episode 9 of our Crochet Sister Chat. My original idea was to make a single crochet coat that I could wear in New York on my holiday visit.
However, the coat idea needed several more crocheted panels and time was running short so I decided to work with what I had already finished and landed on the idea for the sweater.
I was originally inspired by my love of crop tops. I was a teen in 80’s and in my heart I’m still a big haired 80’s girl. I also love those large cowl neck cropped sweaters dancers wore in the 1950’s. 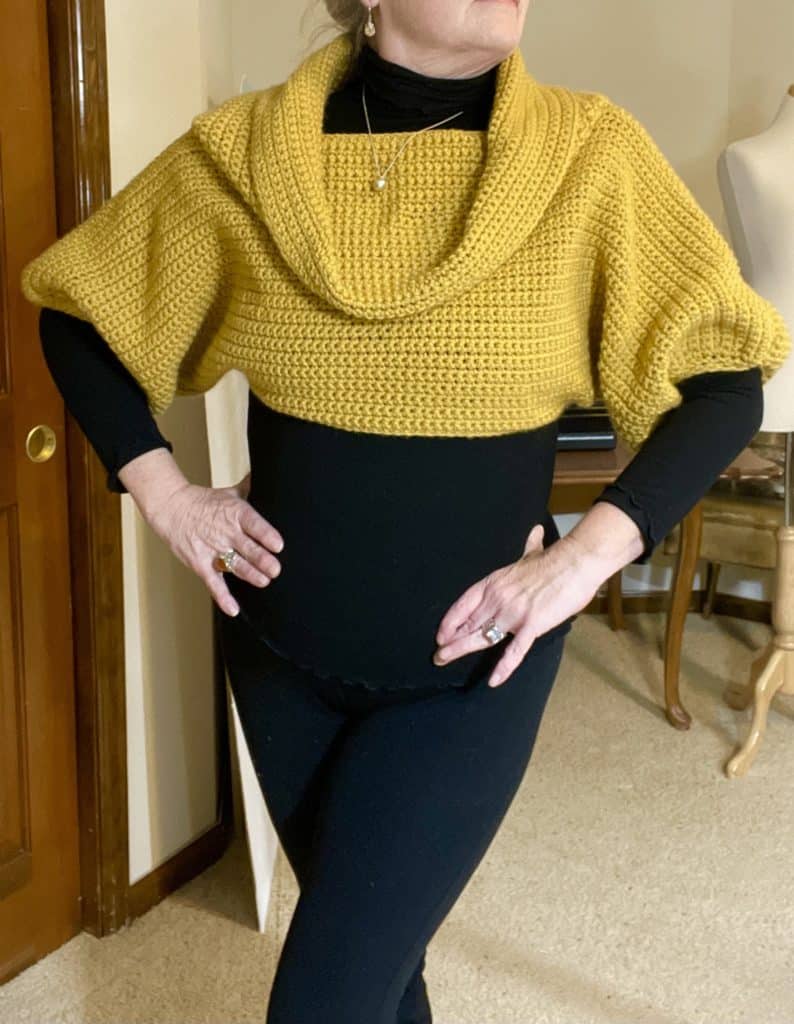
But I liked wearing it so much with a boat neck I decided, for now, that I will save the cropped version with the cowl neck for another sweater.
I’m so happy with how it turned out and I think you will enjoy how unique and stylish it is and best of all how simple it is to make!
The Basics
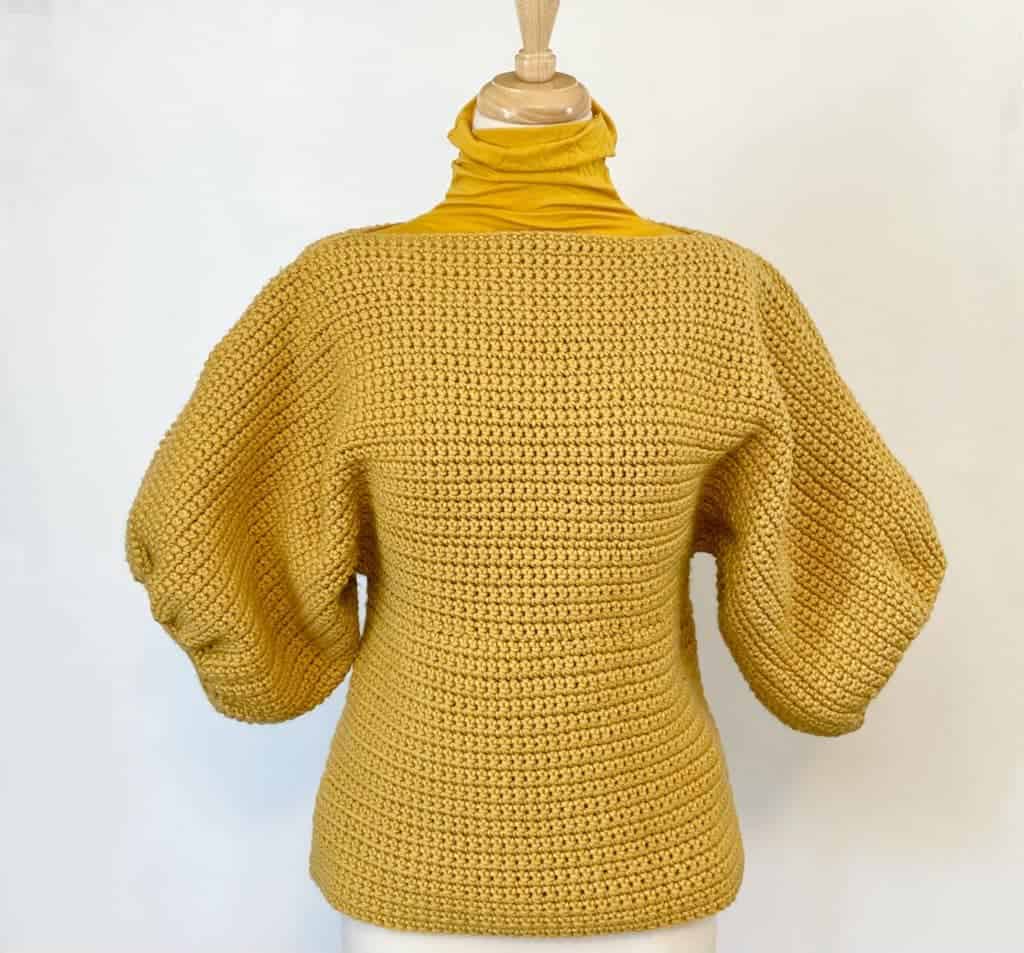
As the name suggests, this sweater is constructed with three rectangular panels of single crochet.
Before starting you need to know a few measurements so you can make the panels fit your desired size and then I’ll show you how to easily hand stitch it together and gather the sleeves, with you guessed it! My favorite single crochet.
Materials
Caron One Pound (100% acrylic, 16 oz/453.6 g, 812 yds/ 742 m) Tap name of yarn to purchase on Yarnspirations.com
2 skeins, Dijon
Size H/5.5 mm hook, large metal tapestry needle, scissors, 10 to 20 stitch markers, measuring tape.
Stitches
Single Crochet (SC): Insert your hook, YO and pull up a loop, YO and pull through two loops on hook.
Measurements
The 2 measurements you will need:
- Elbow to elbow (length)
- Shoulder to center bustline (width)
I used for my measurements for the pattern and you can make the necessary adjustments, larger or smaller, based on that.
For reference I am 5’ 7’, 160lbs and wear a size 10/12 US and my measurements are 38”, 36”, 39”
My elbow to elbow measurement: 36”
And shoulder to center bustline: 12”
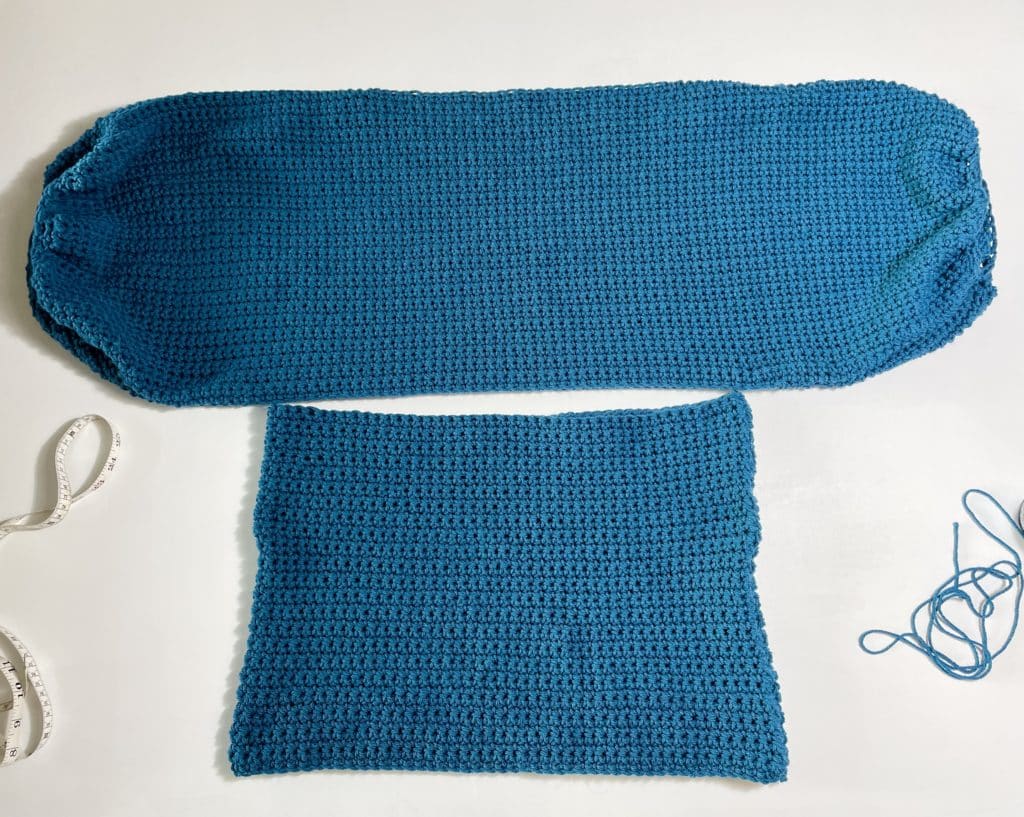
Make 2 panels 36” X 12”.
(For the 3rd panel make it 3” smaller in width.)
Make 1 panel 36” X 9”
Pattern
Chain 115 (or an odd number) for approximately 36”.
Panels 1 & 2:
ROW 1: Starting in the 2nd chain from hook, work SC for a total of 114 total stitches. CH 1 and turn. Repeat for Approx 48 rows or 12”.
Panel 3
ROW 1: Starting in the 2nd chain from hook, work SC for a total of 114 total stitches. CH 1 and turn. Repeat for Approx 40 rows or 9”.
At the end of each panel cut yarn, secure the last stitch by pulling it through the loop to create a knot then weave in the end with a tapestry needle.
Construction
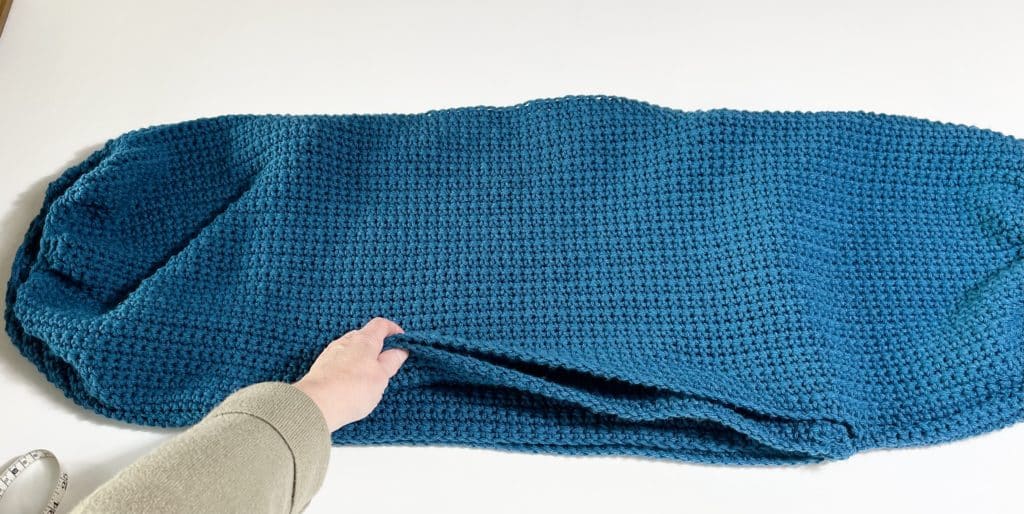
On a flat surface lay out Panel 1 and Panel 2 one on top of the other.
Fold in half and insert a stitch marker through both panels at the midway point.
Unfold and lay flat. With stitch markers attach all four corners of the panels together. Depending on how well your panels match up you might have to do a little stretching to match. As long as your initial chain count on both panels are the same you’ll be fine.
The next measurement you will need is for the neck opening. I measured from bra strap to bra strap for 14”.
From the marked center on the panels measure 7” on each side for a total of 14”. Mark with stitch markers matching the panels together stitch to stitch. Using a large tapestry needle and enough yarn to complete the seam, secure the yarn with a knot at the corner and leave a tail long enough to weave in and join the panels together using a blanket stitch starting at the corner and ending at the stitch marking the neck opening. Repeat on the other side. Secure and weave in the ends.
With the top seams finished, try on the sweater and estimate how tight or how loose you would like the bottom opening to be. Mark one side of the bottom with a stitch marker with your size estimation. It’s better to estimate large because it is easier to take in the seams than to let them out and you want to make sure it fits over your shoulders. For my sweater I counted in 25 stitches or approx. 10” from the sleeve edge on each side.
Match the panels and stitch together.
Try it on again and make any adjustments.
With the tapestry needle weave in the ends.
Fold Panel 3 in half. Match up the ends, secure with stitch markers and blanket stitch together. Weave in ends and set aside.
Sleeves
Starting at the bottom seam of the sleeve, choose the first chain space and insert hook and slip stitch yarn into place.
Row 1: Work 1 Single Crochet into each chain space only (48). Join to first stitch with a Slip stitch, Chain one and turn.
Row 2: Single Crochet into every other chain (24). At the last stitch join the first stitch with a slip stitch, chain one and turn.
Row 3: Single Crochet one into each stitch (24) Join with a slip stitch. Tie off and weave in tails.
Attaching Panel 3
Layout flat finished panels 1 and 2 seam side or wrong side out.
Layout panel 3 seam side in or right side out.

Fold panel 3 in thirds and insert into the bottom of panels 1 and 2 unfold and smooth into place.
Match the seam of panel 3 to the underarm seam of panels 1 and 2. Ease in to fit securing with stitch markers every ten stitches. Cut a piece of yarn twice the length of the seam and blanket stitch together.
Remove stitch markers, turn right side out and weave in any remaining ends.
A complete video tutorial is available on my YouTube channel Sugar Joye!
Thank you so much for stopping by and if you are on Instagram make sure to tag your sweater with #daisyfarmcrafts I would love to see it!
Cheers!
Cyndi aka Sugar Joye