Hello there, it’s Hannah. Over Christmas break I went snowshoeing with my aunt and her kids in Rocky Mountain National Park and I realized that I don’t own any smaller neck warmers that are easy to wear under a big winter coat, so this week I made some 😊.
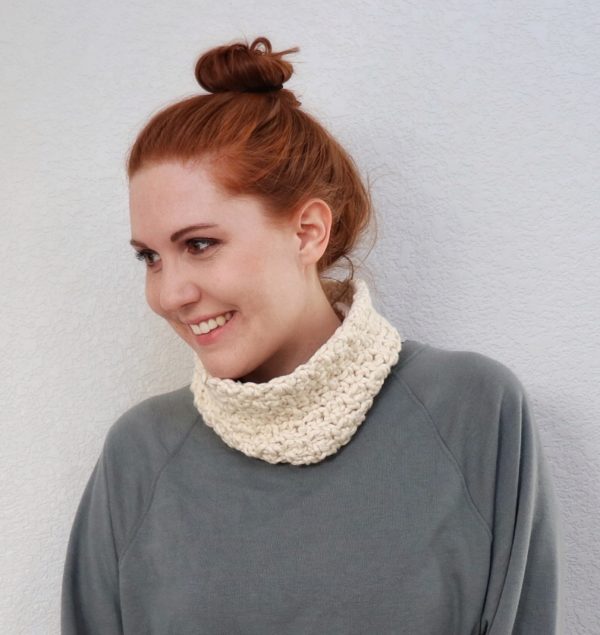
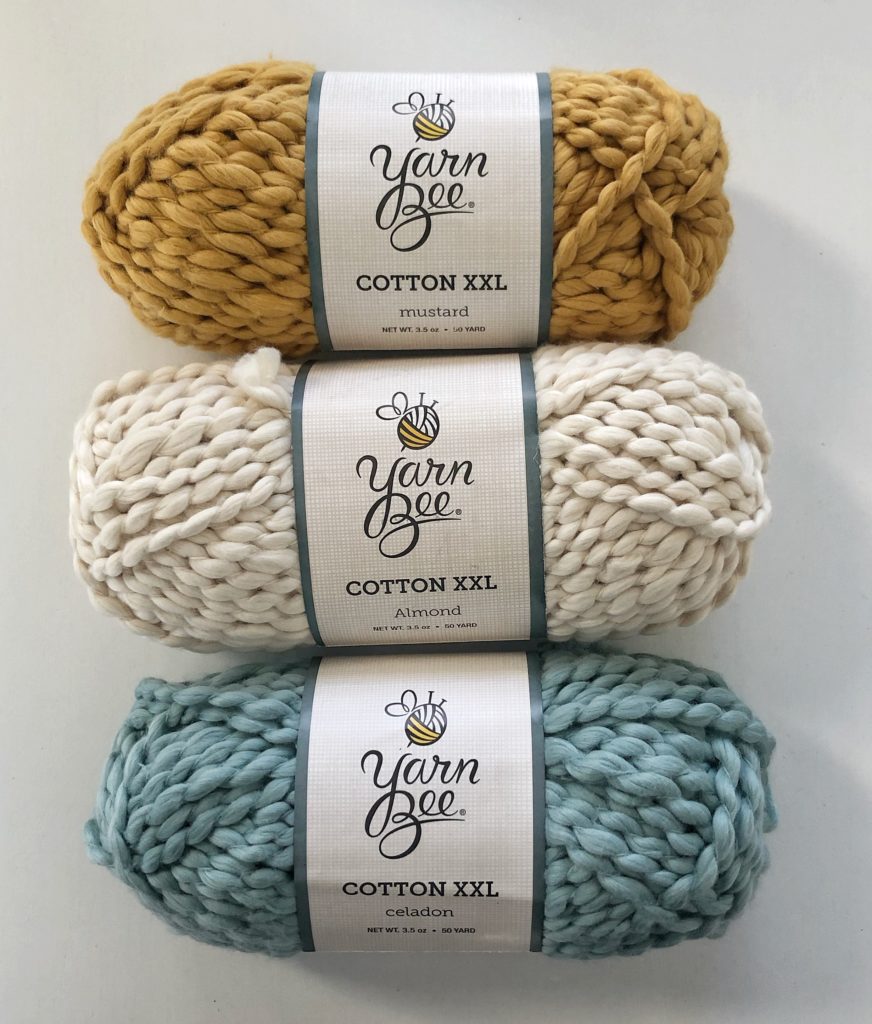
I used some Yarn Bee Cotton XXL yarn from Hobby Lobby and they turned out amazingly soft and comfortable! I used almost exactly one ball of yarn for each neck warmer, so if you want to make one that is a little thicker or looser you’ll want to buy more than one ball.
This was the first time I’ve used this yarn and I really loved working with it; my only tip would be to make sure that you give yourself lots of slack as you are crocheting because sometimes if the yarn gets pulled too tight then it gets untwisted and puffs out. But if this happens, don’t panic, just try to twist it a bit yourself as you crochet it and it will still blend in fine with the chunkiness of the rest of the yarn. 🙂
This pattern uses the moss stitch, which is a simple combination of single crochet and chaining one. If you’ve never used this stitch before and would like to see how it works before you get started, here is a video made by my mom to show you how!
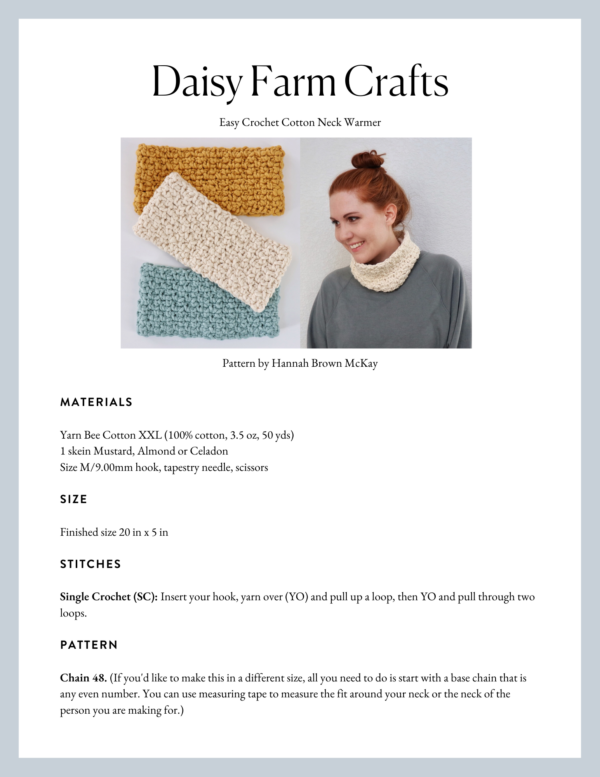
Materials
Yarn Bee Cotton XXL (100% cotton, 3.5 oz, 50 yds)
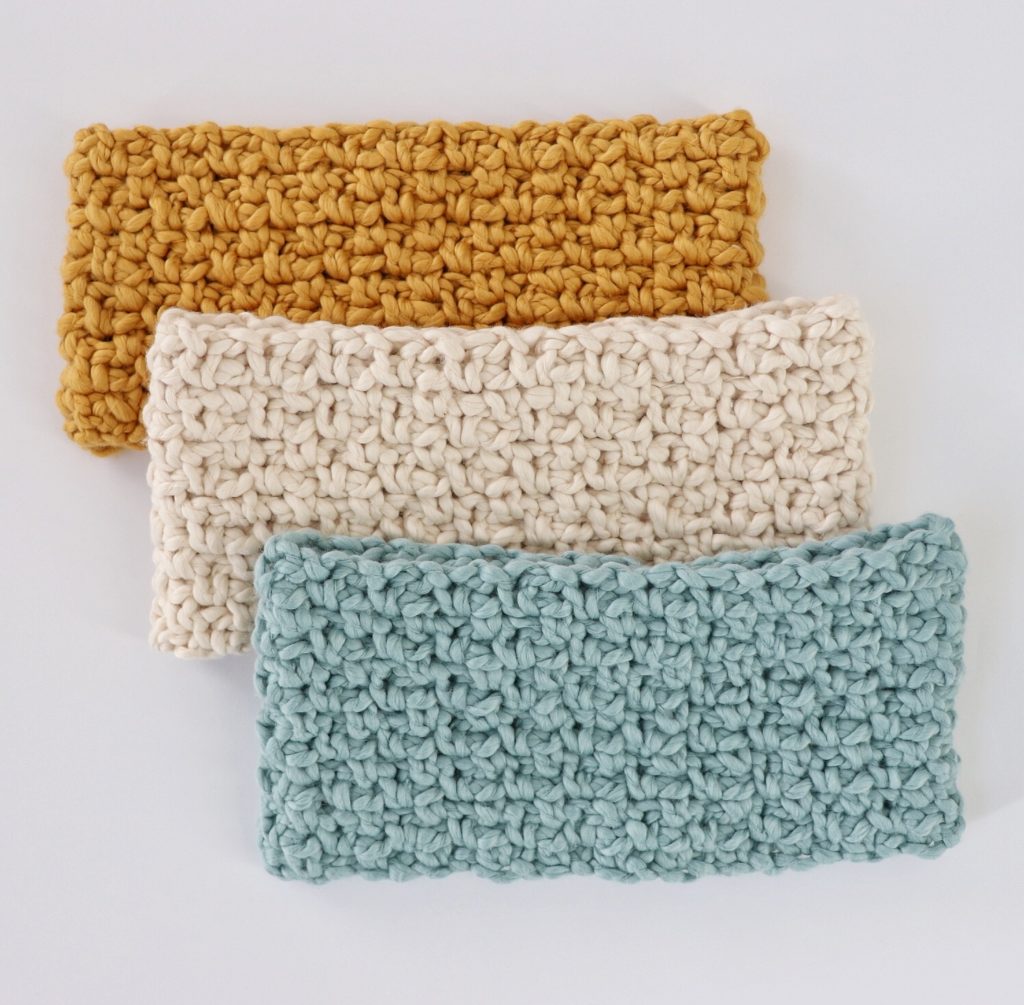
1 skein Mustard, Almond or Celadon
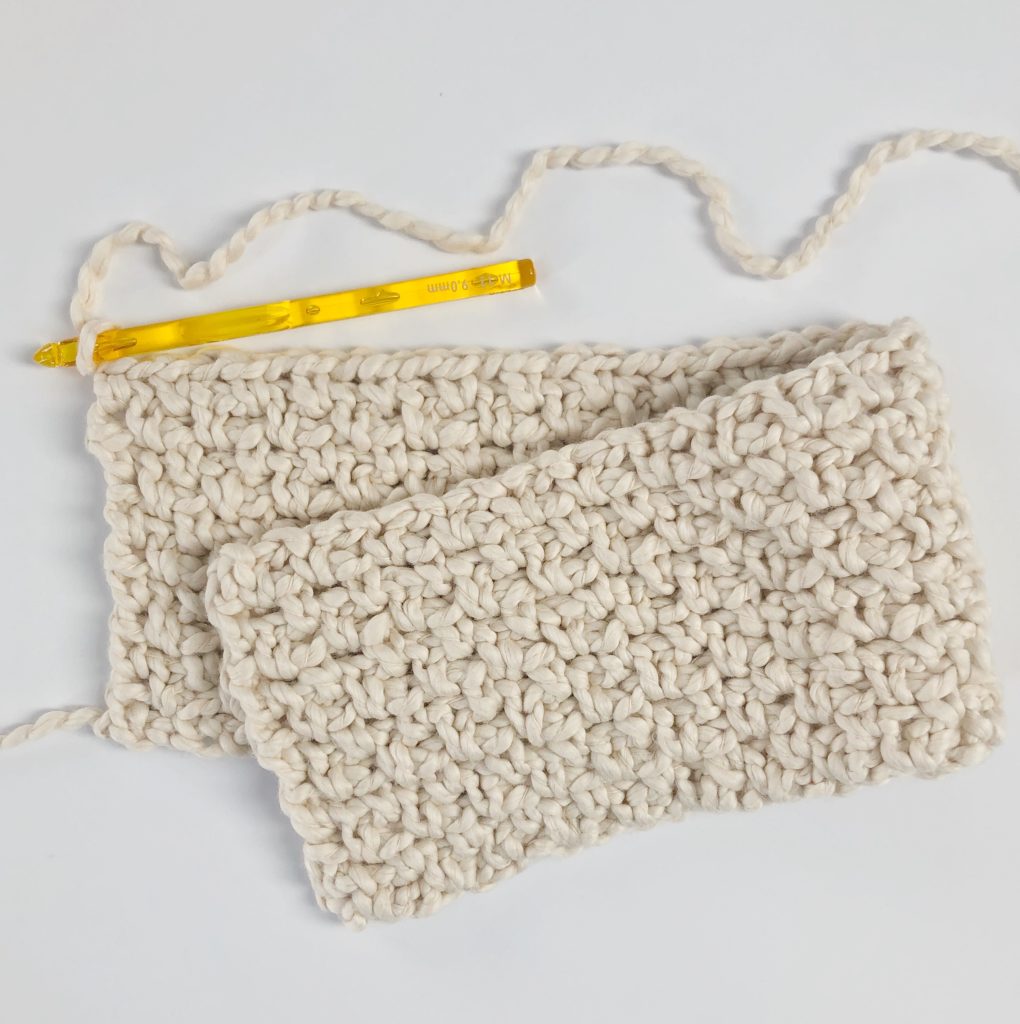
Size M/9.00mm hook, tapestry needle, scissors
Size
Finished size 20 in x 5 in
Stitches
Single Crochet (SC): Insert your hook, yarn over (YO) and pull up a loop, then YO and pull through two loops.
Pattern
Chain 48. (If you’d like to make this in a different size, all you need to do is start with a base chain that is any even number. You can use measuring tape to measure the fit around your neck or the neck of the person you are making for.)
ROW 1: Starting in the 4th chain from the hook, work a SC, CH 1. Skip the next chain then work another SC, CH 1. Continue working SC, CH 1 in every other chain. You should end with one SC in the last chain. CH 2 and turn.
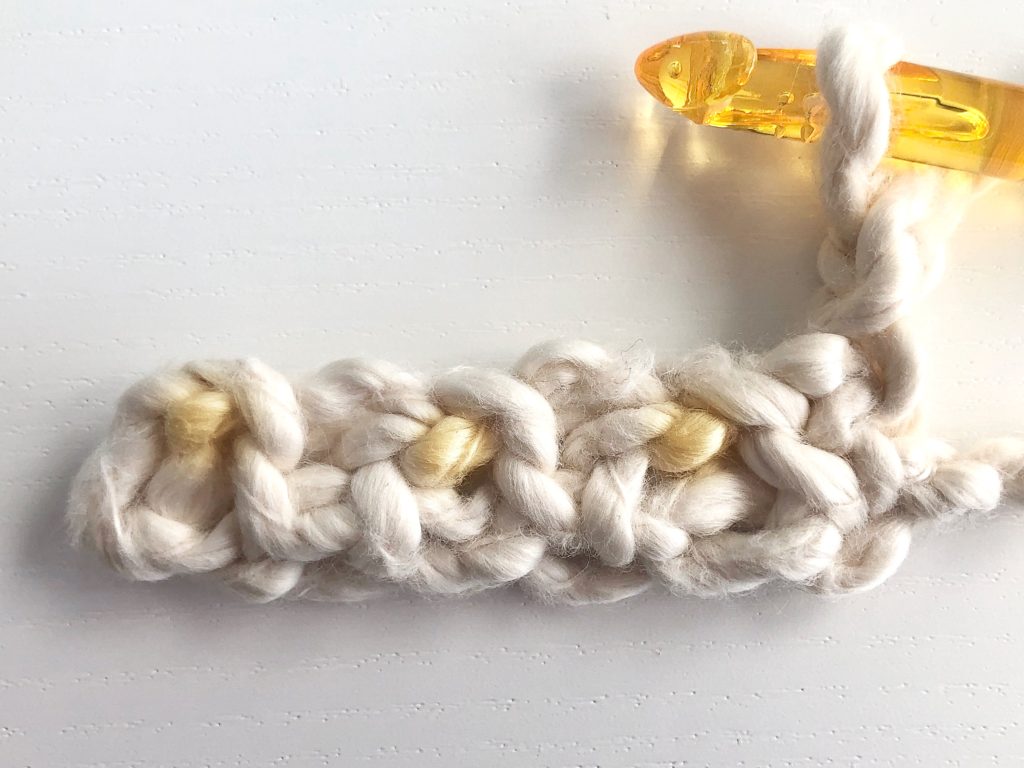
(Tip: If after working this row your base chain is too saggy, you can try working it again by inserting your hook underneath the top two loops of the chain instead of just the top loop. See the yellow highlighted loops in the picture below to see what I mean.)

ROW 2: Work a SC, CH 1 into the chain one space of the row below (in the space underneath the 4th chain from the hook). Skip the next stitch, then work a SC, CH 1 in the next chain one space. Continue working SC, CH 1 into the all the chain one spaces from the row below. End with a SC that is between the last stitch and the turning chain of the row below. Then chain 2 and turn.
Repeat row 2 until you have eleven rows.
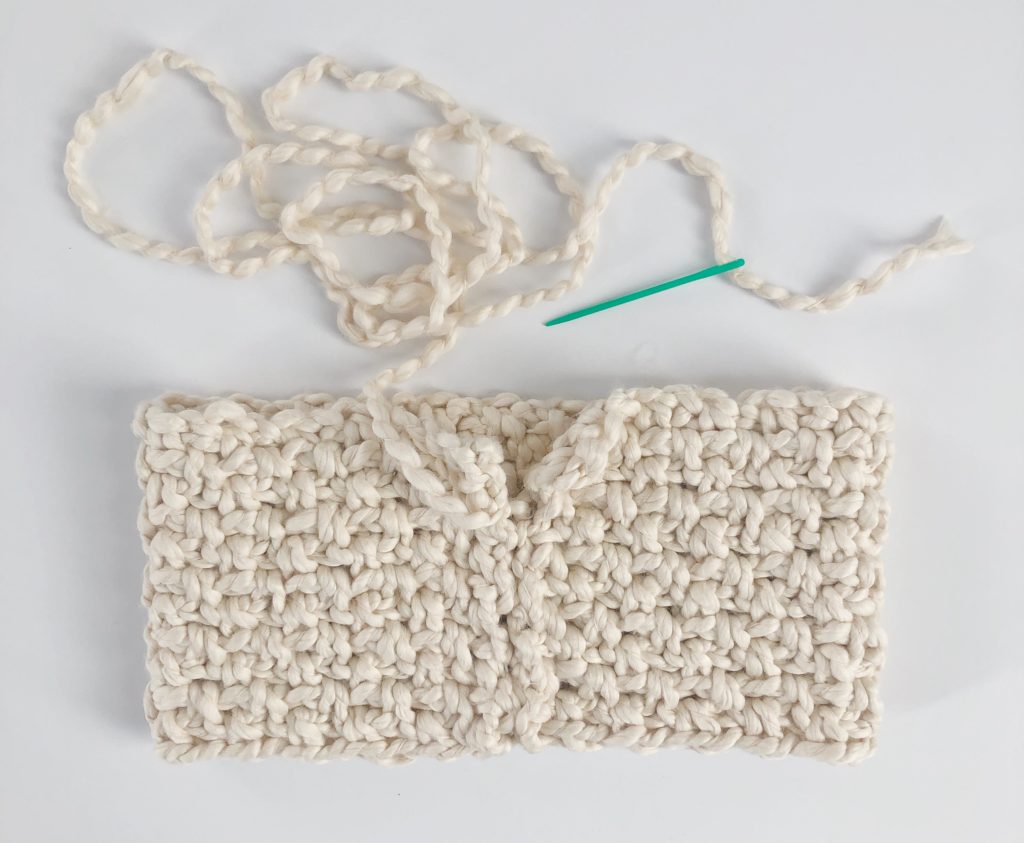
Then use the yarn you have left to sew the two sides together with a tapestry needle. After I sewed up the side, I had enough yarn to go back down the side again, so I did, just to keep it extra secure. Then I hid my ends by weaving them into the scarf with my tapestry needle.
And that’s all you have do to make a super cozy neck warmer!
Thank you so much for stopping by Daisy Farm Crafts and best of luck with your project! When you’re finished with your neck warmer please come share a picture with us on Facebook or Instagram using #daisyfarmcrafts, we’d love to see!
xo, Hannah
Click here or on image below for printable pattern