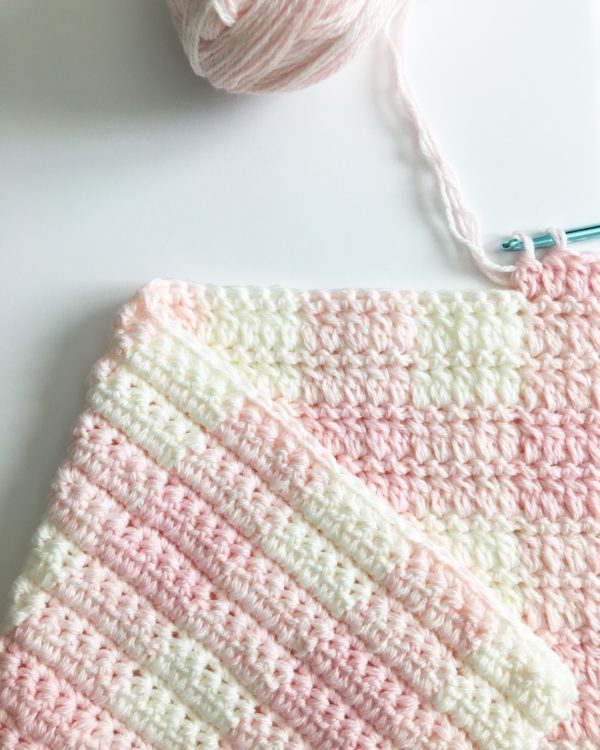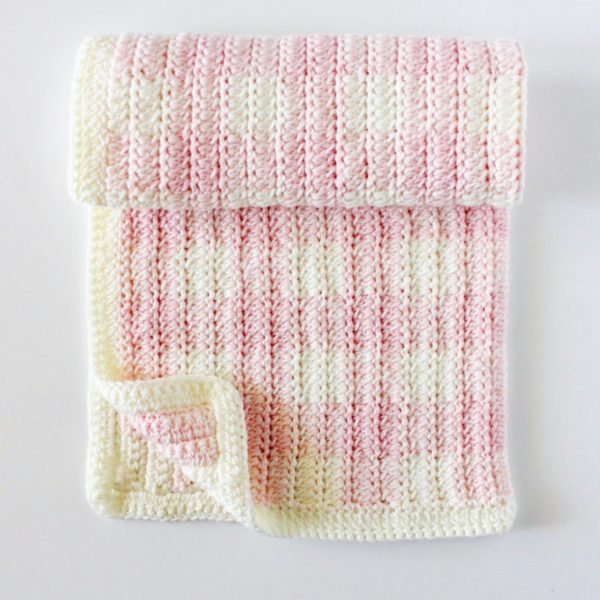
I wanted to solve a few problems I’ve been coming across with my other gingham blankets. A common complaint I receive is that the yarn being carried shows through so to solve that, I used a bulkier DC2tog cluster stitch to help disguise the yarn. The other issue was the amount of time it takes to make a blanket using all SC. (Okay, I had no idea so many crocheters did not like all SC blankets! lol!) So again, the DC2tog cluster helps move this project right along. I worked on this every night for about an hour and was finished in about a weeks time.
I have gone one step further and created a perfect way to shade the yarn to really get the gingham look by combining colors together. It also helped to bulk up this very delicate Paton’s Beehive Baby Sport Yarn that I used.
This is a winning blanket all around!

Materials
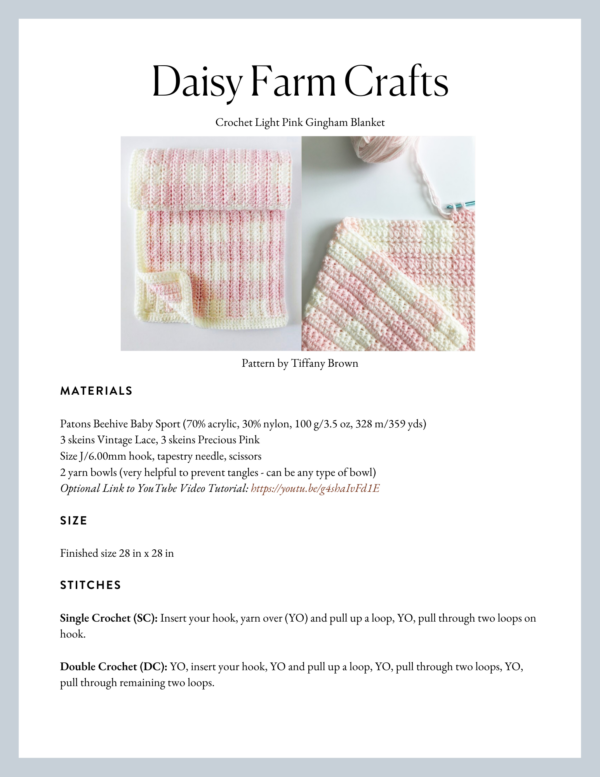
Patons Beehive Baby Sport (70% acrylic, 30% nylon, 100 g/3.5 oz, 328 m/359 yds)
3 skeins Vintage Lace, 3 skeins Precious Pink
Size J/6.00mm hook, tapestry needle, scissors
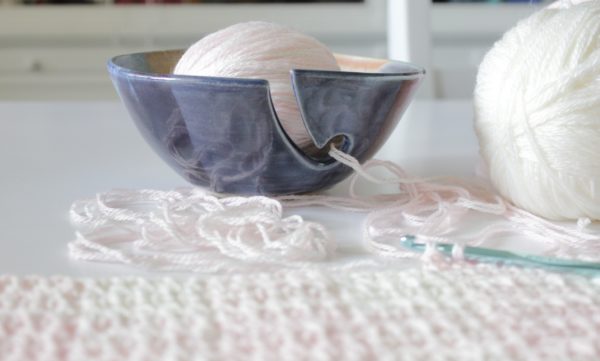
2 yarn bowls (very helpful to prevent tangles – can be any type of bowl)
Size
Finished size 28 in x 28 in
Stitches
Single Crochet (SC): Insert your hook, yarn over (YO) and pull up a loop, YO, pull through two loops on hook.
Double Crochet (DC): YO, insert your hook, YO and pull up a loop, YO, pull through two loops, YO, pull through remaining two loops.
Double Crochet 2 Together (DC2TOG) Cluster: YO, insert your hook, YO and pull up a loop, YO, pull through two loops. YO, insert your hook into same space, YO, pull up a loop, YO and pull through two loops. YO and pull through all loops on hook.
Pattern
First, before you start, take two Precious Pink skeins, find the end usually stuffed in the middle of the skein, and wind the two skeins together into one giant ball. Do the same with two of the Vintage Lace and then do the same with one Precious Pink and one Vintage Lace. (In the pattern I will call this the “twist” color.) Do not skip this step and pull from each skein. You will end up with a giant rats nest. (spoken from someone who did that…me!)

Put one of the skeins into a yarn bowl. (Or if you have two, use two! A regular cereal bowl works, too.) I happen to have been gifted this gorgeous bowl from a dear friend. She made this for me! I absolutely love it and it helps so much to have one to keep the yarn separated. You will see that the yarn twists on you and you’ll need to take the time to untwist after each row. (It’s a natural occurrence with this tapestry crochet technique.)
Chain 76 with Vintage Lace. (The pattern repeat is 5 + 1 in case you want to go bigger.)
Row 1: In the second chain from the hook, work one SC and then continue working one SC into the next 4 SC. Before you finish the last SC stitch, change color to the “twist” color by pulling through to finish the SC. SC into the next 5 chains with the “twist” working over and making sure you are carrying along the vintage lace. Before you finish the 5th SC with the twist pull through with the Vintage Lace. Continue alternating the colors every 5 stitches to the end. You should end with the Vintage Lace. Chain 2 and turn, wrapping and bringing along the “twist” with you. Just gently bring it around the end of the work.
Row 2: Into the first SC from the row below, work one DC. (This combines with the CH 2 turning chain to create your first DC2TOG cluster.) (Make sure the “twist” is being worked over.” In the next 4 stitches or SC’s from the row below, however you like to think about it, work one DC2tog cluster into each, stopping just before you finish the 5th one, and pulling up the “twist” you’ve been working over and pulling it through to change color. Work the next 5 DC2tog cluster in the “twist” and change back to Vintage Lace after 5 using the same technique. You always pull through with the new color just before you finish the 5th stitch. CH 1 and turn when you get to the end.
Row 3: Making sure to bring the “twist” around the side of your work, insert your hook into the first stitch and SC. SC into each stitch across, changing yarn color every five stitches as you did in row 1. CH 2 and turn.
Row 4: Repeat row 2, except pull through with the “twist” before chaining one and turning.
CUT and leave a 9 inch tail of the Vintage Lace.
Row 5: Working with “twist” SC the next 5 stitches, changing colors and pulling through with the Precious Pink. Alternate across, changing colors between the “twist” and Precious pink every 5 stitches.
Row 6: Repeat row 2 with the “twist” and Precious pink.
Row 7 and 8: Repeat row 3 and row 2. (A row of all SC followed by a row of all DC2tog Cluster alternating every 5 stitches with twist and precious pink)
CUT and leave a 9 inch tail of the Precious Pink and now repeat Rows 1- 8 6 more times.
Border
Weave in all ends before starting the border. Pull up a loop in any corner and work one SC. Work a SC around into each stitch around the entire blanket, working 3 into each corner and working 2 into the side posts of the DC. Finish with working 2 SC into the corner you started in, to make it 3. Chain 2 and turn. Work one DC into the same space as the turning chain. Work DC2tog in each stitch around, working 2 sets of DC2tog in each corner.
Slip stitch into the starting DC2tog, chain one and turn. SC around into each stitch one last time, working 2 SC into each of the corner DC2tog stitches. Slip stitch into the first stitch, cut, and weave in all the ends.
To make your blanket look really nice, lay it out on a towel and lightly spray with water and finger block the wrinkles and press the corners to adjust your tension. Let it dry overnight. Now step back and enjoy your work!
I made a video clip explaining a few more things about the gingham pattern also I demonstrate the DC2tog stitch for you.
Thank you for stopping by! If this is your first time seeing this gingham technique, I encourage you to click here to see one of my other gingham blankets and learn more about the technique. (or click this one. ) If you are a beginner, I highly encourage you to do a sample swatch of this pattern before starting. Just work a chain of 15 + 1 and practice the stitch and changing colors. Become very familiar with this technique before starting in on a big blanket. You also will want to get your tension worked out. You don’t want this too tight.
If you have any questions about this gingham crochet blanket, please see my Crochet Gingham Blanket Frequently Asked Questions post. And when you finish your project, please share and tag me on Instagram or Facebook! I’d love to see!
xo, Tiffany

