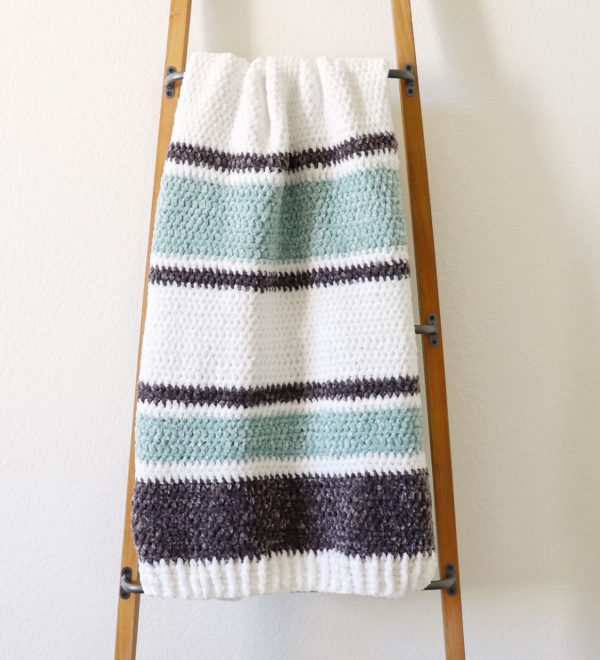
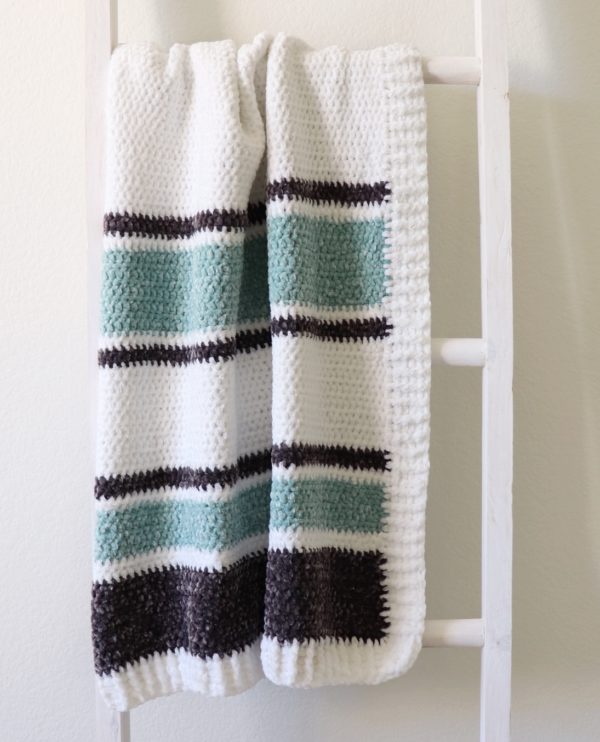
Hey there, it’s Tiffany’s daughter, Nicolina! I made another blanket using Bernat Baby Velvet and I love how it turned out! Since this is now the third blanket I’ve made I was really able to focus on keeping my tension consistent and my edges straight as I went along. I also learned how to do a ribbing border for the first time which was really fun!
My mom and sisters and I love Bernat Baby Velvet because it’s sooooo amazingly soft and luscious, but like most amazing things, it’s not without its challenges. If you’ve never used the velvet yarn before, here are a few rules to consider before you get started that will help things go more smoothly:
-Don’t pull from the middle! For whatever reason, every time we’ve tried pulling yarn from the middle of the skein while we are crocheting it always ends up getting tangled; things go much better when we pull the yarn from the outside of the skein. I like to roll the whole skein into a ball before I even start crocheting, but if you don’t want to do that, you can just pull from the outside of the skein and you’ll be fine.
–Choose a tight stitch! After making a few velvet blankets, so far we really like using half double crochet worked in between each post and under all three loops the HDC makes. It is hard to see where to insert your hook into the tops of stitches with velvet. We also like the front post or back post DC. Any stitch basically that eliminates working into the top of a stitch is turning out to be our favorite with velvet. This blanket uses both of those stitches, which I will explain below!
-Keep your tension tight! I tend to be a loose crocheter in general, so I have to really pay attention with this yarn to make sure my tension stays tight the whole time to avoid any loose loops coming up! When it comes to velvet, the tighter the stitches the better.
If you follow those three rules, I think you’ll have much better luck with your velvet project!
And here is a video for the HDC stitch used in this blanket if you want to watch before you get started!
Materials
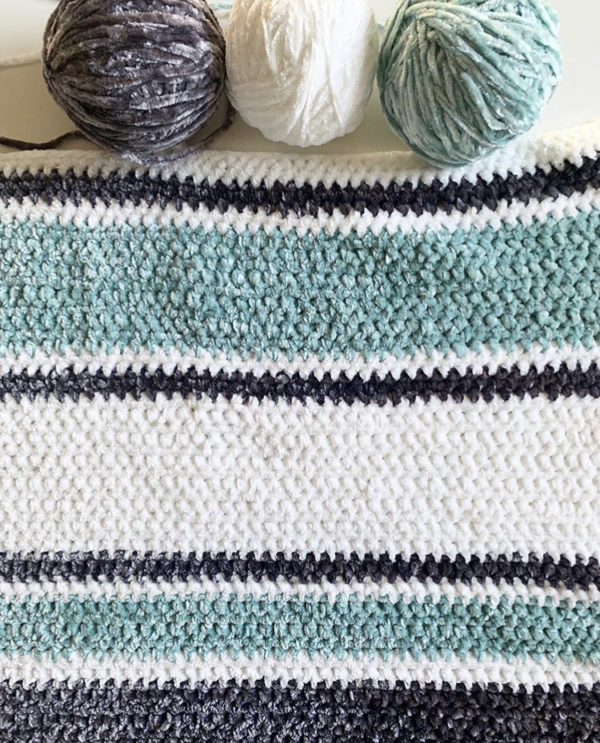
Bernat Baby Velvet (100% polyester, 300 g/10.5 oz, 450 m/492 yds)
2 skeins Snowy White, 1 skein Tiny Teal, 1 skein Vapor Gray
Size H/5.00mm hook, tapestry needle, scissors
Size
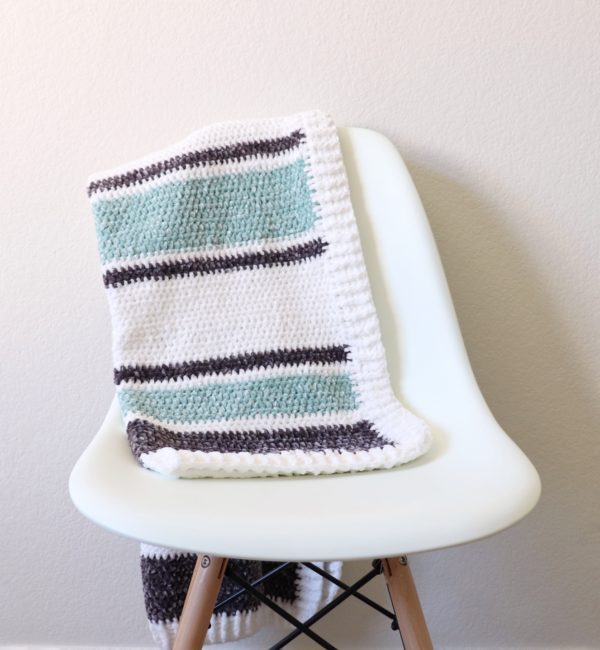
Finished size 28 in x 48 in
Gauge 4 in = 12 st and 12 rows of WHDC
Stitches
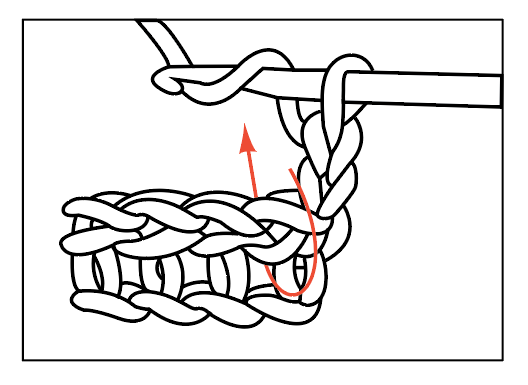
Half Double Crochet (HDC): Yarn over (YO), insert your hook, YO and pull up a loop, YO and pull through three loops.
Wide Half Double Crochet (WHDC): Yarn over (YO), insert your hook between stitch posts, YO and pull up a loop, YO and pull through three loops.
Double Crochet (DC): YO, insert your hook, YO and pull up a loop, YO and pull through two loops, YO and pull through remaining two loops.
Front and Back Post Double Crochet (FPDC & BPDC): A front post DC means you insert your hook from front to back around the post of the next DC and work your DC. A back post DC means you insert your hook from the back to the front and work a DC.
Pattern
Chain 75 with Vapor Gray. (There is no pattern repeat, so you can chain any number to make your blanket bigger or smaller.)
Row 1: Starting in the 3rd chain from the hook, work 1 HDC in each chain. CH 2 and turn.
Row 2: Work 1 WHDC in each space across the row. Be sure not to miss the last stitch between the last post and the turning chain. CH 2 and turn.
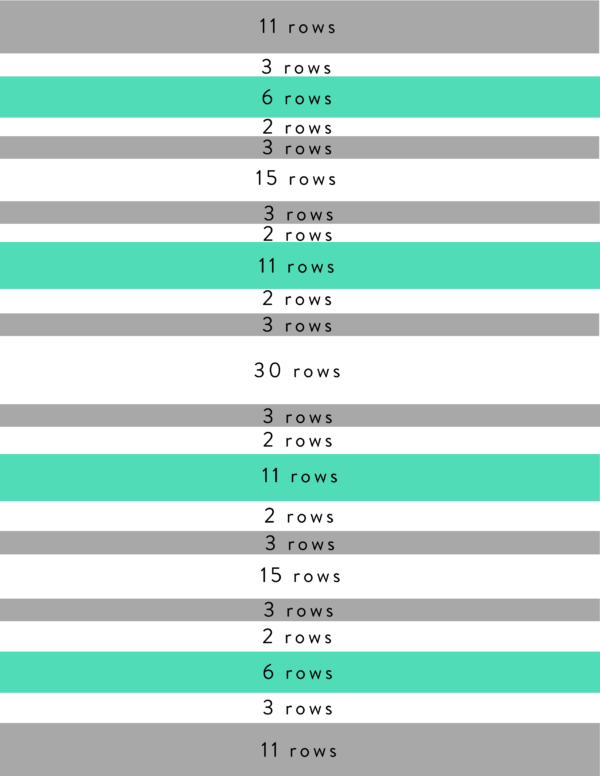
Row 3 and remaining rows: As row 2 (for the stitch). Below is a list of how many rows worked in each color.
11 rows gray, 3 rows white, 6 rows teal, 2 rows white, 3 rows gray, 15 rows white, 3 rows gray, 2 rows white, 11 rows teal, 30 rows white, 3 rows gray, 2 rows white, 11 rows teal, 2 rows white, 3 rows gray, 15 rows white, 3 rows gray, 2 rows white, 6 rows teal, 3 rows white, 11 rows gray.
Note: This blanket turned out a little longer than I intended so the size is more like an end of bed blanket, but if you want to make it more square, you can do less rows for the white section in the middle.
If you haven’t ever changed colors before, don’t be afraid. Just before you finish the stitch of the last row of color, stop and don’t finish the last step of the stitch. Lay the new color over your hook and pull through. Then chain 2 and turn and begin working with the new color. Cut the old yarn with a long enough tail to weave in later.
Border
Round 1: With white, pull up a loop in any corner and chain 3. DC around the entire blanket, working 3 DCs into each corner stitch.
Rounds 2 – 4: When you reach the corner you started with, work 3 DCs into the corner, then go around the blanket again, this time alternating front and back post double crochet. When you get to the corners of this row, you will want to continue the pattern of alternating front and back post double crochet, but you will work three stitches around the corner post.
So, for example, if you get to the corner post and you are supposed to work a front post DC, then work a front post DC, a back post DC, and a front post DC all around that corner post. Then in the next stitch you would continue the alternating pattern, working the opposite of whichever stitch you just used (in this example, you would work a back post DC).
When you reach the corner you started with, slip stitch into the corner and tie off.
Thank you for stopping by our website! We absolutely love sharing our designs with you. If this is your first time here, hello and welcome! I hope you come and find us on Instagram where we are sharing our latest works in progress and bit about how we come up with new ideas. – Nicolina
Click here or on image below for printable pattern
![]()