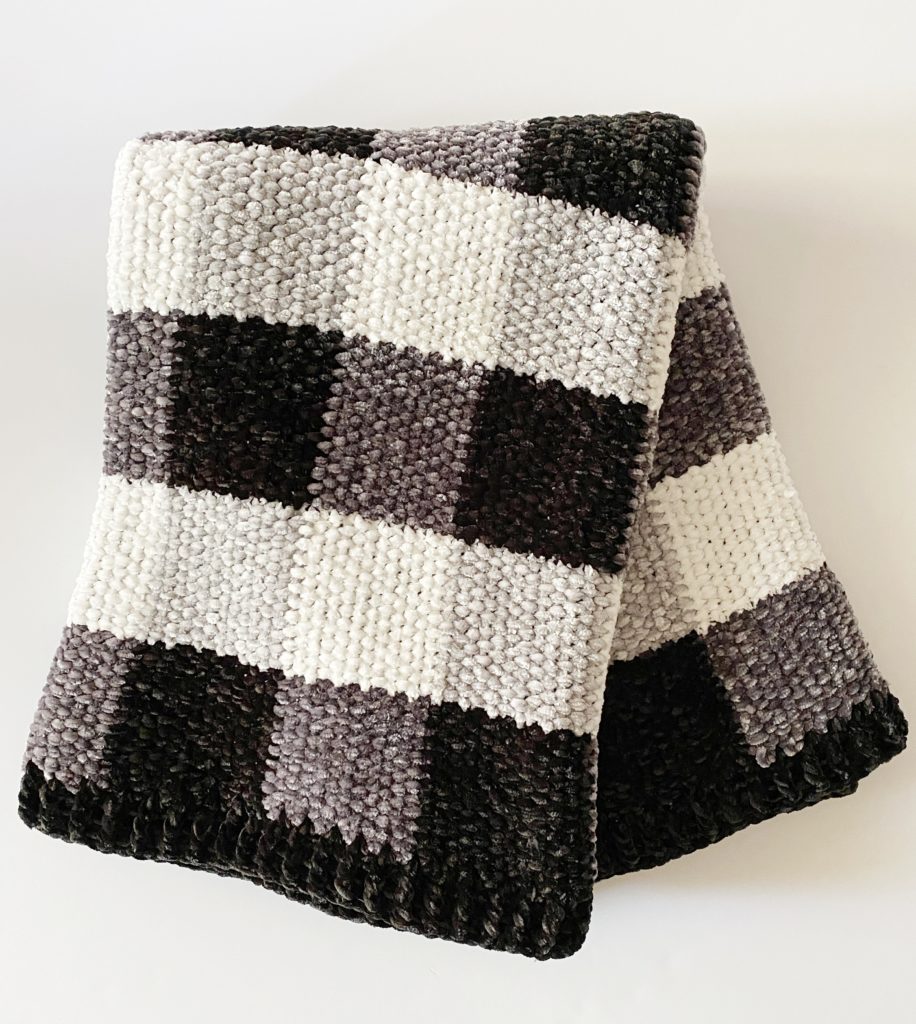
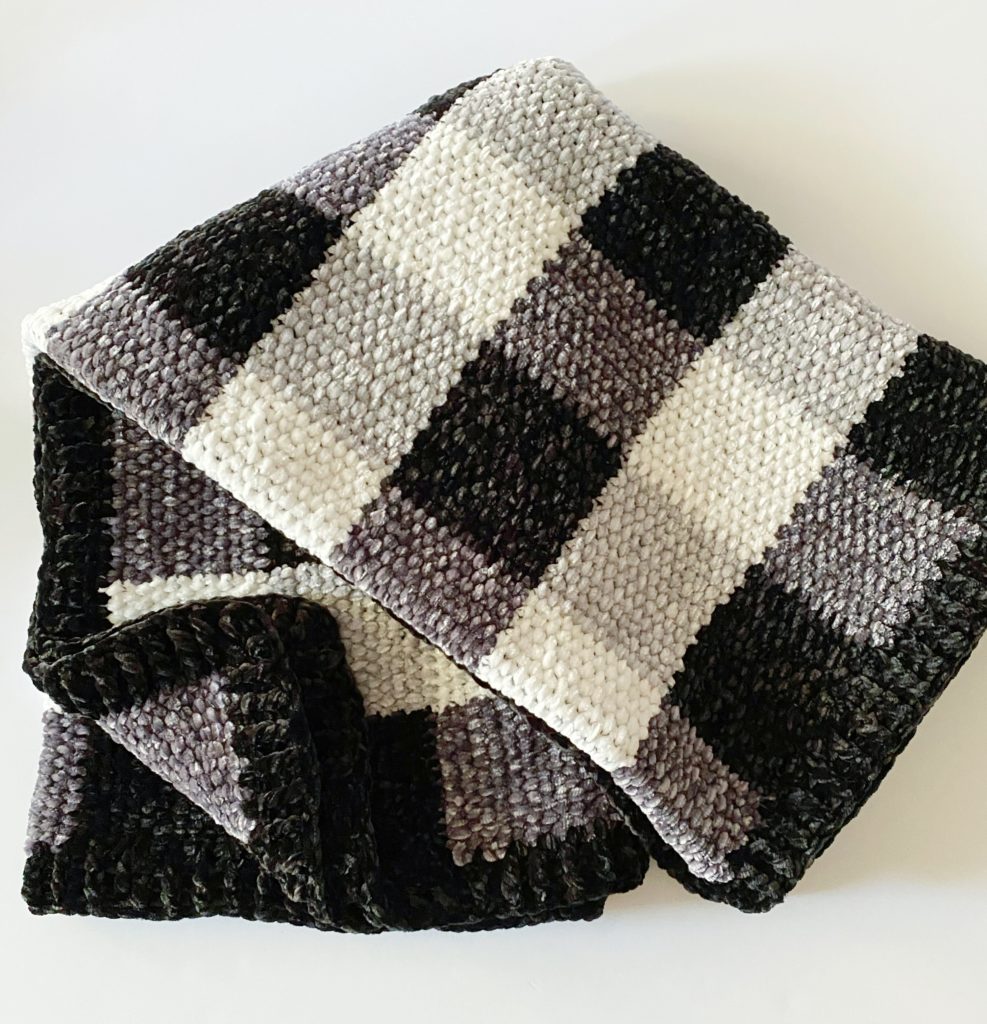
I crocheted a buffalo check gingham throw in velvet and I’m in love. This will be a hard one to give away. But, it is going to a dear friend who loves black and white and I’m excited for her to have it.
It is warm and a bit heavy. It feels like it could pass as a weighted blanket. It is very luxurious and I’m glad my friend will be using it as a decorative throw and a lap blanket because this is a hand-wash only yarn. (You could use Bernat Baby Velvet as a substitute if you need a washable velvet, but baby velvet does not come in black and these shades of grey.)
Working with velvet has its challenges. We have written a post about how to successfully crochet with velvet yarn, and if this will be the first time working with it, I recommend reading through our journey. Also, I really recommend a practice swatch.
We have a video tutorial at the end of the post you can watch if you like visual help.
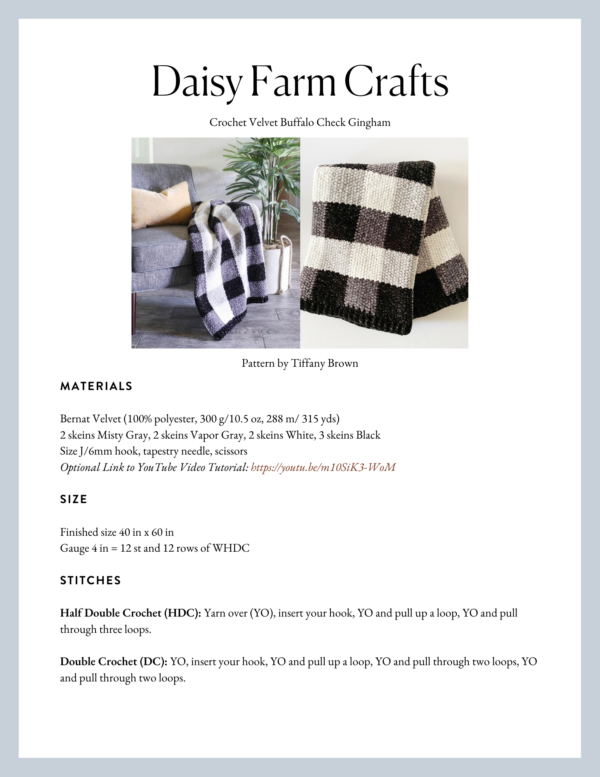
Materials
Bernat Velvet (100% polyester, 300 g/10.5 oz, 288 m/ 315 yds)
2 skeins Misty Gray, 2 skeins Vapor Gray, 2 skeins White, 3 skeins Black
Size J/6mm hook, tapestry needle, scissors
Size
Finished size 40 in x 60 in
Gauge 4 in = 12 st and 12 rows of WHDC
Stitches
Half Double Crochet (HDC): Yarn over (YO), insert your hook, YO and pull up a loop, YO and pull through three loops.
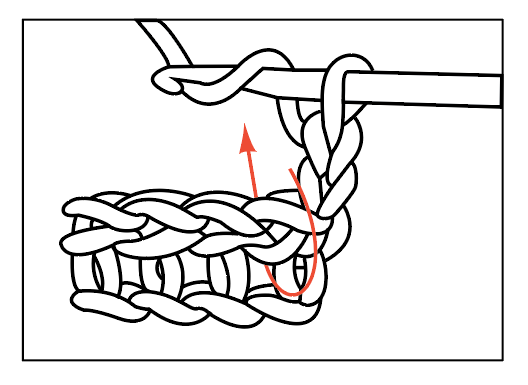
Wide Half Double Crochet (WHDC): YO, insert your hook between stitch posts, YO and pull up a loop, YO and pull through three loops.
Double Crochet (DC): YO, insert your hook, YO and pull up a loop, YO and pull through two loops, YO and pull through two loops.
Front and Back Post Double Crochet (FPDC & BPDC): A front post double crochet means you insert your hook from front to back around the post of the next DC and work a DC. A back post double crochet means you insert your hook from back to front around the post of the next DC and work a DC.
Pattern
Chain 110 with Vapor Gray. (To make this a different size, multiply an odd number by 12, then add 2.)
ROW 1: Work 1 HDC in the third chain from the hook. Work 1 HDC in each of the next 11 chains. (12 HDC). On the 12th HDC, pull through with White. *Work 1 HDC in each of the next 12 chains carrying Vapor Gray along the row and crocheting over it. On the 12th HDC, pull through with Vapor Gray. Work 1 HDC in each of the next 12 chains carrying White along the row and crocheting over it. Repeat from * across the row. Chain 2 and turn.
Tip: Keep one color to the front of your work, and one color to the back to keep the yarn from twisting. Also, give the yarn you are crocheting over a little tug before changing to that color to make sure it’s laying flat against the row.
ROW 2: *Work 1 Wide HDC (WHDC) in each of the next 12 spaces crocheting over White yarn. On the 12th stitch, pull through with White. Work 1 WHDC in each of the next 12 spaces carrying Vapor Gray along and crocheting over it. Repeat from * across the row. Chain 2 and turn.
Repeat row 2 until you have 12 rows. On last stitch, pull through with Black. Cut White and Vapor Gray. Leave long tails to weave in later.
ROW 13: *With Black, work 1 WHDC in each of the next 12 spaces, pull through with Misty Gray on the 12th stitch. Work 1 WHDC in each of the next 12 spaces, carry Black along, change color to Black on the 12th stitch. Repeat from * across the row, making sure to crochet over Misty Gray and carry along. Chain 2 and turn.
Repeat ROW 13 until you have 12 rows of alternating Black and Misty Gray. Pull through with Vapor Gray on the last stitch. You may stop carrying the Mist Gray on the very last 12 stitches of the 12th row. Cut Misty Gray and Black.
Tip: To hide yarn that might still be showing through, you can reach your hook underneath the carried yarn from the row below to tuck it up against the bottom of a row to hide it further. (I show how in the video tutorial linked below.)
For the rest of the blanket: Repeat Rows 2 and Row 13 until you have 13 blocks of alternating colors.
Border
Weave in all ends before beginning the border.
Round 1: With Black, pull up a loop in any corner and work 1 HDC in each stitch around as evenly as possible. Work 3 HDC into each corner space. Join with a slip stitch to the first HDC, Ch 2 and turn.
Round 2: Work 1 DC into each HDC stitch around, working 3 DC into each middle HDC of the corners. Join with a slip stitch to the ch 2 turning chain, Chain 2 and turn.
Round 3: Work alternating front post and back post DC around each DC. Work 3 alternating FPDC and BPDC around the middle DC of the corner. Join with a slip stitch to the turning chain, chain 2 and turn.
Rounds 4 – 5: Repeat Round 3 making sure that you keep the post stitches facing the same direction to form a ribbed look. For example, if the post in the row before is facing toward the front of the work, work a FPDC around it to keep it facing forward and forming a line.
Join with a slip stitch at the end of round 5 and tie off and weave in the ends.
Tips on weaving in the ends with Velvet: Weave in as normal however I also tie a knot around a stitch or two to discreetly secure the ends further. The knots do not show. I also am weaving in longer than usual ends. Also, tie the two colors together on color changes at the end of the rows to further help secure the yarn before weaving in the ends further.
Do not machine wash this blanket. It is hand wash only. Do not put in a dryer, it is lay flat to dry only.
Here’s a link to the video tutorial for the blanket:
Thanks for coming by!
xo, Tiffany

Click here or on image below for printable pattern