Hello friends! Today’s post is written by my daughter Nicolina who designed this beautiful velvet throw for the Daisy Farm! Nicolina is a graphic designer and I asked her to write a bit about her process of coming up with the beautiful stripe pattern.
This is only her second crochet blanket she has made and I’m a proud crochet mom for sure! xo, Tiffany
Hi there! I’m Nicolina, Tiffany’s second-oldest daughter. I’m loving that my mom is letting me design with the gorgeous Bernat Baby Velvet yarn and teach me to crochet at the same time!
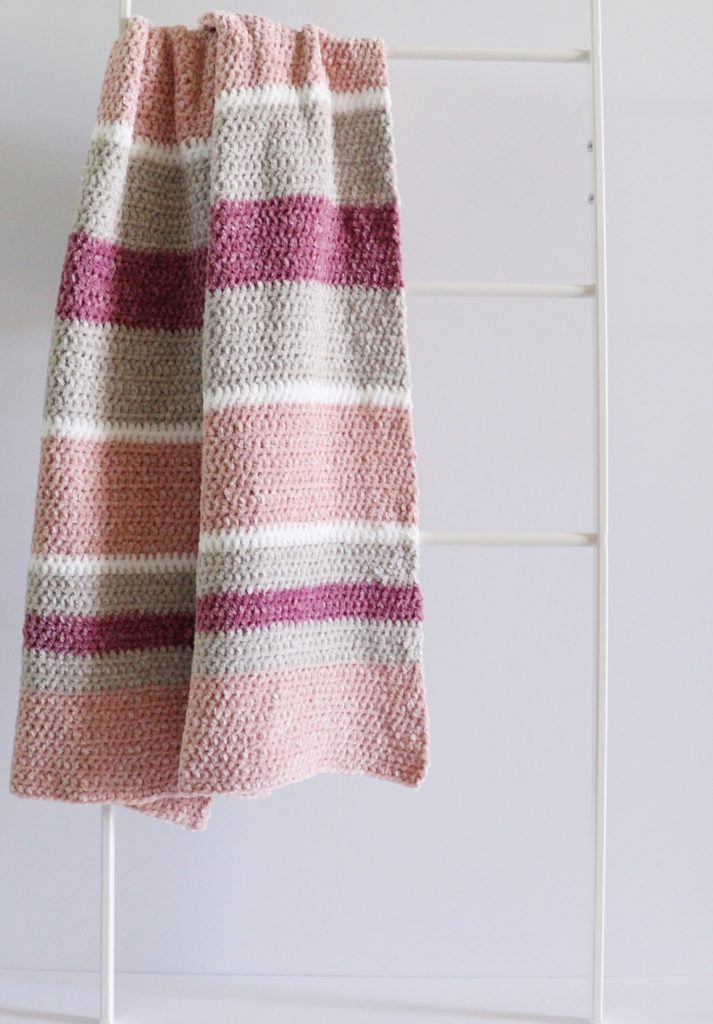
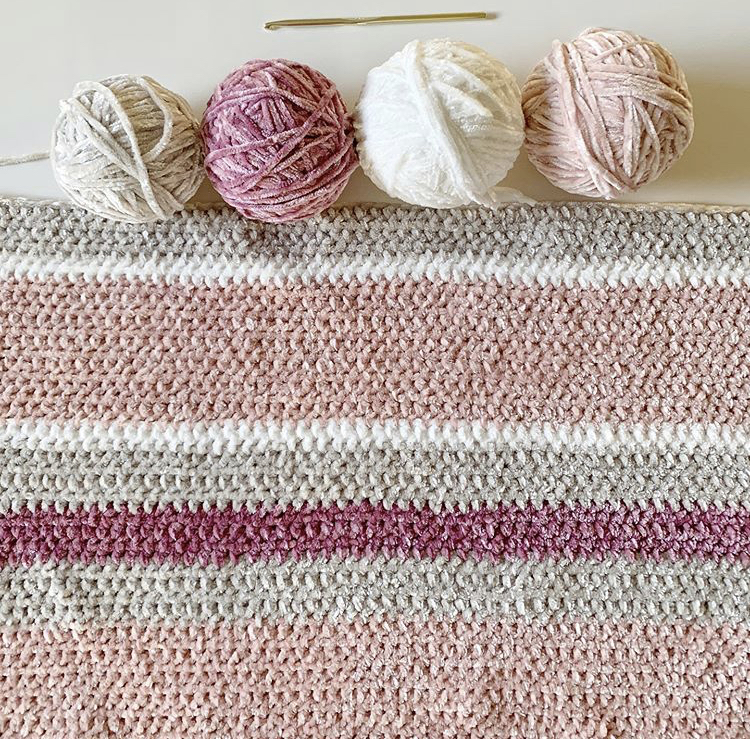
I started out by picking the colors I liked. I loved the light pink, dark pink and gray from the Bernat Baby Velvet line of yarn that we found at my local Michael’s. My mom has suggested that to help keep me motivated to finish the project, looking forward to color changes is helpful. So I definitely took her advice there and worked with the multiple colors I fell in love with.
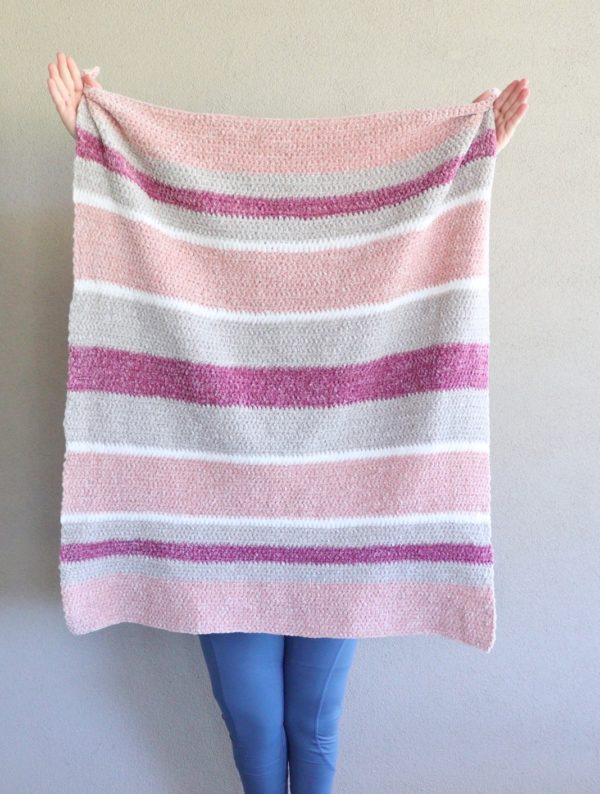
This is only my second blanket and with this one, I learned more about the importance of keeping your tension the same. My mom says it’s just something that will come after you make a lot of stitches. Your hands need to really learn how to evenly pull the yarn through them. I definitely struggled at the first few rows with too loose of tension, because as I finished the blanket and laid it out, I noticed the bottom was wider than that the top but I hadn’t missed any stitches. See the photo below:
So, while I learned how to keep the sides straight in the first blanket I made by not missing a stitch at the end of the row, I still didn’t have straight sides because my tension was too loose at first. It is an easier problem to fix and she will show you how at the end of this post.
I think I am more of a free-from crocheter though, because I really didn’t start with a plan, I just picked a color and started going. I started with the pink and worked a solid block, and when I felt like it was wide enough, I switched to gray.
But only a little after the gray I was like okay I’m ready to switch it up and I held up the dark pink and I knew it was a sure bet. I did a section of dark pink and I was like “woooowww okay that is looking good.”
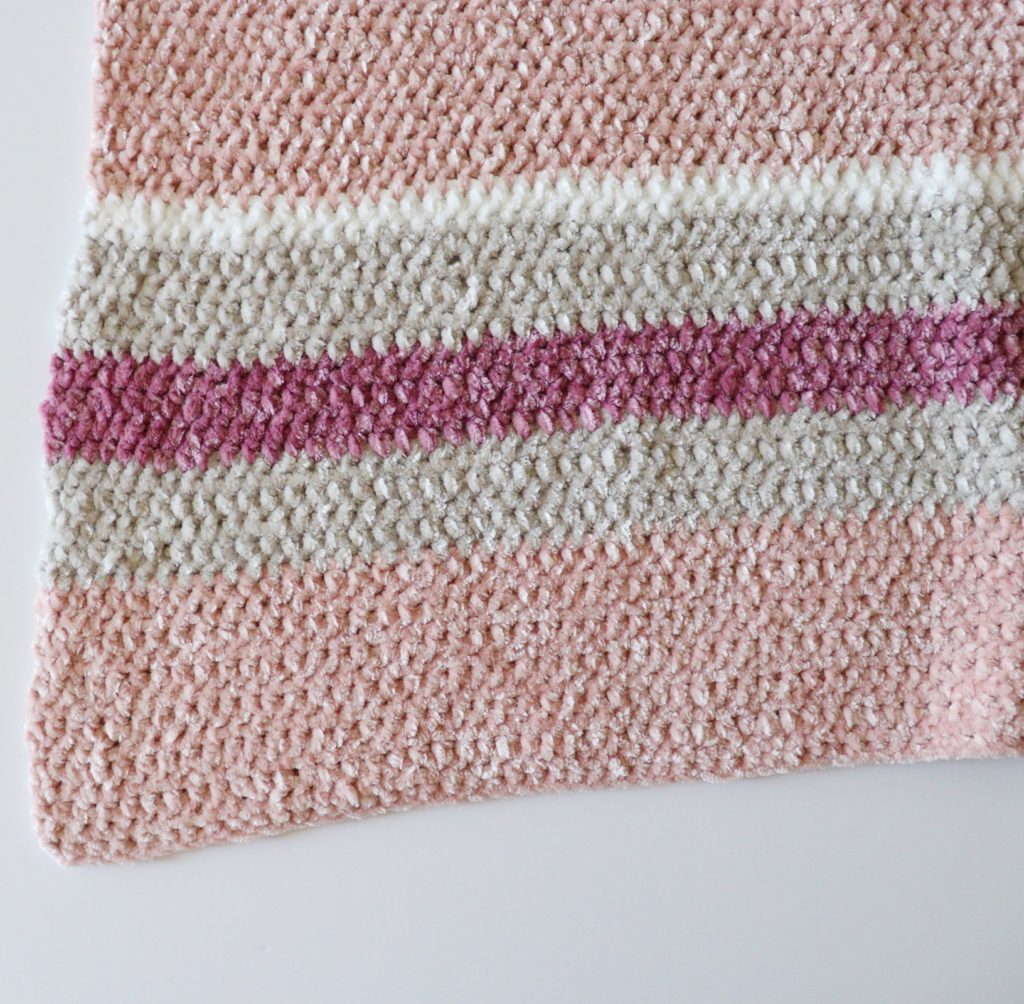
Again, I was ready to move on, but instead of a new color, I went back to GRAY. And all of a sudden I did a few rows and I said “HEY you know you could do kind of a pattern here. NOT too strict but it could be cool.” So I did the same amount of rows for gray.
And I paused. At first, I went for the pink but there just wasn’t enough contrast. I looked through all the yarn that I had and then I saw it WHITE. A beautiful bright white. So I did a row. And then one more. And I loved it. Just a small amount of white. Okay then here we are back at PINK! And this time I really had a pattern thing going. I thought “Okay I can just count the amount of pink I did at the bottom and repeat.”
And you know what? My mom was totally right about how changing colors being so motivating. Every night that I came home from work, I couldn’t wait to add a few new rows. (She will be shocked I said she was right about something so don’t tell her. lol!)
But in my heart knew that I couldn’t follow the same pattern over and over. So I had an idea. I could actually repeat what I just did but make it bigger! So a pattern within a pattern kind of formed and that got me excited even more. I could see a vision of how it would look so I started counting rows and paying attention and making sure I was doing the right amount.
I even did a tiny amount of math to figure out the ratio of the gray and dark pink rows on the repeating rows. Now I don’t really have a logical explanation for why I wanted to repeat the pattern bigger in the middle other than I have found through studying design that it’s good to have some rhythm. I like seeing different widths come together.
After that it was all good. I kept my pattern going and the blanket grew and so did my excitement. I really wanted to see what it would look like finished. I worked every day on it and finished in about two weeks time.
Alas, I am a beginner and I laid it out on a table and I was bummed about my too loose of tension at the start. But thank goodness for my mom who obviously knows how to fix these things so I gave the blanket to her so she could work her magic.
I’m aiming to crochet about a blanket a month and I have some fun ideas (again, nothing too planned) that will hopefully spark other ideas for the less rigid minded like myself who want to still have a little more room to roam in crochet.
Thanks all! xo, Nicolina
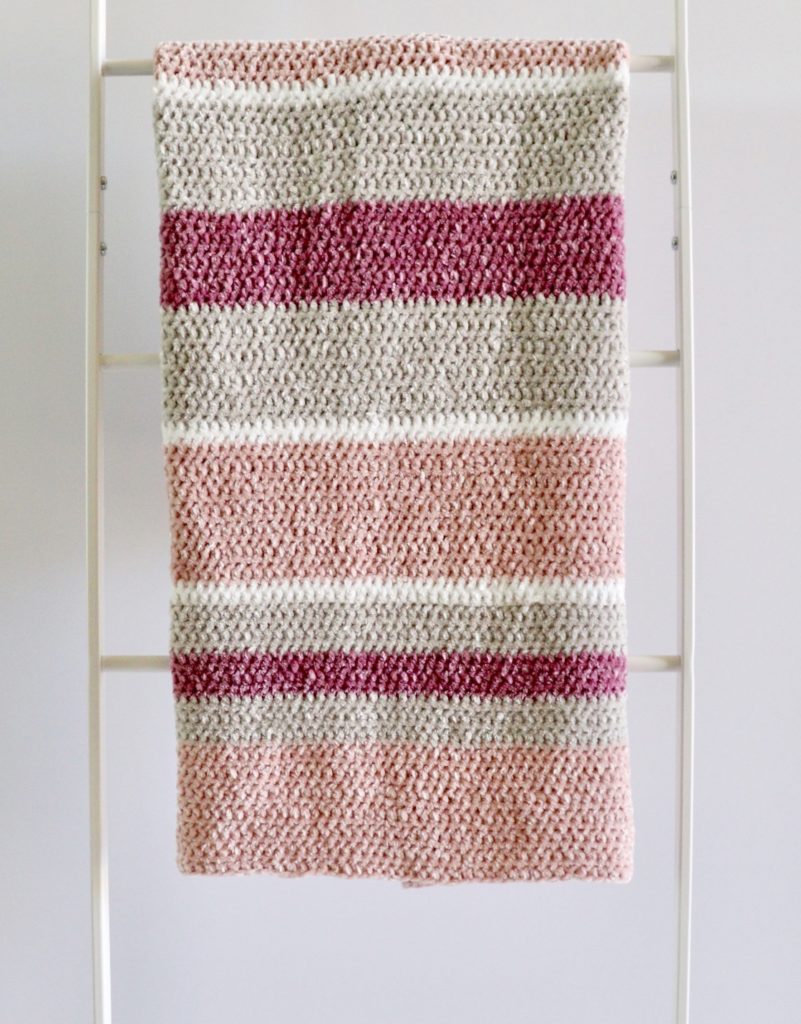
Thank you Nico! Watch this video below to show how I helped her blanket out at the end. Basically, I hand washed it, and laid it out on some blocking mats and pinned it straight and then let it dry. You can work some of the tighter tension loose and massage the looser parts to make the blanket more uniform. It still isn’t exactly perfect, but it really did make the blanket look a lot better and the pictures look awesome!
I don’t like beginners getting stressed out that their blanket isn’t perfect. No handmade blanket is ever perfect like a machine because we aren’t machines! But I love handmade blankets for that exact reason. And a little blocking can help a blanket have a prettier appearance and look a bit more even. It’s not a 100% fix, but it does make it look more finished.
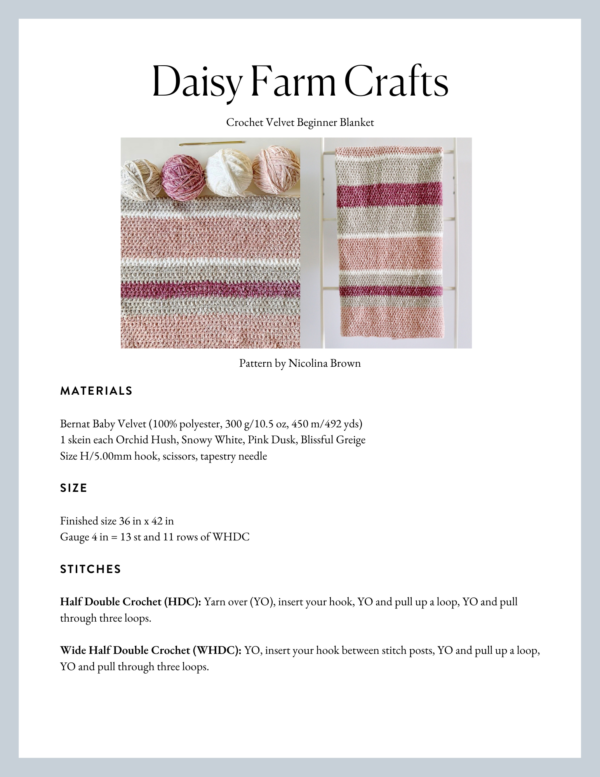
Materials
Bernat Baby Velvet (100% polyester, 300 g/10.5 oz, 450 m/492 yds)
1 skein each Orchid Hush, Snowy White, Pink Dusk, Blissful Greige
Size H/5.00mm hook, scissors, tapestry needle
Size
Finished size 36 in x 42 in
Gauge 4 in = 13 st and 11 rows of WHDC
Stitches
Half Double Crochet (HDC): Yarn over (YO), insert your hook, YO and pull up a loop, YO and pull through three loops.
Wide Half Double Crochet (WHDC): YO, insert your hook between stitch posts, YO and pull up a loop, YO and pull through three loops.
Pattern
Chain 100. (No pattern repeat, you can make the blanket the width you need by chaining any number.)
Row 1: Starting in the 3rd chain from the hook, work 1 HDC in each chain. CH 2 and turn.
Row 2: Work 1 WHDC in each space across the row, making sure the last stitch is in-between the last post and the turning chain. CH 2 and turn.
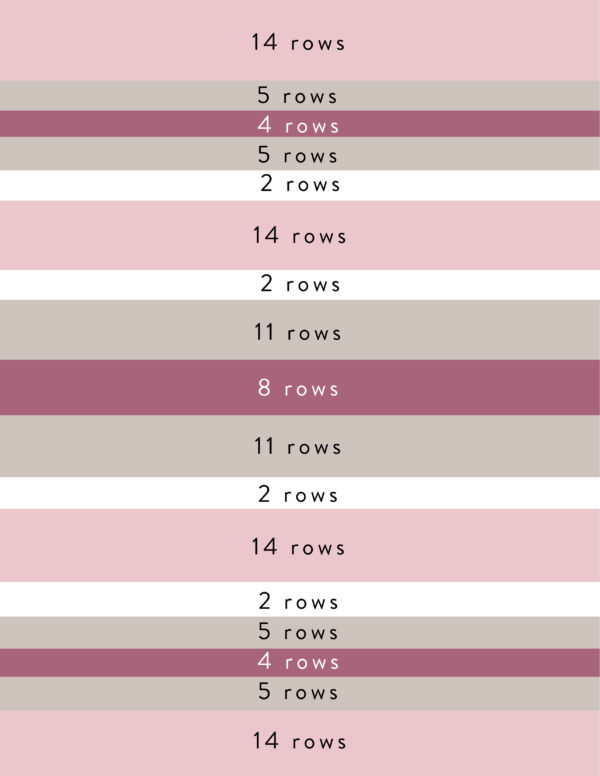
Row 3 and remaining rows: As row 2 (for the stitch), with following color changes:
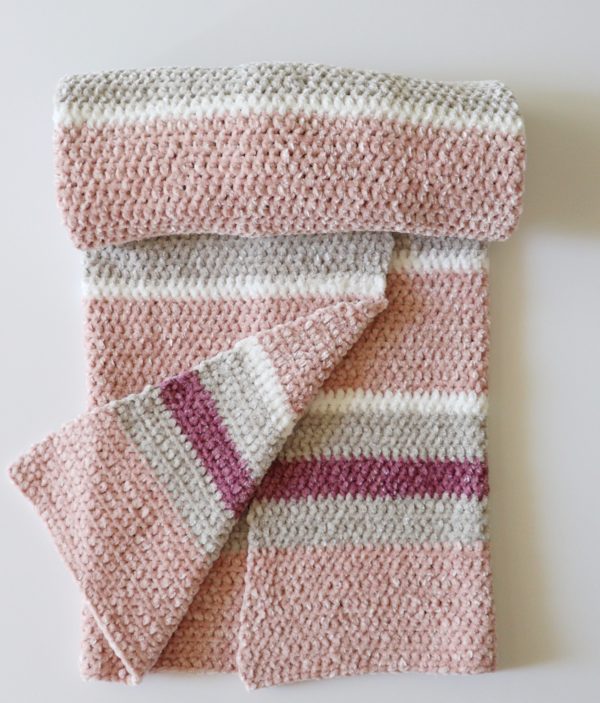
14 light pink, 5 grey, 4 dark pink, 5 grey, 2 white, 14 light pink, 2 white, 11 grey, 8 dark pink, 11 grey, 2 white, 14 light pink, 2 white, 5 grey, 4 dark pink, 5 grey, 14 light pink.
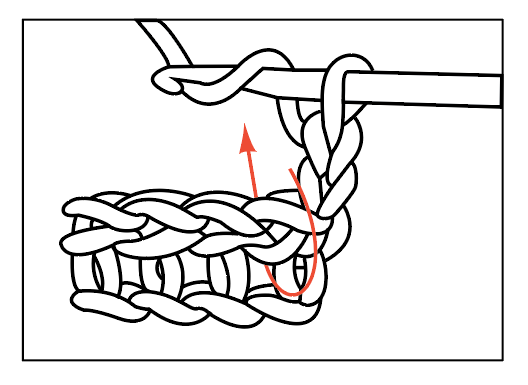
If you haven’t ever changed colors before, don’t be afraid. Just before you finish the stitch of the last row of color, stop and don’t finish the last step of the stitch. Lay the new color over your hook and pull through. Then chain 2 and turn and begin working with the new color. Cut the old yarn with a long enough tail to weave in later. When you are finished with your blanket, tie off and weave in ends.
Thank you for stopping by our website! We absolutely love sharing our designs with you. If this is your first time here, hello and welcome! I hope you come and find us on Instagram where we are sharing our latest works in progress and bit about how we come up with new ideas.
Happy Crocheting!
Click here or on image below for printable pattern