I love discovering new stitches anywhere I can find them. I also like practicing them and using them with different types of yarn.
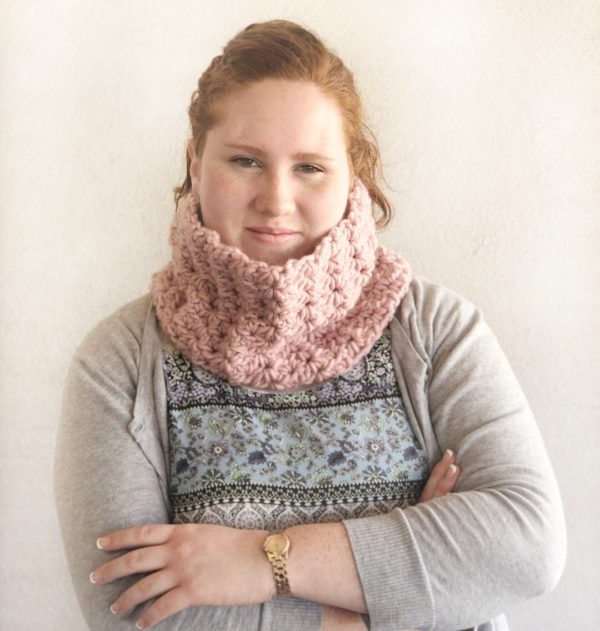
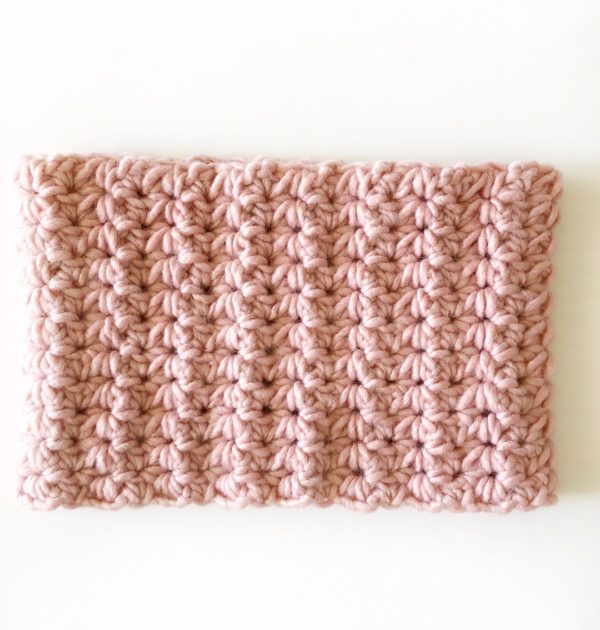
I had some Bernat Roving in Quartz Pink left over from the Even Berry Stitch Blanket, and thought it might look good as a cowl using this stitch. I loved it! My daughter Haley is modeling for me and she just returned home from living in Montana for the last year and a half and she said wearing this type of scarf saved her many times from the wind.
So let’s get to the pattern and materials.
Materials
Bernat Roving (80% acrylic, 20% wool, 100 g/3.5 oz, 109 m/120 yds)
1 skein any color
Size N/10.00mm hook, scissors, tapestry needle
Pattern
Chain 25.
Row 1: In the 2nd chain from the hook, insert your hook and pull up a loop. Insert and pull up a loop in the 3rd chain, SK (skip) next and insert your hook in the 5th chain and pull up a loop. Yarn over (YO) and pull through all four loops. *CH (chain) 1. Insert your hook into the space the chain just made and pull up a loop. (If this doesn’t make sense at all to you, refer to the video below) insert your hook into the last space you worked, (the fifth chain) and pull up a loop, SK the next ST (stitch) and pull up a loop in the next. YO and pull through all loops on the hook. Repeat from * across to the end of the row. CH 3 and turn. (The first of these chains is the one that closes the daisy stitch.)
Row 2: In the 2nd chain from the hook, pull up a loop. Pull a loop in the next ST. SK the next space and pull up a loop in the CH space that was formed from the last row. YO and pull through all loops on your hook. *CH 1, insert your hook into the CH space just created, insert your hook into the last space worked, SK the next stitch and insert your hook into the next space. Repeat from * to the end of the row. CH 3 and turn, (First of these chains is the one that closes the daisy stitch.)

Repeat Row 2 until the scarf reaches just around your neck. It will use up almost the whole skein. Leave enough at the end to sew the two ends together with a tapestry needle. A good way to disguise the seam is to run the needle under both loops of the chains and back up through the loops of the chain on the other side. Sort of a circular motion. And then weave in all the ends and you are finished!
Your scarf if beautifully elegant and a perfect gift to give!
Here is a video tutorial you can watch to help you understand the Simple Daisy further:
Thank you for coming by! I so appreciate it.
Have a wonderful crochet day!
Tiffany

