POST UPDATE: Since sharing this post two years ago, many people have shared with us their versions of this Sheep Baby Blanket.
Scroll to the end of this post to see the different colors they made this blanket. Thank you to our crochet friends in the Daisy Farm Crafter Group on Facebook for sharing photos of their Sheep Blanket with us.
Also, the yarn I originally made this blanket in, is unfortunately no longer available. But, any chunky weight yarn will work as a substitute.
Or, wind two balls of 4 or 3 weight yarn together to get a chunkier yarn, or, treat the graph as 2 stitches per square, if you want to use 4 weight yarn as one strand. You also can add more rows and more stitches on either side of the sheep to make the blanket slightly larger.
More tips are given in the pattern section.
xo, Tiffany
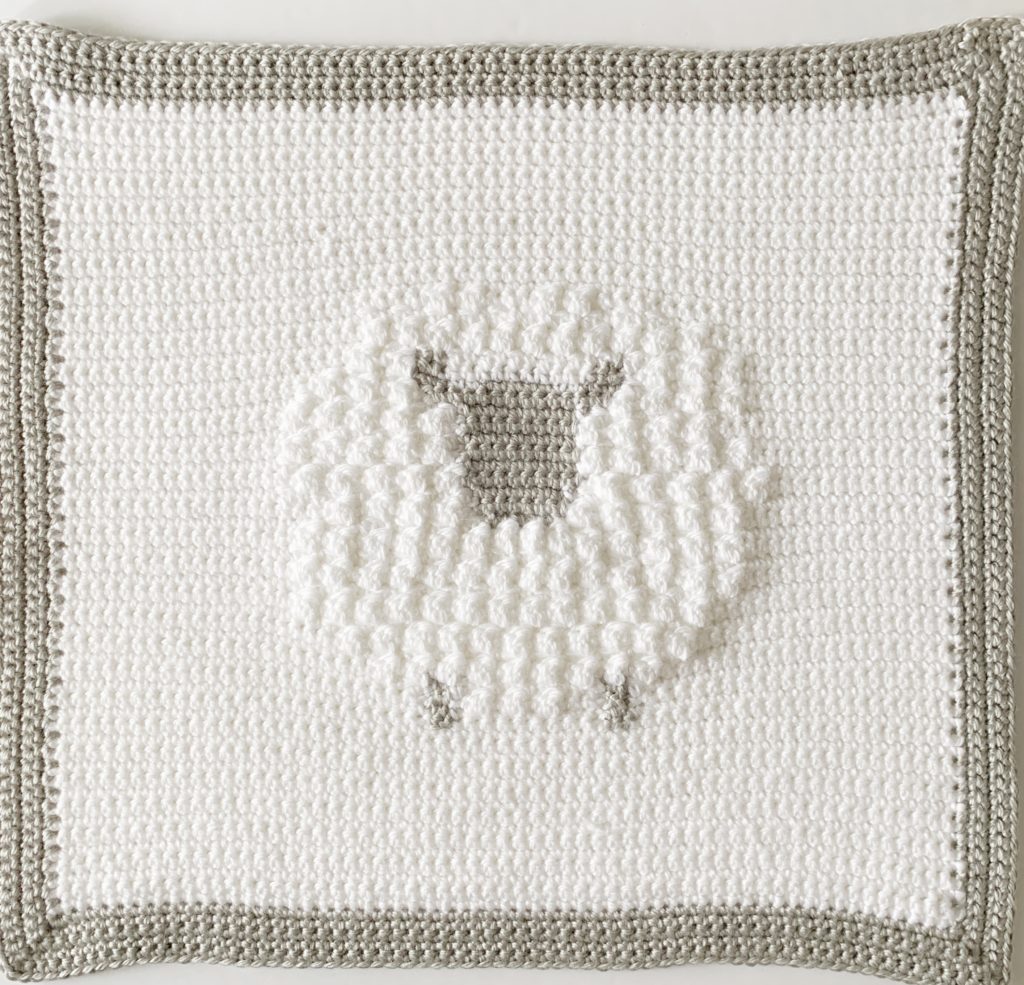
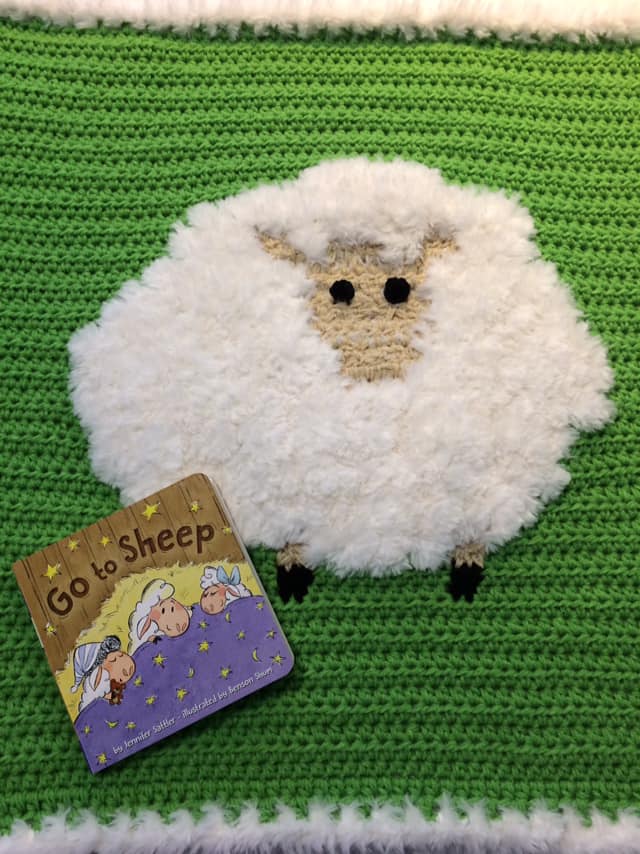
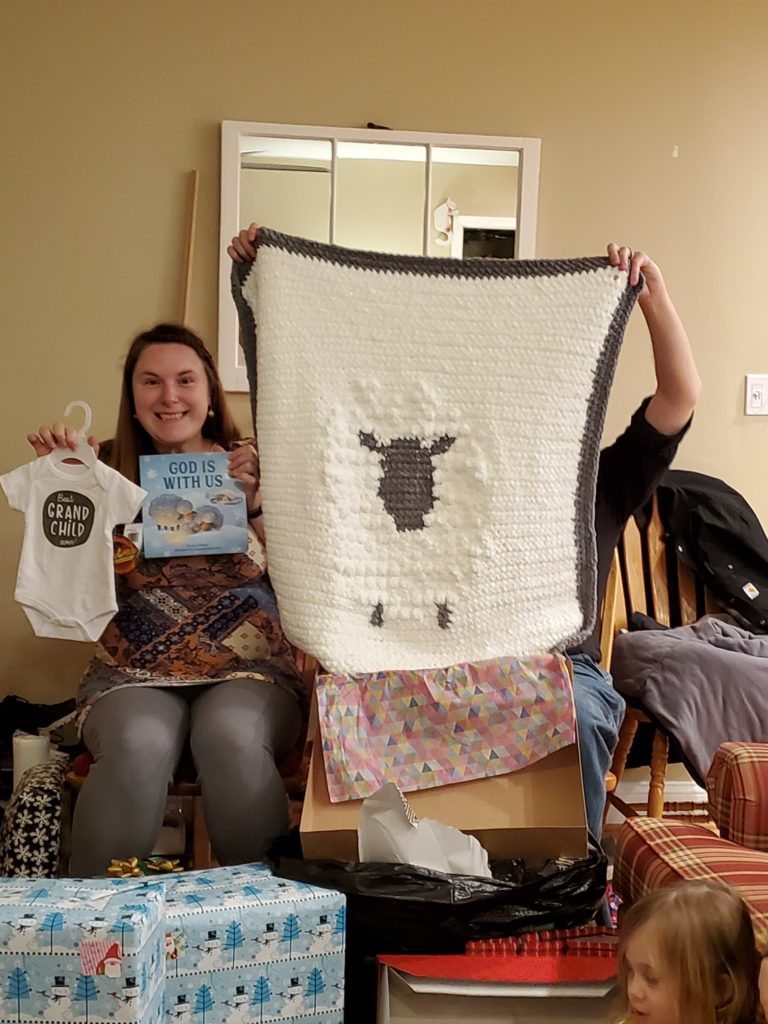
I’m so happy to see an idea I had in my head actually come to life! I’ve been thinking about a sheep blanket ever since my friend Benson Shum told me his next children’s book was going to be called Go to Sheep. How adorable is that?
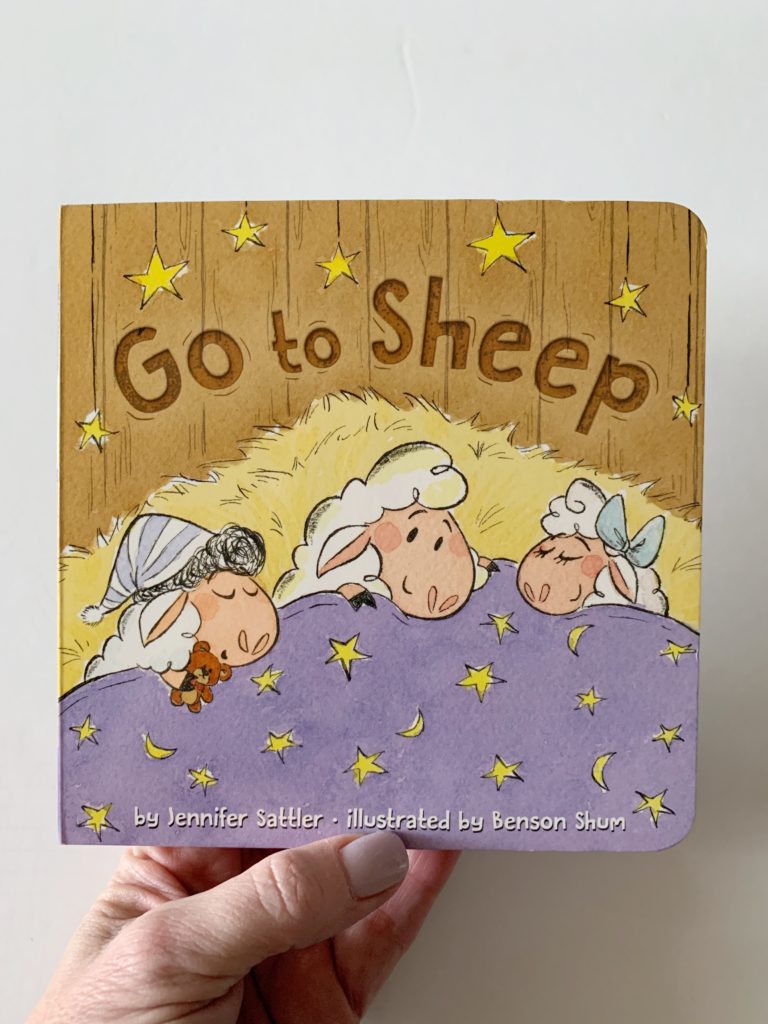
I fell in love with the name of the book and couldn’t wait to see how Benson would illustrate the little sheep. I love how they are so fluffy! Here’s a glimpse at the first page:
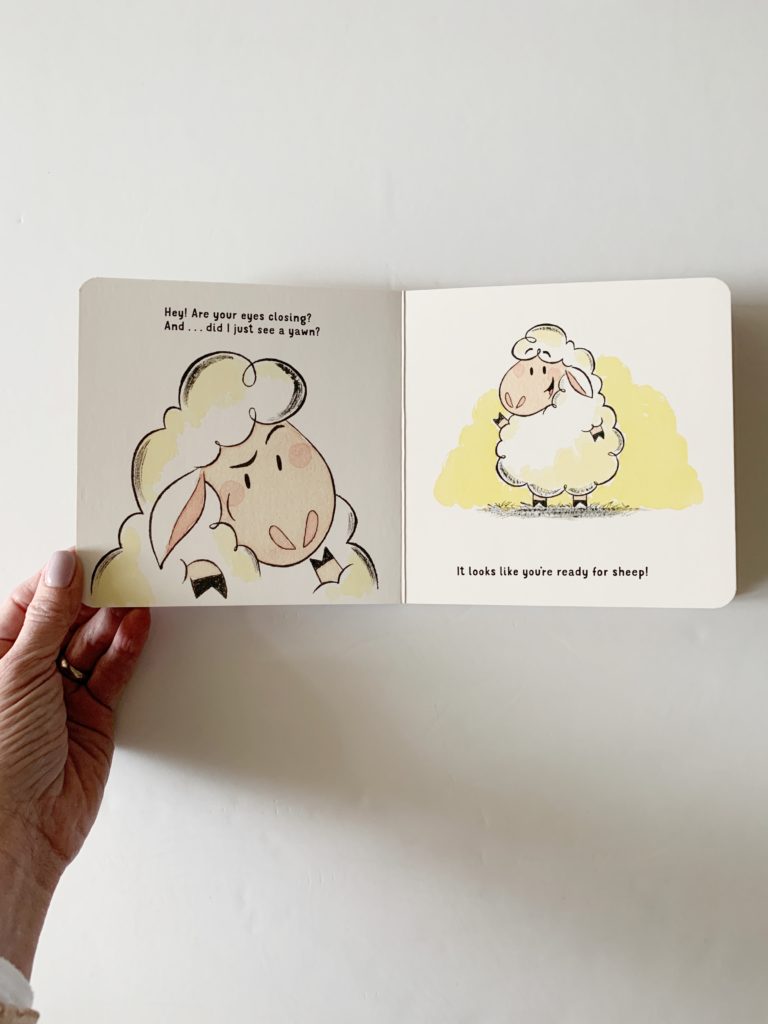
First, I used this first page as inspiration and then went to designing on stitchfiddle.com. I make all my crochet graphs on that site, then download the pdf, print, and work a sample swatch.
I usually use a cotton and smaller yarn so it will work up quick. I also just crochet the design in the practice swatch – not the whole blanket.
Next, I wanted to come up with a stitch I could use so the blanket would look exactly the same on both sides. I’m using a DC2tog cluster, followed by a SC. Here’s a video to watch to understand how to make this stitch if you’ve never seen it:
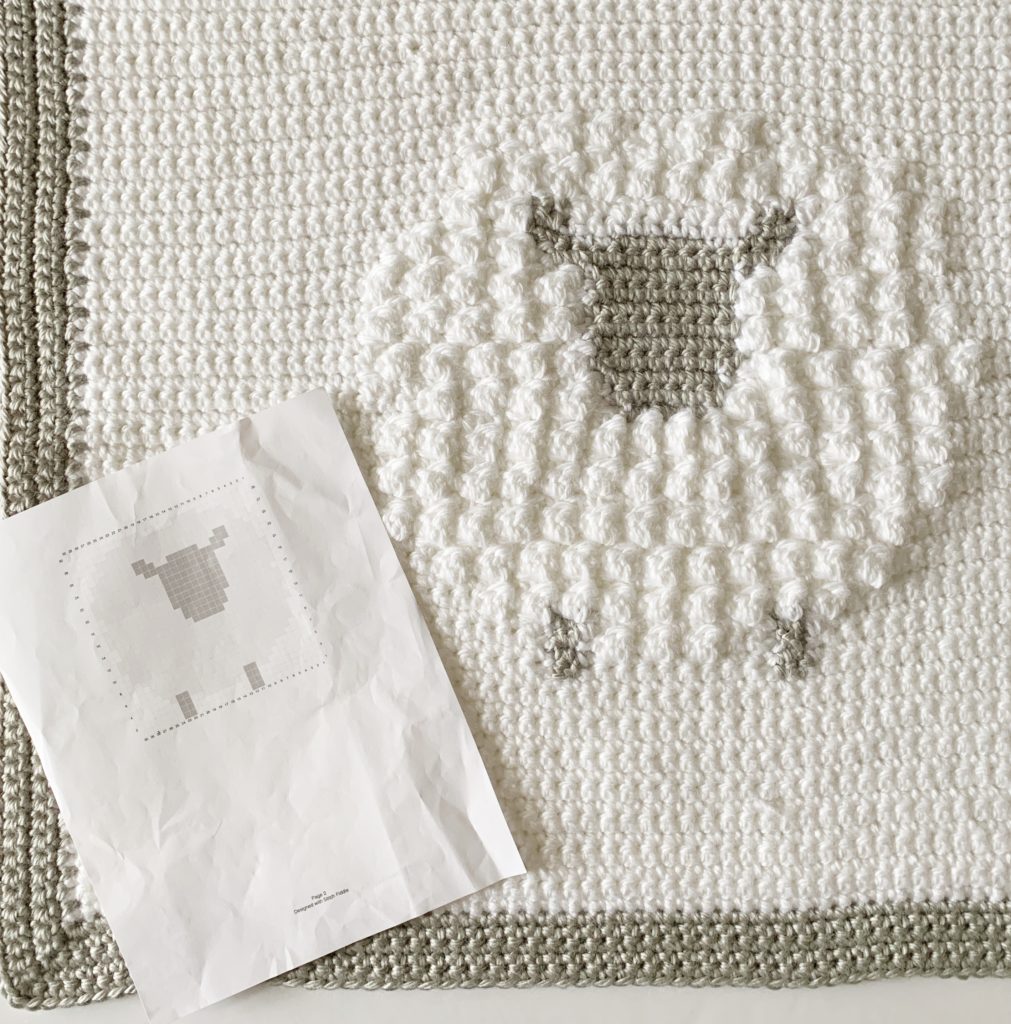
Below is the picture of the printed graph I used. Click on the picture or click here to open it as PDF that you can print. I wanted you to be able to see the sheep more closely, so the graph doesn’t include all the extra blocks for the plain white – in the pattern I am going to have you add 15 on both sides and 15 rows on the bottom and the top.

Adding all the extra for just the plain SC made the graph blocks way too small so I opted to just make the graph for the sheep. I hope that make sense. I think when you print it out you’ll see what I mean.
It’s just 30 blocks wide, but you’ll start with a chain of 60 + 1, so that you will have 15 extra on both sides of the blanket. And you’ll start working the graph after you crochet 15 rows.
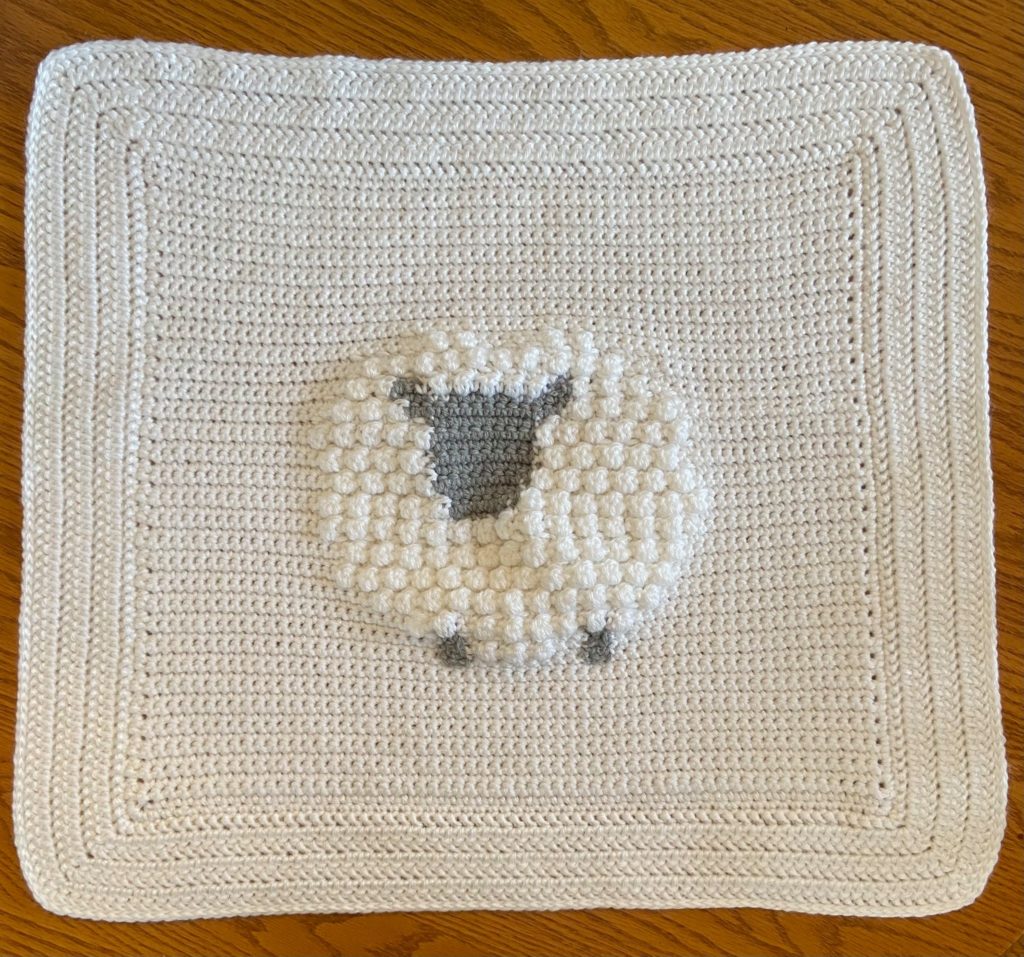
I’m using Bernat Softee Baby Chunky. I use this brand because it works up soo fast. It also is soft. I knew it would give me the look I wanted.
Now there is one more thing I did that maybe will be considered more “freestyle crochet.” In order to get the wooly sheep look, I mixed it up as to working into the tops of SC with SC, or Clusters into Clusters.
Sometimes I had to work Clusters into the tops of SC and vice versa. Alternating this helped to break up the rows and makes the sheep look more fluffy and unkept. Which is the look I was going for.
If you are not like me, you are free to pick one way or the other and keep it consistent.
Good luck making your sheep! I can’t wait to see how it goes for you! Use the #daisyfarmcrafts on your Instagram post so I can easily find it and share up in my Sunday Shares in stories.
Happy Crocheting!
xoxo,
Tiffany
Materials
Bernat Baby Softee Chunky (100% acrylic, 5oz/140g, 155yds/142m)
3 skeins White, 1 skein Cozy Grey
Size L/8.00mm hook, scissors, tapestry needle
Graph
Size
Finished size 28 in x 28 in (small lovey size)
Stitches
Single Crochet (SC): Insert your hook, yarn over (YO) and pull up a loop, YO and pull through two loops.
Double Crochet 2 Together (DC2tog) Cluster: *YO, insert your hook, YO and pull up a loop. YO and pull through 2 loops on your hook. Repeat from * 1 time in same space, YO and pull through all three loops on hook.
Pattern
Print the graph.
With White, chain 61.
ROW 1: In the second chain from the hook, work one single crochet (SC). Work one SC into each chain to the end. CH 1 and turn.
ROWS 2 – 15: Starting in the first SC, work one SC into each SC across to the end. CH 1 and turn. (60 SC)
ROW 16: Start following the graph at row 1. When introducing grey, pull through with the new color on the last step of the SC, carry the white through and along with you, laying the white along the top of the stitches. Before you finish the last step of the grey, pull back through with the white.
Tip: Estimate and unwind a long tail of grey for the one leg and cut off. Use a different strand for the next leg. Also, on the 16th row, take note of where the tail for the starting chain is located, that will help you remember what row you are on. Or use markers. Or keep track on the graph.
On the graph, the lighter shaded grey is where you start working the DC2tog clusters, followed by a SC. Simply alternate between the two stitches. Sometimes the row will end with a cluster, sometimes a SC. It doesn’t matter. Sometimes you will work into the tops of SC with Cluster stitch, sometimes you will be working SC into SC and Cluster into Cluster. Keeping it freestyle will give you a more wooly look. The clusters won’t line up exactly on top of each other and that’s okay. Work Clusters and SC in every row that the graph is shaded light grey. This will make sure that you will have clusters popping out on both sides of the blanket.
When you get to the ears, estimate and leave a long tail for each ear. I did not carry the grey yarn along the row.
Border
Weave in all ends before starting the border. In any corner, pull up a loop, CH 1 and SC into that same space 2 times. Work one SC per stitch and per row down the sides of the blanket. Work 3 SC’s into each corner space. Upon returning to the starting corner, work one SC, slip stitch to the starting SC, CH 1 and turn.
Work 5 rounds of all SC for the border. Tie off and weave in all ends.
To get your blanket looking very straight, lay it out and spritz it with a spray bottle filled with water. You may pin it and then let it dry.
Find my friend’s book on Amazon if you want it to accompany your blanket as a gift! I’m going to order more copies to have on hand. This blanket, with the chunky yarn really works up so fast. Perfect for a baby shower gift!
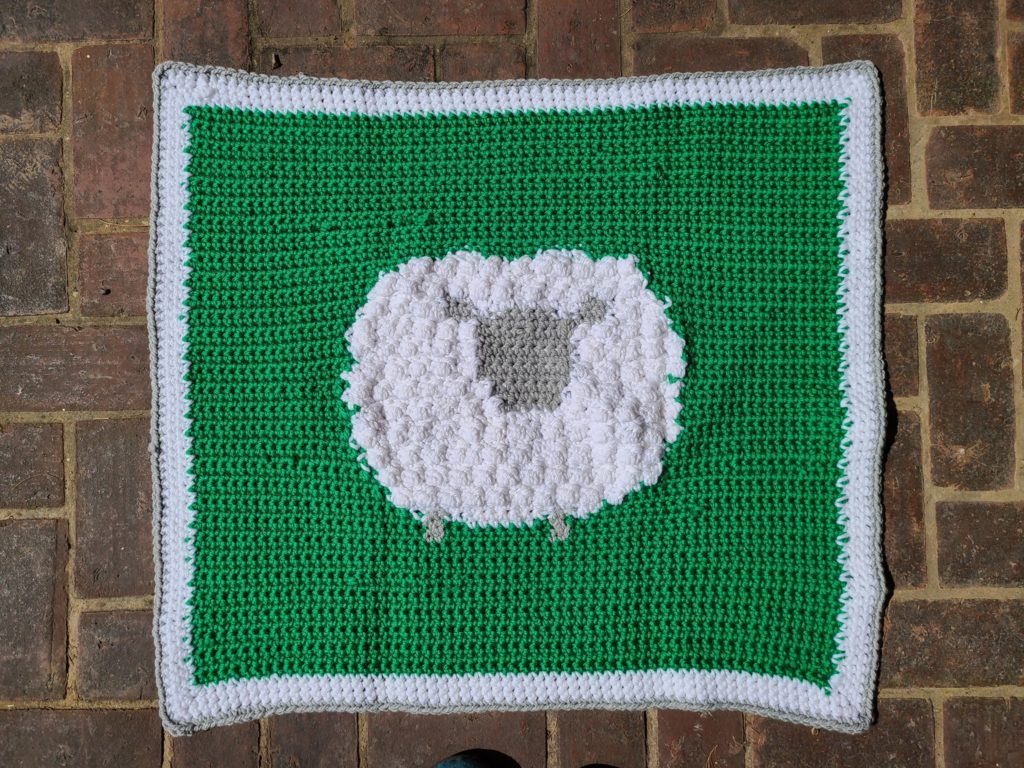
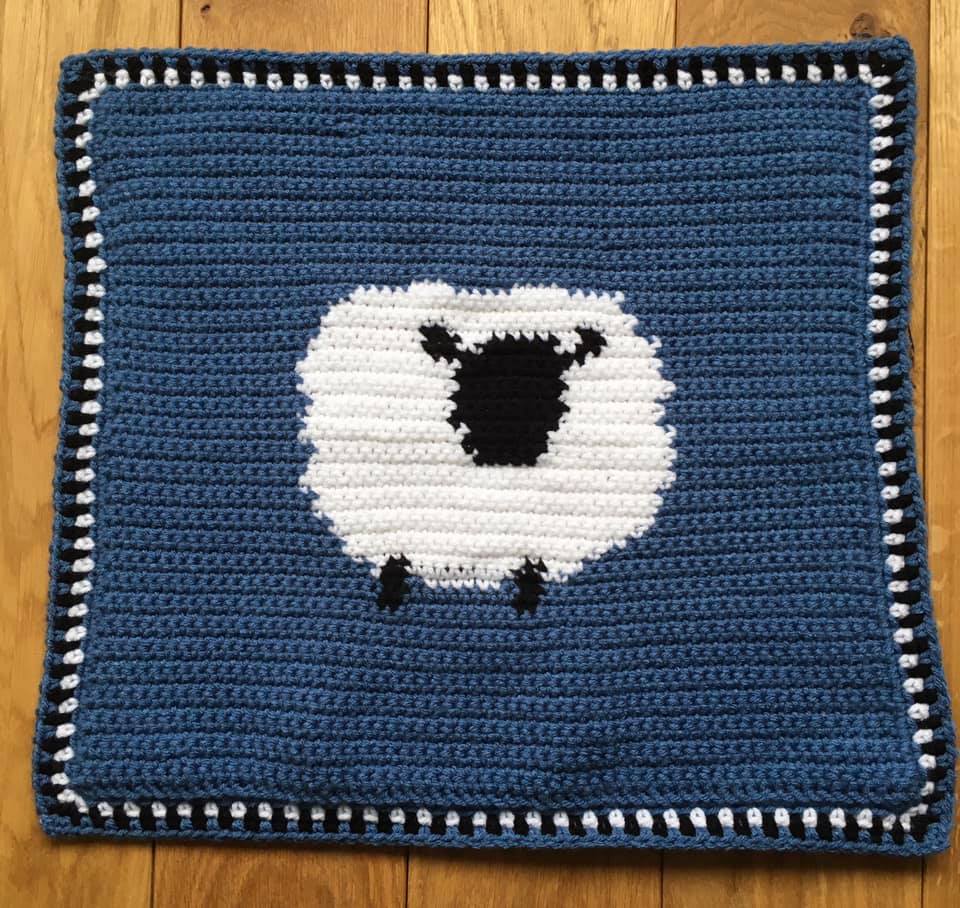
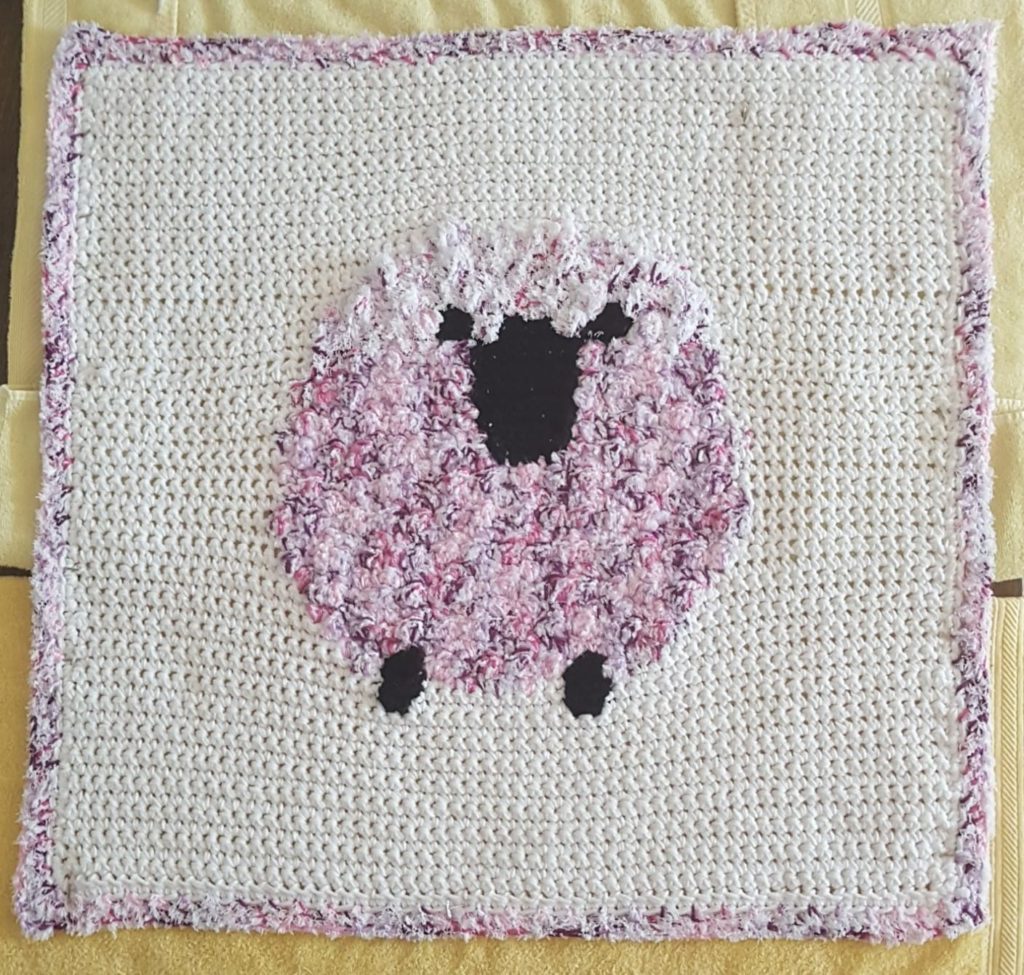
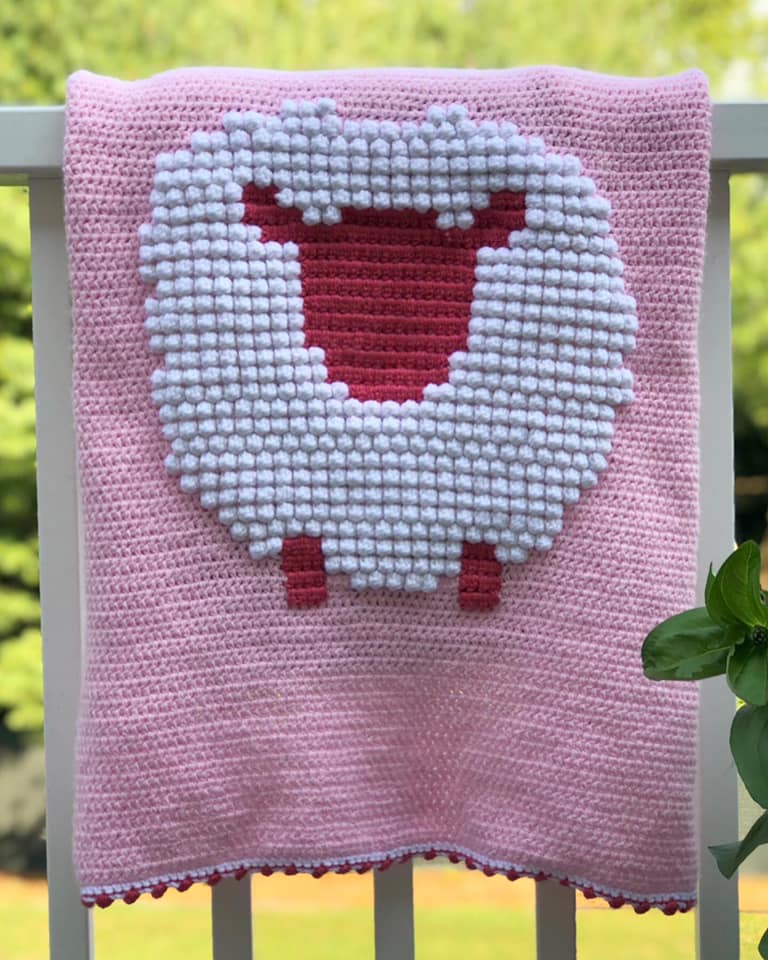
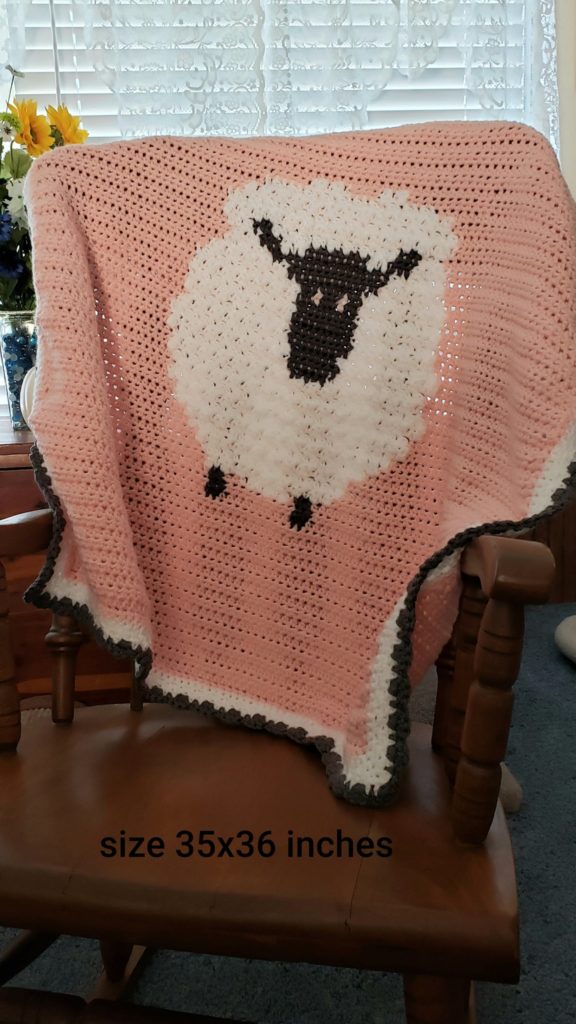
Post UPDATE:
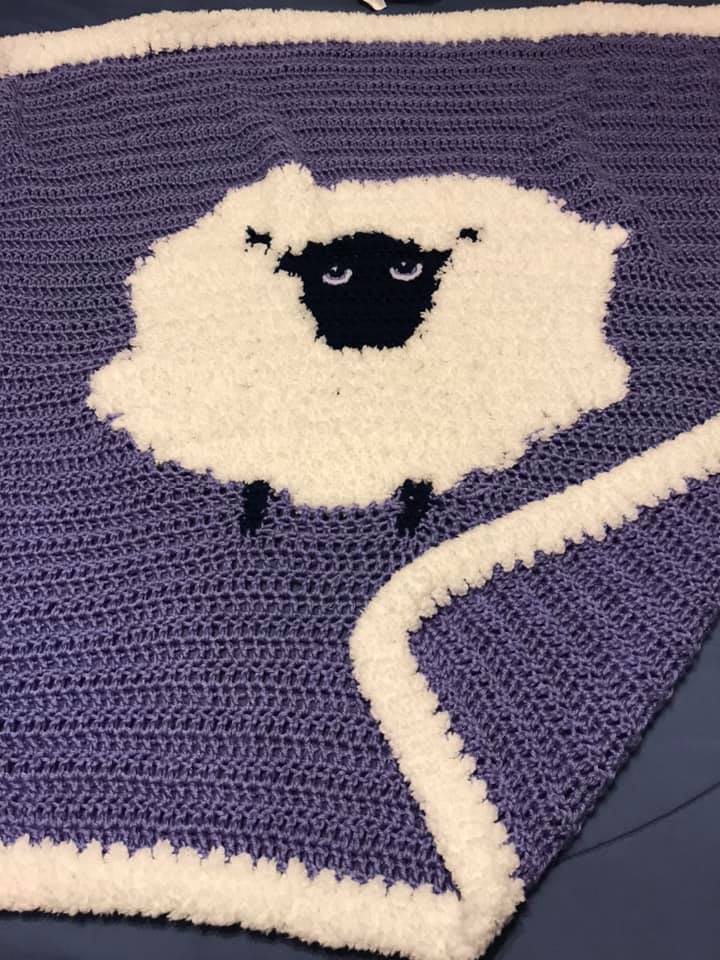
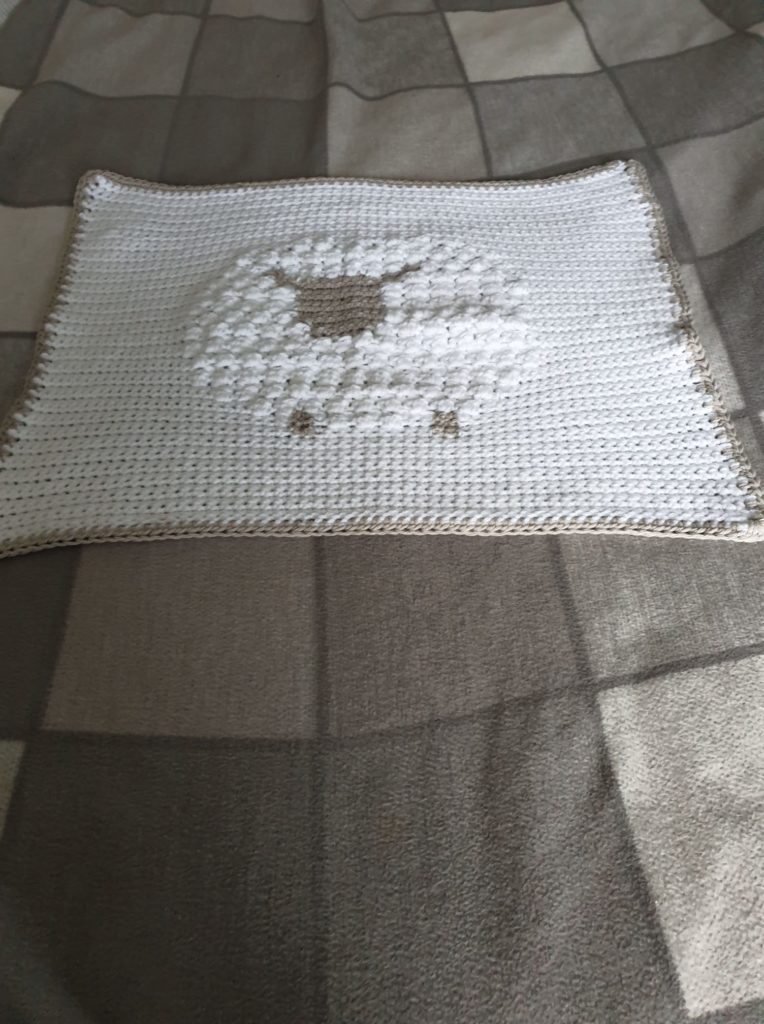
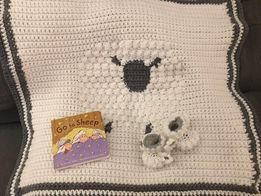
Here are photos of this blanket made with different colors and types of yarn. I love the creativity! Thank you to our followers for sharing their projects!
Click here or on image below for printable pattern
![]()