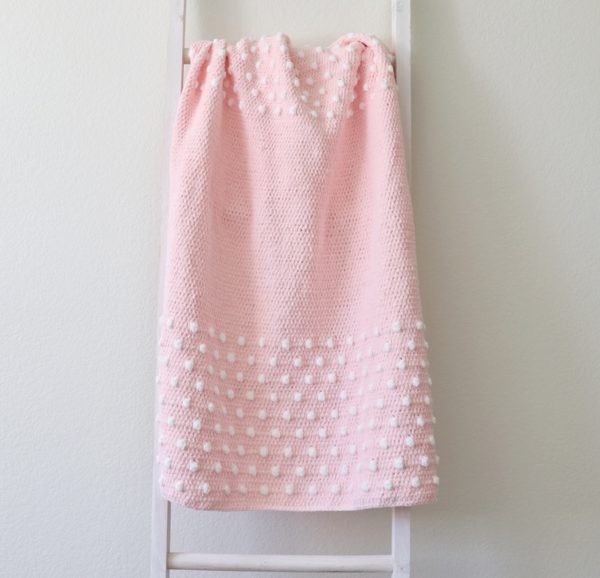
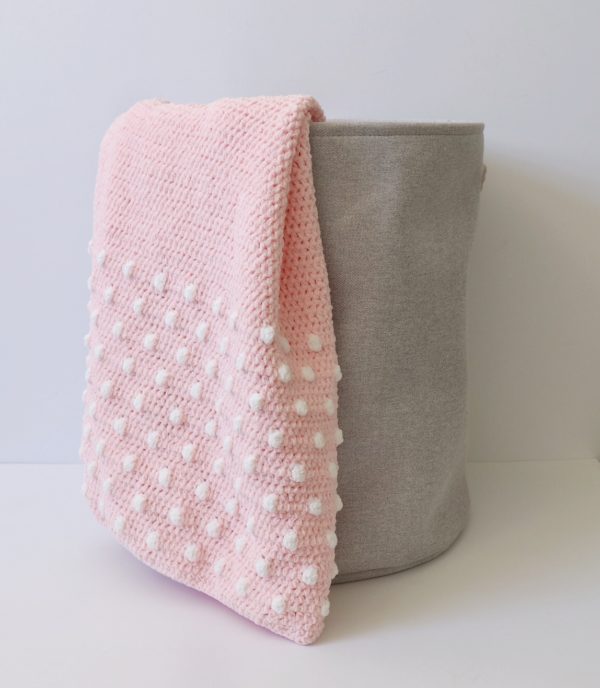
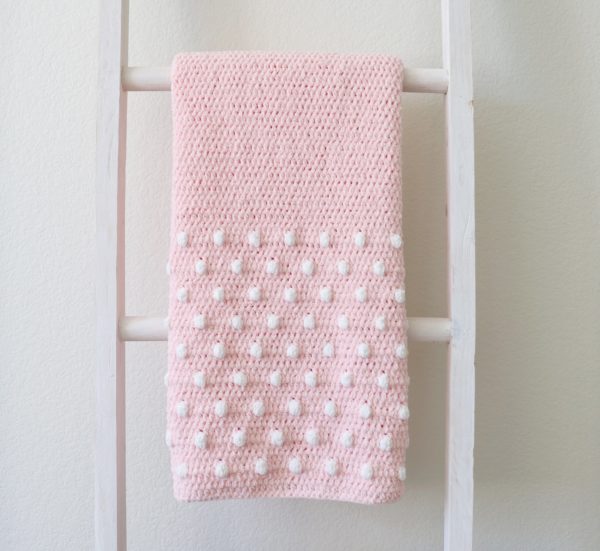
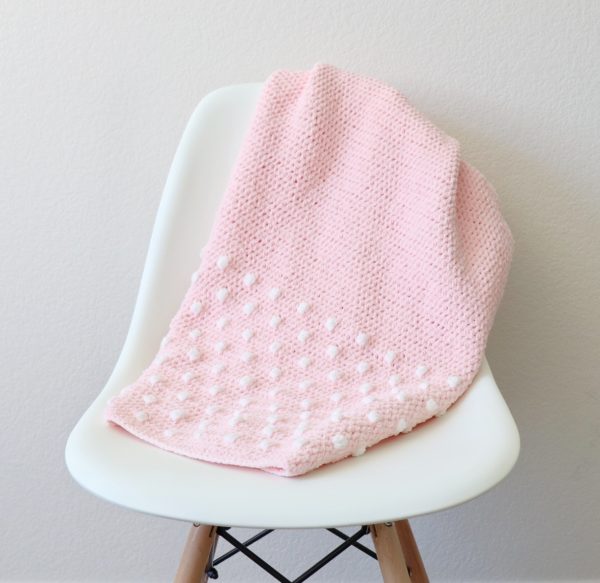
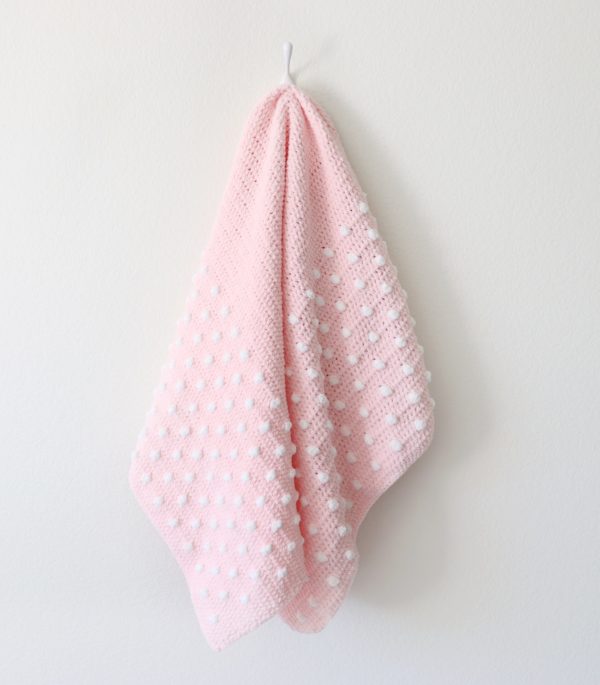
When I first started this blanket, I was planning to cover the whole thing with polka dots, but since this yarn is so dainty I started to lose my stamina about a third of the way in and decided to just cover the ends, and I’m so glad I did because I love how it turned out!
I used Bernat Blanket Tiny yarn for this blanket with a G hook, so it was quite a labor of love, but I always love how squishy and soft this yarn makes blankets turn out :).
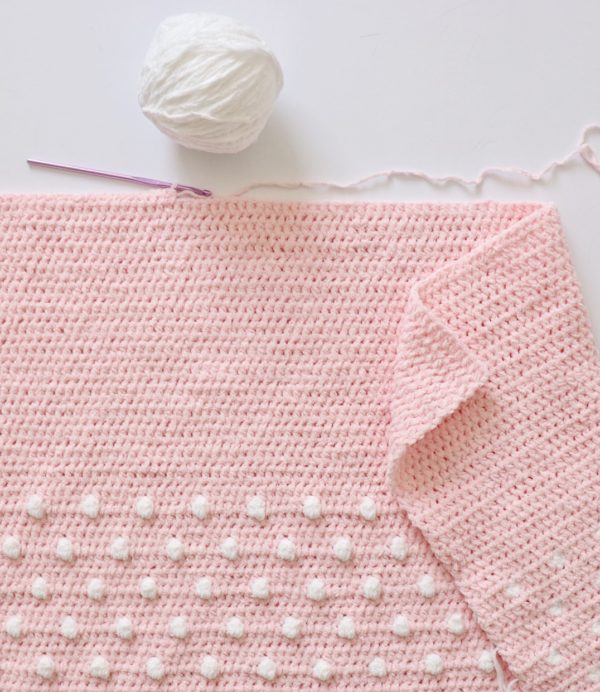
This blanket uses HDC working in between the posts and DC4tog clusters for the polka dots. If you’re not familiar with those stitches, don’t worry, here is a video to show you how they are done! The video also shows you how to carry yarn as you work so that you don’t have to cut the white yarn each time you make a polka dot.
Materials
Bernat Baby Blanket Tiny (100% polyester, 3.5 oz./100 g, 316 yd/288 m)
4 skeins Hush Pink, 1 skein Snow Cap
Size G/4.00mm hook, tapestry needle, scissors
Size
Finished size 32 in x 38 in
Stitches
Half Double Crochet (HDC): Yarn over (YO), insert your hook, YO and pull up a loop, YO and pull through three loops on hook.
Wide Half Double Crochet (WHDC): YO, insert your hook between stitch posts, YO and pull up a loop, YO and pull through three loops on hook.
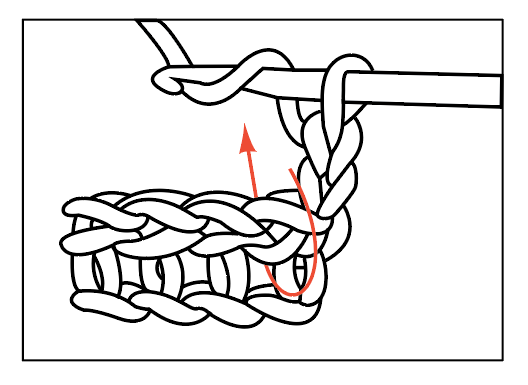
Double Crochet 4 Together (DC4tog) Cluster: *YO, insert your hook, pull up a loop, YO, pull through 2 loops. Repeat from * 3 more times, inserting your hook into same space. Then YO and pull through all five loops on your hook.
Single Crochet (SC): Insert your hook, YO and pull up a loop, YO and pull through two loops on hook.
Pattern
Chain 121 in Pink (or chain any multiple of 6, then add 1).
Row 1: Starting in the 3rd chain from the hook, work 1 HDC in each chain. Chain 2 and turn.
Rows 2 – 3: Work 1 WHDC in each space across the row. (Make sure not to miss the last stitch in between the last HDC post and the turning chain.) Chain 2 and turn.
Row 4: *Work 1 WHDC in each of the first 5 spaces. On the 5th stitch, pull through with White. In the next space, work 1 DC4tog cluster, still inserting your hook in between the posts, and carrying the Pink across the top of your work as you crochet over it. Pull through with pink just before you finish the stitch (you should have 5 loops on your hook when you pull through.) Repeat from * to the end of the row, carrying whichever color you aren’t using along the top of your work as you crochet. You should end with WHDC in the last 5 spaces. Chain 2 and turn.
Note: When you’re carrying yarn, it helps to keep the white yarn to the front and the pink to the back to avoid them getting twisted. So if I was sitting on the couch crocheting, I would want my white ball of yarn to be next to me at the back of the couch and the pink ball of yarn to be at the front of the couch.
Rows 5 – 7: With Pink, work 1 WHDC in each space across the row. Chain 2 and turn.
Row 8: Work 1 WHDC in each of the first 8 spaces. On the 8th stitch, pull through with White. In the next space, work 1 DC4tog cluster, crocheting over the Pink. Pull through with Pink just before you finish the cluster. Then, *work 1 WHDC in each of the next 5 spaces, carrying the white along the top of your work. On the 5th stitch, pull through with White. In the next space, work 1 DC4tog cluster, carrying the Pink across the top of your work as you crochet over it, then pull through with Pink just before you finish the stitch. Repeat from * across the row, carrying whichever color you aren’t using along the top of your work as you crochet, until you end the row with 8 WHDCs. Chain 2 and turn.
Rows 9 – 11: With Pink, work 1 WHDC in each space across the row. Chain 2 and turn.
Repeat rows 4 – 11 until you have 9 polka dot rows. Work 53 rows (or any odd number) of WHDC in Pink. Then, repeat rows 4 – 11 until you have 9 polka dot rows.
After I wove in my ends with a tapestry needle, I just added a simple single crochet border. To do this, pull up a loop in any corner and chain 1. Then SC around the edge of the blanket, working 3 SCs into each of the corners. When you reach the corner you started with, slip stitch into the corner and tie off.
Thank you so much for coming to read this pattern! I hope you enjoy making this baby blanket! When you’re finished please come share a picture with us on Facebook or Instagram using #daisyfarmcrafts, we’d love to see!
xo, Hannah
Click here or on image below for printable pattern
![]()