
POST UPDATE: We have added a video tutorial for this blanket! Thank you for making it one of our most popular patterns. We love seeing your versions of this blanket. Scroll to the very end of this post to find the video. xo, Tiffany
Hi there Daisy Farm friends! I’m very excited to share this blanket pattern with you because I made it for my very dear friend Minnie who became a grandma for the very first time a few days ago! She has been my walking/jogging partner for the last 11 or so years, and on one of those early morning outings, she told me that she loves the nautical look for baby boys. So I got to planning and making!
Look at this baby! So precious!
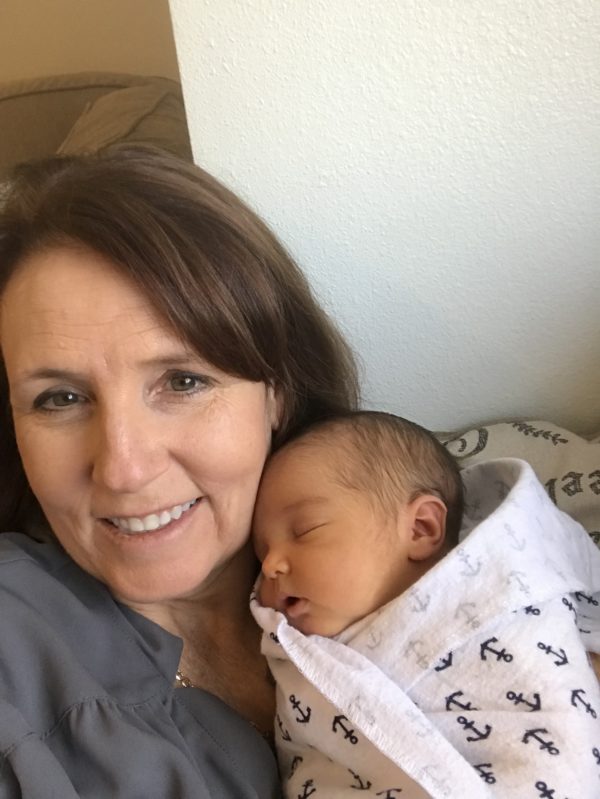
I’m just so excited for her! And I wasn’t kidding about the theme! Look at the little anchors on the blanket in the picture!
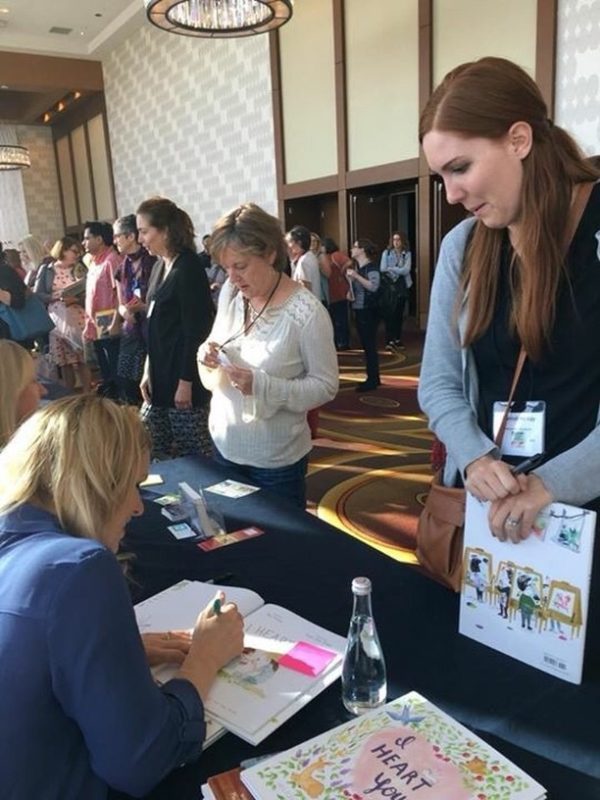
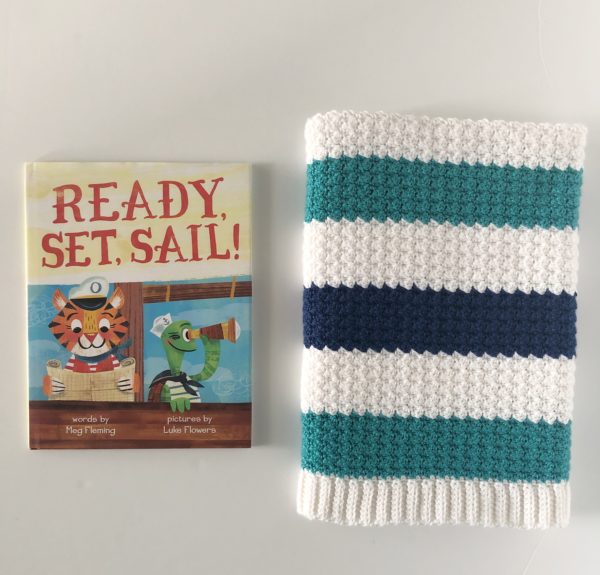
But I wanted her blanket to be a little something extra special, and luckily a little light bulb went off in my head. Love when that happens! A few months ago, when Hannah and I attended the annual SCBWI conference, (stands for Society of Children’s Book Writers and Illustrators) I remembered that we met an author that wrote a nautical themed children’s book.
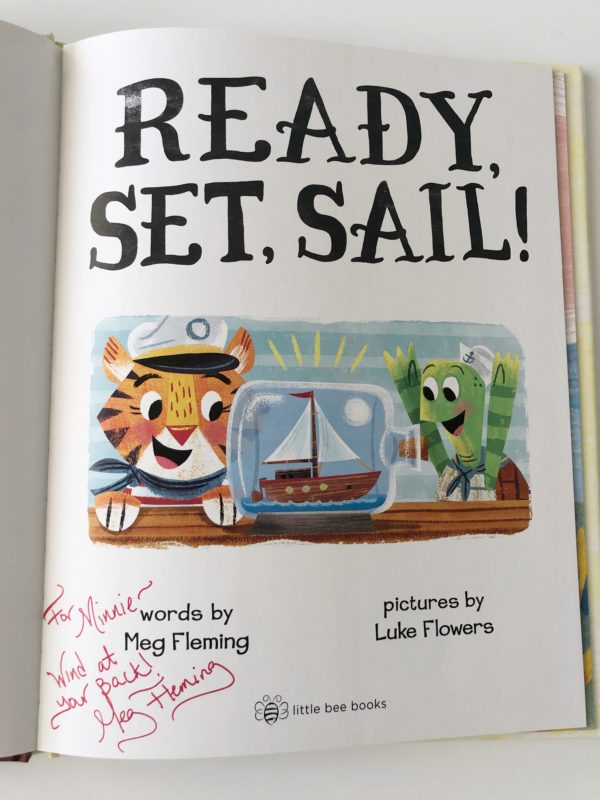
Her name is Meg Fleming and the book is called Ready, Set, Sail! (Find her book in our Amazon Store! Click the link and go to our Favorite Picture Books list. Daisy Farm Crafts receives a small monetary portion.)
I knew it would be a perfect fit for my blanket for Minnie! So I reached out to her through Instagram and she sent me a signed copy of the book.
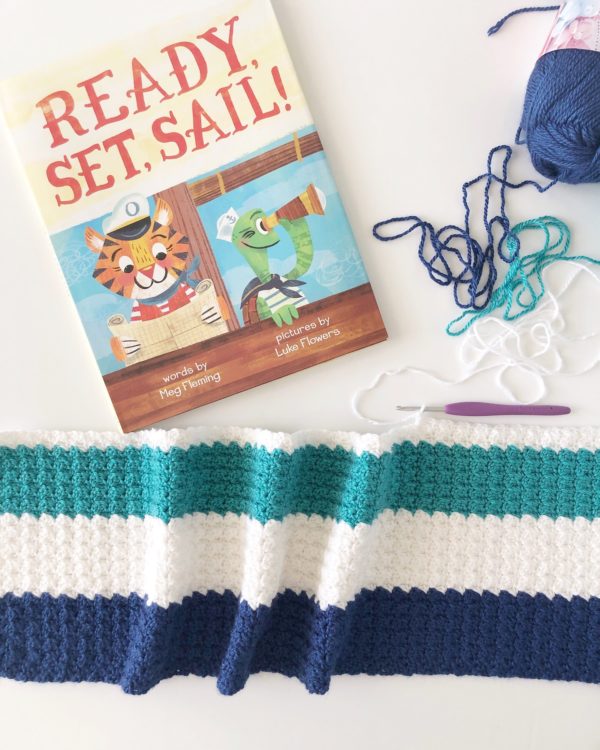
Don’t you think this is the best gift idea? A blanket to go along with a book? I hope she will love cuddling up with her grandbaby and enjoy reading a cute little book to him.
Click here to find Meg’s book on Amazon, and click here to read more about Meg!
So let’s get to the details of the blanket.

Materials
Bernat Softee Baby (100% acrylic, 140 g/5 oz, 331 m/362 yds)
2 skeins White, 1 skein Aqua, 1 skein Royal Blue
Size G/4.00mm hook, scissors, tapestry needle
Size
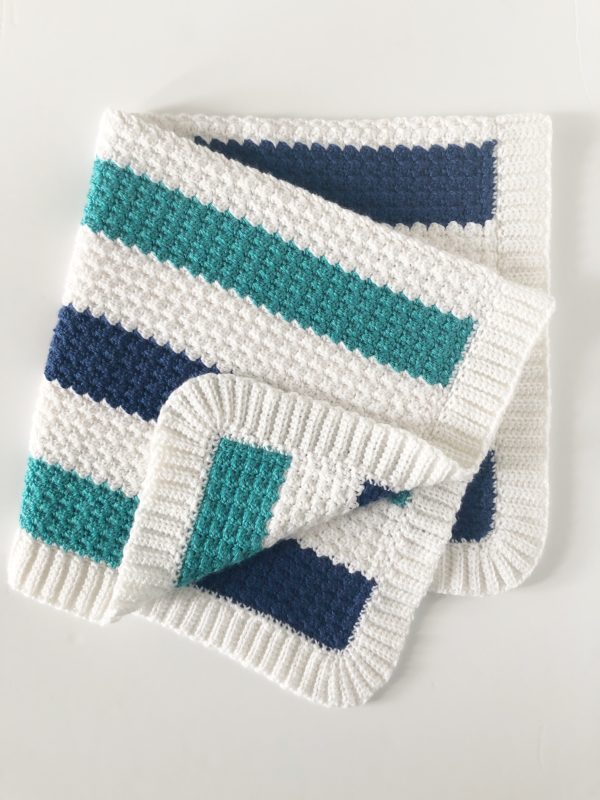
Finished size 34 in x 34 in
Stitches
Single Crochet (SC): Insert your hook, yarn over (YO) and pull up a loop, YO, pull through two loops.
Double Crochet (DC): YO, insert your hook, pull up a loop, YO, pull through two loops, YO, pull through remaining two loops.
Pattern
Chain 141. (Pattern repeat is a multiple of 3.)
Row 1: In the 2nd chain from the hook, work “SC, CH, DC”, *skip 2 ch’s, work “SC, CH, DC” in the next ch. Repeat from * to the end of the row and until you have 1 remaining ch space. Work 1 SC in the last remaining ch space. CH 1 and turn.
Row 2: “SC, CH, DC” in the top of the SC of the row below. *Skip 2 the next two stitches. Work “SC, CH, DC” into the SC stitch of the row below. Repeat from * ending the row with 1 SC in the very last stitch, CH 1 and turn.
Row 3: Repeat Row 2.
Repeat row 3 for the rest of the blanket, changing colors every 10th row.
Here are the color changes I made: 10 rows Royal Blue, 10 rows White, 10 Rows Aqua, 10 Rows White. Repeat 2 times, then work 10 Blue, 10 White, 10 Aqua. (I ended on an Aqua stripe.)
Weave in all ends before you start the border.
Border
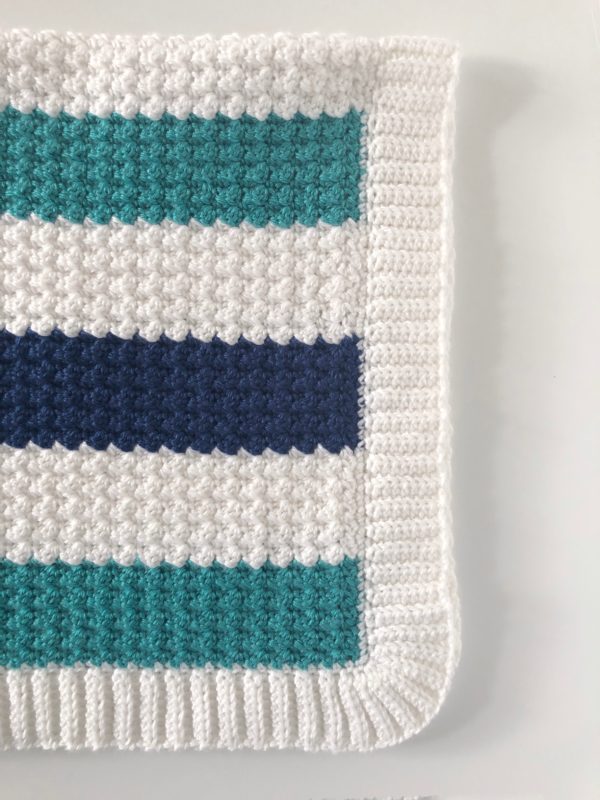
Pull up a loop in any corner. SC around the entire blanket working 3 SC in each corner and keeping them as evenly spaced as possible. If they are too close, your border will ruffle, too far apart and the main blanket will pucker. This is where you as the crochet artist will decide where each stitch will go. For me, it worked to skip every third stitch on the top and bottom of the blanket, and to work 10 SC per color on the sides of the blanket. It’s more important to crochet evenly than worry about numbers.
Slip stitch to the starting SC. Continuing on in the same direction, CH 10. In the 3rd CH from the hook, work 1 HDC. Work 1 HDC in each of the remaining 7 ch’s. SL ST into the next SC on the edge of the blanket, and SL ST into the next SC. (2 SL ST). *Turn the border, like a page in a book, and work 1 Back Loop Only HDC in each of the 8 HDC. CH 1 and turn. Work 1 Back Loop Only HDC in each of the 8 HDC back toward the edge of the blanket. SL ST into the next 2 spaces. Repeat from * down the side of the blanket.

When you approach the 3 SC that make the corner, only SL ST once in the first SC, work the back loop HDC’s up and back down, then SL ST once to the corner SC, work the BL-HDC up and back down again, and SL ST into the SAME corner stitch again, and then again for a total of 3 times. This will fan the work around the corner. Then SL ST once into the third SC of the corner SC’s, work the BL-HDC’s up and back down, then continue on down the next side slip stitching every 2 spaces again as before.
Tip: Check your work as you go, I would undo and redo if the border was looking rippled and slip stitch 3 times if needed.
Upon returning to the starting HDC’s, end after you work the BL-HDC up, then fasten off, use your tapestry needle to sew the two sides together, then weave in the ends.
I hope you can find a nautical loving friend to make this blanket for! And pair it with Meg’s book and I think you have a great gift!
Thanks for stopping by! I hope you’ll come and find us on Instagram or Facebook and share your blanket with us! We love sharing your work with the followers. It’s so inspiring to see the finished project!
Have a great crochet day! xo, Tiffany
If you need a video tutorial, watch below:
Click here or on image below for printable pattern
![]()