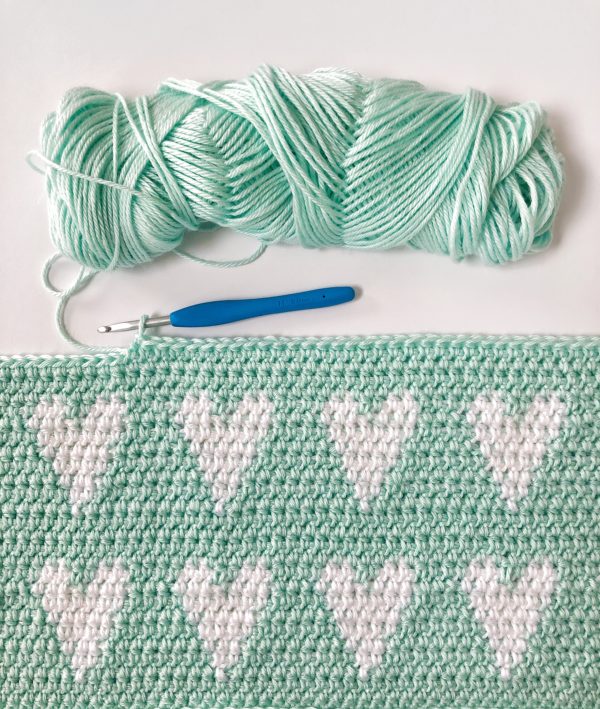
This Modern Hearts Baby Blanket is made in the same way that we usually make our gingham blankets, by using tapestry crochet and carrying yarn as we work so we can easily switch colors. In other words, we are taking whichever color we aren’t using at the moment, holding it straight along the back of our work and crocheting over it until we are ready to use it again.
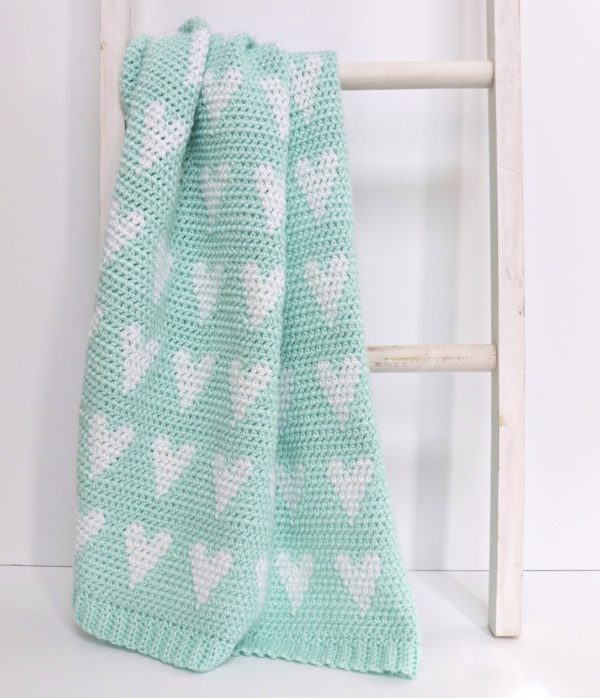
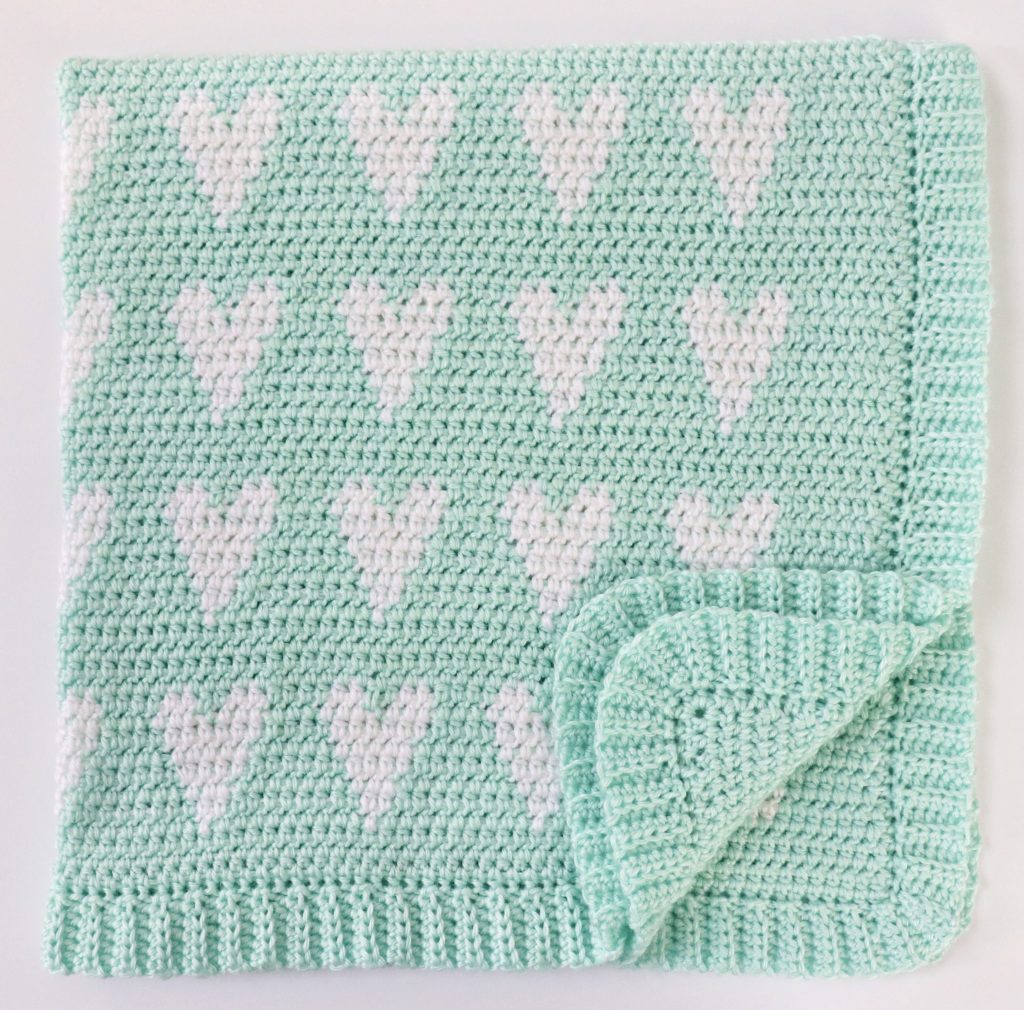
If you look closely at my blanket, you can see bits of teal peaking through the white hearts from where I carried the yarn. When I first started brainstorming this blanket I made a practice swatch with white as the background and pink hearts, but I didn’t like the way the pink was peaking through white background, so I decided to make the background the darker color.
I used wide HDC as the stitch for this blanket, which we also call half double crochet in between the posts. Because this stitch is always worked on either side of the stitches of the row below, it allowed me to make the hearts skinnier because I could increase the width of the heart by only one stitch on every row.
I know the counting for the hearts probably seems complicated, but you really only have to count stitches for the bottom stitch of the heart, and then you can just slowly increase the hearts on each row. If you’ve never carried yarn before, I’d recommend doing a small practice swatch before you get started on the actual blanket just to get used to switching colors and holding the yarn.
Here’s a video if you want to see the stitches and the yarn-carrying used in this blanket before you get started!
Materials
Caron Simply Soft (100% acrylic, 170 g/6 oz, 288 m/315 yds)
4 skeins Soft Green, 1 skein White
Size H/5.00mm hook, tapestry needle, scissors
Size
Finished size 32 in x 34 in
Stitches
Half Double Crochet (HDC): Yarn over (YO), insert your hook, YO and pull up a loop, YO, pull through three loops.
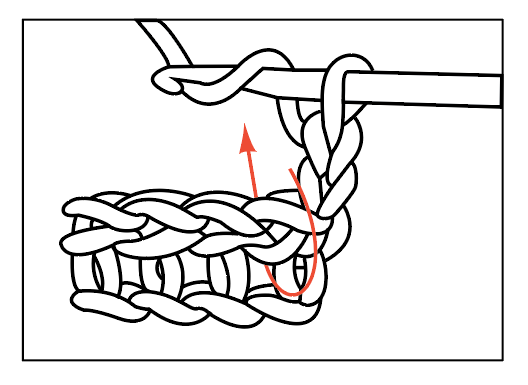
Wide Half Double Crochet (WHDC): YO, insert your hook between stitch posts, YO and pull up a loop, YO and pull through all three loops on hook.
Pattern
Changing colors: Pull through with the new color just before you finish the wide HDC stitch, when you have three loops on your hook. Carry whichever color you aren’t using along the top of your work and crochet over it as you go. To avoid your yarn getting twisted as you carry it along your work, it helps to always keep one color to the front and one color to the back. So whenever I would switched from Green to White, I would keep the Green to the back and crochet over it, but when switching from White back to Green, I would wrap the White to the front of my work before starting to crochet over it.
Chain 101 with Soft Green (To make your blanket bigger or smaller, chain any multiple of 10, then add 1.)
ROW 1: Starting in 3rd chain from hook, work 1 HDC in each chain. CH 2 and turn.
ROWS 2 – 3: Work 1 WHDC in each space across the row. CH 2 and turn. (From now on you will always be inserting your hook in between the stitch posts of the previous row.)
ROW 4: *Work 1 WHDC in each of the first 9 spaces with Soft Green, then 1 WHDC in the next space with White. Repeat from * to the end of the row. CH 2 and turn.
Now, from here on out, instead of telling you the exact counts for when to switch colors on each row, I think it’s going to be a lot easier for you to visually build your heart instead of counting stitches. The main reason for this is because we are using WHDC, so the counts will be different depending on whether you are on the front side or back side and so instead of counting the green stitches, it was a lot easier for me to focus on putting white stitches on either side of the white stitches from the row below. Here’s the graph you want to follow for each heart (the black v’s represent the white stitches):
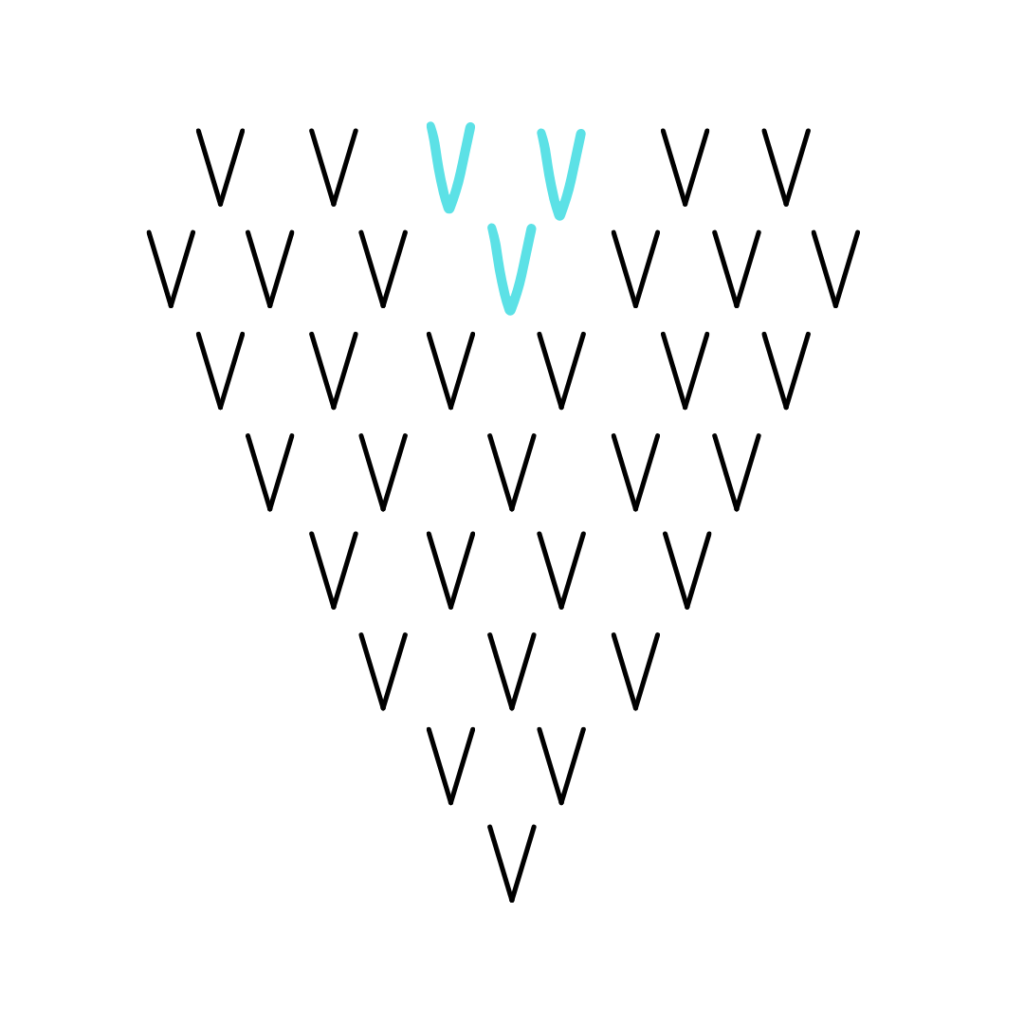
Essentially, you are adding one stitch on every row until you have 6 white stitches, then on the next row you want 6 white stitches with 1 green in the middle. Then on the next row, you want to take the sides of your heart back in to make it curve, so you’ll have 4 white stitches with 2 green stitches in the middle.
You should have eight rows total that have white in them when you’re finished with your first set of hearts. After you build your first set of hearts, you can cut the White yarn and work 4 rows of wide HDC in Soft Green. (If you want to spread them out more, just make sure you have an even number of rows between the hearts so that the stitches line up.)
Then repeat row 4 to start the bottom of your hearts, and use the graph to build the next set of hearts.
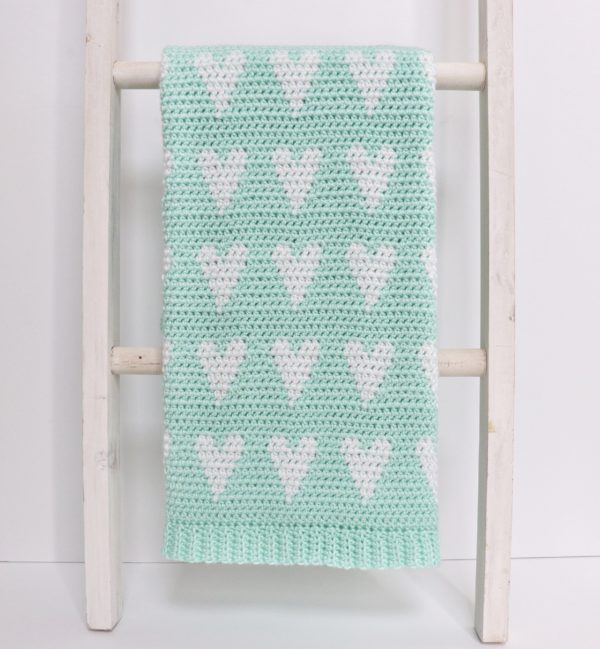
I ended up with eight sets of hearts before my hands were about to fall off! I love how this blanket turned out, but it was definitely a hand workout!
Border
For the border I added back loop half double crochet ribbing (scroll down for a video of the border).
Round 1: Work one HDC in between the posts around the blanket, work 3 HDC into the corner spaces, and work 1 HDC per row. Join with a slip stitch at the end of the row to the first HDC.
Round 2: Working in the same direction, chain 7, In the third chain from the hook, work HDC and then work HDC into each chain for a total of 5 HDC. Slip stitch into the next stitch that is on the border and the next stitch, turn, skip over the slip stitches and work 5 HDC into the back loops of the HDC you just made down the chain. CH 2 and turn. Work 5 back loop only HDC back down to the edge of the blanket, slip stitch into the next two spaces. Repeat in this manner down the side of the blanket.
When you reach the corner, instead of slip stitching over two times, slip stitch into the corner space three times in a row. Meaning, after you work up and down the HDC’s, slip stitch back into the same corner space, repeating three times. This will fan the work around the corner. Then you return to slip stitching over the next two spaces.
When you have gone all the way around the blanket, finish the last corner by slip stitching 3 times into the same space, then end on the outside edge of the blanket. Tie off leaving a long tail. Sew the last edge to the first edge of the border. Then weave in all remaining ends.
Here is the video for the border! The only difference in the video is that my mom chained 9 for her ribbing and I chained 7 because I wanted a slightly less thick border. You can chain any number you want to get your desired border thickness.
Thank you so much for coming to read this pattern; I hope you enjoy making this blanket! When you’re finished, please come share a picture with us on Facebook or Instagram using #daisyfarmcrafts, we’d love to see!
If this is your first time visiting our blog, welcome! My mom Tiffany is the founder of Daisy Farm Crafts, but my three sisters and I all have learned to crochet over the past few years and we love to share what we are making as well!
xo, Hannah
Click here or on image below for printable pattern
![]()