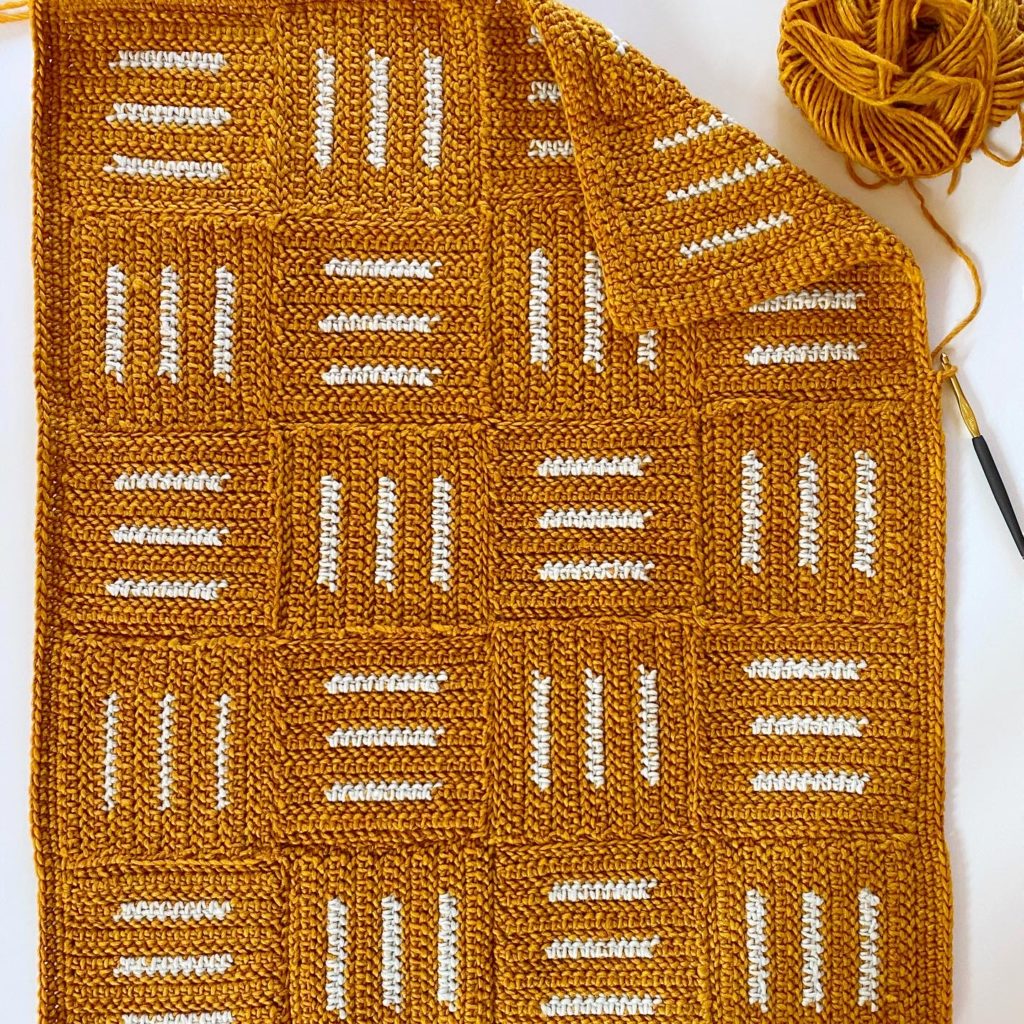
I tried my hand at making and sewing squares together. This is my first attempt and I really enjoyed the process. I’m calling this blanket the Modern Hatch Lines Blanket Squares and you can make this any size of blanket that you wish. Each square, if you use Paton’s Alpaca Blend, 5 weight yarn, measured 6 inches square.
But I think if you used the pattern with a different yarn, you still could make this work with whatever size square you end up with.
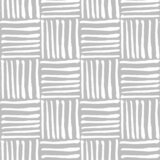
At first, I wasn’t so sure I liked how I sewed them together and worried that they looked a bit sloppy. But then as I was searching images of this design, I came across a lot of designs called “cross-hatch” and they sort of have a wavy appearance like the blanket.
Here’s an example of an image I found:
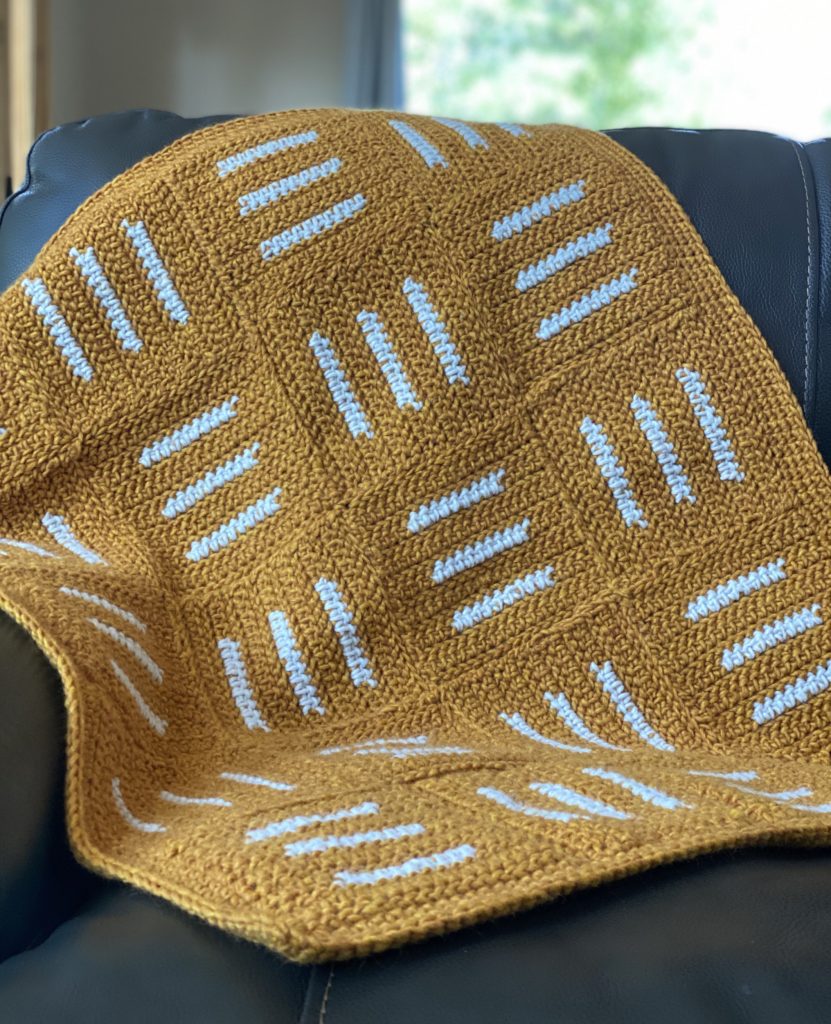
And now, it’s really one of my favorite blankets and I really want to make another in different yarn just to see the difference. I really want to make one in Navy Blue and Cream.
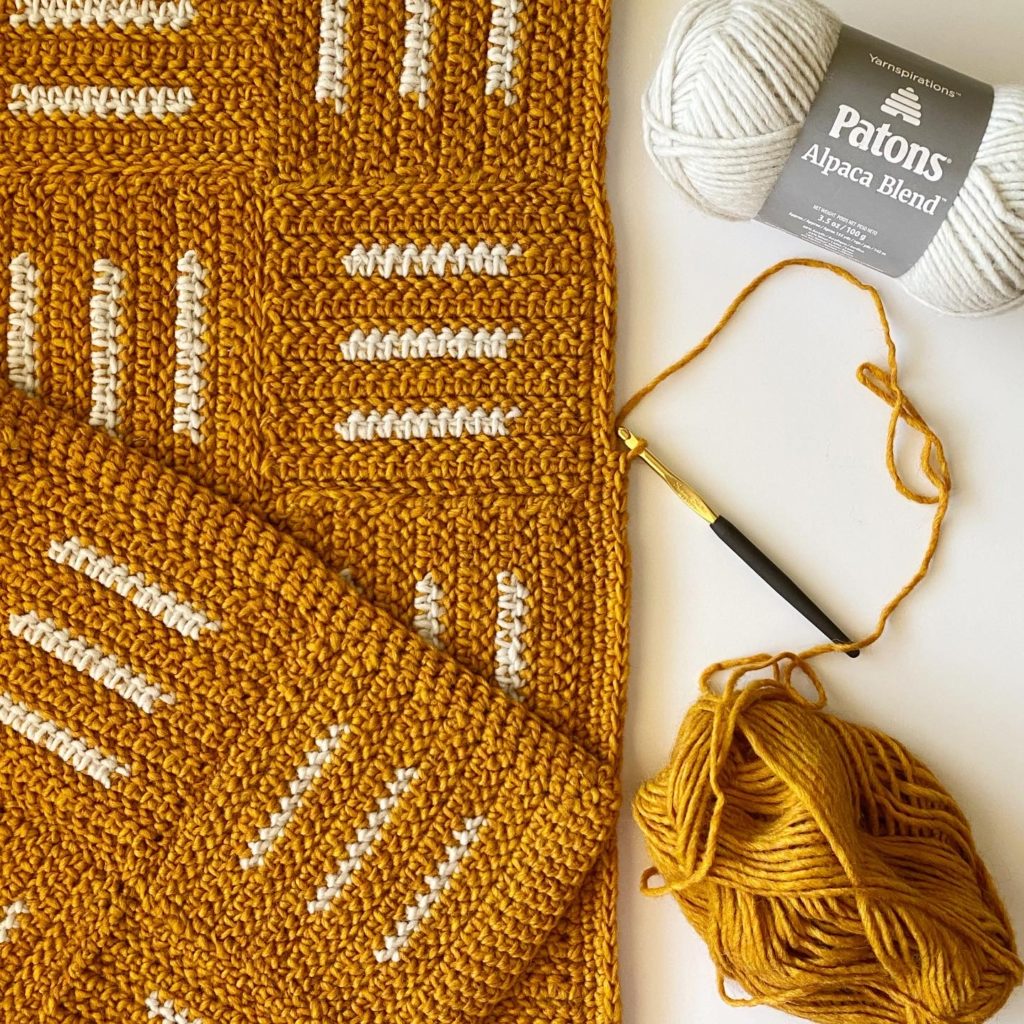
After sewing with a tapestry needle all the squares together using the long tails as my join method, I worked 4 rounds of single crochet.
I don’t have any tutorials for actually sewing the blanket together, but feel free to use any join method that you like.
Materials
Patons Alpaca Blend (100g/3.5oz, 142 m/155 yds)
6 skeins Butternut, 1 skein Birch
Size J/6.00mm hook, tapestry needle, scissors
Size
Finished size 25 in x 31 in
Gauge 4 in = 12 st and 10 rows of HHDC
Stitches
Herringbone Half Double Crochet (HHDC): Yarn Over (YO), insert hook into designated stitch, YO and pull a loop back through and through first loop on the hook. YO and pull through remaining two loops on the hook.
Single Crochet (SC): Insert your hook into the designated stitch, YO and pull a loop back through. YO and pull through two loops on the hook.
Pattern
With Butternut, chain 19, leaving a 12-15 inch tail for sewing later.
ROW 1: Begin in the second chain from the hook with 1 HHDC. 1 HHDC in each of the remaining chains, CH 1 and turn. (18)
ROW 2 and 3: HHDC in each stitch across the row, CH 1 and turn.
ROW 4: HHDC in each of the first 4 stitches, pulling through with Birch on the 4th stitch, HHDC in each of the next 10 stitches crocheting over the Butternut and carrying it along the row. Change back to butternut on the 10th stitch, work 1 HHDC in each of the remaining 4 stitches, CH 1 and turn. (cut Birch)
Repeat rows 1-4 two times, then repeat rows 1-3 one time. Tie off and leave a 12-15 inch tail.
Make 20 squares for a stroller size blanket.
Tips for sewing
Lay the squares out on a table in the pattern making sure the right sides are facing up and rotate the squares so they alternate vertical and horizontal. Plan the best way to use the tails to sew the squares together. I used a spiral method of sewing the two sides together instead of a zig zag. Feel free to use whatever method you would like.
Border
After weaving in all the ends and squares are hand-sewn together, pull up a loop in any corner, chain 1 and SC into that same corner space. Work 1 SC evenly down the sides of the blanket working 3 SC into each corner space. Do not turn at the end of the round, simply continue working in the same directions working 1 SC into each SC and 3 SC into the middle stitch of the corners. Work 4 rounds, then slip stitch to the next SC and tie off.
Thanks for coming to the website! Come and show us your blanket and what colors you made it with if you’d like. Post a photo to the Facebook page or use #daisyfarmcrafts on your public Instagram posts!
xo, Tiffany
Click here or on image below for printable pattern
![]()