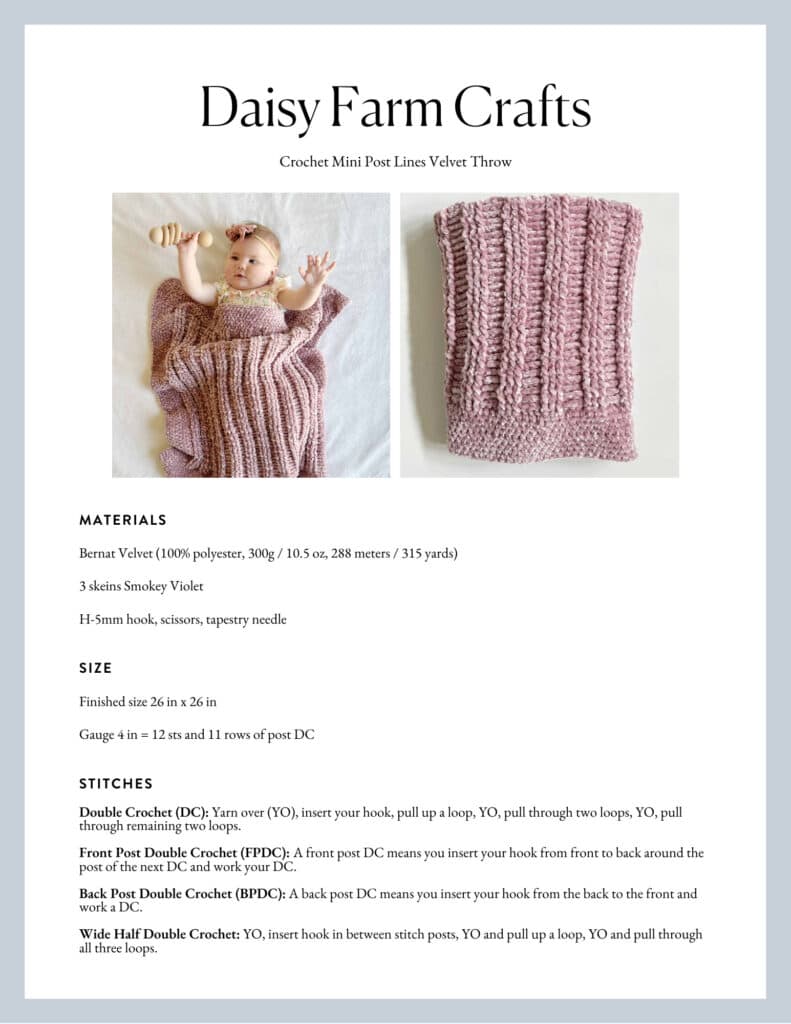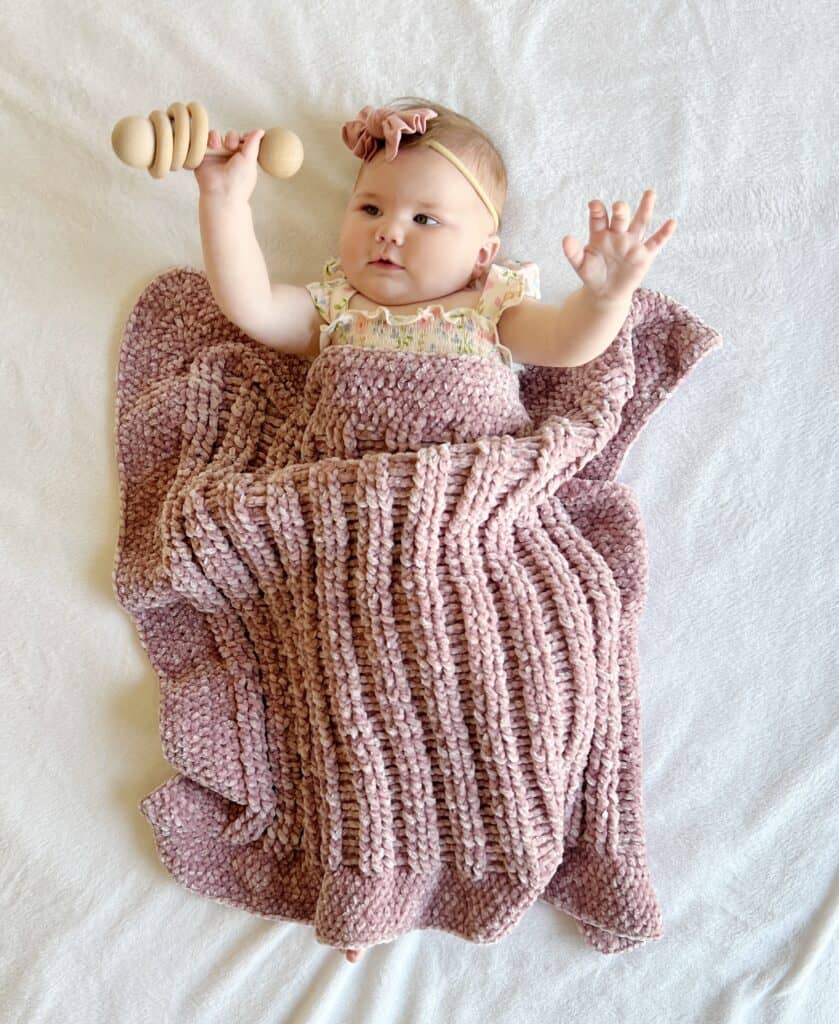
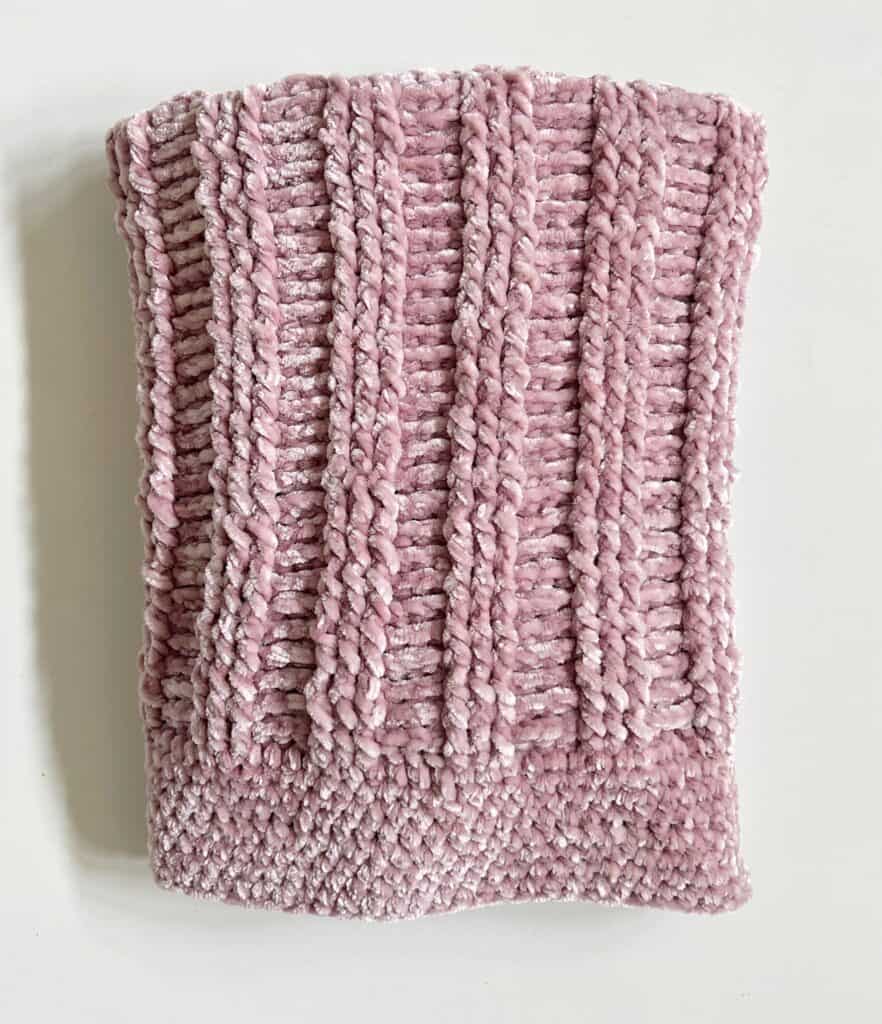
Happy 6-months-old to baby Nora! Oh how I’ve loved getting to know this precious little girl. This month she gets her photo taken with a blanket her Auntie Nicolina made for her. If it looks familiar, Hannah made this Velvet Post Lines Blanket several years ago out of Velvet Plus yarn.
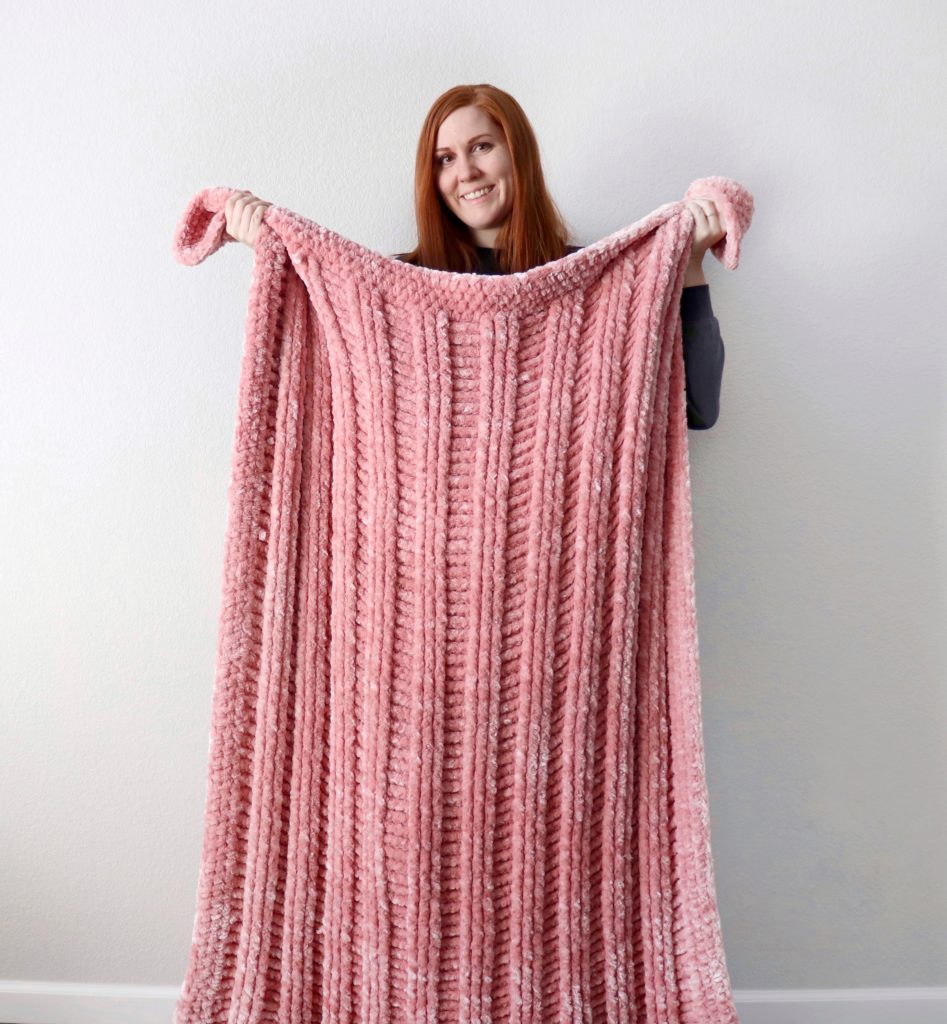
It’s a stunning blanket that Hannah loves to throw over the end of a bed. She wanted Nora to have a smaller version for her nursery. Thank heavens there are a lot of aunties around here that love to crochet! Nicolina took the exact pattern and used a smaller-weight Bernat Velvet to make this version.
She used the same width measurement, meaning the same starting chain number, however, she did just end it when it was a square. The overall measurement is a nice car seat size 26 x 26 inches.
We include the pattern repeat, so if you want this version larger you can adjust the starting chain.
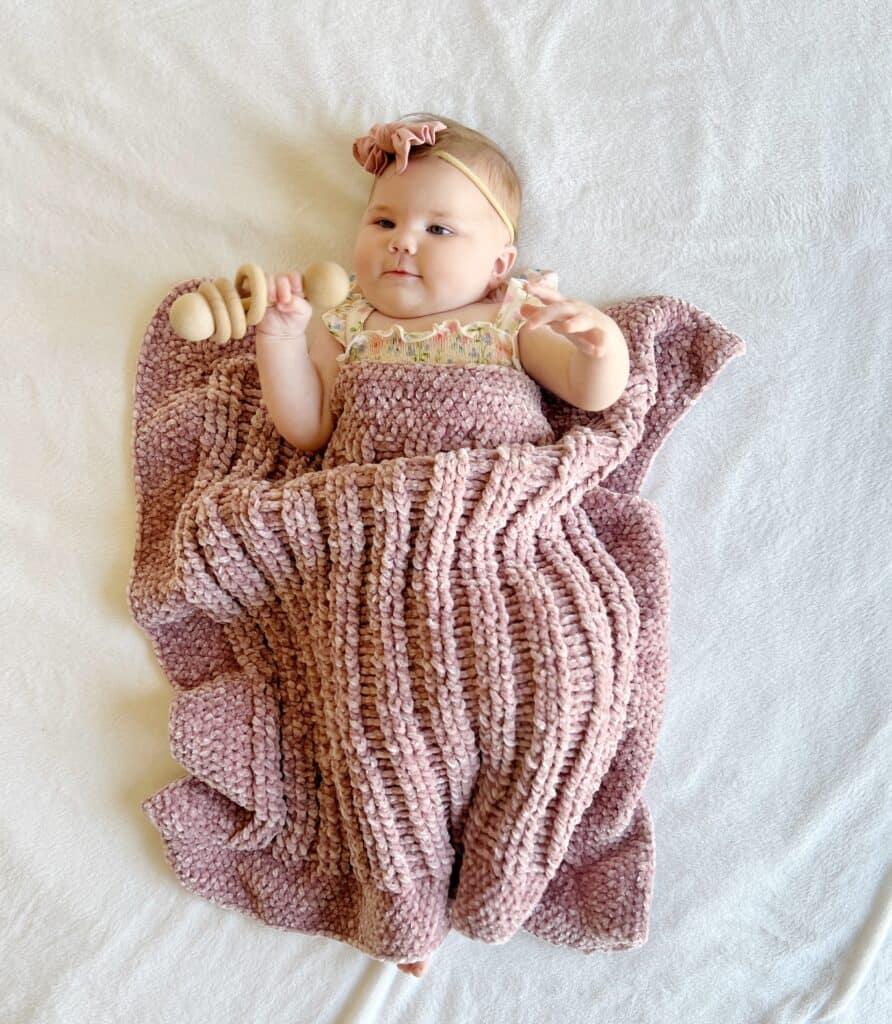
Working with velvet has its own set of challenges with loops that tend to slip free, however, we have found that using post stitches as well as wide half double crochet and sizing down to make sure your stitches are very tight, solves a lot of this problem.
We also take care to wash the blanket in a laundry bag and lay it flat to dry. We have an entire post dedicated to How to Successfully Crochet with Velvet if you want all of our tips to work with this beautiful type of yarn.
Materials
Bernat Velvet (100% polyester, 300g / 10.5 oz, 288 meters / 315 yards) (tap name of yarn to shop on Yarnspirations.com)
3 skeins Smokey Violet
H-5mm hook, scissors, tapestry needle
Size
Finished size 26 in x 26 in
Gauge 4 in = 12 sts and 11 rows of post DC
Stitches
DOUBLE CROCHET (DC): Yarn over (YO), insert your hook, pull up a loop, YO, pull through two loops, YO, pull through remaining two loops.
FRONT POST DOUBLE CROCHET (FPDC): A front post DC means you insert your hook from front to back around the post of the next DC and work your DC.
BACK POST DOUBLE CROCHET (BPDC): A back post DC means you insert your hook from the back to the front and work a DC.
WIDE HALF DOUBLE CROCHET: YO, insert hook in between stitch posts, YO and pull up a loop, YO and pull through all three loops.

Pattern
CHAIN 67. (To make your blanket bigger or smaller, multiply any odd number by 3, then add 4.)
ROW 1: Starting in the 4th chain from the hook, work a DC in each chain. Chain 2 and turn.
ROW 2: *Work FPDC around each of the first 3 posts, then work BPDC around each of the next 3 posts. Repeat from * to the end of the row. For the last stitch, work a DC underneath the turning chain. Chain 2 and turn.
(Tip: your first fpdc to work is around the second post in the row below, not the post that lines up under the turning chain.)
ROW 3: *Work BPDC around each of the first 3 posts, then work FPDC around each of the next 3 posts. Repeat from * to the end of the row. (Your post stitches should be sticking out the same direction as the previous row.) Chain 2 and turn.
Continue alternating rows 2 and 3 for the remainder of the blanket, until your desired length. Tie off and weave in all ends with a tapestry needle.
NOTE: Normally when switching to a new skein when I run out of yarn, I just pull through with the new yarn wherever it runs out in the middle of the row, but for this blanket I always made sure to switch to a new skein at the end of the row so that I could knot the two tails together before weaving them into the blanket.
Border
ROUND 1: Pull up a loop in any corner and chain 2. Work wide HDC around the blanket (on the ends insert your hook between the dc posts and on the sides insert your hook into the spaces between each row). Work 3 HDCs into each corner space.
ROUND 2: When you reach the corner you started with, work 3 HDCs into the corner, then continue working wide HDC in the same direction around the blanket. This time, work 4 HDCs into the corner, two on either side of the middle stitch from the previous round.
ROUND 3: When you reach the corner you started with, work 4 HDCs into the corner, then continue working wide HDC in the same direction around the blanket. Work 3 HDCs into each corner space. When you reach the starting corner, work 3 HDCs into the corner space, then slip stitch into the next space and tie off.
Thank you so much for stopping by!
XO, Tiffany

