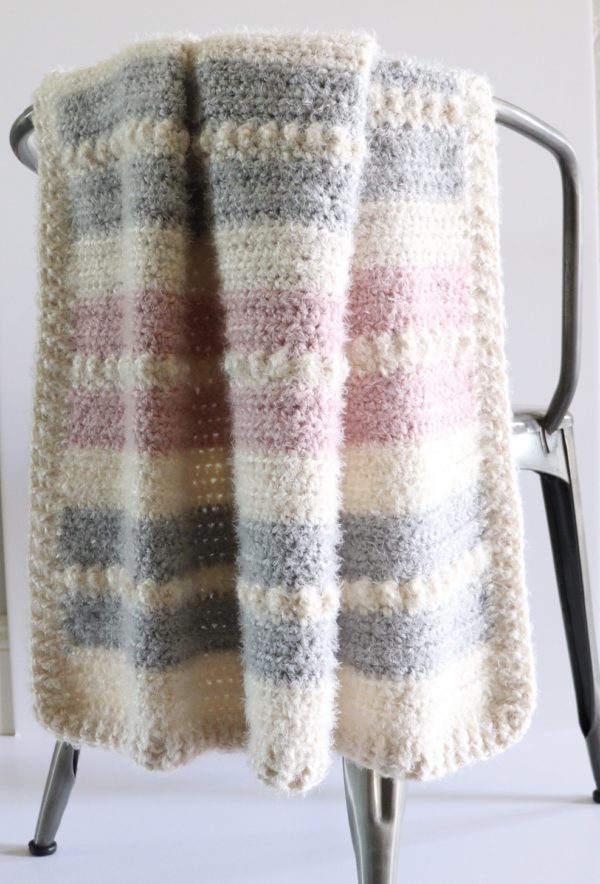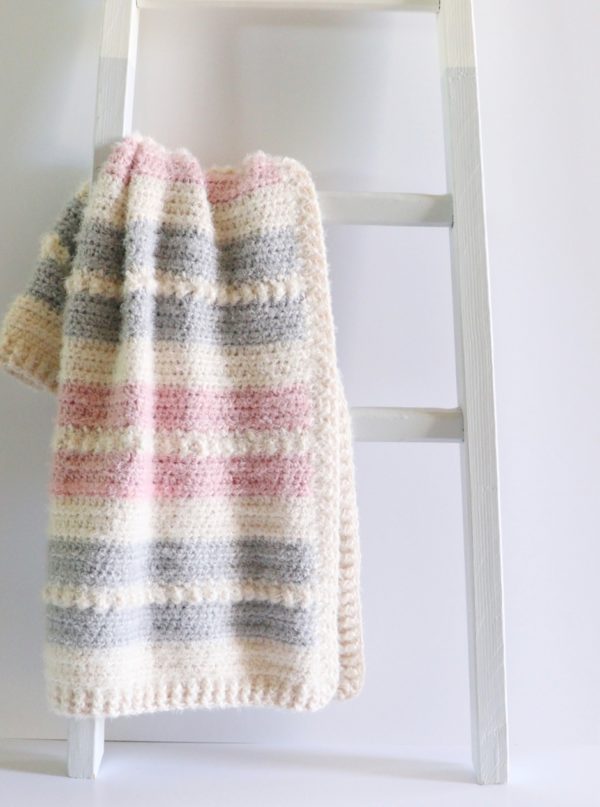
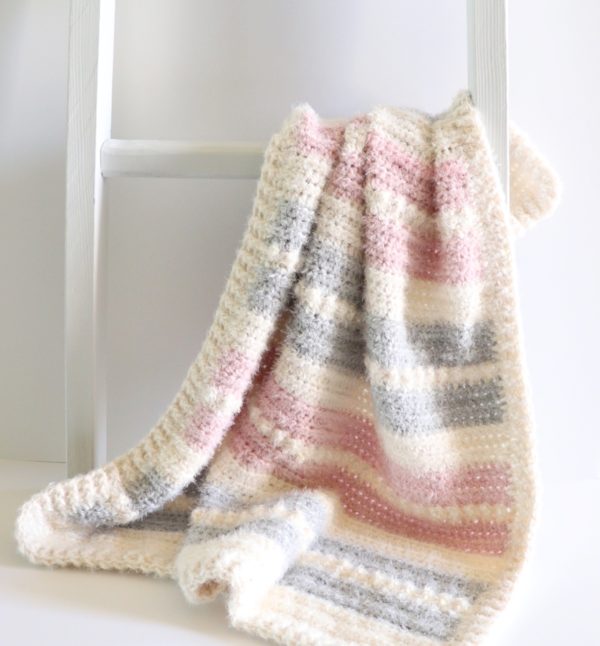
I’ve had the opportunity to try out Red Heart Hygge (pronounced hoo-gah) sent to us from our friends at Yarnspirations.com. It is so, so, very soft and fuzzy, yet easy to work with!
It is a 100% acrylic, machine wash and dry, bulky 5 weight yarn. They asked me to design anything I wanted with it and I couldn’t help but add another blanket to my growing pile of hopeful-to-be-a-grandma-one-day baby blankets.
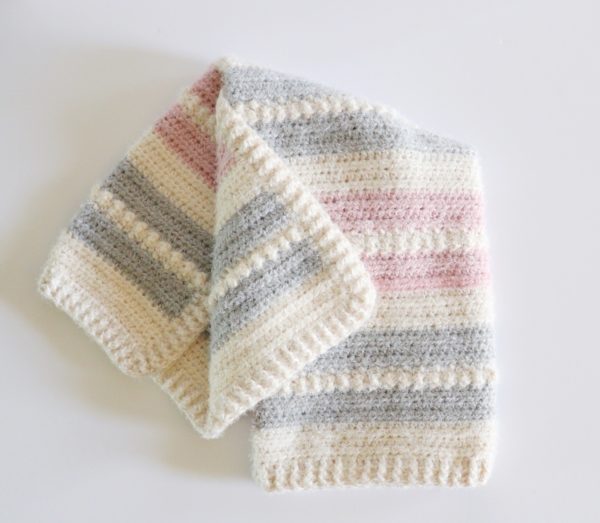
I kept this design really simple and beginner friendly. I used a half double crochet stitch, along with a treble crochet and single crochet for the little puffs. I also added the ribbing stitch for the border which is front and back post double crochet.
One last thing to add about this yarn–it’s easy to undo when you make a mistake! That is key for me. I like to undo and re-do a lot, especially when I am trying new ideas or not sure which direction my blanket is going to take. I don’t know how they did it, but those little fuzzies do not catch and each stitch came out easily.
And one last thing to say about the design, the puffs are on both sides of the blanket. So each side looks the same. I hope you enjoy making this blanket! It works up really fast and I didn’t even need to block this blanket at all when it was finished. It just turned out so great.
Materials
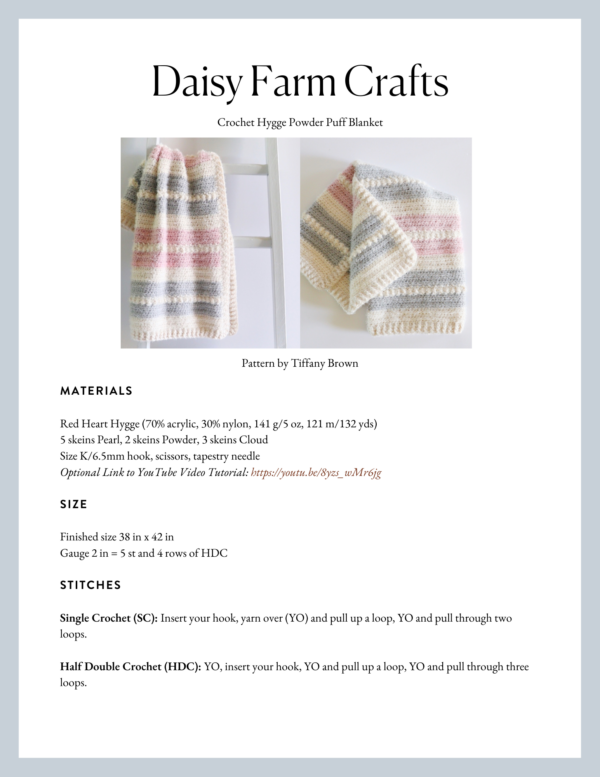
Red Heart Hygge (70% acrylic, 30% nylon, 141 g/5 oz, 121 m/132 yds)
5 skeins Pearl, 2 skeins Powder, 3 skeins Cloud
Size K/6.5mm hook, scissors, tapestry needle
Size
Finished size 38 in x 42 in
Gauge 2 in = 5 st and 4 rows of HDC
Stitches
Single Crochet (SC): Insert your hook, yarn over (YO) and pull up a loop, YO and pull through two loops.
Half Double Crochet (HDC): YO, insert your hook, YO and pull up a loop, YO and pull through three loops.
Treble Crochet (TC): YO twice, insert your hook, YO and pull up a loop, YO and pull through two loops, YO and pull through two loops again, YO and pull through remaining two loops
Double Crochet (DC): YO, insert your hook, YO and pull up a loop, YO and pull through two loops, YO and pull through remaining two loops.
Front and Back Post Double Crochet (FPDC & BPDC): A front post DC means you insert your hook from front to back around the post of the next DC and work your DC. A back post DC means you insert your hook from the back to the front and work a DC.
Pattern
Chain 90 with Pearl. (Any even number will work if you’d like to make this a different size.)
Row 1: Work 1 HDC (half double crochet) in the 3rd chain from the hook. Work 1 HDC into each chain space. CH 2 and turn.
Rows 2 – 4: (turning chain does not count as a stitch) Work 1 HDC into each stitch across the row. Pull through with Cloud on the last step of the HDC of row 4. (Don’t cut the Pearl if you’d like to carry the yarn up the sides.)
Rows 5 – 8: Work HDC in each stitch always chain 2 and turn at the end of every row. On row 8, pull back through with Pearl on the last step of the stitch. (Don’t cut Cloud, if you’d like to carry that yarn up the sides.)
Rows 9 – 10: Work 1 TC (treble crochet) into the first stitch. Work 1 SC (single crochet) into the next stitch. Repeat alternating TC and SC in each stitch across the row, your last stitch will be a SC. Chain 2 and turn. (At the end of the 10th row, change color and pull through with Cloud.
Rows 11 – 14: Work HDC into each stitch with Cloud. Always CH 2 and turn.
Rows 15 – 28: Repeat Rows 1 – 14 except substitute the color Powder for Cloud.
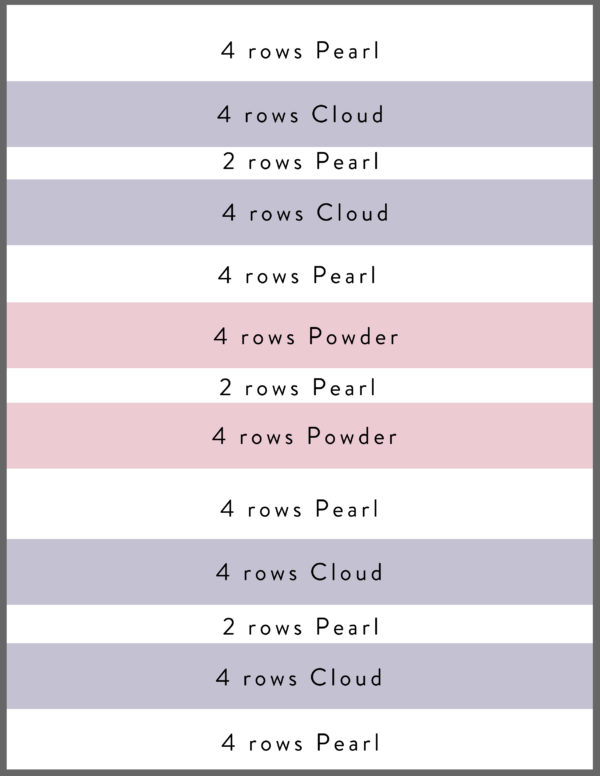
Rows 29 – 74: Repeat the pattern alternating the Powder and Cloud. Refer to the color chart below.
Border
Round 1: Secure the last stitch while you weave in all ends. Return to the last stitch, chain 3 and turn. Work 1 DC into each stitch across the row. Work 3 DC into each corner. Work 1 DC as evenly as possible down the sides of the blanket.
Round 2: Don’t join the round or turn your work. Start the next stitch of the round with a front post double crochet (FPDC) and alternate in the next stitch with a back post double crochet (BPDC). Work 3 alternating FPDC and BPDC around the middle stitch of the 3 DC of the row below that made the corners.
Round 3: Don’t join the round, continue with FP and BP DC keeping the posts on the same side of the work as the row below. Join at the end of the row with a slip stitch. Tie off and weave in the ends.
If you need video help, please watch below: (skip to the end if you’d like to see me hold up the finished blanket to get an idea of what it looks like.)
Thank you so much for stopping by our website! Come and follow us on Instagram or Facebook and be our crochet friend. We love to see if you make this so use the #daisyfarmcrafts on your post!
xo, Tiffany
