If you’ve been following us along for a little while, maybe you’ll recognize the striped design for a hot pad. Last year I made a candy cane, and the year before a tree.
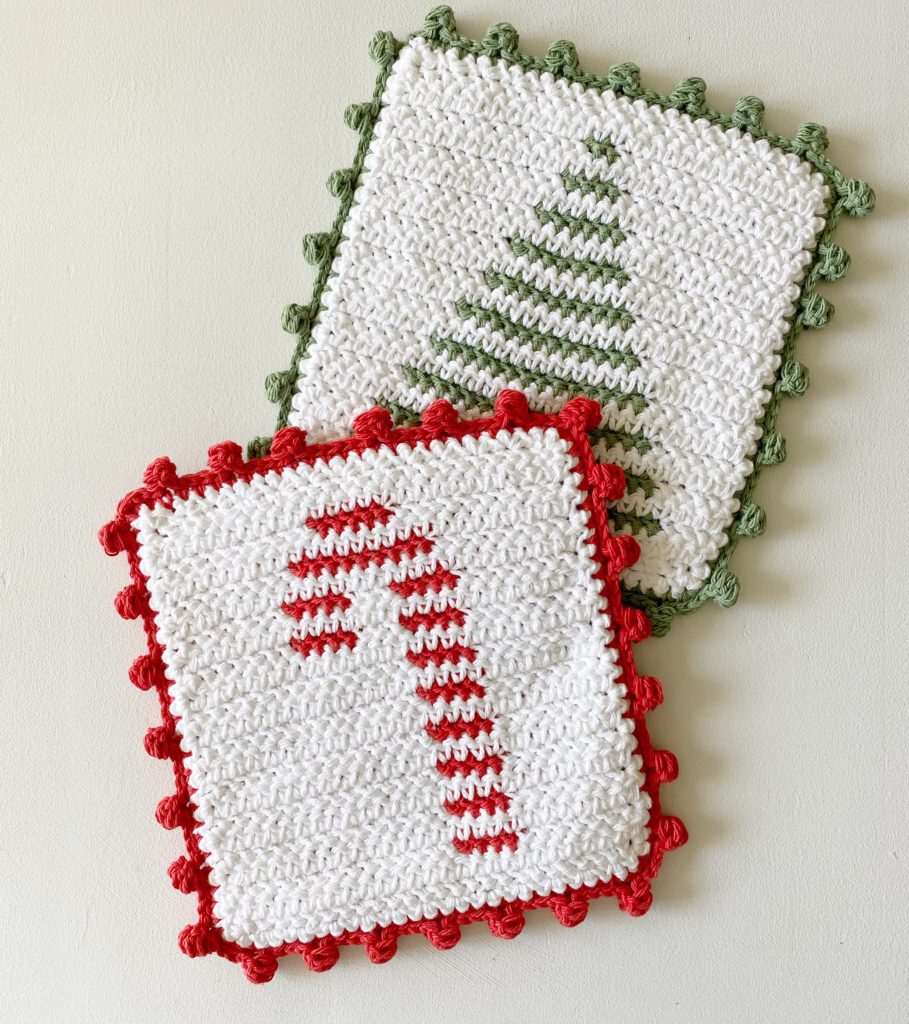
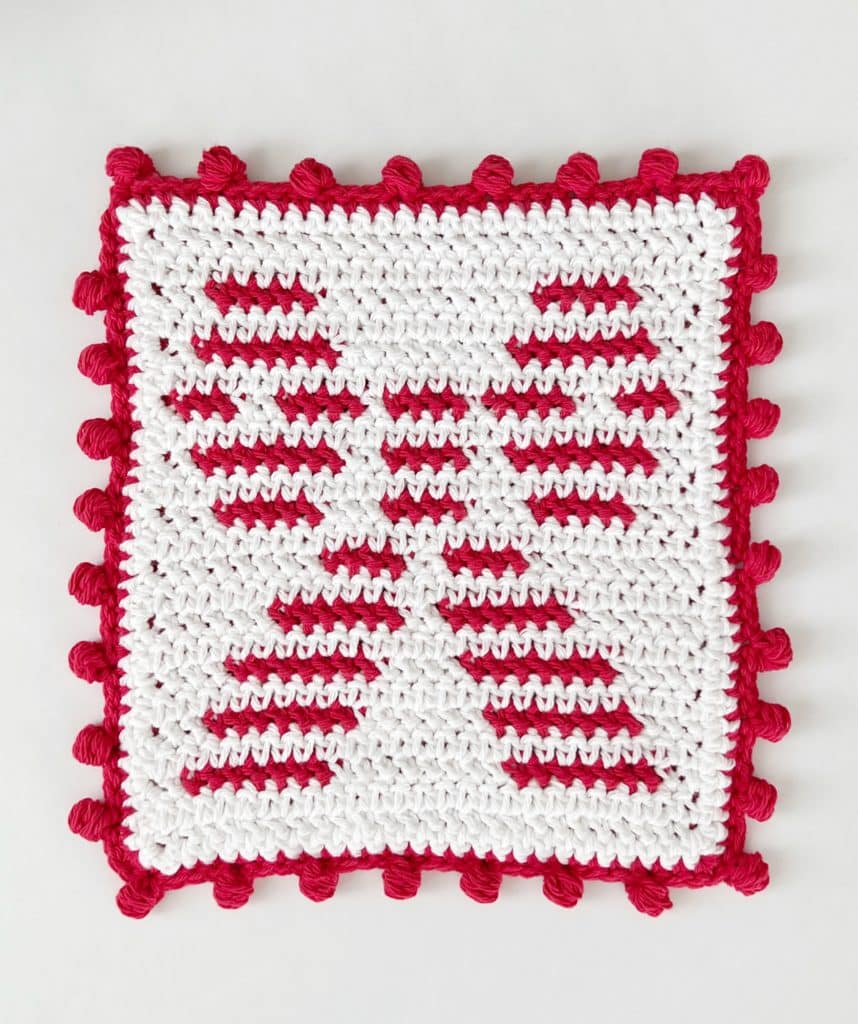
This year I made a holiday bow! I think it adds so nicely into the collection.
I love having the holiday hot pads on hand for easy gifts. I think they make great housewarming gifts too.
Here’s a glimpse of what the back of the hot pad looks like:

I hide all the ends to one side and they are hidden in the middle of the pad. These are two-sided and extra thick.
If you need help learning how to carry the yarn and change colors mid-row, I have a tutorial for the Candy Cane Hot Pad that will show you the technique:
The back side of the hot pad is a solid color. And of course the dots are optional but I just think they look so festive.
Enjoy!
Materials
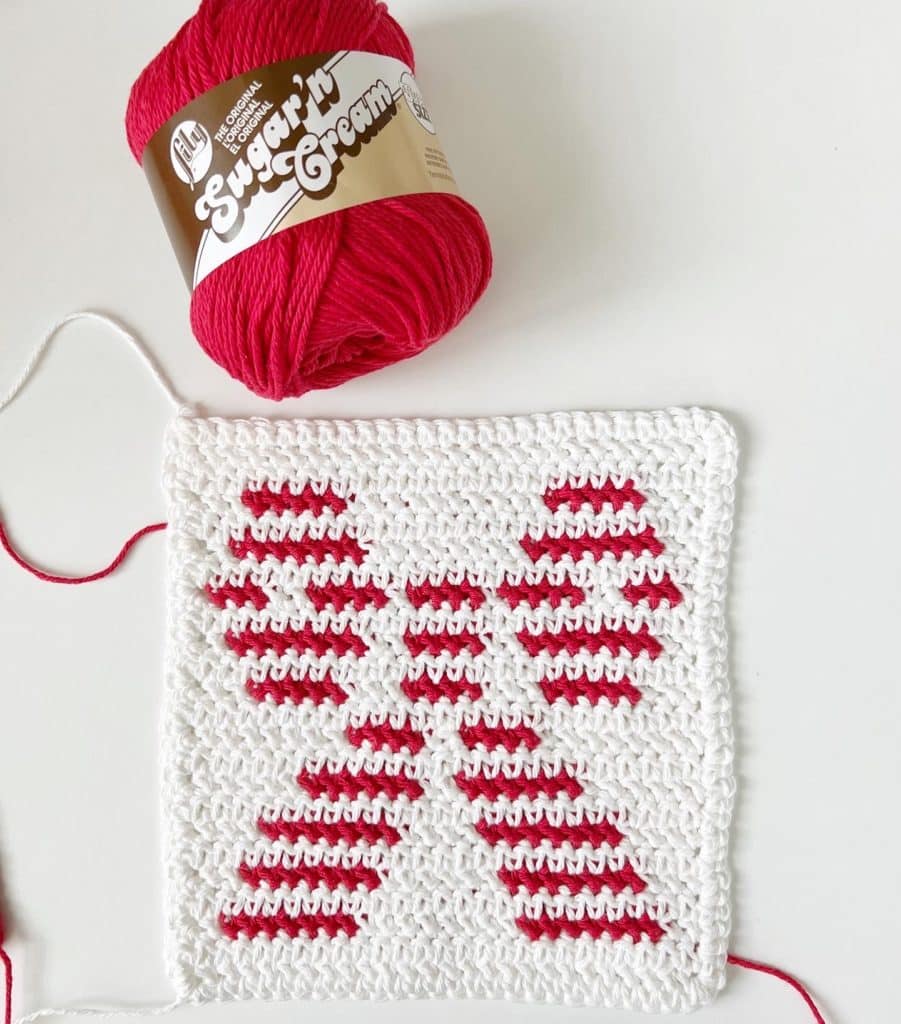
Lily Sugar’N Cream Super Size Cotton Yarn (100% Cotton, 113g / 4 oz, 184 meters / 200 yards, 4 weight)
Size H 5.0 mm hook, tapestry needle, scissors
Graph
![]()
Stitches
Herringbone Half Double Crochet (HHDC): YO, insert your hook, YO, pull up a loop and pull directly through first loop on hook, YO and pull through remaining two loops.
Dot Border: explained in the pattern, also demonstrated in the link video for the Candy Cane hot pad.
Size
Approximately 8.5 inches by 9 inches
Pattern
With White chain 27.
Row 1: Begin following the graph in the lower right-hand corner marked with the number 1. One stitch equals one square of the graph. In the second chain from the hook, work 1 HHDC. HHDC into each chain across the row. CH 1 and turn. (26)
Row 2: Begin following the graph in the lower left-hand corner marked with the number 2. In the first stitch work HHDC. HHDC into each stitch across the row. CH 1 and turn.
Tip: The odd number of rows are read right to left, and even rows are read left to right. All color changes are made on ODD numbered rows. Always CH 1 and turn after each row. Turning chains do not count as a stitch. To change colors, pull through with new color on the last step of the stitch. When you need the new color pull gently across the back of the hot pad.
Row 3: HHDC in each of the first 2 sts. (On the last step of the second st, pull through with Red, keep the tails to the back), HHDC in each of the next 7 sts with red, HHDC in each of the next 8 in White, HHDC in each of the next 7 in Red, HHDC in each of the next 2 in White, CH 1 and turn.
Row 4: 26 HHDC in White, (tails will be facing you. CH 1 and turn.
Row 5: 3 White, 7 Red, 6 White, 7 Red. 3 White. CH 1 and turn.
Row 6: 26 White. CH 1 and turn.
Row 7: 4 White, 7 Red, 4 White, 7 Red, 4 White. CH 1 and turn.
Row 8: 26 White. CH 1 and turn.
Row 9: 6 White, 6 Red, 2 White, 6 Red, 6 White, CH 1 and turn.
Row 10: 26 White. CH 1 and turn.
Row 11: 8 White, 4 Red, 2 White, 4 Red, 8 White, CH 1 and turn.
Row 12: 26 White. CH 1 and turn.
Row 13: 3 White, 5 Red, 3 White, 4 Red, 3 White, 5 Red, 3 White, CH 1 and turn.
Row 14: 26 White. CH 1, turn.
Row 15: 2 White, 7 Red, 2 White, 4 Red, 2 White, 7 Red, 2 White, CH 1, turn.
Row 16: 26 White. CH 1, turn.
Row 17: 1 White, 3 Red, 2 White, 4 Red, 1 White, 4 Red, 1 White, 4 Red, 2 White, 3 Red, 1 White. CH 1, turn.
Row 18: 26 White. CH 1, turn.
Row 19: 2 White, 7 Red, 8 White, 7 Red, 2 White, CH 1, turn.
Row 20: 26 White. CH 1, turn.
Row 21: 3 White, 5 Red, 10 White, 5 Red, 3 White. CH 1, turn.
Row 22: 26 White. CH 1, turn.
Row 23: 26 White, CH 1 turn.
Work 1 round of Single Crochet into each stitch, 3 SC into each corner, work 3 SC per 2 rows on the ends. Tie off.
Make another square in solid Red and finish with 1 round of SC.
Join two sides together with one round of SC, working under both loops of each hot pad to join. Work 3 SC into each corner. Do not turn before beginning the dot border.
Dot Border:
**Chain 2.
In the first chain, *yarn over and insert your hook, yarn over and pull up a loop. Repeat from * 3 more times. Yarn over and pull through all loops on your hook. Slip stitch into the stitch just below the chain 2 to secure the puff. Slip stitch into each of the next 4 sts.
Repeat from ** around. Join with a slip stitch to the first st, tie off and weave in all ends.
See the free printable pdf below or click here:
![]()
Thanks for stopping by!
XO, Tiffany