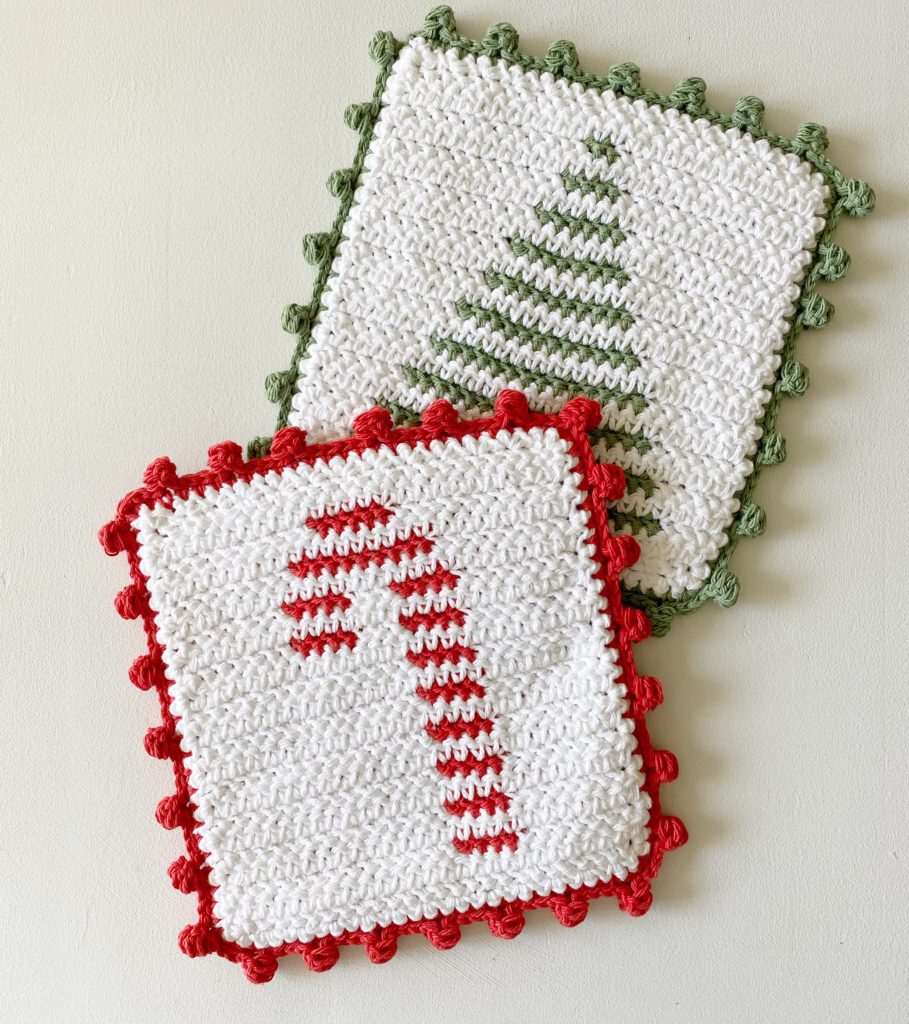
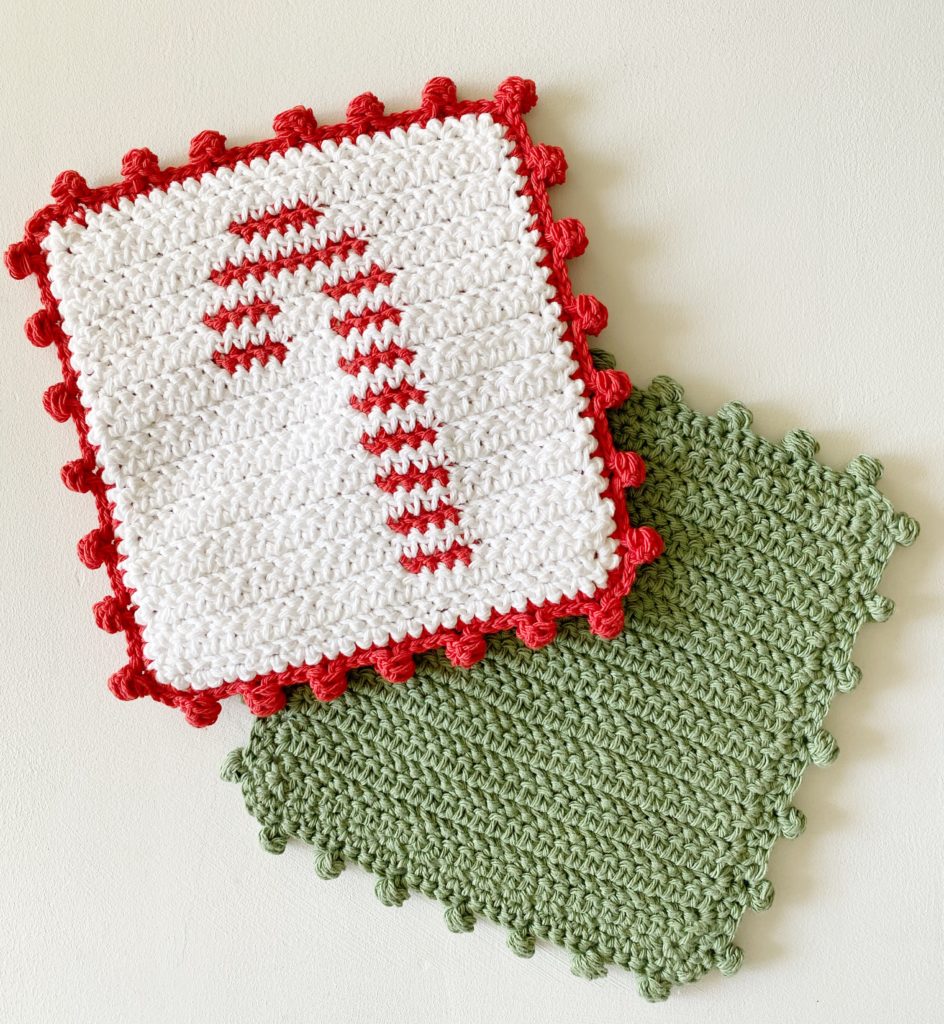
I’m having a bit of year-end fun designing a new hot pad (potholder) to accompany our original Winter Tree Stripe Hot Pad. I updated that pattern as well so these two together can make a great gift.
And adding a dot border added a bit of fun for the holidays. They are two-sided and extra thick and a bit larger at 8 inches by 8.5 inches. Here’s a picture of the back:
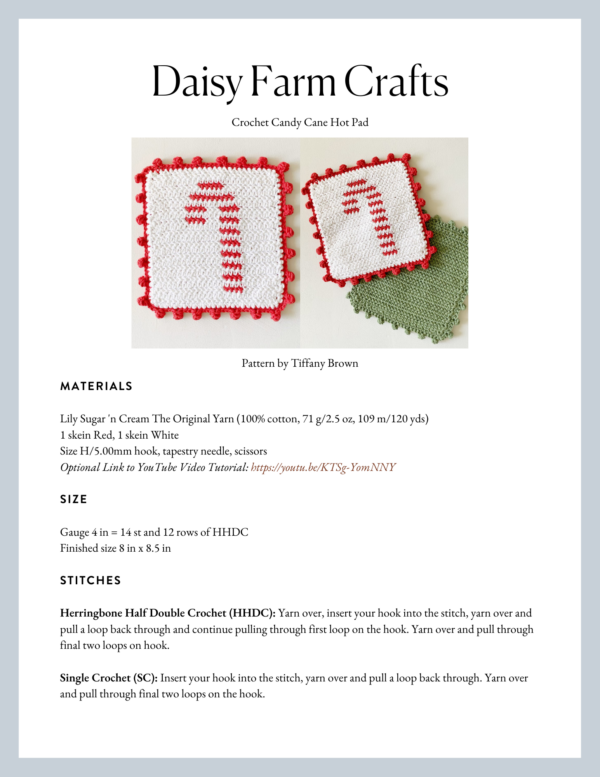
Materials
Lily Sugar ‘n Cream The Original Yarn (100% cotton, 71 g/2.5 oz, 109 m/120 yds)
1 skein Red, 1 skein White
Size H/5.00mm hook, tapestry needle, scissors
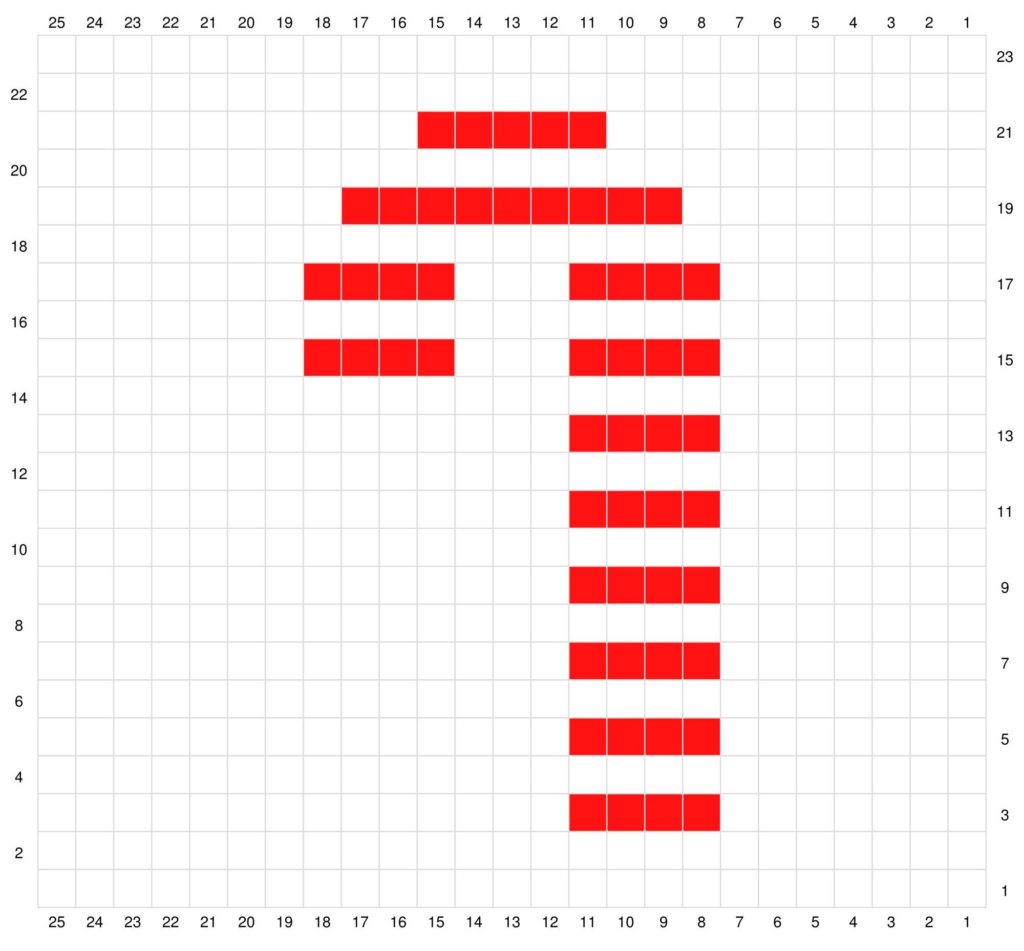
click here or on image below for printable graph
Size
Gauge 4 in = 14 st and 12 rows of HHDC
Finished size 8 in x 8.5 in
Stitches
Herringbone Half Double Crochet (HHDC): Yarn over, insert your hook into the stitch, yarn over and pull a loop back through and continue pulling through first loop on the hook. Yarn over and pull through final two loops on hook.
Single Crochet (SC): Insert your hook into the stitch, yarn over and pull a loop back through. Yarn over and pull through final two loops on the hook.
Dot: *Yarn over and insert hook into first chain, yarn over and pull a loop back through. Repeat from * 3 more times. Yarn over and pull through all loops on hook.
Pattern
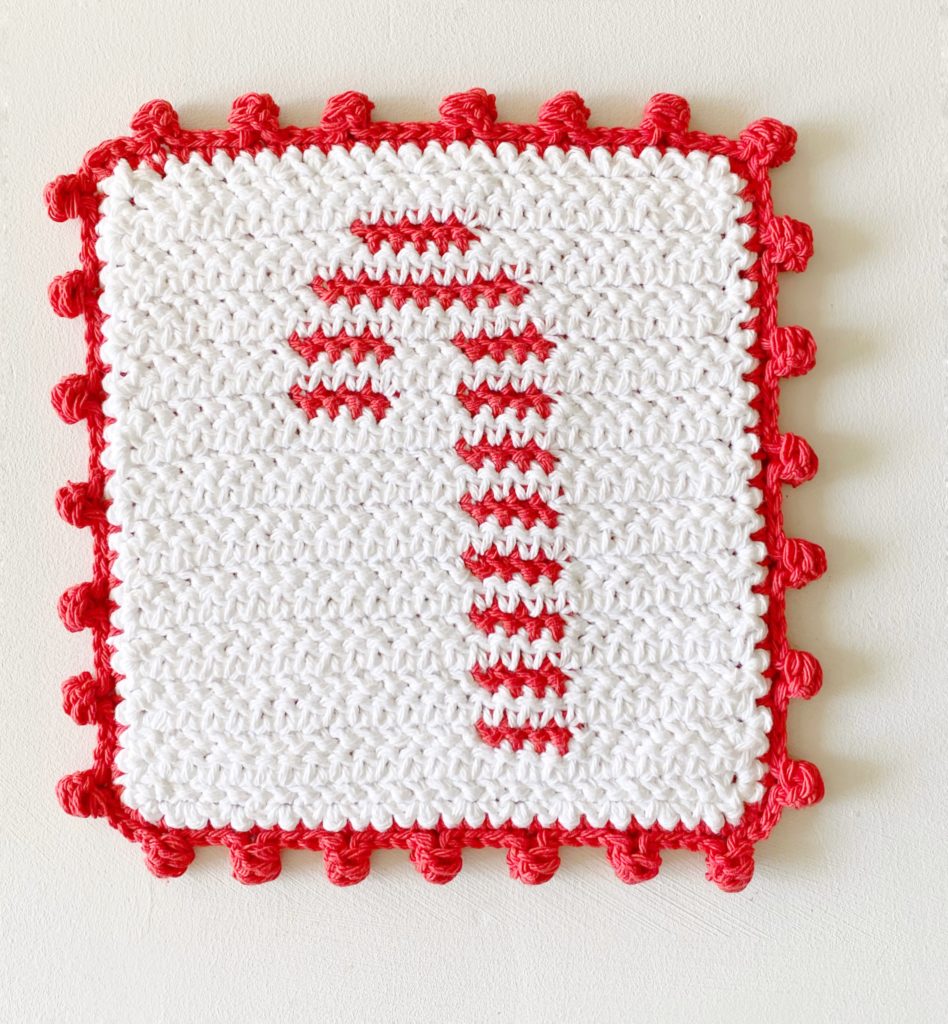
Print the graph. The odd rows are read right to left, the even rows left to right. (All color changes happen on odd rows.
Chain 27 with White
Row 1: Work 1 HHDC in the third chain from the hook. Work 1 HHDC in each chain across the row. Chain 2 and turn. (25 HHDC)
Row 2: Work 1 HHDC into the first stitch, (the turning chain does not count as a stitch.) 1 HHDC in each stitch across the row. Chain 2 and turn.
Row 3: 1 HHDC in the first 7 sts in white, change to red, 1 HHDC in each of the next 4 stitches, (crochet over the white tail, laying it across the row as you work the red stitches) change to white, (leave the red tail behind, do not cut or crochet over it.) 1 HHDC in each of the remaining 14 sts. Ch 2 and turn.
Row 4 – 14: Repeat rows 2 and 3 and following the graph. Always chain 2 and turn. Also, keep the red tail to the back side of the work and pull it across when you need to change color. This will not be seen as the hot pad is double-sided and will be hidden on the inside of the hot pad when you join.
Row 15: 1 HHDC in each of the first 7 sts in White, change to Red, 1 HHDC in each of the next 4 stitches, change to White, 1 HHDC in each of the next 3 sts, change to Red, 1 HHDC in each of the next 4 sts, change to White, 1 HHDC in each of the next 7 sts. Chain 2 and turn.
Row 16: Repeat Row 2 instructions.
Row 17: Repeat Row 15 instructions.
Row 18: Repeat Row 2 instructions.
Row 19: 1 HHDC in each of the first 8 sts in White, change to Red. 1 HHDC in each of the next 9 sts. Change to White, 1 HHDC in each of the remaining 8 sts, chain 2 and turn.
Row 20: Repeat Row 2 instructions.
Row 21: 1 HHDC in each of the first 10 sts. Change to Red, 1 HHDC in each of the next 5 sts. Change to White. 1 HHDC in each of the remaining 10 sts. Chain 2 and turn.
Row 22-23: Repeat Row 2 instructions. Cut Red. Continue in White for the border.
Border
Chain 1 and turn. Work 1 SC in the first stitch. *Skip the next st, work 2 SC into the next st. Repeat from * across the top, work 3 SC into the corner. Rotate the hot pad and work the side by working 2 SC around the chain 2 turning chains only. Work 3 SC into the corner. Rotate the hot pad and work across the bottom of starting chain by working 2 SC into the first space, skipping the next and working 2 sc into the next.
Work 3 SC into the corner, rotate the hot pad one last time to work the final side in the same manner as the first. Only work 2 SC around the chain 2 turning chains. Work 2 SC into the final corner and join with a slip stitch to the first stitch of the round. Tie off and weave in all the ends.
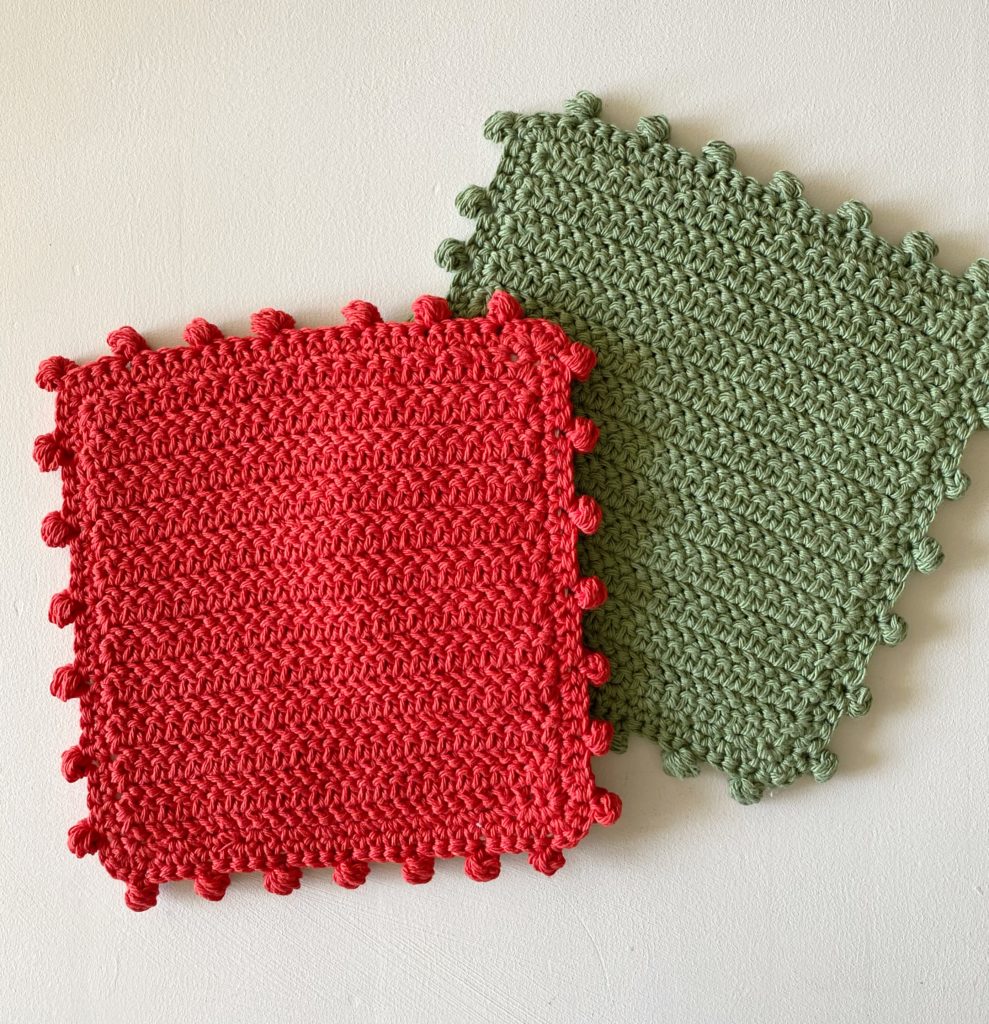
Back of Hot Pad:
Chain 27 with Red.
Row 1: Begin in the 3rd chain from the hook with 1 HHDC. HHDC in each chain across the row. Chain 2 and turn.
Row 2 – 23: Work HHDC in each stitch, chain 2 and turn.
Border:
Work in the same manner as above, except don’t tie off, you’ll use Red to SC the two squares together.
Attaching the squares together:
With the Candy Cane right side facing you, place the red square behind. Take your hook out of the red loop, insert it through the white corner, then grab the loop and pull through. Yarn over and pull through slip stitching the two together.
Now work SC under each color of stitches, joining them together. Work 3 SC in each corner. In the final corner, work 3 SC and join with a slip stitch to the first SC. Do not turn.
Dot Border:
**Chain 2.
In the first chain, *yarn over and insert your hook, yarn over and pull up a loop. Repeat from * 3 more times. Yarn over and pull through all loops on your hook. Slip stitch into the stitch just below the chain 2 to secure the puff. Slip stitch into each of the next 4 sts.
Repeat from ** around. Join with a slip stitch to the first st, tie off and weave in all ends.
Here’s a video tutorial if you need help with anything:
Come and show us! Use hashtag #daisyfarmcrafts on Instagram.
Thank you so much for coming by! xo, Tiffany
Click here or on image below for printable pattern