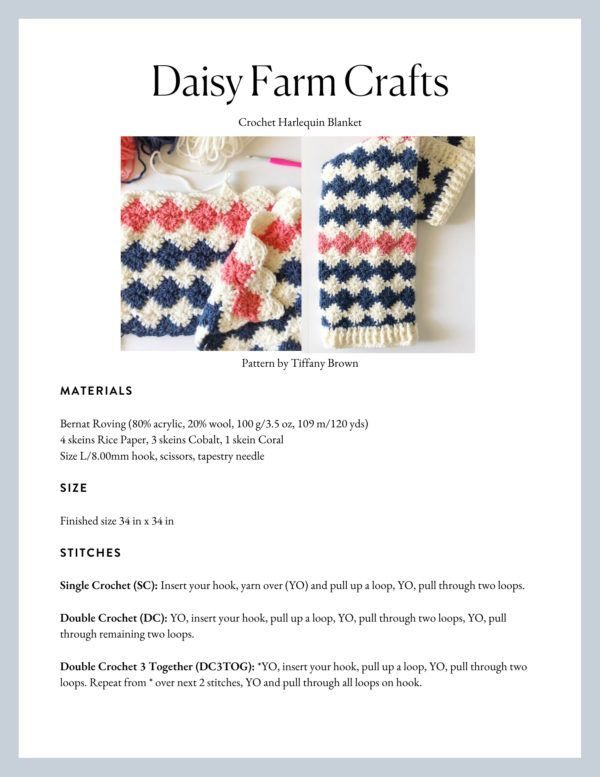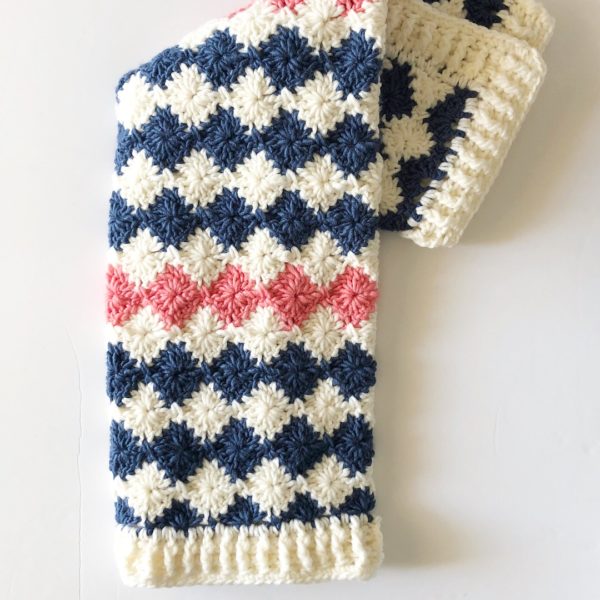
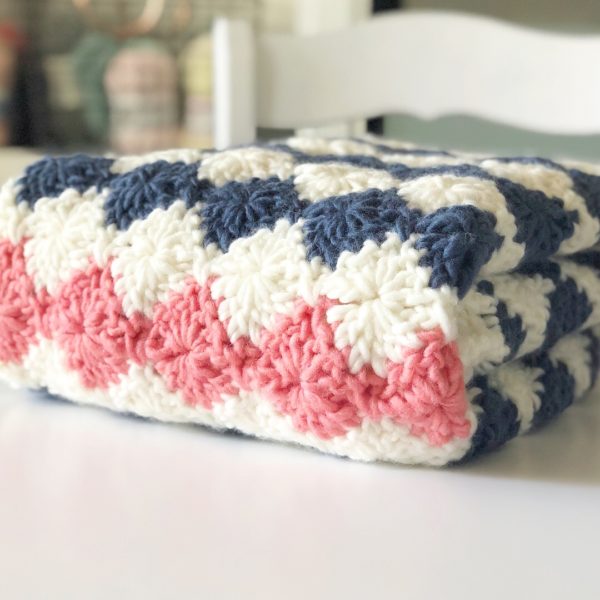
Oh how I love working with Bernat Roving! It made this blanket turn out so fluffy and soft! It’s a chunky yarn and once I was very comfortable with this Harlequin stitch, it worked up very quickly.
I’ve previously shared the harlequin stitch and made a simple hot pad using it. After I finished that project, I was inspired to try the stitch using some Bernat Roving I had on hand, and I was not disappointed.
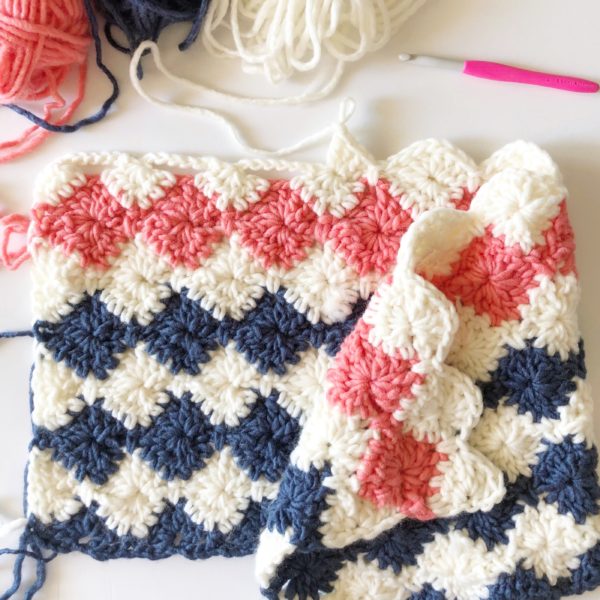
Several of you have emailed me wondering how this yarn washes up. I only have hand washed it and laid it out to dry and I had no problem. The label does recommend hand wash only.
However, it is 80% acrylic and 20% wool, so I would guess it might be okay on a delicate cycle in the washer, but I’d still lay it out to dry.
I did not need to block this afterward. (For my beginner friends, all that essentially means is pinning the blanket on foam mats as square as possible and using a spray bottle to get it slightly damp then letting it dry.) This yarn seemed to hold my tension perfectly and I didn’t have any crooked spots to stretch or fix. (You’ll see what I mean if you actually choose to use this yarn.)
Let me get to the pattern and then I’ll put some more details about different yarn options you could use.
(If you prefer some pictures illustrating each step of a harlequin stitch, click here.)
You can also watch a video demonstration of the harlequin stitch on YouTube or in the video clip below: (This is a hot pad I made, but the steps to the stitch are exactly the same.)
Materials
Bernat Roving (80% acrylic, 20% wool, 100 g/3.5 oz, 109 m/120 yds)
4 skeins Rice Paper, 3 skeins Cobalt, 1 skein Coral
Size L/8.00mm hook, scissors, tapestry needle
Size
Finished size 34 in x 34 in
Stitches
Single Crochet (SC): Insert your hook, yarn over (YO) and pull up a loop, YO, pull through two loops.
Double Crochet (DC): YO, insert your hook, pull up a loop, YO, pull through two loops, YO, pull through remaining two loops.
Double Crochet 3 Together (DC3TOG): *YO, insert your hook, pull up a loop, YO, pull through two loops. Repeat from * over next 2 stitches, YO and pull through all loops on hook.
Double Crochet 6 Together (DC6TOG): *YO, insert your hook, pull up a loop, YO, pull through two loops. Repeat from * over next 5 stitches, YO and pull through all loops on hook.
Front and Back Post Double Crochet (FPDC & BPDC): A front post double crochet means you insert your hook from front to back around the post of the next DC and work a DC. A back post double crochet means you insert your hook from back to front around the post of the next DC and work a DC.
Pattern
Pattern Repeat: 8 plus 1. (What this means is that you can make this blanket any size you wish. All you need to do is make a chain any multiple of the number 8 to the length you need, then add one more chain and begin the pattern.)
Chain 81 with Colbalt (blue).
Row 1: In the 5th chain from the hook, work [3 DC, 1 CH, 3 DC], skip 3 ch’s, 1 SC in the next ch, *skip 3 ch’s [3 DC, 1 CH, 3 DC] in next ch, skip 3 ch, 1 SC in next ch, repeat from * to the end of the row pulling through in the last stitch with rice paper (cream.)
Row 2: CH 3 and turn. Skip first SC, DC3TOG over next 3 DC, *CH 7, skip 1 ch, DC6TOG over next 6 DC (leaving the SC between unworked), repeat from * ending with DC3TOG over last 3 DC, 1 DC in the top of the last ch.
Row 3: CH 3 and turn. 3 DC in the first space (hole that formed between the DC3TOG and dc) from row below, *1 SC around the ch 1 space of the row below, (enclosing the 7 ch’s), [3 DC, 1 CH, 3 DC] in the center space of the DC6TOG’s, repeat from * ending 3 DC in top of last DC3TOG’s, 1 DC in top of the turning chain. (Pull through with blue)
Row 4: CH 4 and turn. Skip first DC, *DC6TOG over next 6 DC (leaving the SC between unworked), ch 7, skip 1 ch, repeat from * ending with ch 3, 1 SC in top of the turning chain.
Row 5: CH 1 and turn. Skip first SC and the ch 3’s, *[3 DC, 1 CH, 3 DC] in center of the 6 DCTOG’s, SC in ch space one row below, (enclosing the 7 ch’s), repeat from * ending with 1 SC in the first of the 4 turning chains pulling new color through (cream.)
Repeat rows 2 – 5 referring to this picture for the color changes and ending with half of a blue diamond made. However, on the half of a blue diamond, it will be a chain 7 row, instead of chaining 7, chain 3, SC around the stitch in the row below, then chain 3. (This will help when you work your row of DC around for the border.)
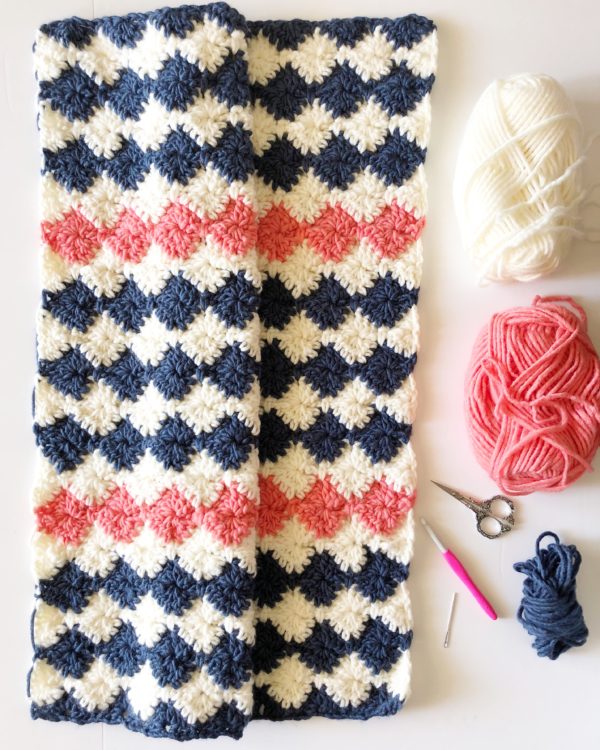
One thing to note: I carried the yarn up the side where I could. I am NOT suggesting you do this. I wish I would have just cut the yarn and wove in all the ends afterward. When I went to put the ribbed border on, I wasn’t happy with how some of the blue yarn showed through.
And one more thing to pay attention to:
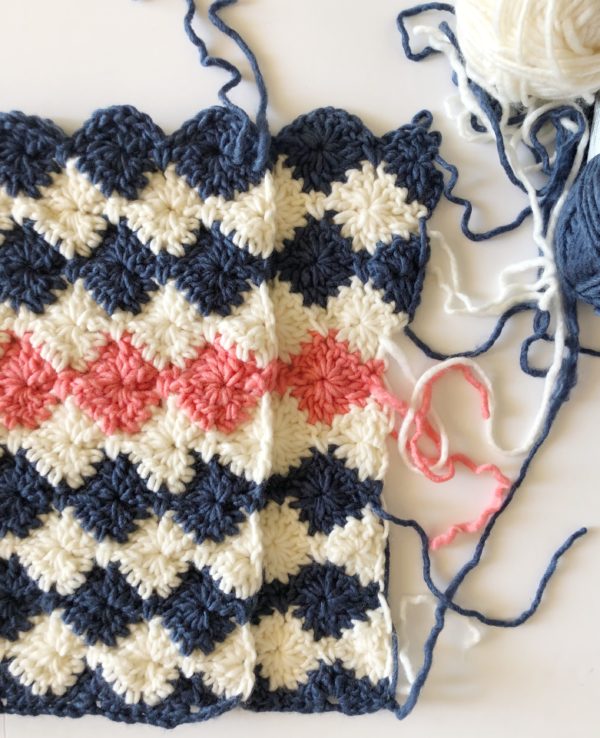
Can you see my mistake? In the row above the coral, I accidentally added a full diamond and that created a whole extra diamond and made the blanket to start widening. I had to undo a full six rows. I wish I would have noticed sooner! I usually check my work after each row or two, but I got a little too confident and I paid for it! Only a couple hours lost, but oh so humbling! It’s so hard to rip those mistakes out, but it needed to be done.
Border
After you have woven in all the ends, we are going to work the border one side at a time with front post and back post dc. If you do not know how to do this you can read about the stitch on my stitches account on Instagram.
Or watch this video clip:
Working around a post of a DC (double crochet, US terms) will give you a ribbed look if you alternate the stitches and if you make sure each stitch pops out on the same side. You want each stitch to form a long line. This takes about 5 rows of back and forth.
Pull up a loop in the corner and chain 3. DC across the entire side working 2 DC around the side of each DC post and one DC into a SC. (Work this first row as evenly as possible and not too wide apart.) Chain 3 and turn. This counts as your first DC
Work back across the row of DC you just made alternating working into the front post, and back post of each DC (FPDC, BPDC) When you get to the last DC, work that one as normal, into the top of the stitch. chain 3 and turn.
Work back across the same row with your alternating FPDC and BPDC matching each stitch to start making the ribbed look.
Repeat this back and forth for 2 more rows for a total of 5 if you think to want it thicker, otherwise do not tie off, simply chain 3, and start working across the end of the blanket, working 2 DC into the sides of the DC stitches, again as evenly as possible. Chain three and turn and work back across in the same manner you did for the sides using the FPDC and BPDC.
When you finish 3 or 5 rows, chain 3, and now work in the same manner up the side, again working DC as evenly as possible. When you finish working the ribbing up this side and then across the last end, chain 1 and work a SC into each DC all the way around the entire blanket. Tie off and weave in the ends.
Here are some final thoughts about yarn choices:
If you would like to substitute, I would recommend using a chunky weight yarn. However, what is giving this blanket a modern feel to me is the roving part of this yarn. Can you see how it is not twisty? It’s a brushed look. But I understand if you want to use a yarn you are very familiar with.
If you are a beginner and choose something like “I Love This Yarn” from Hobby Lobby or any of the Caron One Pound, you will definitely want to use the pattern repeat and make a longer chain.
Thank you all so much for following me along my journey of crocheting baby blankets in hopes to become a grandma. It really has been a blessing to have so many of you reach out and make Daisy Farm Blankets! It keeps the waiting not so bad. (6 years and counting.)
I love to share your completed blanket!
Post them to my wall on Facebook and I will share with the group. (That’s the best and fastest way for me to share.) Or you can use the #daisyfarmcrafts on Instagram. (That’s the second best way!)
Enjoy making your classic crochet harlequin blanket!
xo, Tiffany

