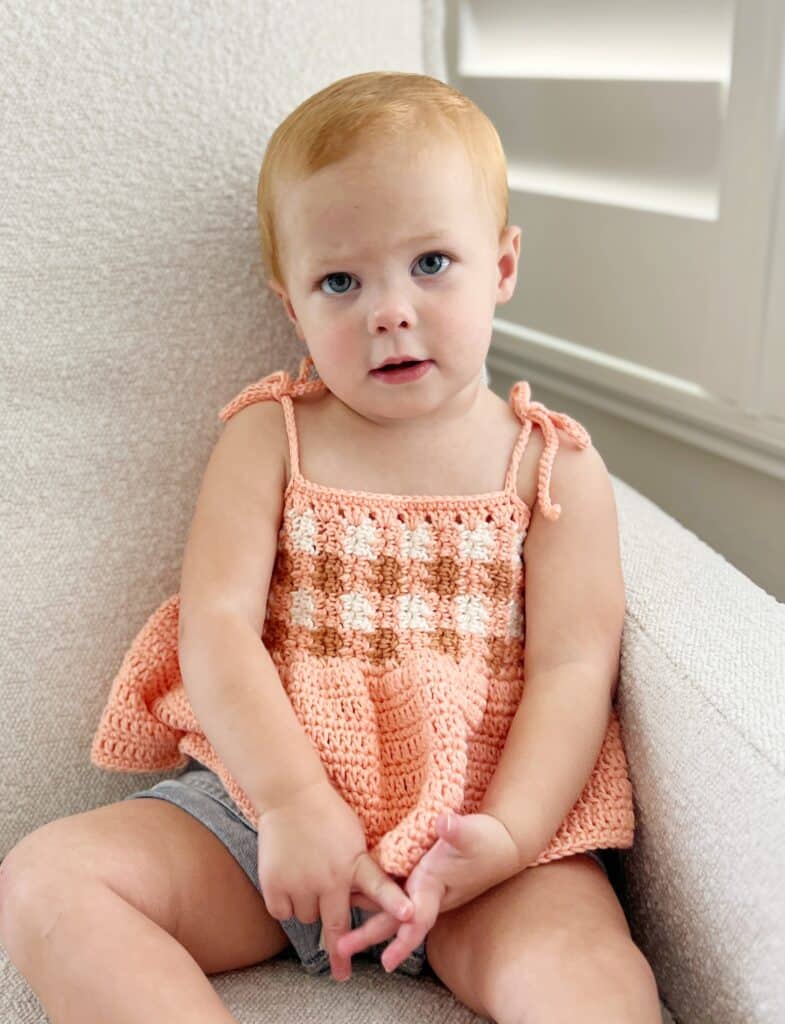
That little face! That darling top! Gah! I feel so lucky to crochet for my grandbabies. Imagining how a little top like this might look on Kate, and then making it, and then trying it on her and having it look just like I saw it in my head is a dream.
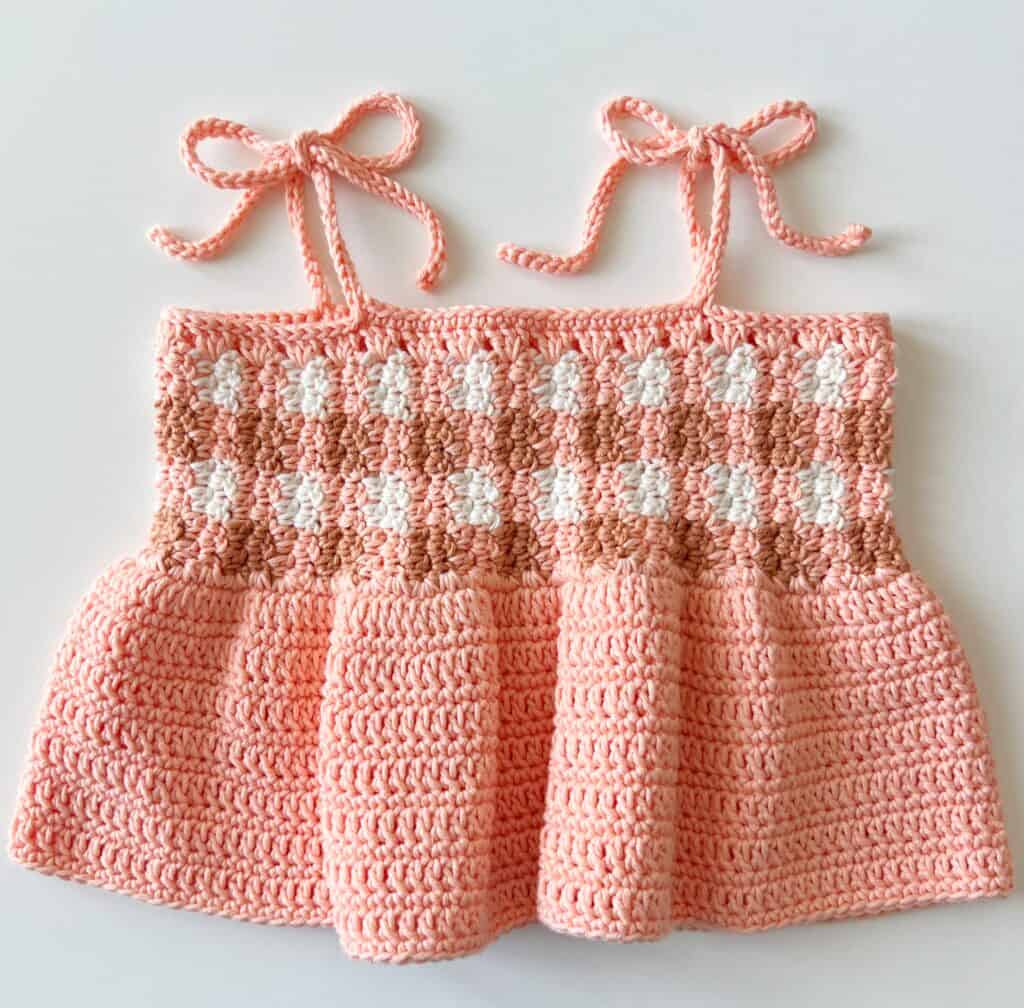
She looks so, so cute! I am so happy with how the gingham seems a bit like a faux smocking, and the skirt portion has just enough ruffle and I love the little spaghetti straps! I also love, that it is so easy to make.

For a hot Arizona summer, I felt the little swing top was a great choice for her. Once I tried it on her, she was off and running and ready to get back to playing at Grandma’s house.
I’m going to be making one for baby Nora soon too so you can see some different color options.
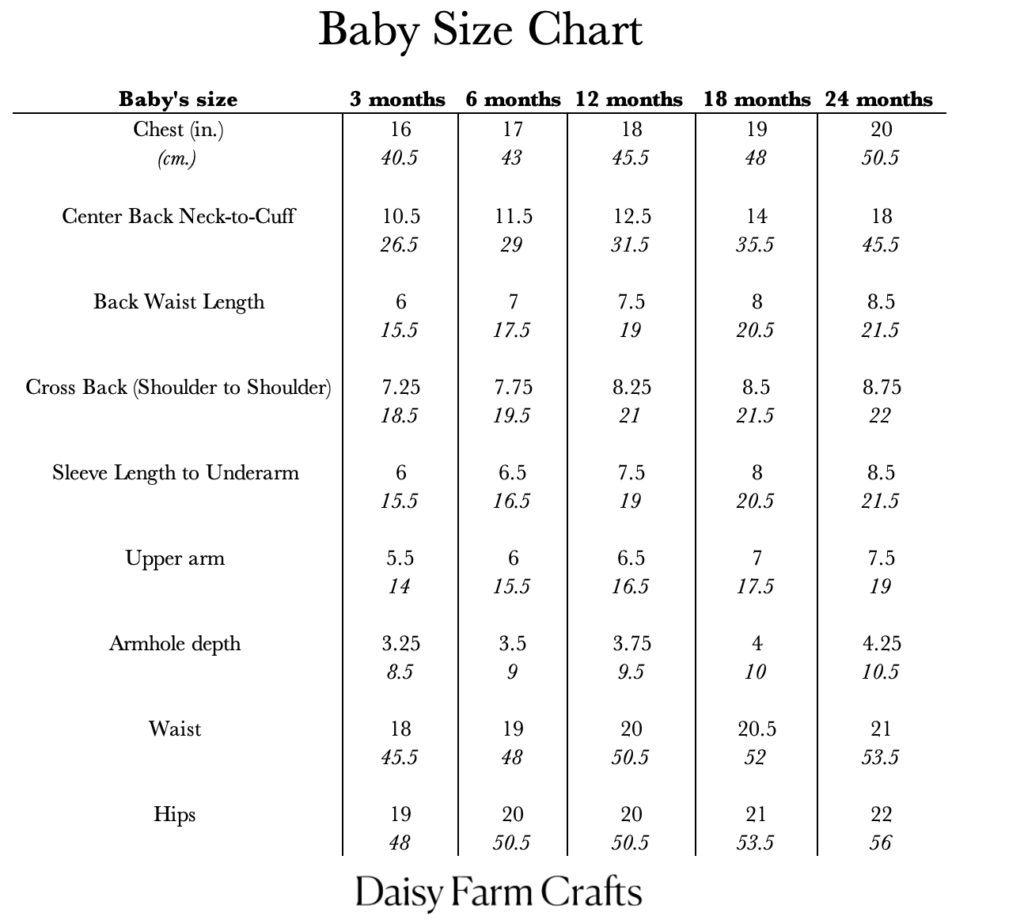
I know a lot of you are going to ask for another size. I have a size chart for up to 24 months and really the only thing you need is a chest measurement to make the gingham strip to fit around. The width of the strip for Kate who is about 18-24 month size is 3 inches wide. For older children, add a bit of width and add length to the skirt portion.
My best tip always is to have an article of clothing the size you are making and measure it to that. You can estimate the width of the straps, length of the top etc.

I’ll be adding a video tutorial next week to this post, so if you are only a visual learner, it will be up in about a weeks time. (Video now added, scroll to the end of the post.)
Also, if you’ve never made gingham before, the band is the griddle stitch gingham pattern, which is alternating single crochet (SC) and double crochet (DC). You are carrying yarn along the row so switch colors easily. There is a bit of technique to it to keep the yarn from twisting etc. It might be helpful if you read through the post How to Crochet a Gingham Blanket for tips and tutorials.

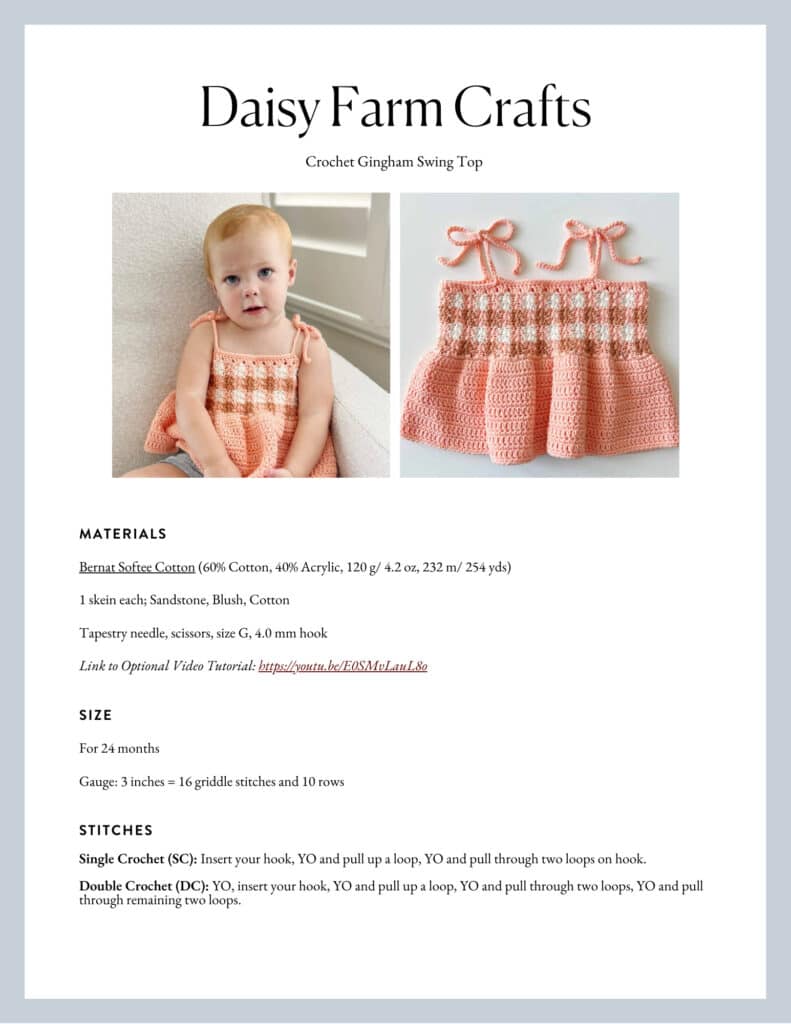
Materials
Bernat Softee Cotton tap name of yarn to shop Yarnspirations.com
one skein each Sandstone, Blush, Cotton
tapestry needle, scissors, size G, 4.o mm hook.
Gauge: 3 inches = 16 griddle stitches and 10 rows
Stitches
Single Crochet (SC): Insert your hook, YO and pull up a loop, YO and pull through two loops on hook.
Double Crochet (DC): YO, insert your hook, YO and pull up a loop, YO and pull through two loops, YO and pull through remaining two loops.
Pattern
Gingham Bodice
(3 inches x 20 inches for size 24 months)
Chain 17 with Sandstone
ROW 1: In the second CH from the hook, work one SC. In the next stitch, work DC. Repeat alternating SC and DC across the next 2 stitches. Before finishing the fourth stitch, (which will be a DC) pull through with Blush. Do not cut Sandstone, crochet over it as you work the next 4 sts of alternating SC and DC. Before you pull through on the fourth DC, drop Blush and pull Sandstone through.
Now work the next 4 sts with Sandstone and crocheting over Blush. Change colors and work last 4 sts across with Blush. Keep in mind that you will always be changing colors on a DC. CH 1 and turn. Bring the Sandstone yarn around the end of the row to start the next row with Blush. (Your last block of color should be Blush.) (16 sts of griddle stitch)
ROW 2: Work the griddle stitch across the row changing colors every 4 sts and crocheting over the color not in use. On the last DC of the row, pull through with Blush, drop Sandstone (do not cut). CH 1 and turn.
ROW 3: Work griddle stitch across the row, beginning with 4 sts of Blush, then 4 sts of Cotton. Change color every 4 sts and crochet over the color not in use. CH 1 and turn. Carry yarn around the end of the work.
ROW 4: Work griddle stitch across the row changing colors every 4 sts. On the last stitch of the row, bring Sandstone up the side and pull through to change color. Drop Cotton (do not cut). CH 1 and turn. (Crochet over Blush)
Work the griddle stitch gingham until you have 34 blocks of gingham or 20 inches for size 24 months. (refer to the size chart for smaller chest measurements.
With tapestry needle, sew the gingham strip together matching starting chain with the final row. Tie off, weave in the ends.
Skirt
With Blush
Round 1: Pull up a loop at the seam and chain one. Working along the side of the gingham strip, place 3 SC at the end of one row and 2 SC at the end of the next row for a total of 5 SC per color. Join with a SL ST to the first SC. Do not turn.
Round 2: CH 2. DC into same st as the join. Work DC into each SC around. Join with a SL ST to the first DC of the round. Do not turn.
Round 3: CH 1. SC into the same st as the join. Work SC into each DC around. Join with a SL ST to the first SC of the round. Do not turn.
Repeat rounds 2 and 3 until you have 5 inches of skirt. Tie off and weave in the ends.
Spaghetti Straps
With Blush
Round 1: pull up a loop in between the first two rows to the left of the seam, ch 2 and work 3 DC into same space. *Skip next row, 3 DC in between the next row. Repeat from * around. Join with a SL ST to first DC of the round. Do not turn.
Line up the back seam to be in the middle back. Place stitch markers 2.5 inches on either side of the seam for 5 inches apart, and place corresponding markers 5 inches apart to mark the front. (4 total markers this is where you will be working the spaghetti straps.) For size 24month- 5 inches = 8 groups of 3 DC.
Refer to chart “armhole depth” and measure for other sizes and to make sure you have enough width for armholes.
Round 2: *Work SC into each DC to the stitch marker, CH 55 or 11 inches. Work SL ST into each chain. Repeat from * around. Join with a SL ST to the first SC of the round. Tie off. Weave in all the ends.
Thank you so much for stopping by!
XO, Tiffany

