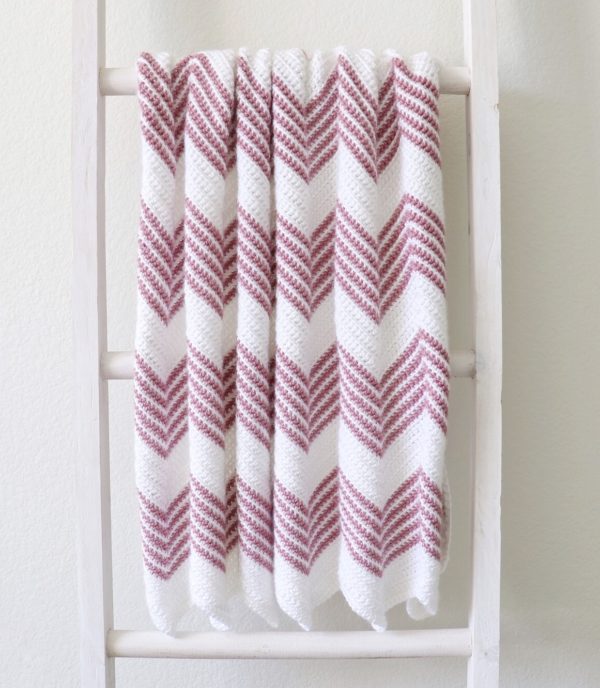
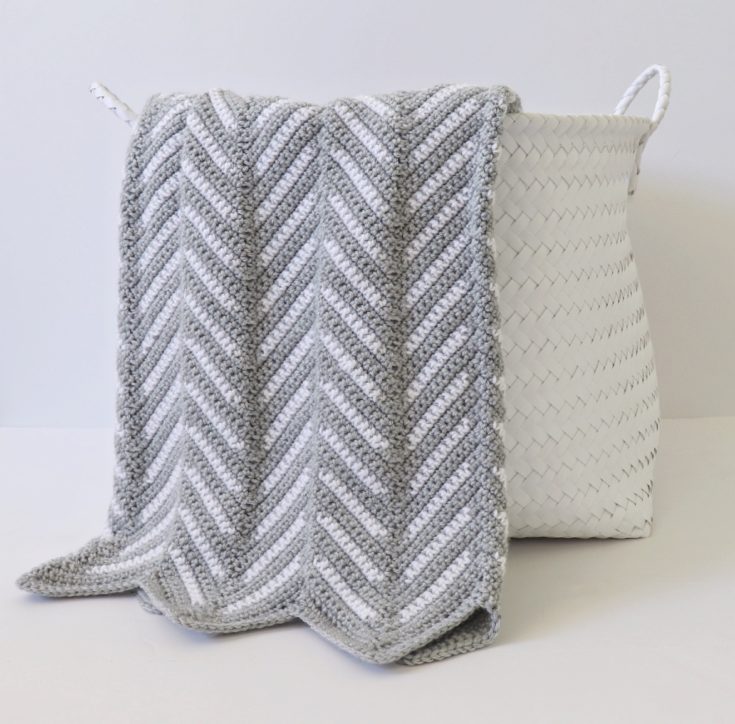
I love when a small variation can freshen up an old pattern! For this front loop chevron blanket I used our regular single crochet chevron blanket pattern, but I decided to experiment working in the front loop only and I love the lines it makes across the rows!
The only thing that is tricky about this blanket is the counting, so if you’ve never done a chevron blanket before you may want to check out this video. I’ll do my best to explain everything in the pattern below, but I know sometimes it helps to get a visual before you get started!
Materials
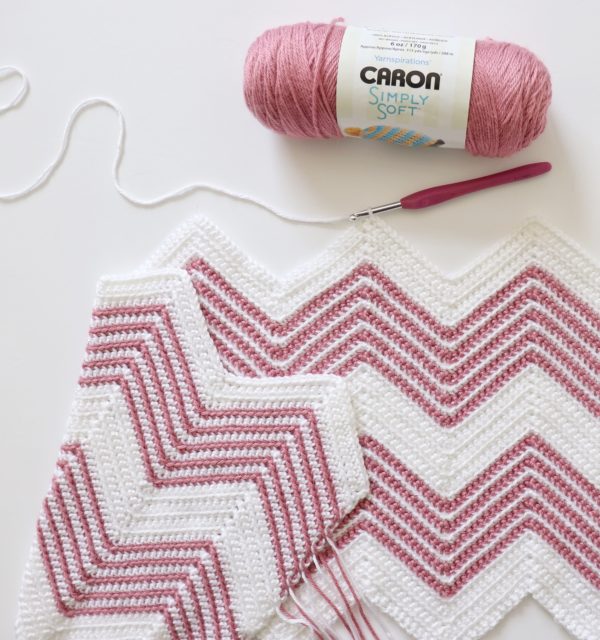
Caron Simply Soft (100% acrylic, 170 g/6 oz, 288 m/315 yds)
3 skeins White, 1 skein Plum Wine
Size I/5.5mm hook, scissors, tapestry needle
Size
Finished size 31 in x 31 in
Stitches
Single Crochet (SC): Insert your hook, yarn over (YO) and pull up a loop, YO and pull through both loops on your hook.
Single Crochet 2 Together (SC2TOG): Insert your hook into the first stitch, YO and pull up a loop, insert your hook into the next stitch, YO and pull up a loop, YO and pull through all loops on your hook.
Pattern
Chain 177 in White. (If you’d like to make your blanket bigger or smaller, the pattern repeat is any multiple of 29 plus 3. So multiply the number of peaks you want by 29, then add 3.)
Row 1: In the second chain from the hook and the next chain, SC2TOG. (insert your hook into the first chain, pull up a loop, insert your hook into the next chain, pull up a loop, yarn over and pull through all loops on your hook). *SC in the next 13 chains, work 3 SC into the next chain, SC in the next 13 chains, skip 2 chains. Repeat from *. After you have worked the last 13 chains, you should have two extra. SC2TOG these last two stitches. Chain 1 and turn.
Row 2: Now, start the next row by SC2TOG, inserting your hook into the front loops only. (From now on you will always be working only into the front loop.) *Then work 13 SC, work 3 SC into the next stitch (this should be the middle stitch of the 3 SC you did in the row before), work 13 SC, skip two stitches at the bottom for the valley, and repeat *. After you have worked the last 13 chains, you should have two extra. SC2TOG these last two stitches. Chain 1 and turn.
Repeat row 2 for the remainder of the blanket. Always remember to SC2TOG when you end a row, and start a row. Always skip two stitches for a valley, always work 13 up each side. Always work 3 SC into one stitch for the peak. Always chain 1 and turn.
Now, here is how to work the color changes: Start with 6 rows of White, then work *1 row Plum Wine, 1 row White, 1 row Plum Wine, 1 row White, 1 row Plum Wine, 1 row White, 1 row Plum Wine, 1 row White, 1 row Plum Wine. Work 7 rows White, then repeat from *. When you reach your desired length, end with 6 rows of White.
When you are changing colors, you want to pull through with the new color just before you finish the SC2TOG at the end of the row (you should have 3 loops on your hook when you pull through.) Then you’ll cut the yarn of the first color, leaving a tail long enough to weave in later.
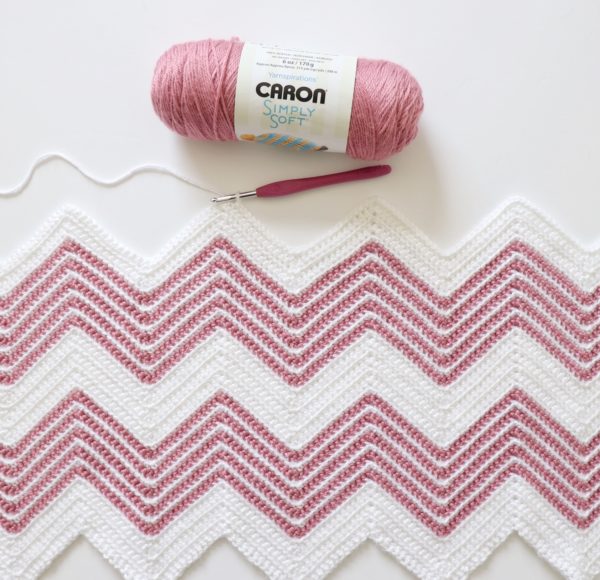
(I ended up with 5 sets of stripes when I finished my blanket, but I think I had enough yarn leftover to do 6 sets of stripes if you want to make your blanket more rectangular than square.)
When you finish your blanket, tie off and weave in all your ends with a tapestry needle. If you’re not sure how to weave in ends, here is a quick video you can watch!
Border
For the border, I just worked 2 rows of SC in White around the outside of the blanket.
To do this, pull up a loop in any corner and chain 1. SC in each stitch on the sides, and on the ends work 3 SCs into the peaks and skip the two stitches of the valleys, just as you did when working the regular pattern. Work 3 SCs into each of the corners of the blanket.
When you reach the corner you started with, slip stitch into the corner and chain 1 and turn. Then work one more row of SC around the blanket, working in the same manner as the first row. When you reach the corner you started with, slip stitch into the corner and tie off.

After I finished my blanket I laid it out flat and used a spray bottle to get it wet with water and smoothed out all the sides to block it before letting it dry overnight.
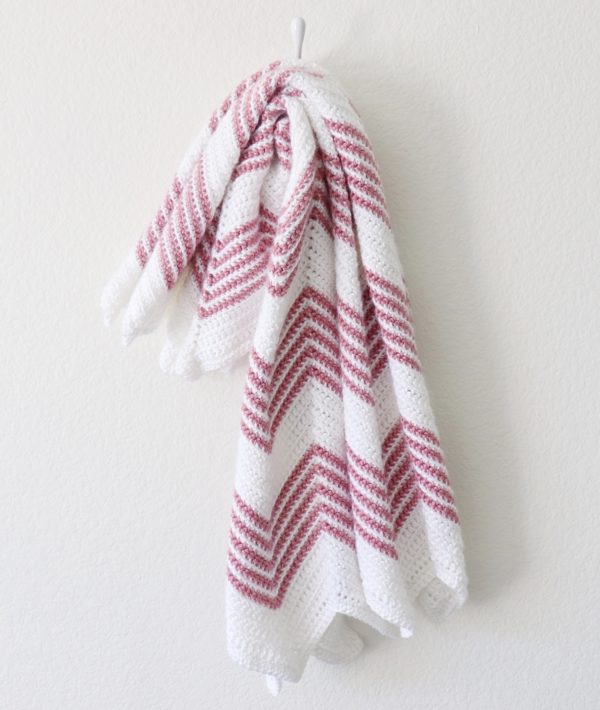
Thank you so much for coming to read this pattern; I hope you enjoy making your chevron blanket! When you’re finished, please come share a picture with us on Facebook or Instagram using #daisyfarmcrafts, we’d love to see! xo, Hannah
Click here or on image below for printable pattern
![]()
P.S. Here are some more chevron blankets that we’ve made if you’re looking for some more chevron ideas! Happy Crocheting!
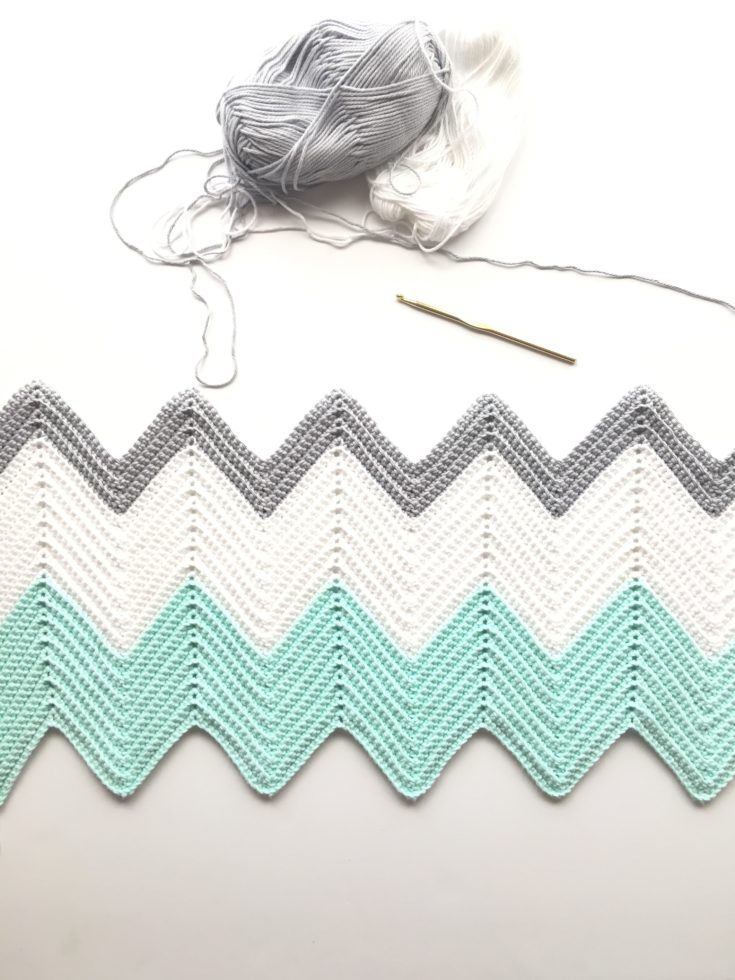
Crochet Chevron Blanket in Mint, Dove, and White
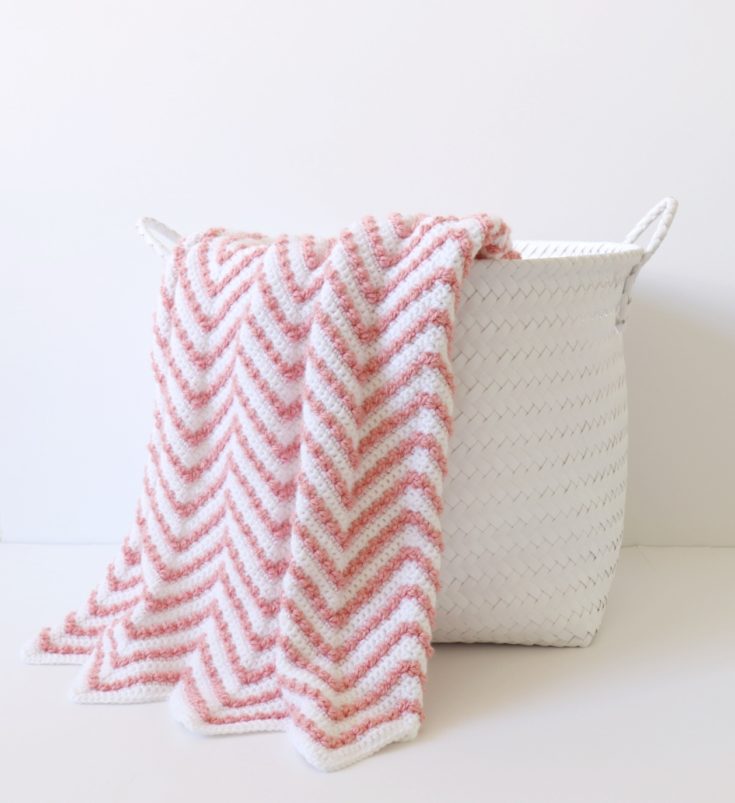
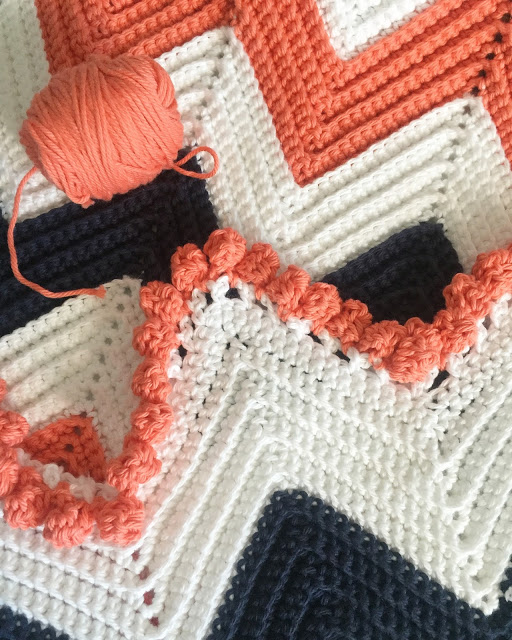
Crochet Berry Chevron Baby Blanket
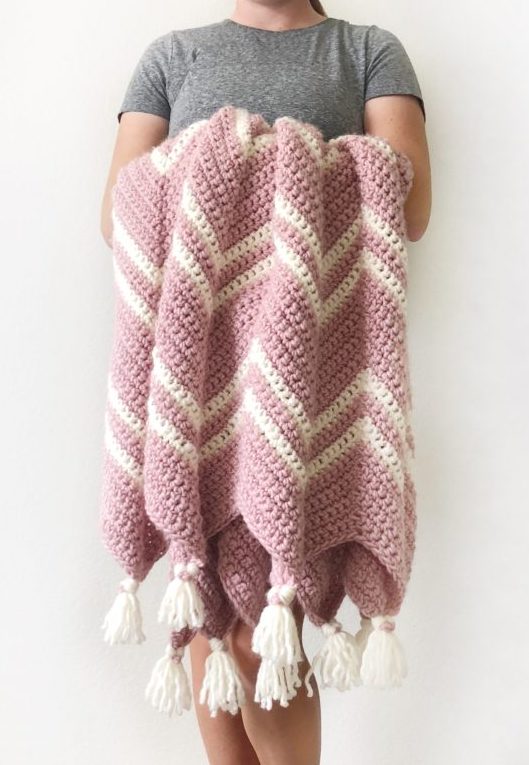
Crochet Pink Chevron Throw
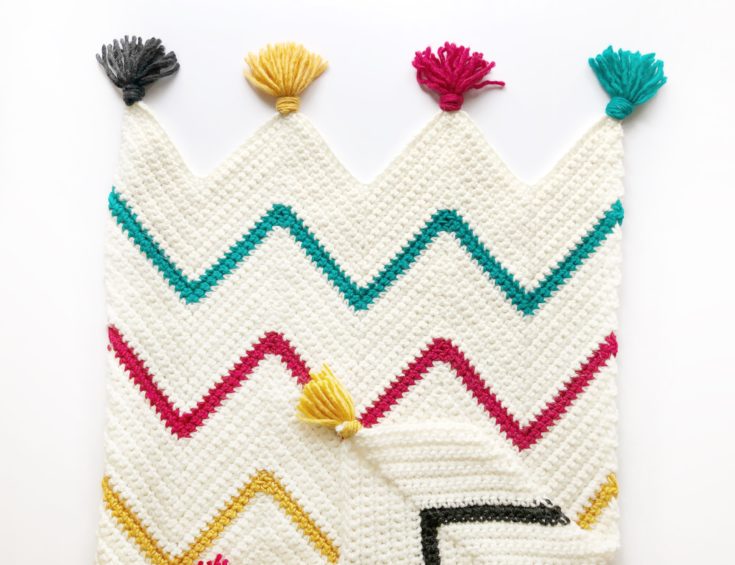
Crochet Tribal Chevron Blanket
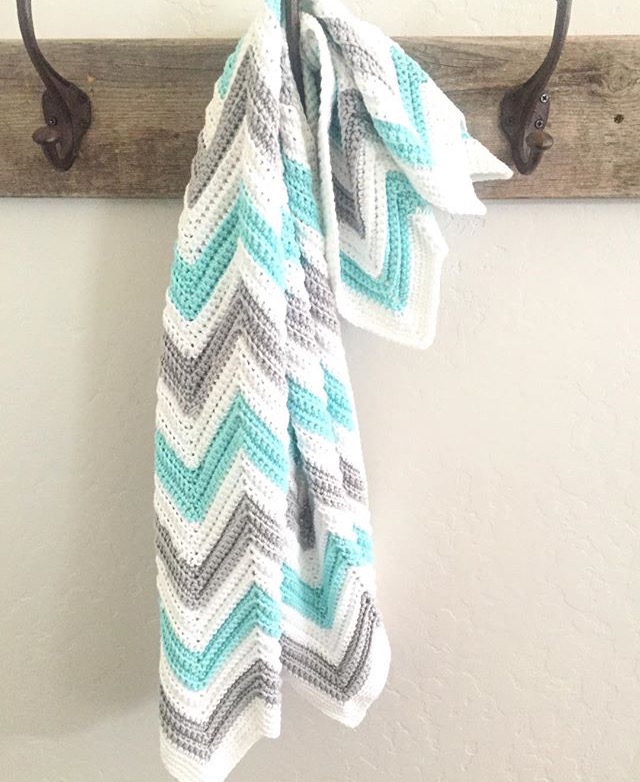
Single Crochet Chevron Blanket in Mint, Gray, and White
Single Crochet Chevron Baby Blanket
Crochet Chevron Arrows Blanket
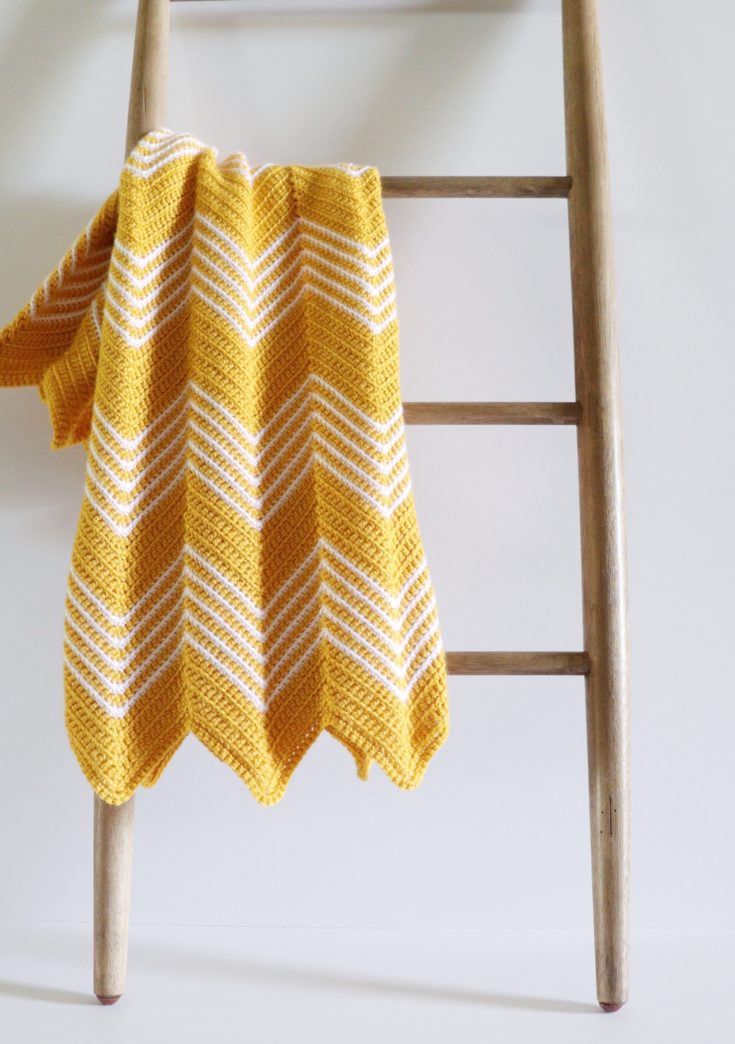
Crochet Gold Front Loop Chevron Blanket