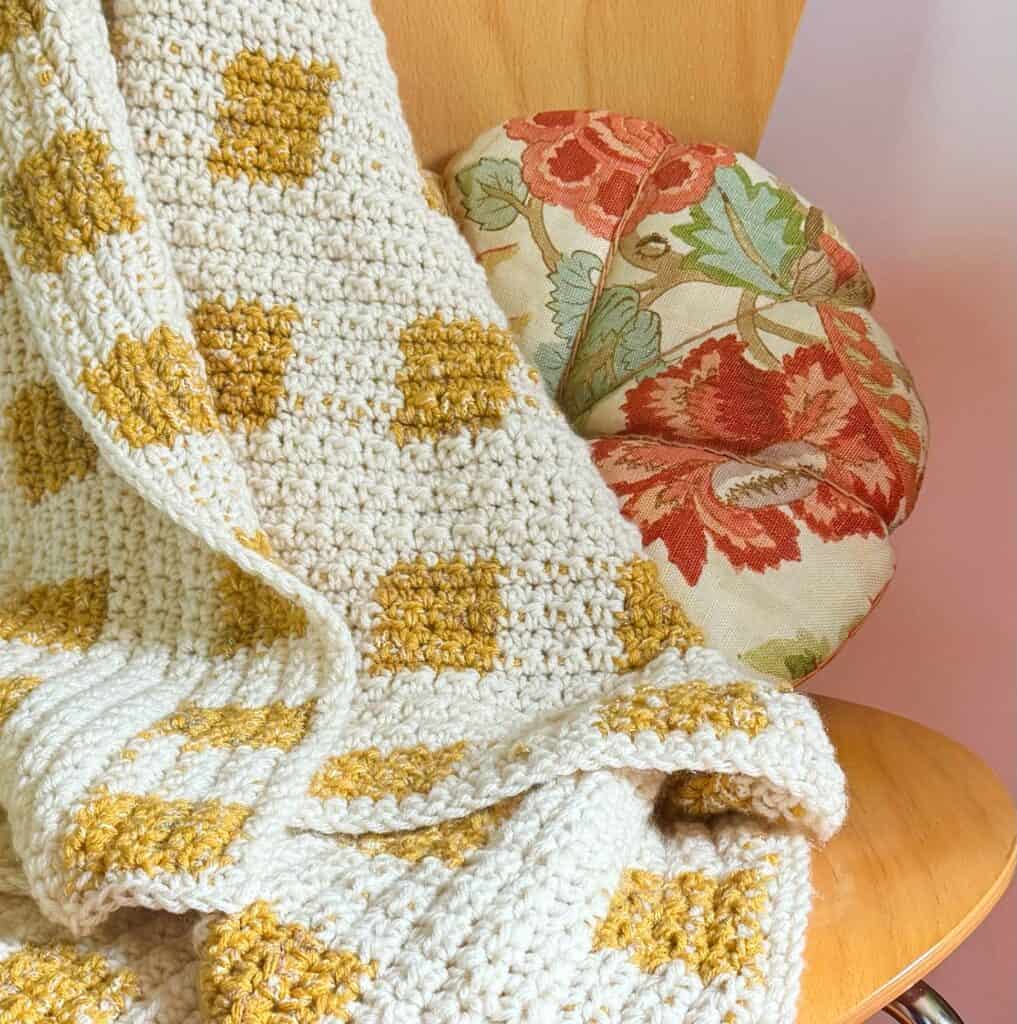
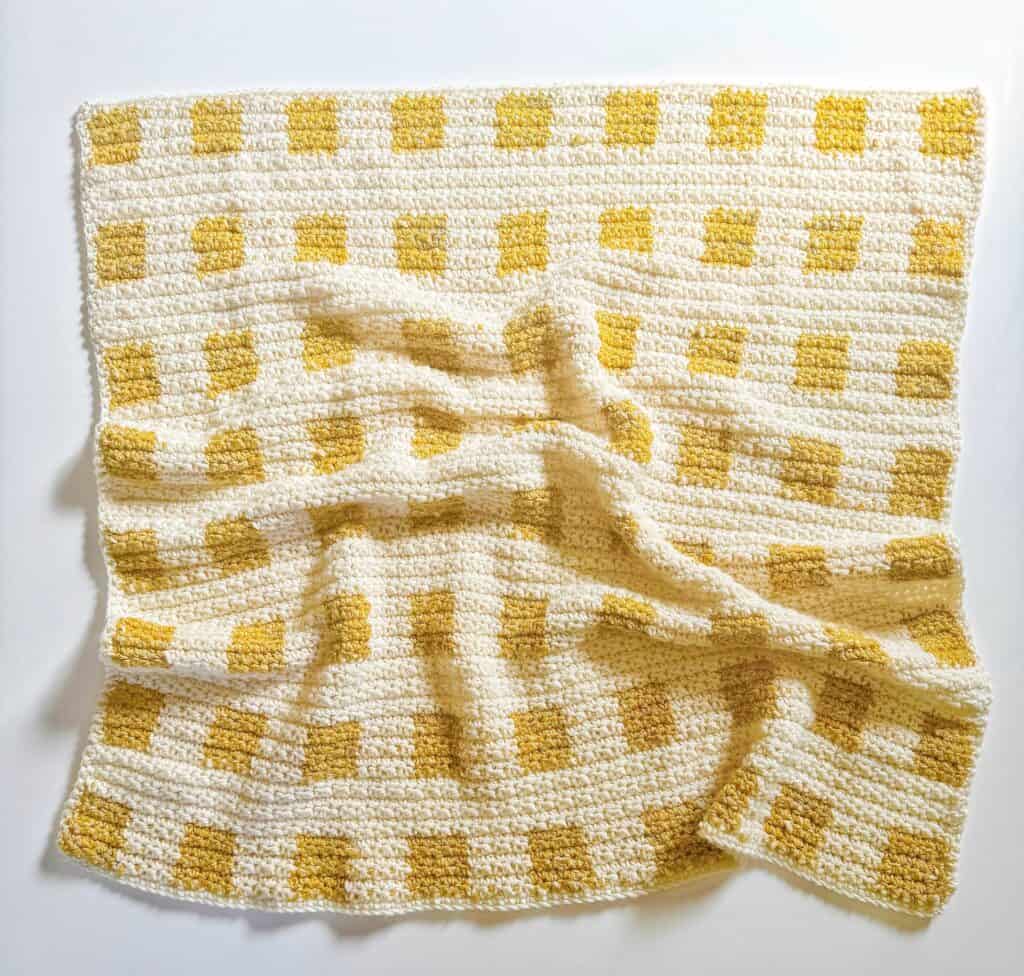
We love to try out new yarn and use some of our popular designs to achieve a different look. In this latest blanket made by Cyndi, we used Caron Jumbo Twirl to capture the look of fall!
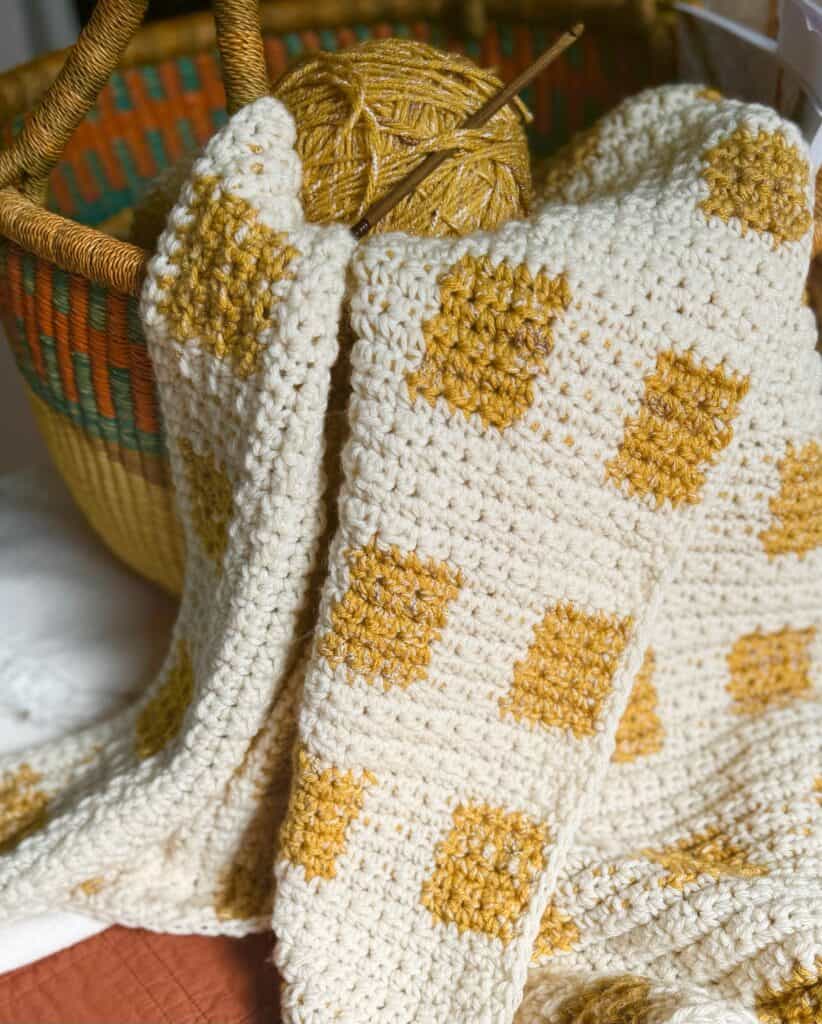
This is the original blanket pattern that might look familiar to you:
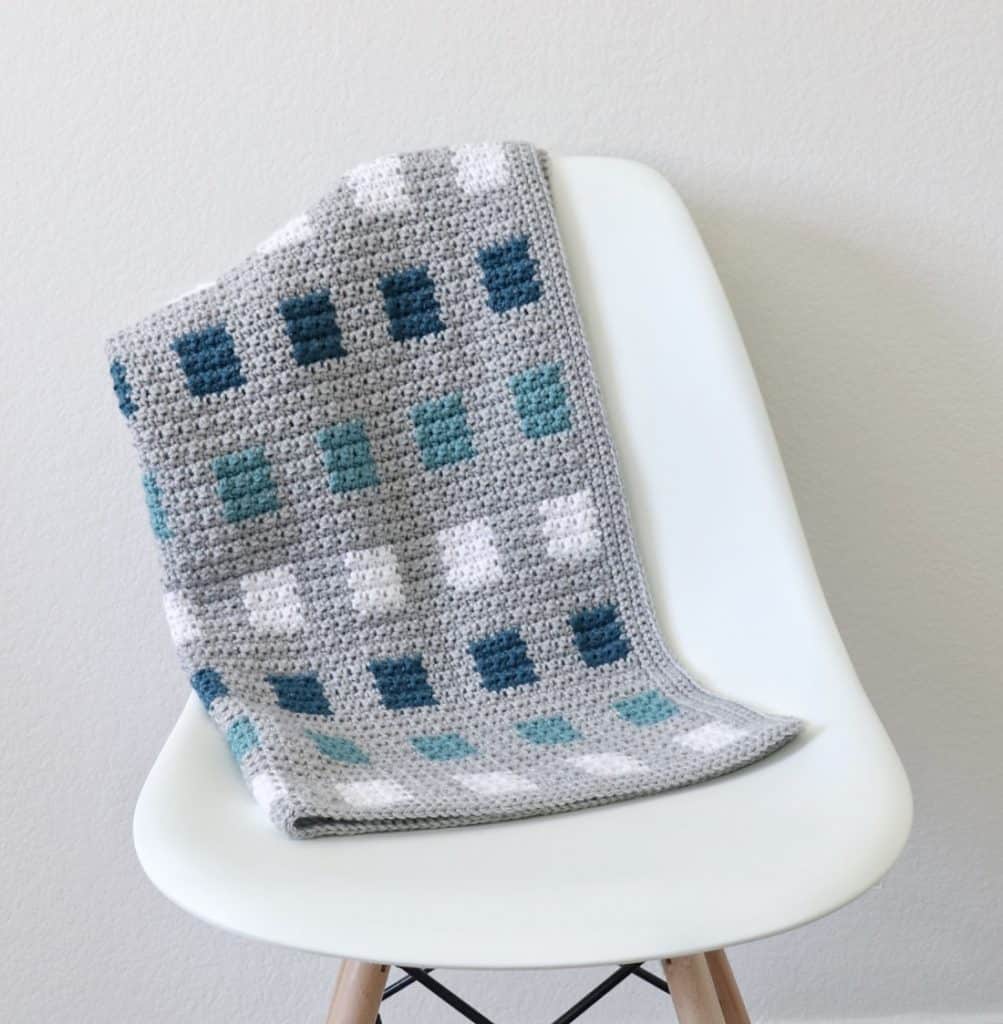
It’s a wonderful beginner-friendly blanket to make when you are just starting out on your journey of learning how to carry yarn through the rows. Hannah is the original designer of the multi-colored version and Cyndi, as an advanced beginner crocheter really appreciated the video tutorial I made to help her learn the technique.
Cyndi was nervous to try making this blanket, as it looks intimidating at first, but once she dove in, learned the technique of carrying yarn and keeping it from twisting through the row, she was off and running! And her results are beautiful!
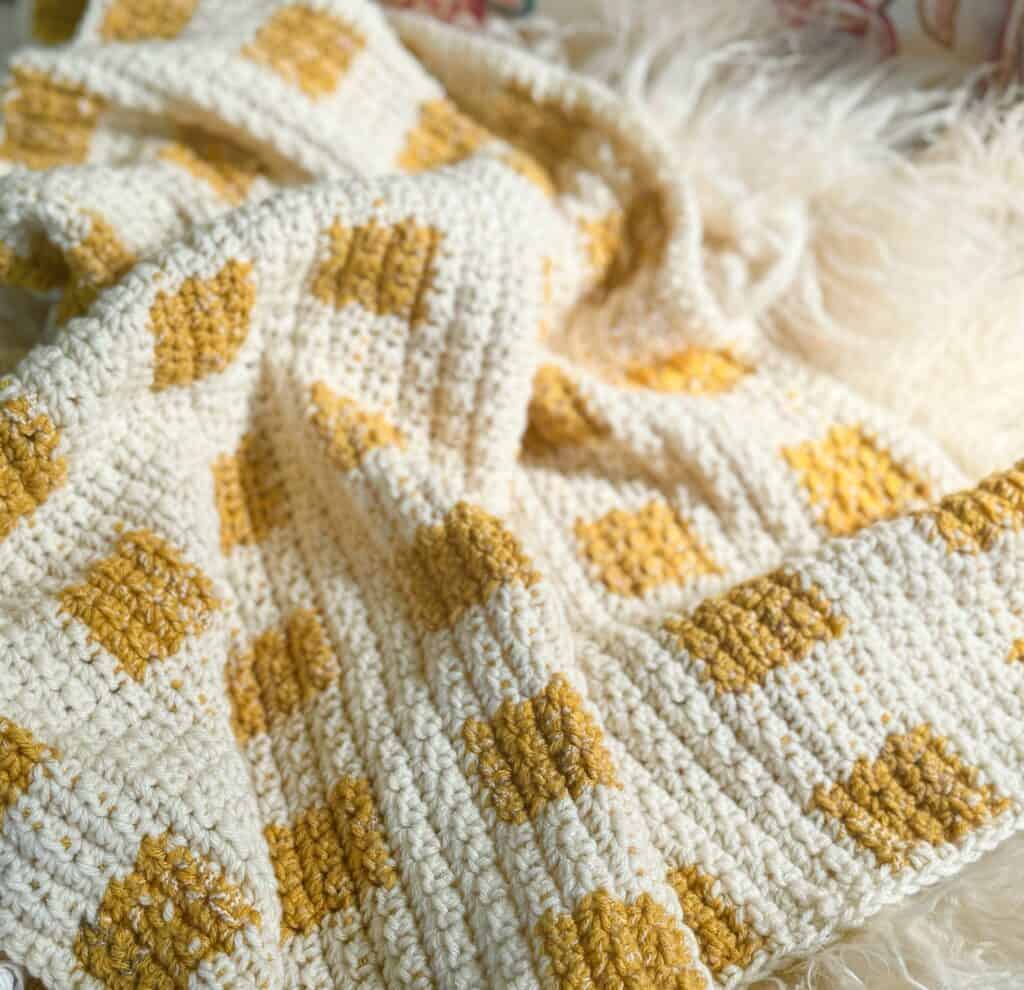
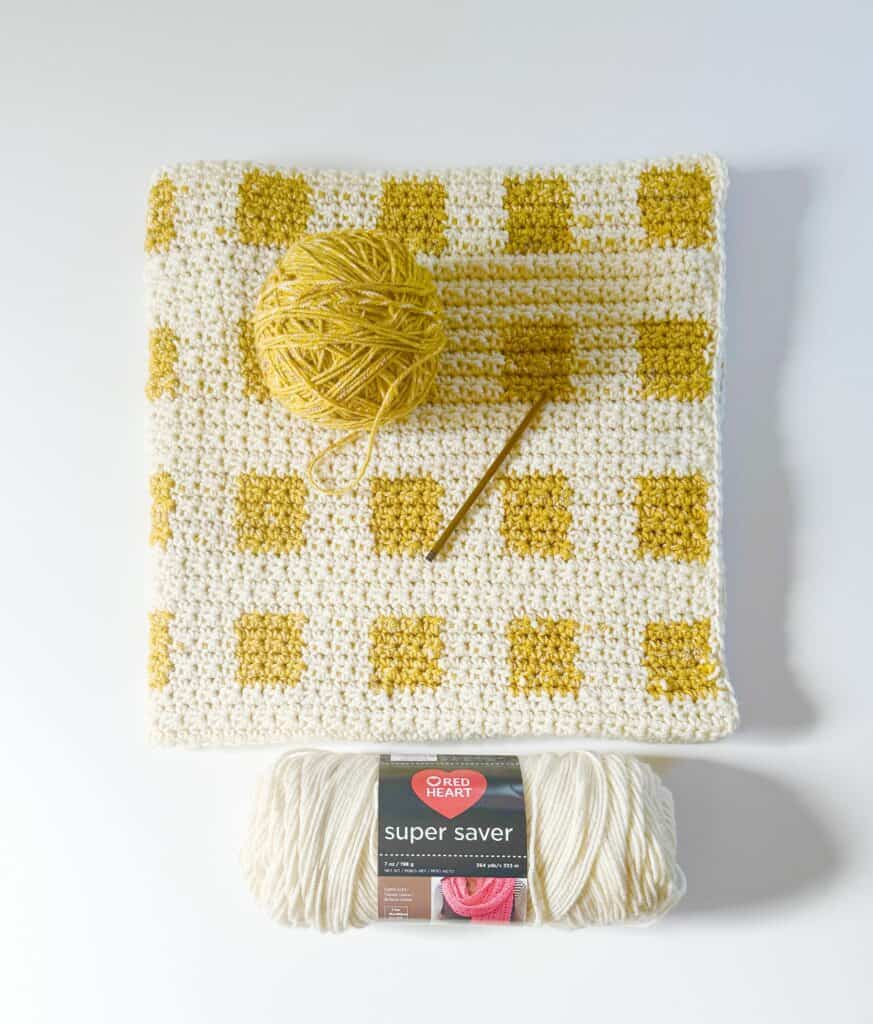
She really wanted to use a nice golden color for this blanket and found Caron Jumbo Twirl yarn. Currently, it is only available at Joann’s, but more might be coming to Yarnspirations soon. It has little twirls of cream and flecks of gold worked into the yarn. It is comparable to Caron One Pound.
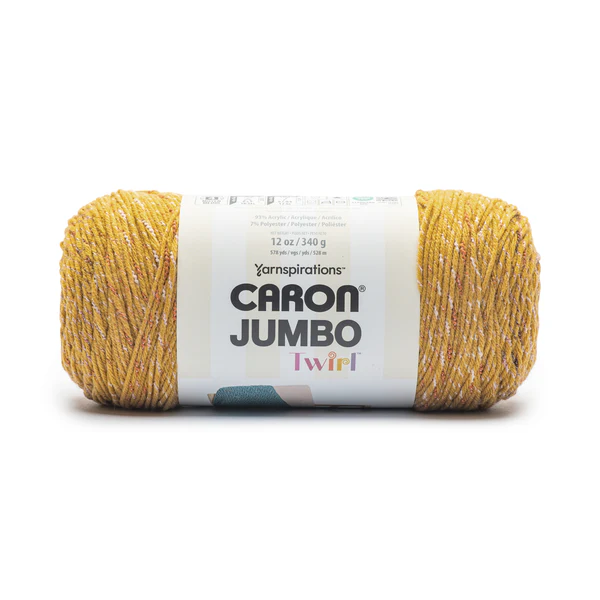
The color of Caron Jumbo Twirl she used is Mustard Ribbon. Cyndi paired it with Red Heart Super Saver in Aran for the background color.
Overall, it is a great look for a fall baby, or you can increase the size and have a beautiful throw for your couch!
Let’s get to the pattern, the video tutorial is linked at the end as well as the printable pdf.
Happy crocheting!
Materials
1 skein Caron Jumbo Twirl (340g / 12 oz, 528 meters / 578 yards)
1 skein Red Heart Super Saver (198 g/7 oz, 333 meters/364 yards)
Size H/5.00mm hook, tapestry needle, scissors
Size
Finished size: 30 inches x 30 inches
Stitches
Single Crochet (SC): Insert your hook, yarn over (YO) and pull up a loop, YO and pull through two loops on hook.
Half Double Crochet (HDC): YO, insert your hook, YO and pull up a loop, YO and pull through three loops on hook.
Pattern
Chain 103 in aran. (To make larger: multiply 6 by any odd number, then add 1 for the turning chain.)
Row 1: Starting in the second chain from the hook, work 1 SC. SC in each chain across the row. On the last SC of the row, pull through with mustard ribbon, do not cut aran. Turn your work like a page in a book, wrapping aran around the back. You will work your first single crochet of the next row by inserting your hook under the stitch and under aran as it’s carried along the row.
Rows 2 – 7: In the first stitch from the hook, *with mustard ribbon, work 1 SC (making sure you catch aran to bring it along the row.) In the next stitch work 1 HDC, always carrying the aran across the row and crochet over it as you work. Continue alternating SC, HDC until you have 6 stitches worked. On the 6th stitch, (the last HDC), pull through with aran on the last step of the stitch.
Work the next 6 alternating stitches of SC, HDC in aran, carrying the mustard ribbon through the row. On the last HDC, pull through with mustard ribbon. Repeat from * to the end of the row.
When you reach the end of the row, chain 1 and turn. You should end with HDC in mustard ribbon, and when you turn to the next row, wrap the aran yarn around the end of your work and continue to carry along the row.
Tip: Each row should start with a SC and end with HDC, so you are always working SC into HDC of the previous row and HDC into SC of the previous row. Always chain 1 and turn at the end of each row.
At the end of row 7, pull through with aran on the last stitch, and cut the mustard ribbon, leaving a tail long enough to weave in later.
Rows 8 – 13: Work 6 rows of alternating SC and HDC in aran.
Repeat rows 2 through 13 for the remainder of the blanket and until you have 8 blocks of color high, or as high as you’d like.
Border
Round 1: After weaving in ends with a tapestry needle, add a simple single crochet border around the edge. Pull up a loop in any corner and chain 1. Work SC into each stitch and work 2 SC at the end of every other row. Work 3 SC into each corner. Join with a slip stitch to the starting SC, CH 1 and turn.
Round 2: Work SC into each SC, work 3 SC into the center SC of the previous round corner SC’s.
Repeat round 2 four more times, or until you reach your desired border thickness.
Please see the video tutorial to learn how to carry yarn:
Click here or image below for free printable pdf.
![]()