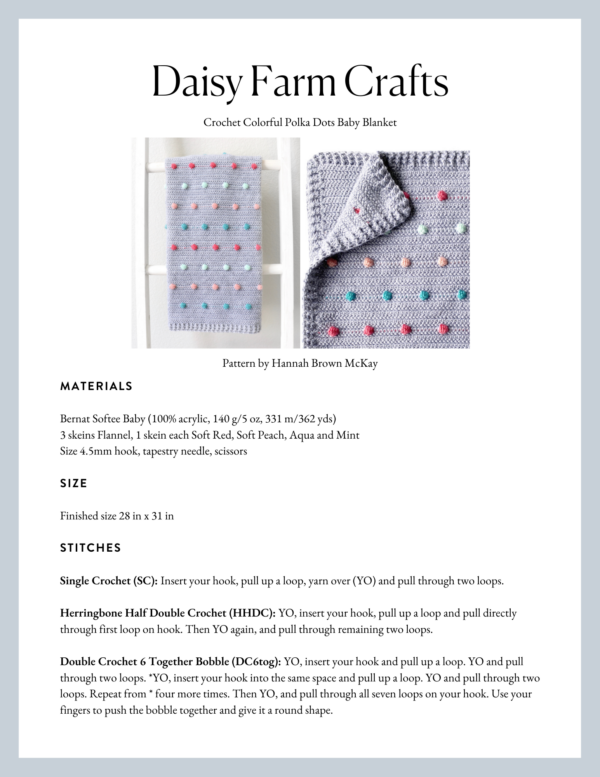
This pattern is now available as a free PDF pattern download from Yarnspirations – click here to see!
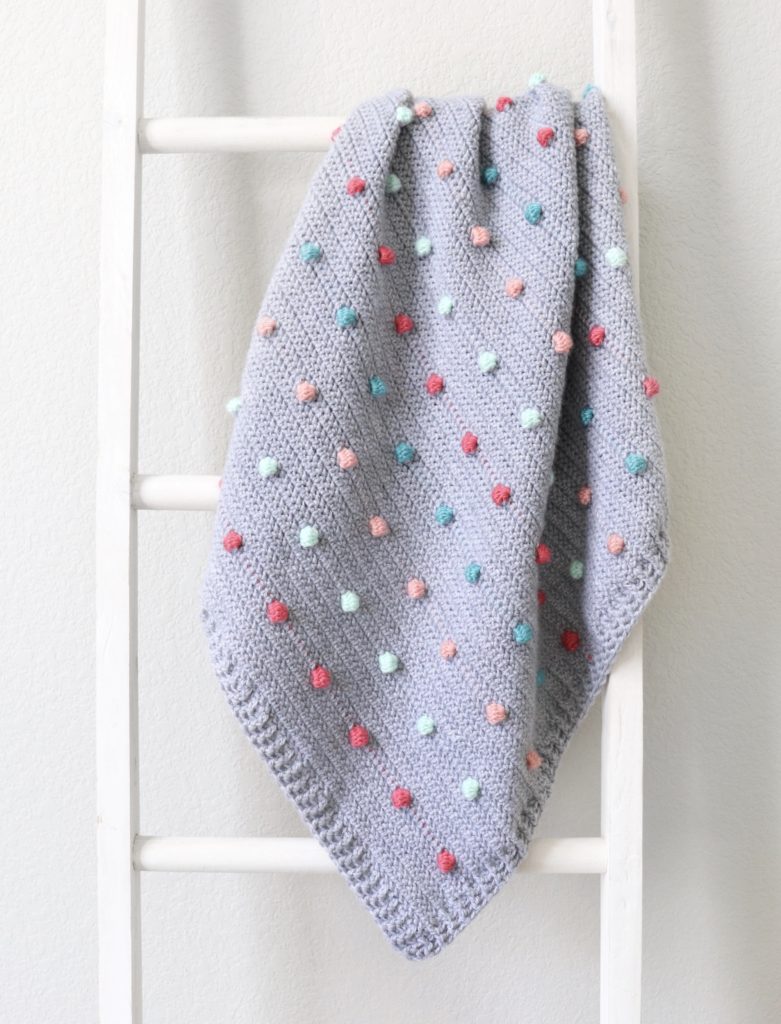
Hi there, it’s Hannah, and I’m excited to share my latest polka dot blanket! I’ve probably made too many polka dot blankets at this point, but I just love how they pop and how they add such a whimsical look to a baby nursery.
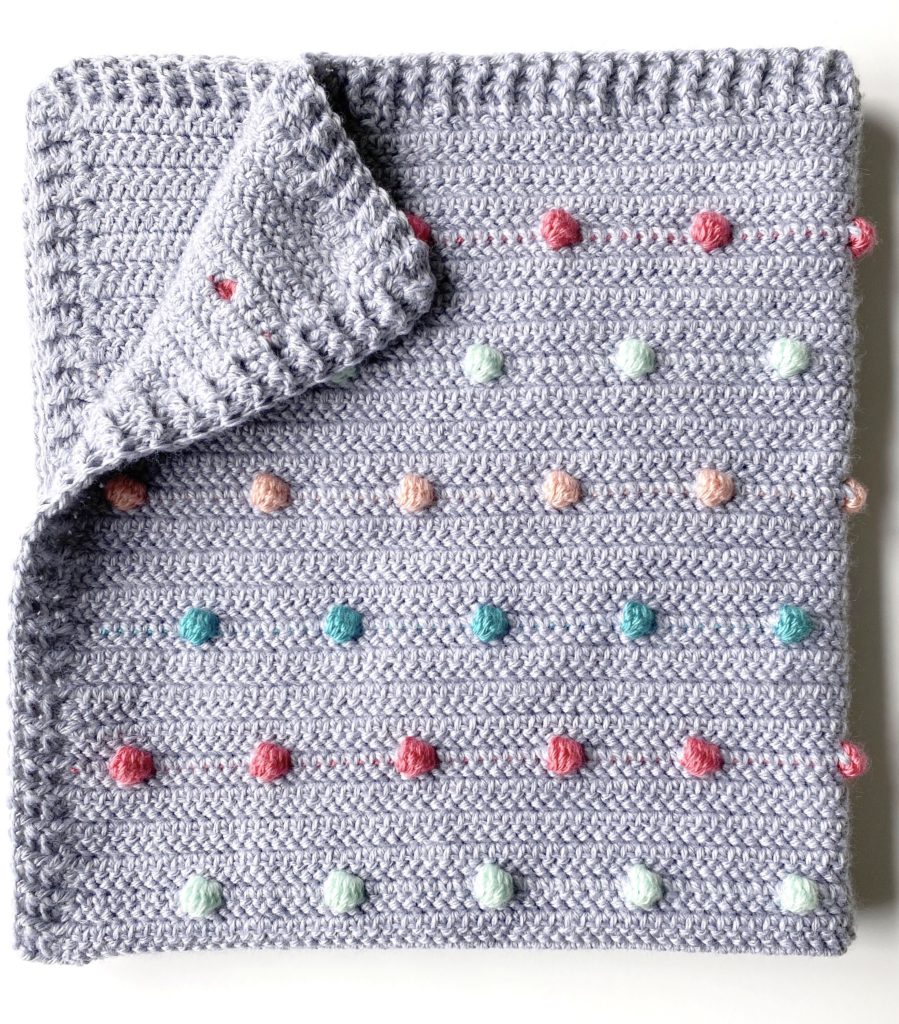
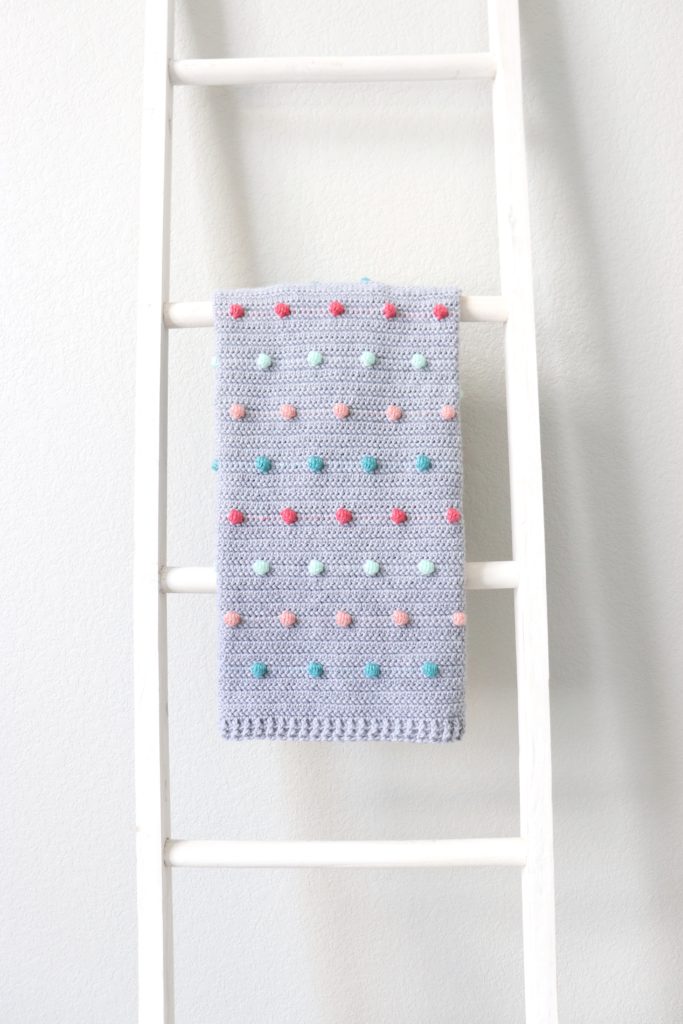
This polka dot blanket is a variation of my Candy Dots Blanket where I am carrying the colored yarn in between the bobbles along the top of my work and crocheting over it as I go. If you look closely at my blanket you can see a little bit of the darker colors peeking through.
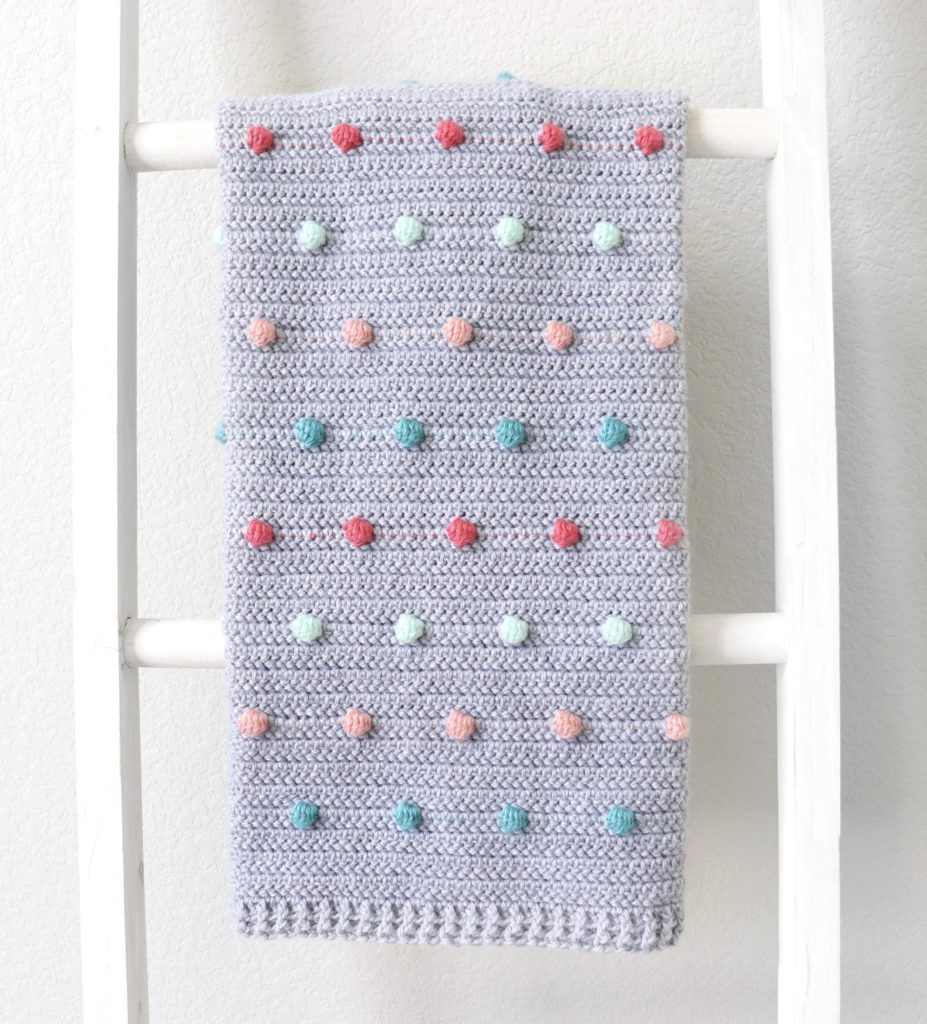
I don’t really mind the bits of color coming through the gray, but if you really want to disguise the lines between your dots, then you’ll want to just stick to the lighter colors that are more concealed by the gray.
Here’s a quick video if you’d like to see how the stitches are worked in this blanket before you get started!
Materials
Bernat Softee Baby (100% acrylic, 140 g/5 oz, 331 m/362 yds)
3 skeins Flannel, 1 skein each Soft Red, Soft Peach, Aqua and Mint
Size 4.5mm hook, tapestry needle, scissors
Size
Finished size 28 in x 31 in
Stitches
Single Crochet (SC): Insert your hook, pull up a loop, yarn over (YO) and pull through two loops.
Herringbone Half Double Crochet (HHDC): YO, insert your hook, pull up a loop and pull directly through first loop on hook. Then YO again, and pull through remaining two loops.
Double Crochet 6 Together Bobble (DC6tog): YO, insert your hook and pull up a loop. YO and pull through two loops. *YO, insert your hook into the same space and pull up a loop. YO and pull through two loops. Repeat from * four more times. Then YO, and pull through all seven loops on your hook. Use your fingers to push the bobble together and give it a round shape.
Double Crochet (DC): YO, insert your hook, YO and pull up a loop, YO, pull through two loops, YO, pull through remaining two loops.
Front and Back Post Double Crochet (FPDC & BPDC): A front post double crochet means you insert your hook from front to back around the post of the next DC and work a DC. A back post double crochet means you insert your hook from back to front around the post of the next DC and work a DC.
Pattern
Chain 111 with Flannel. (To make your blanket a different size, make a base chain that is a multiple of 10, then add 1.)
ROW 1: Starting in third chain from the hook, work 1 HHDC in each chain. Chain 2 and turn.
ROWS 2 – 7: Work 6 more rows of HHDC with Flannel, chaining 2 and turning at the end of each row. (The chain 2 does not count as a stitch, so when you are starting each row you should work right into the top of the last stitch from the row below, which will be the third chain from the hook if you count down. Then when you reach the end of the row, you don’t need to work into the top of the turning chain, you can just finish with the last stitch and chain 2 and turn. The sides of your blanket will start to form little ridges as you go, but this is normal and you will cover it up later with your border.) At the end of row 7, chain 1 and turn.
ROW 8: Work 4 SCs in Flannel. On the 4th SC pull through with Soft Red just before you finish the stitch, when you still have two loops on your hook. Leave a tail with Soft Red that you can weave into the blanket later. Take the Flannel and lay it across the top of your work, then crochet over it as you work a DC6tog bobble with Soft Red. Stop when you have 7 loops of Soft Red on your hook and pull through with Flannel to finish the stitch. Now take the Soft Red and lay it across the top of your work, and crochet over it as you work 9 SCs in Flannel. On the 9th stitch pull through with Soft Red. *Work 1 DC6tog in Soft Red, then 9 SCs in Flannel, always crocheting over whichever color you aren’t using. Repeat from * to the end of the row. After your last bobble, you can stop carrying the yarn. You should end the row with 4 SCs. Cut the Soft Red and leave a tail long enough to weave into the blanket later. Chain 2 and turn.
ROWS 9 – 15: Work 7 rows of HHDC in Flannel. Chain 2 and turn for each row, until the end of row 15 where you will chain 1 and turn.
ROW 16: *Work 9 SCs in Flannel, then one DC6tog bobble with Mint, always crocheting over whichever color you aren’t using. Repeat from * to the end of the row, until you end with 9 SCs in Flannel. Chain 2 and turn.
ROWS 17 – 23: Work 7 rows of HHDC in Flannel, chaining 2 at the end of each row. At the end of row 23, chain 1 and turn.
ROW 24: Repeat row 8 using Soft Peach. At the end of the row, chain 2 and turn.
ROWS 25 – 31: Work 7 rows of HHDC in Flannel, chaining 2 at the end of each row. At the end of row 31, chain 1 and turn.
ROW 32: Repeat row 16 using Aqua. At the end of the row, chain 2 and turn.
ROWS 33 – 39: Work 7 rows of HHDC in Flannel, chaining 2 and turning at the end of each row. At the end of row 39, chain 1 and turn.
Repeat rows 8 through 39 two more times, or until you reach your desired length.
Border
Weave in any ends with a tapestry needle.
ROUND 1: Pull up a loop in any corner and chain 3. DC around the entire blanket, working 3 DCs into each corner stitch. On the sides of the blanket, do your best to work one DC per row. (And when you go around the end the blanket that has your base chain, you may want to insert your hook in between each HHDC instead of the tops of the stitches so your base chain doesn’t pull away from the rest of the blanket.)
ROUND 2: When you reach the corner you started with, work 3 DCs into the corner, then go around the blanket again, this time alternating front and back post double crochet. When you get to the corners of this row, you will want to continue the pattern of alternating front and back post double crochet, but you will work three stitches around the corner post.
So, for example, if you get to the corner post and you are supposed to work a front post DC, then work a front post DC, a back post DC, and a front post DC all around that corner post. Then in the next stitch you would continue the alternating pattern, working the opposite of whichever stitch you just used (in this example, you would work a back post DC). Just remember that you are always alternating front and back post double crochet around the whole blanket, you just happen to be working three of those stitches around the same post when you are working the corners.
ROUND 3: When you finish row 2, work 3 alternating front post/back post DCs into the corner you started with and repeat row around the blanket. Always match your post double crochets to so that they are poking out in the same direction as the previous row. You can go around as many times as you’d like to get your desired border height.
Here’s a video you can watch for the border!
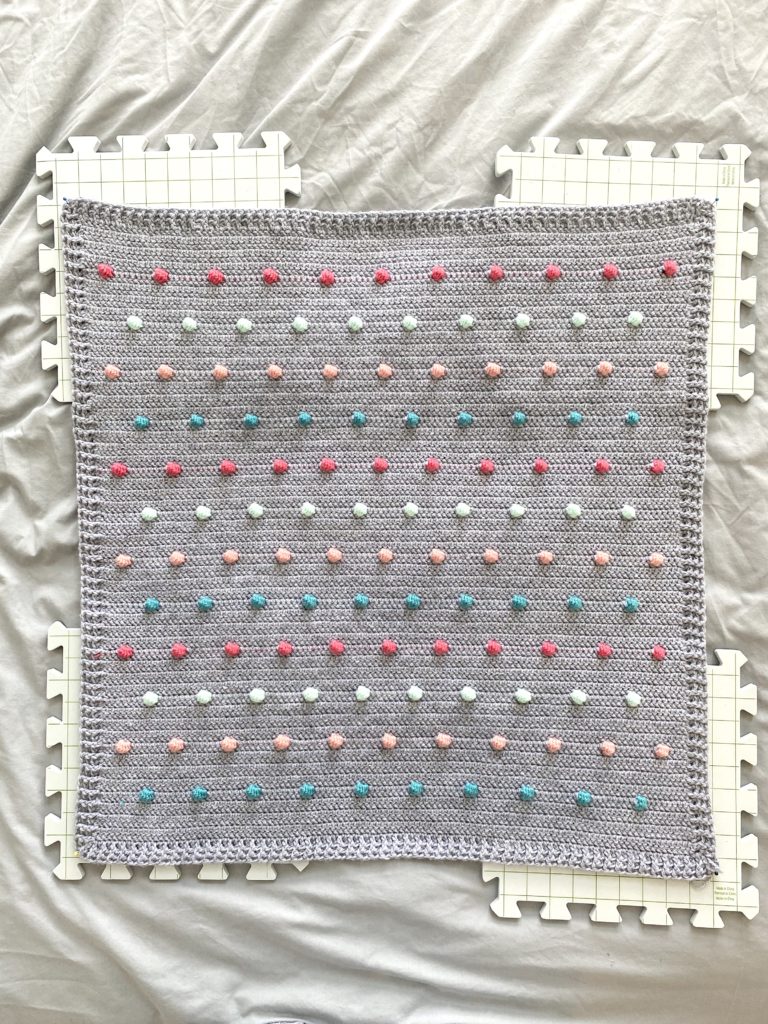
If you’d like to add finishing touches to your blanket, lay it out flat on a towel or foam blocking boards if you have them. Use a spray bottle with water to dampen the blanket. Press the blanket into straight lines, massaging the stitches and adjusting your tension. Pin with straight pins and let it dry.
Thank you so much for coming to read this pattern, I hope you enjoy making this blanket! When you’re finished with your blanket, please come share a picture with us on Facebook or Instagram, we’d love see!
And if this is your first time visiting our blog, welcome! We are a family of crocheters who love to share what we are making and it’s been amazing to see how this blog has grown and all the blankets that have been created using our patterns—we feel very honored every time someone chooses to make one!
We are not professional crocheters by any means, but crochet is a craft that has been passed down through my mom’s family and we hope that by writing all our patterns down we can keep passing on that tradition. Thank you for crocheting along with us as we all keep learning this fun craft!
xo, Hannah

