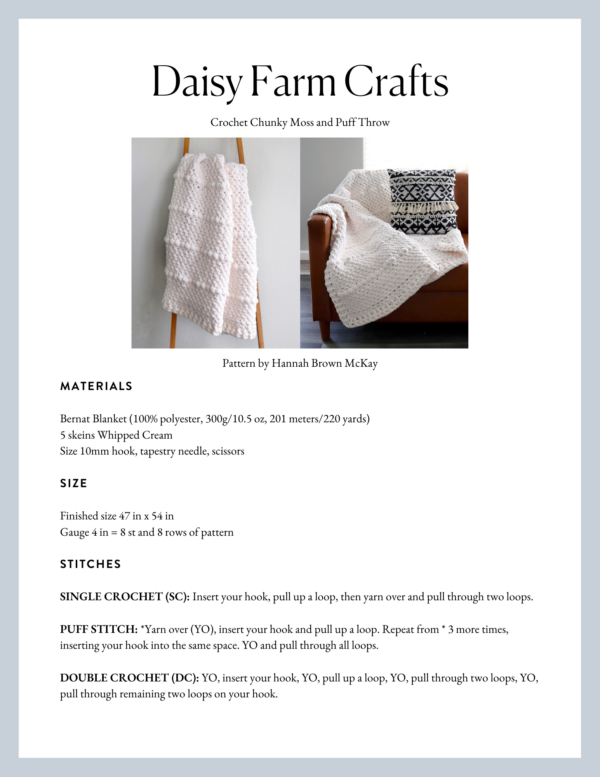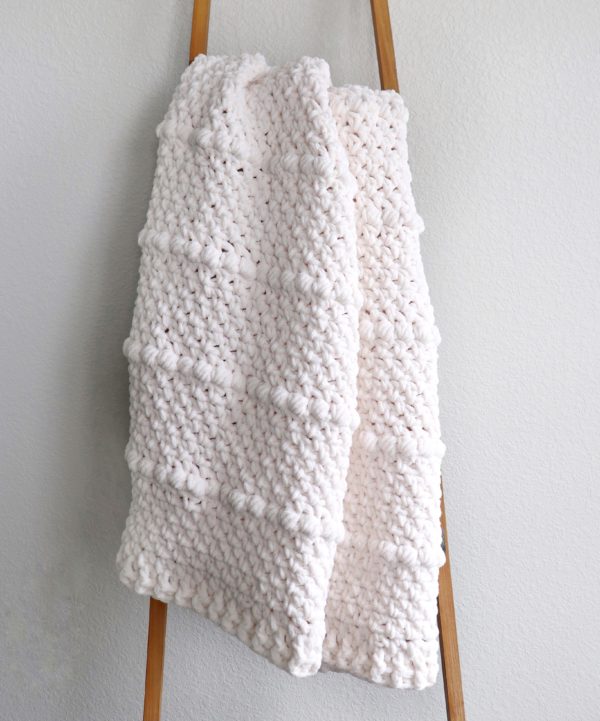
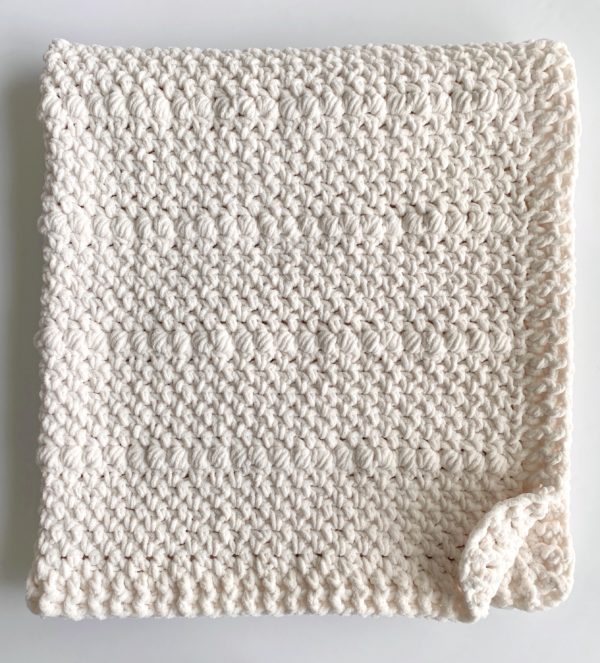
Hello, Hannah here, my husband’s younger brother is getting married this week, so I wanted to make him and our new sister-in-law a new throw as a wedding gift! This blanket is a chunkier version of my Boho Puff Stripes Blanket and I really love how it worked up in this thicker Bernat Blanket yarn.
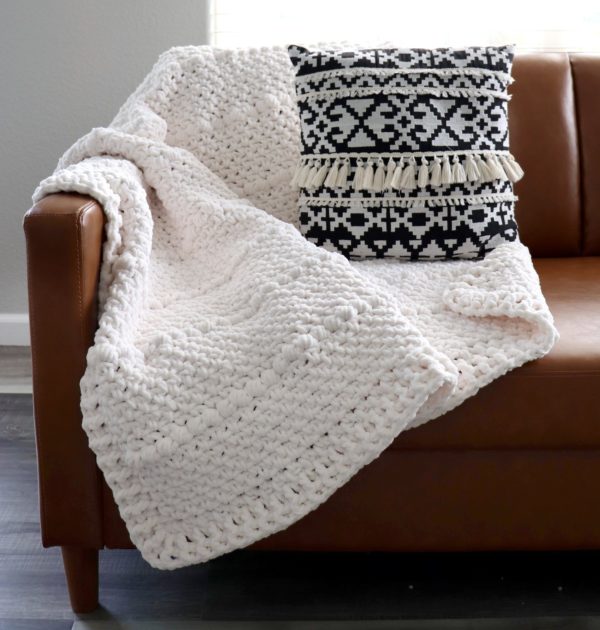
Here’s what it looks like on my couch – I almost want to keep it for myself! 🙂
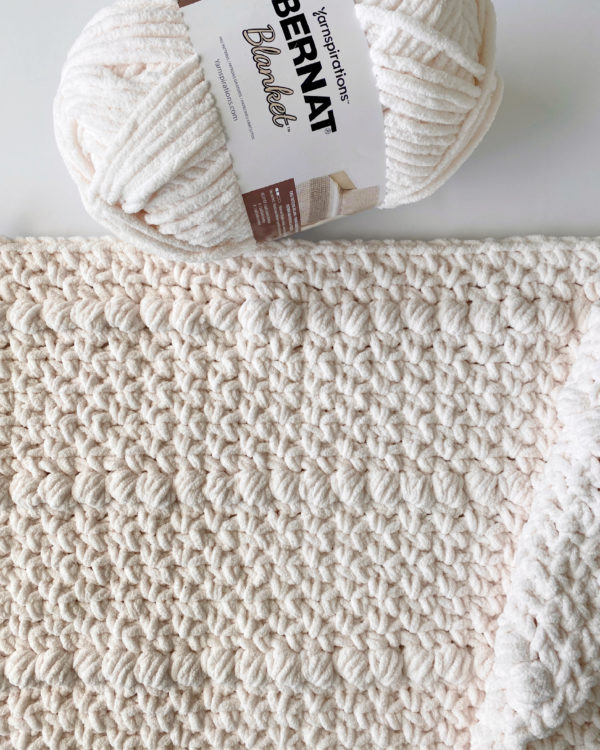
Materials
Bernat Blanket (100% polyester, 300g/10.5 oz, 201 meters/220 yards)
5 skeins Whipped Cream
Size 10mm hook, tapestry needle, scissors
Size
Finished size 47 in x 54 in
Gauge 4 in = 8 st and 8 rows of pattern
Stitches
SINGLE CROCHET (SC): Insert your hook, pull up a loop, then yarn over and pull through two loops.
PUFF STITCH: *Yarn over (YO), insert your hook and pull up a loop. Repeat from * 3 more times, inserting your hook into the same space. YO and pull through all loops.
DOUBLE CROCHET (DC): YO, insert your hook, YO, pull up a loop, YO, pull through two loops, YO, pull through remaining two loops on your hook.
FRONT AND BACK POST DOUBLE CROCHET (FPDC & BPDC): A front post double crochet means you insert your hook from front to back around the post of the next DC and work a DC. A back post double crochet means you insert your hook from back to front around the post of the next DC and work a DC.
Pattern
Chain 94 (or any even number).
ROW 1: Starting in the 4th chain from the hook, work a SC, CH 1. Skip the next chain then work another SC, CH 1. Continue working SC, CH 1 in every other chain. You should end with one SC in the last chain. CH 2 and turn.
ROW 2: Work a SC, CH 1 into the chain one space of the row below (in the space underneath the 4th chain from the hook). Skip the next stitch, then work a SC, CH 1 in the next chain one space. Continue working SC, CH 1 into the all the chain one spaces from the row below. End with a SC that is between the last stitch and the turning chain of the row below. Chain 2 and turn.
ROWS 3 – 9: Repeat row 2 (moss stitch).
ROW 10: Work this row in the same way you worked the previous rows, but replace each SC with a puff stitch. In other words, work a puff stitch into the chain one space of the row below (the same place where you would normally work your SC), then chain 1. Then work a puff stitch, CH 1 into the next chain one space. Continue working puff stitch, CH 1 into the all the chain one spaces from the row below, except when you reach the very last space – end with a SC that is between the last stitch and the turning chain of the row below. Chain 2 and turn.
Repeat rows 1 through 10 until you reach your desired length, then end with 9 rows of moss stitch to match the opposite end of the blanket. You should always have 9 rows of moss stitch in between each puffs row and you should always chain 2 and turn at the end of each row. I ended up with 8 puff rows total.
Notes
When you are working the row right after the puff row, it can be kind of tricky to see where to insert your hook, but just remember to treat those puffs as if they were single crochets and to insert your hook into the chain one spaces on either side of them, just like the regular moss stitch.
Also, since this yarn is so thick, the puff rows tend to ripple a little bit more than in my original version, which I actually really love because I think it gives it a more natural boho look, but if you like a little more of a cleaner look you can work a regular moss stitch in between each puff stitch to space the puffs out more.
Border
Weave in all ends with a tapestry needle.
Round 1: Pull up a loop in any corner and chain 2. Work one round of the moss stitch around the blanket, inserting your hook into every other space on the sides of the blanket. Work 3 SCs into each corner.
Round 2: When you reach the corner you started with, slip stitch into starting stitch, chain 2, then continue working in the same direction and work one round of DC around the blanket. Work a DC into each SC and into each chain space around the blanket. Work 3 DCs into each corner.
Round 3: When you reach the corner you started with, work 3 DCs around the starting chain 2, then continue working in the same direction and work alternating front and back post DC around each DC. When you reach the corners, add an extra CH 1 to each of the 3 corner stitches. After you work the stitches of the starting corner, slip stitch into the first stitch and tie off.
Here’s a video tutorial of a similar blanket that uses the same stitches if you need a video tutorial:
Thank you so much for visiting our blog – I hope you enjoy making this blanket! xo, Hannah

