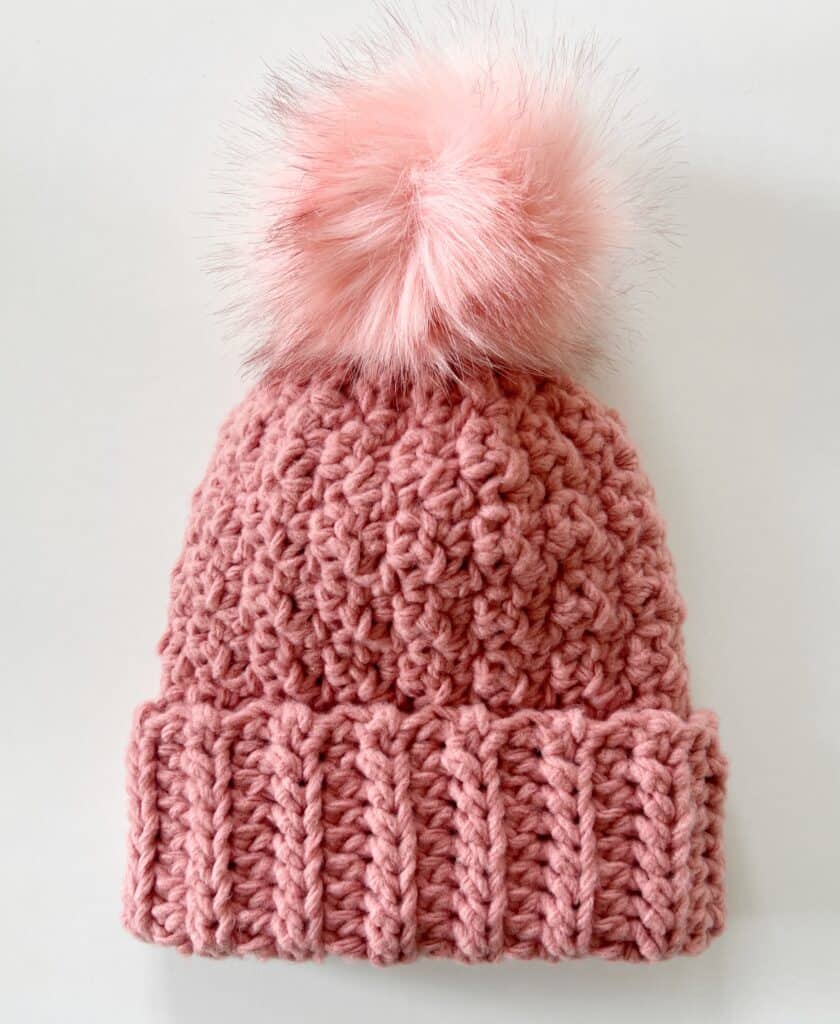
I have a new hat pattern using the Griddle Stitch! (A.K.A. Lemon Peel stitch, and maybe even called Seed Stitch, depending on who you learned it from and also what country you are from.)
The griddle stitch is the middle portion of the hat. It is an easy alternating single- and double-crochet sequence that creates the most beautiful texture in this Bernat Forever Fleece yarn.
The brim is made of one row of back-loop half-double crochet and one row of half-double slip stitch, which some may call yarn-over slip stitch. It’s really easy to learn and creates the prettiest ribbed look.
You will have to use regular back loop slip stitches at the top of the hat. Keep them loose so they are easier to work into. We need them to reduce the bulk since we are using super chunky 6-weight yarn.
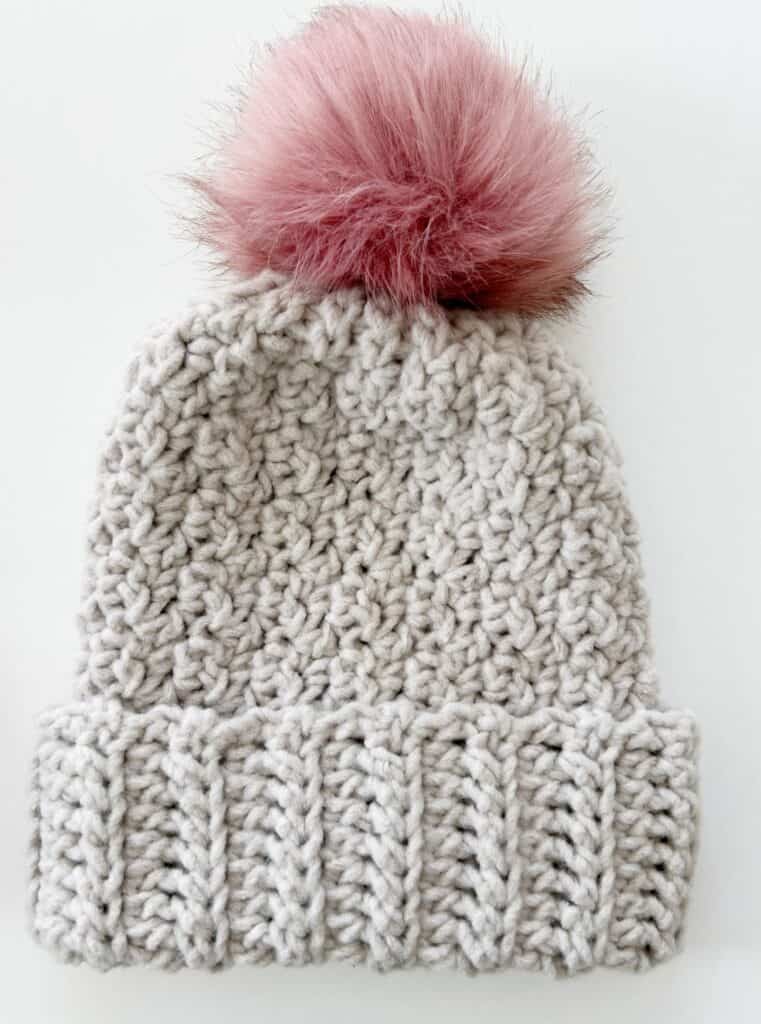
The hat construction involves making a rectangle containing all the stitches you need in one row, folding the hat in half, and then joining it together. The brim, the middle portion of the hat, and the top slip stitches are all made one row at a time.
It is very similar in construction to the Even Mixed Loop hat I made and shared a pattern with last year.
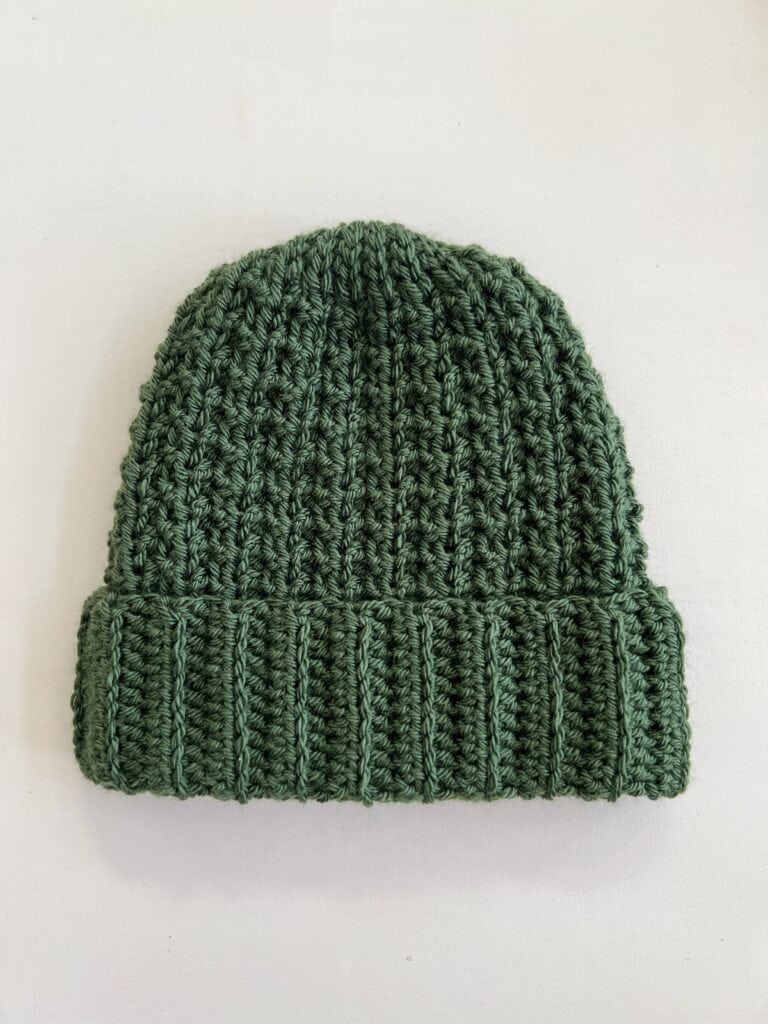
I like including the brim in the construction so I don’t have to guess where to insert my hook at the end of rows. The challenge is finding stitches and combinations that are about the same height.
You’ll notice in this new Griddle Stitch Hat pattern, one row of brim is back loop half double crochet, the next row uses back loop half double slip stitch. The combination of those two rows equaled the height of the griddle stitch.
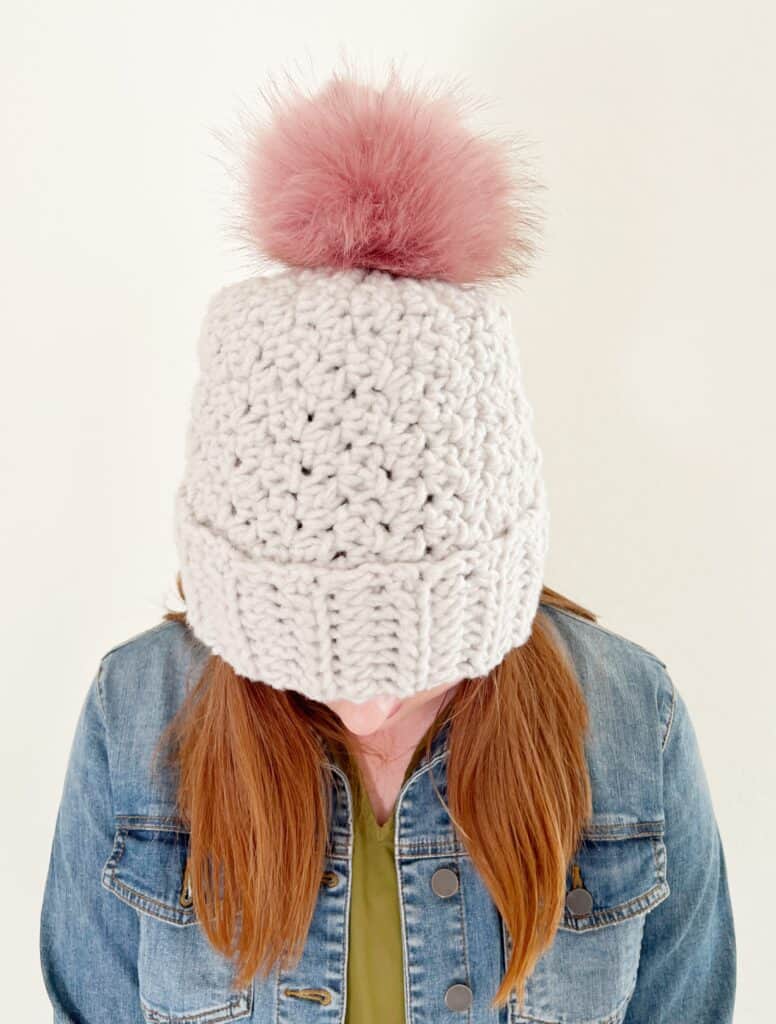
This is a one skein and almost one hour hat. I made it in about an hour and a half. They work up so fast. You’ll want to decide ahead of time what kind of pom pom you want to use. For these, I sewed a button on the underside of the hat and used these pretty fur poms that have an elastic.
*Shop this link here for pom poms with elastic.
*As an Amazon Associate we may earn from qualifying purchases.
In other hats, I’ve found pom poms with snaps. You can finish the hat however you like.
Shop this link here for pom poms with snaps.
Also, 6 inch pom poms are the larger ones for adult size hats, for children, you want the 4 inch size.
Shop this link for 4 inch pom poms with elastic.
In the video tutorial, I also show how I’m using a Zig Zag Slip Stitch to join the two sides together instead of a tapestry needle. I’ve been having a lot of fun with this method of joining since learning it on the Granny Square Birthday Cardigan I made for Annie. I felt like this chunky yarn needed a nice close using this technique.
It’s all demonstrated in the video if you need it. See below and tap the arrow.
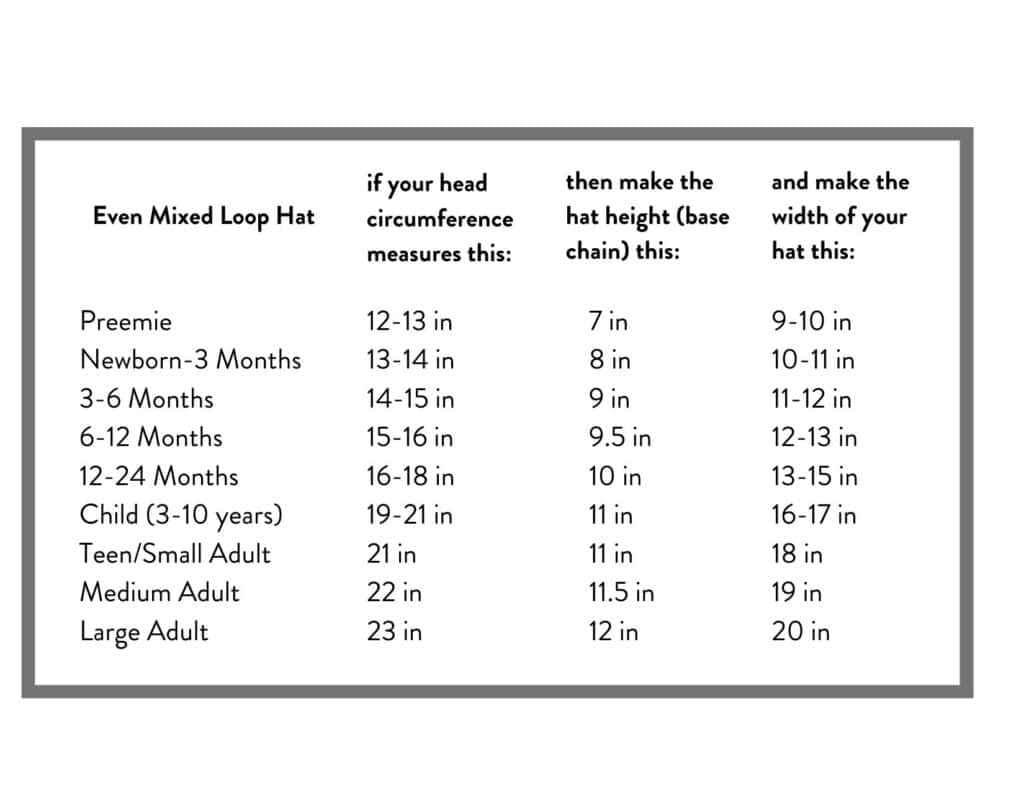
Good luck with your hat! I hope it goes well for you. If you want to adjust the pattern in any way, here is a size chart for other sizes. Keep in mind that the brim portion is about 4 inches. The heights given in the chart account for 4 inches of brim.
Also, keep in mind the yarn type you use for the width. Some yarns have more elasticity and stretch, while others don’t. Since Forever Fleece doesn’t have that much stretch, I made the hat quite tight, as I know it will stretch when worn.
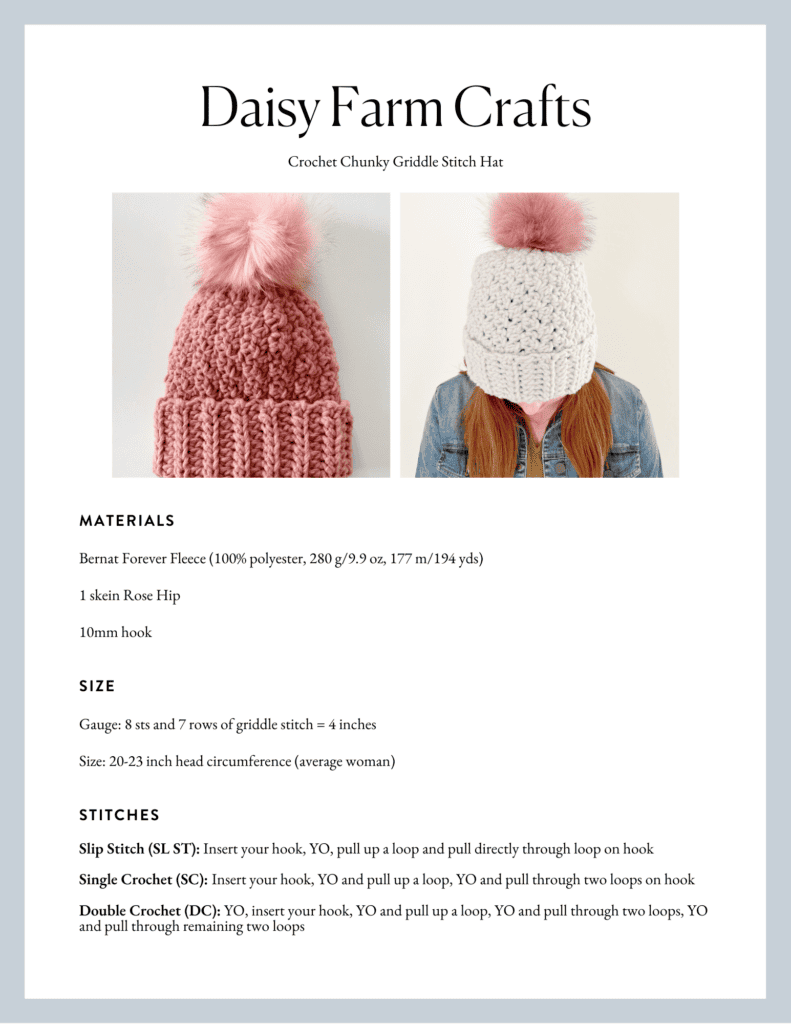
Materials
Bernat Forever Fleece (100% polyester, 280 g/9.9 oz, 177 m/194 yds)
(tap name of yarn to see on Yarnspirations.com)
1 skein Rose Hip
10mm hook
gauge: 8 sts and 7 rows of griddle stitch = 4 inches
Size: 20-23 inch head circumference (average woman)
Stitches
Slip Stitch (SL ST): Insert your hook, YO, pull up a loop and pull directly through loop on hook
Single Crochet (SC): Insert your hook, YO and pull up a loop, YO and pull through two loops on hook
Double Crochet (DC): YO, insert your hook, YO and pull up a loop, YO and pull through two loops, YO and pull through remaining two loops
Half Double Crochet Back Loop (HDC): YO, insert your hook into back loop, YO and pull up a loop, YO and pull through all three loops on hook
Half Double SL ST (HDSS): or Yarn Over Slip Stitch: YO, insert your hook, YO, pull up a loop and pull directly through two loops on hook
Pattern
Chain 31
ROW 1: In the second chain from the hook work SL ST. SL ST into the next 3 chains. SC into the next chain, DC into the next chain. Alternate SC and DC into the next 14 chains. HDC into each of the remaining 10 chains. CH 2 and turn.
ROW 2: HDSS in first st. Work Back Loop HDSS into each of the next 9 sts. *SC into the next DC, DC into the next SC. Repeat from * across the next 14 sts. Back Loop SL ST into each of the remaining 4 SL STs. CH 1 and turn.
ROW 3: Work Back Loop SL ST into each of the next 4 SL STs. *SC into the next DC, DC into the next SC. Repeat from * across the next 14 sts. Back Loop HDC into each of the remaining 10 sts. CH 2 and turn.
Tip: For a neat appearance, the last HDC of the row can be worked under both loops, instead of back loop. The first HDSS can be worked under both loops instead of back loop as well.
Repeat row 2 and 3 until you have 18 inches width. End the last row worked at the brim end of the hat.
Fold hat in half lengthwise, Zig Zag SL ST the starting chain row and final row together. Tie off with a long tail. Use a tapestry needle to sew and gather the top of the hat closed.
Attach a pom with an elastic by sewing a button on the underside of the hat, or if using a snap on pom pom, sew a snap onto the top of the hat.
Thank you so much for stopping by!
xoxo, Tiffany
Click here or image below to download the pattern pdf.

