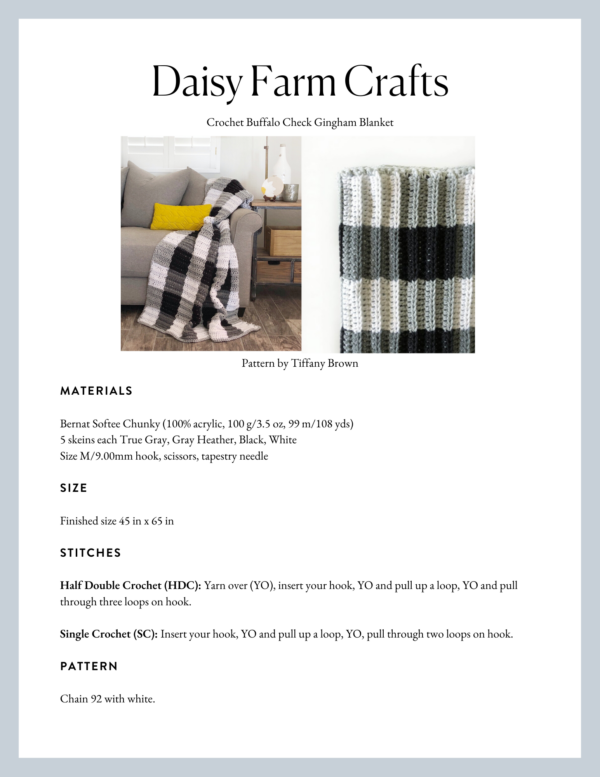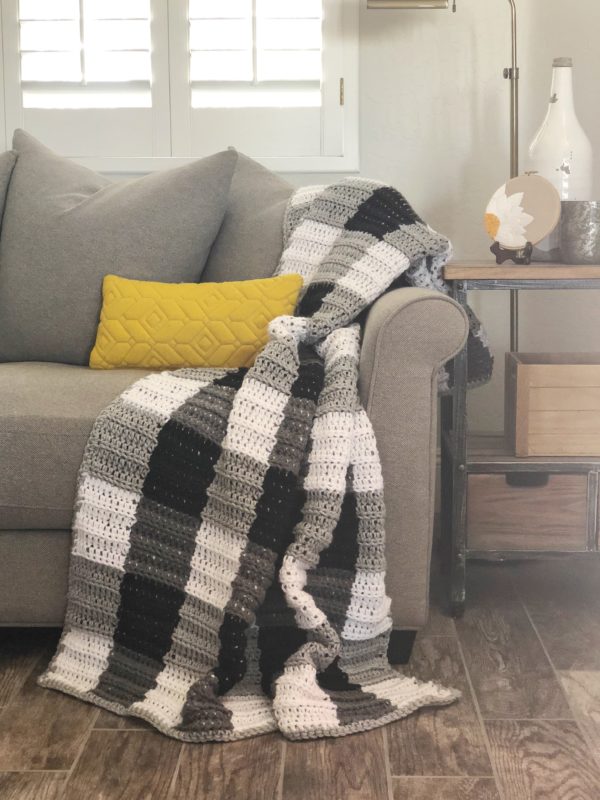
I don’t know what’s taken me so long to make a crochet buffalo check blanket (also known as black and white checked gingham.) But when I saw some Bernat Softee Chunky in two shades of gray, with a black and a white just sitting so nicely on the shelf at JoAnn’s, I seized the opportunity!
I experimented with stitches and decided that with the bulky weight of the yarn, a half double crochet (HDC) would be the best stitch to use. I’m working in the back loop to give it a ridged effect. It hides the yarn being carried through fairly well, but the bits I can see poke through give the blanket a speckled look.
I made this a throw size for my daughter Haley who is headed up to college. I think it will look great in her dorm room! She loves the new modern farm look and I think this throw will be perfect to drape across her bed and keep her warm while she studies away.
Materials
Bernat Softee Chunky (100% acrylic, 100 g/3.5 oz, 99 m/108 yds)
5 skeins each True Gray, Gray Heather, Black, White
Size M/9.00mm hook, scissors, tapestry needle
Size
Finished size 45 in x 65 in
Stitches
Half Double Crochet (HDC): Yarn over (YO), insert your hook, YO and pull up a loop, YO and pull through three loops on hook.
Single Crochet (SC): Insert your hook, YO and pull up a loop, YO, pull through two loops on hook.
Pattern
Chain 92 with white.
(Pattern repeat is 10 + 2) That means you can make this blanket any size you’d like. Just make a chain to the length you need and make sure it is a multiple of 10 then add 2. I suggest you keep the multiple of 10 odd. For example, 90 or 110. That way you begin and end each row with the same color.
Row 1: Starting in the third chain from the hook, work 10 HDC. Just before you pull through to finish the stitch, change colors from the white and pull through with gray heather, (the darker gray). Bringing the white yarn along with you and crocheting over it, work 10 HDC in gray heather. Again, just before you finish the 10th stitch, pull up the white yarn you’ve been crocheting over and pull through. (The yarn not in use is running through the stitches.) Continue across the row alternating every ten stitches, and changing yarn colors. Chain 2 and turn. (the chain 2 does not count as a stitch)
Row 2: Bringing the gray heather strand around the side of your work and placing it behind the first stitch you will work into, with the white color, work into the first HDC in the back loop only. (From here on out you will always work in the back loop.) Insert your hook under the back loop and the heather gray at the same time. You will now be bringing the heather gray along with you. Work ten stitches in white, then ten stitches in gray heather. Continue alternating every ten stitches until you get to the end of the row. Chain 2 and turn. (Don’t forget to pull through with the new color just before you finish the tenth stitch.)
(Tip: if you find that the yarn being carried is too loose, make sure you give it a little tug to tighten it just before you pull through and use it as the next color.)
Repeat row 2 five more times for a total of 6 rows. (Check your tension before you start row six, do you crochet tighter than I did? maybe you need to do 7 rows, do you crochet looser? Maybe 5 rows are plenty. The goal is to make it look like even squares. Also, if you are too tight, your blanket might turn out like a doormat and we don’t want that. Please do a practice swatch if you are unsure of how you crochet with this yarn. A practice swatch will help you work out any mistakes before you start the real thing.)
Row 7: Before you finish the last stitch of row six, pull through with gray (the lighter gray). You may cut off the white and heather gray leaving long tails to weave in after the blanket is finished. In the back loop, work the first 10 HDC. Pull through with black on the 10th stitch. Now begin crocheting over the lighter gray yarn for the next 10 stitches. Alternate every 10 stitches with gray and black.
Rows 8 – 12: Continue alternating between the black and lighter gray color, always crocheting into the back loop, and carrying the yarn that you are not using along with you. Both sides of the blanket will look exactly the same because the yarn is being worked over and running through the work.
After you complete 6 rows of the black and lighter gray color, now switch back to the white and darker heather gray color. Continue this alternating of colors every 6 rows for a total of 13 blocks of color.
Weave in all the ends of the blanket before you start the border.
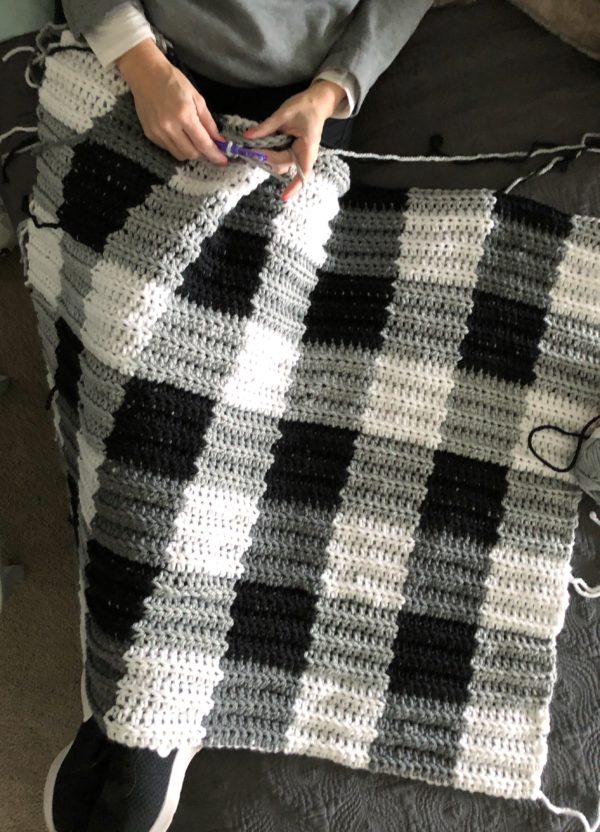
Here is a video showing you how to add in yarn if you are unsure about how to do this. It also shows you how I am crocheting over the yarn not in use. This was a video for another project, so I am not using a HDC stitch, but the process of how to crochet over yarn is explained and you might find it helpful:
And here is another video to show you to keep your yarn from twisting when switching colors:
Border
Pull up a loop in any corner with any color you choose, I picked the light gray.
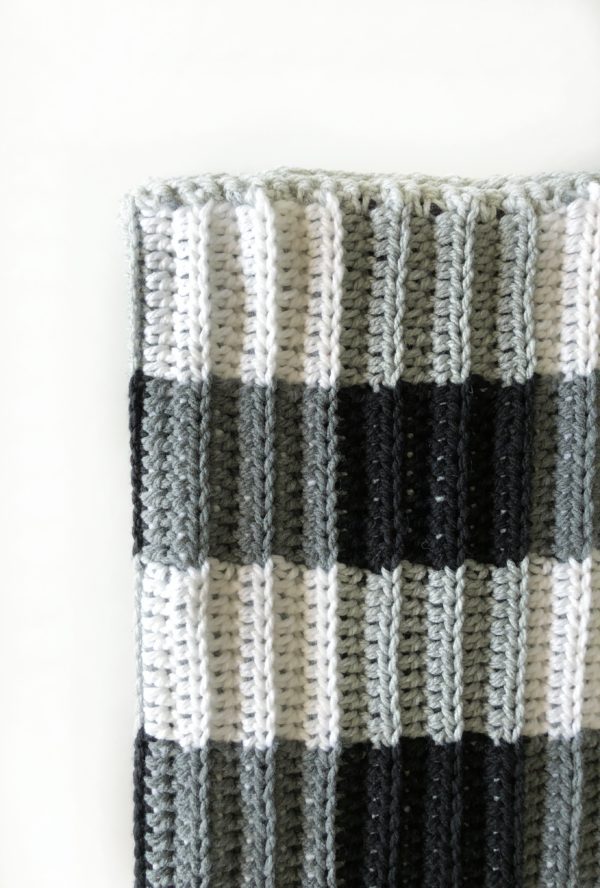
Work one SC into the corner and then one into each stitch around the blanket. In each of the other 3 corners work 3 SC. When you return to the beginning corner, work the final two SC, and then slip stitch into the first SC you worked. Weave in the ends.
Here are a few more tips for a successful gingham blanket:
Use yarn bowls. This technique of crocheting over yarn and switching yarn colors every ten stitches causes the yarn to twist each time. You can either unwind after each yarn change, or at the end of the row. But having the yarn, one skein or ball in its own bowl will help you keep it organized.
Please do a practice swatch. I might have already mentioned that. But it really is important. You do not want this to be tight or too loose. Especially if this is your first time using this technique.
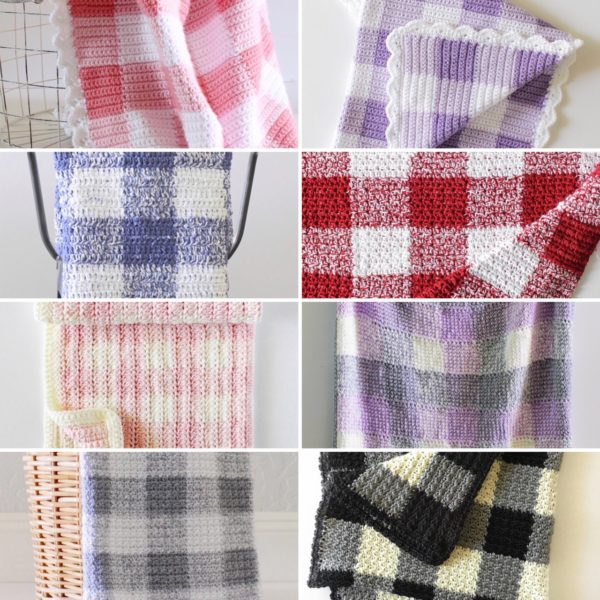
Be patient while you learn a new way of crocheting. It is tricky, but after you get it, you will love it and your blanket will turn out gorgeous. If you’re interested in seeing some more gingham blankets in different colors, you can click here!
Thank you everyone for all your love and support. Come and find me on Instagram and be my crochet friend! I love to share what I am creating from when it’s a baby to all grown up! I let you know exactly what stitch I’m trying out and yarn and everything. No guessing what I’m making or how I am doing it. I love to let you know so you can learn even more about this wonderful craft.
Think about it, crochet can only be made by human hands, never a machine, but it also can be shared and the same pattern used by many. I love this about crochet!
xo, Tiffany

