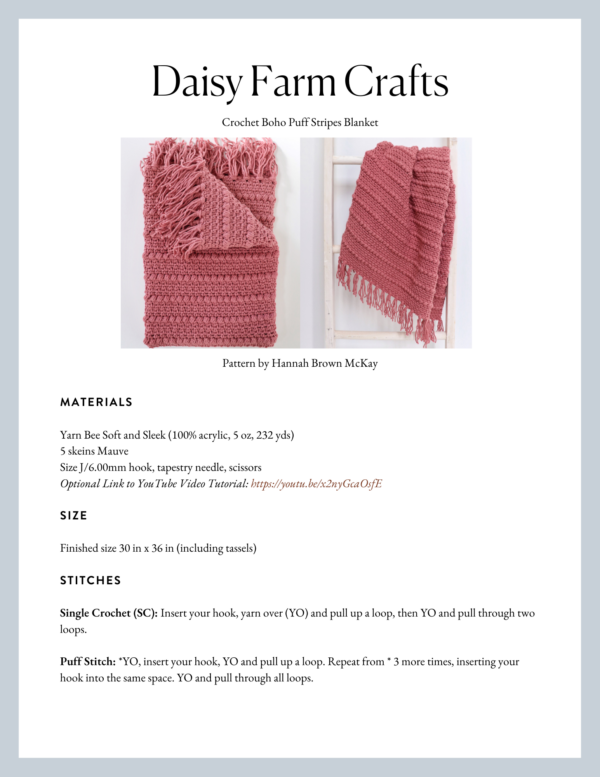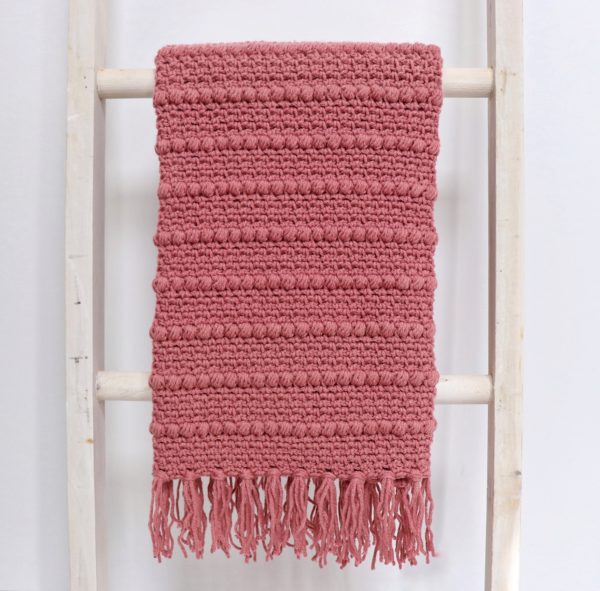
Hi there it’s Hannah, I’ve been having fun these last few weeks working on some new baby blankets after all the hats and scarves I made during Christmas!
I have a lot of friends and cousins who are expecting babies in the next few months, so I have a lot of blankets to get done!
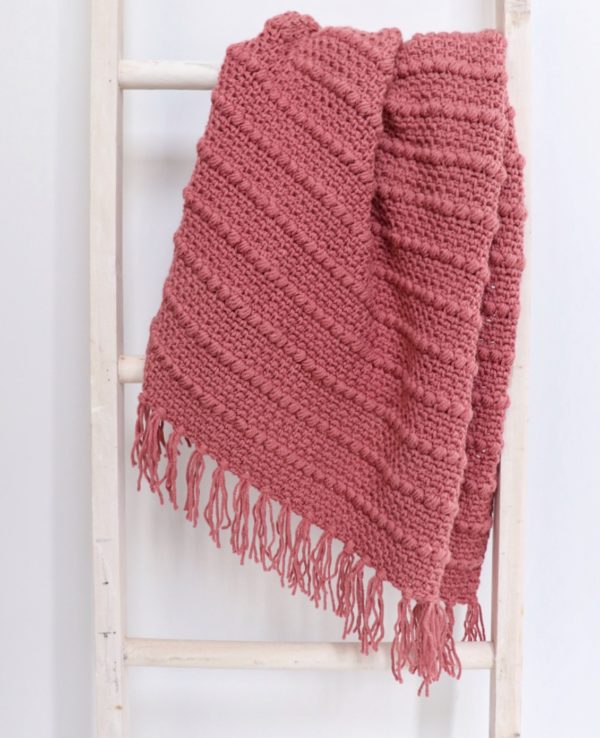
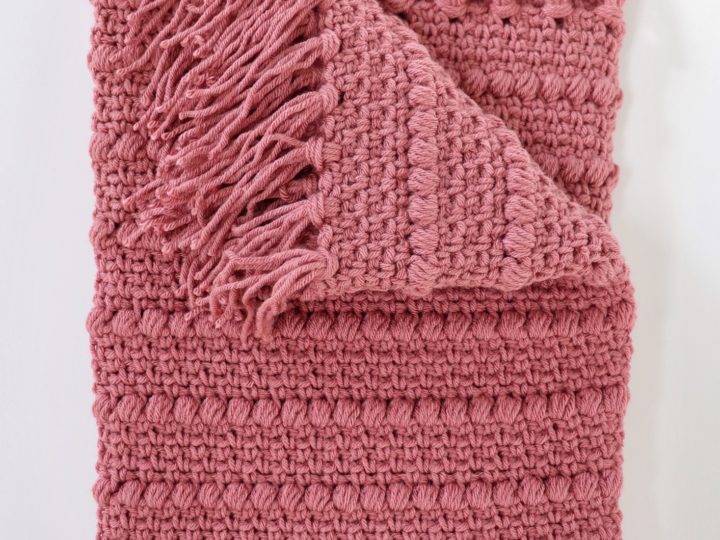
This week I worked up a new version of my Moss and Puff Stitch Blanket, which is one of the first blankets I made when I started crocheting a few years ago.
tap here for the pattern to the Moss and Puff Stitch Blanket
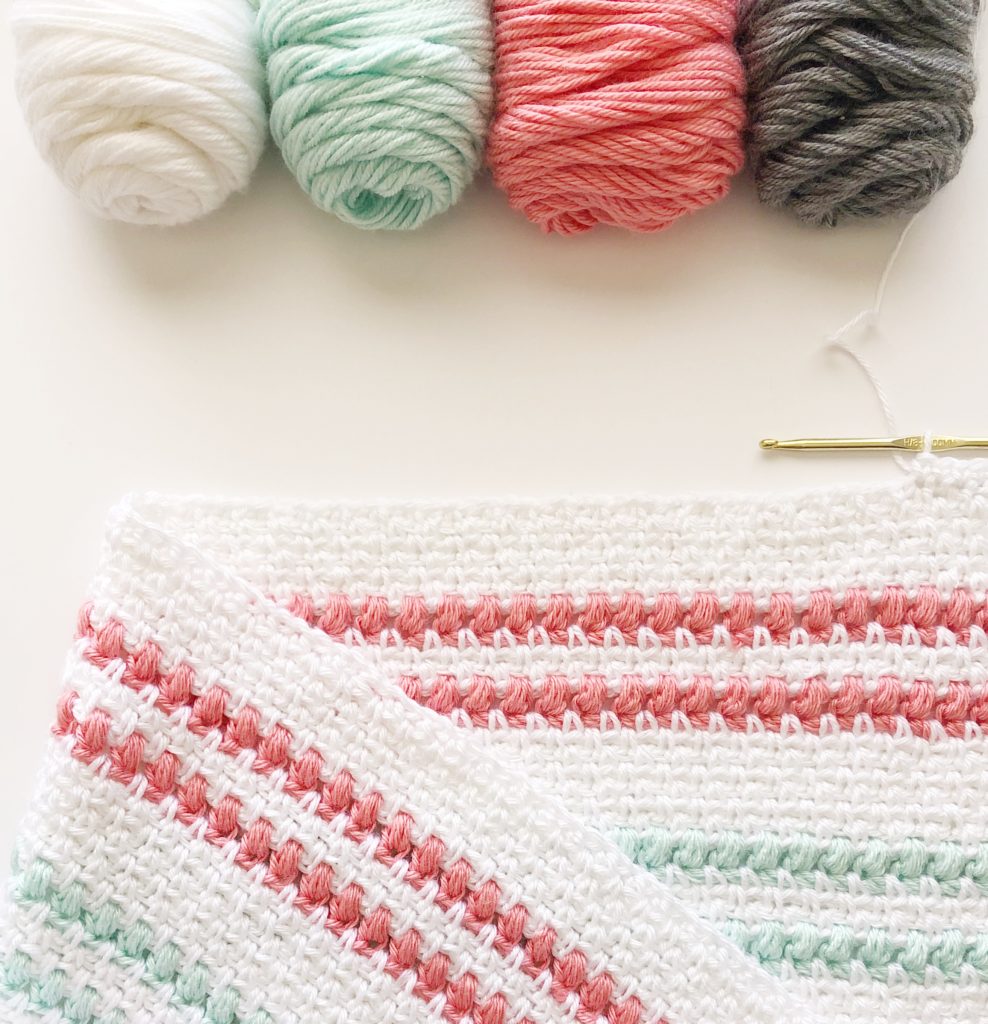
I wanted to try it in a one color version.
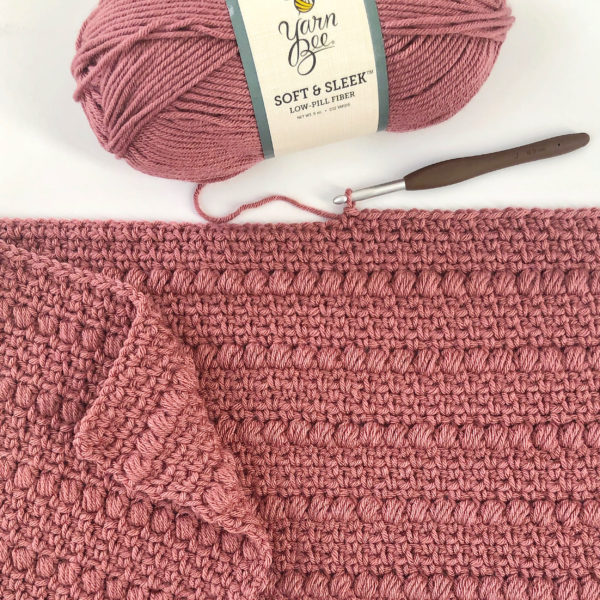
I love this pattern because it is essentially all made with the moss stitch, but every sixth row I replaced the single crochets with a puff stitch.
I’d never used this Yarn Bee Soft and Sleek yarn before.
I thought it was really easy to work with and I love how it worked up nicely into a soft and squishy baby blanket!
POST UPDATE:
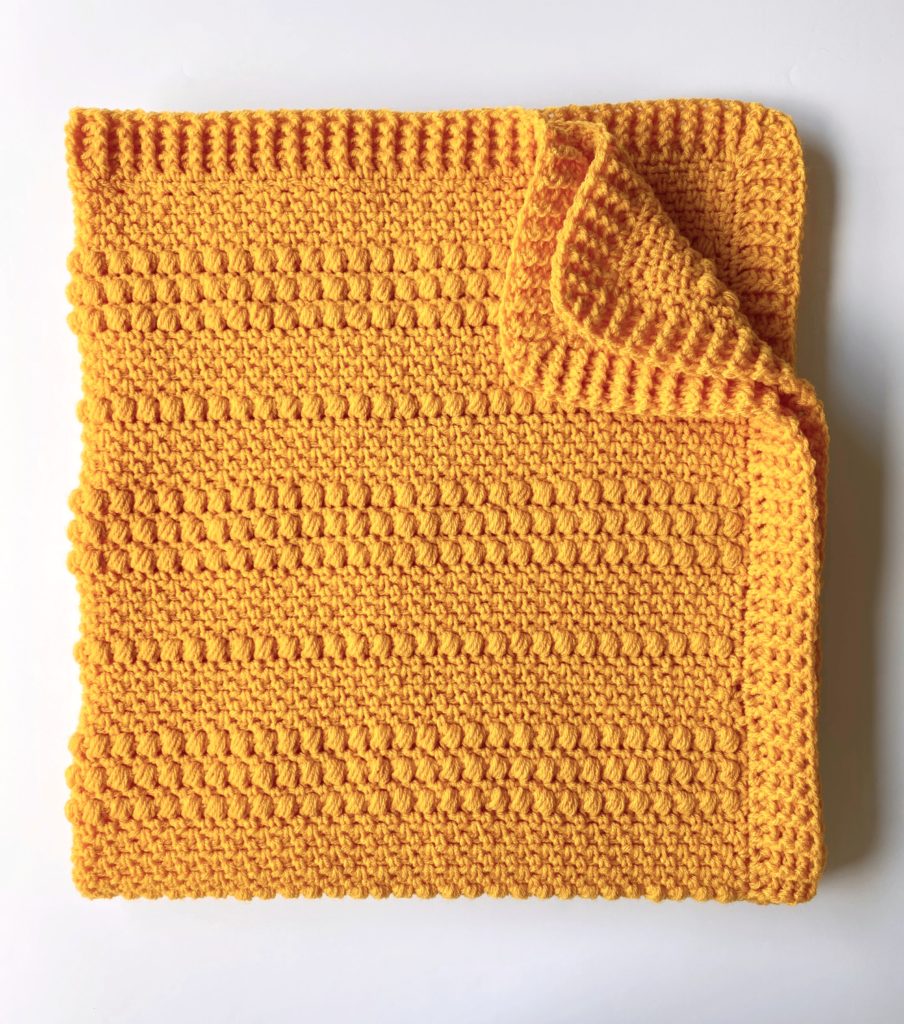
I’ve also now made another version of this blanket in gold with thicker puff stripes if you are interested.
Tap here for the Gold Puffs Baby Blanket pattern
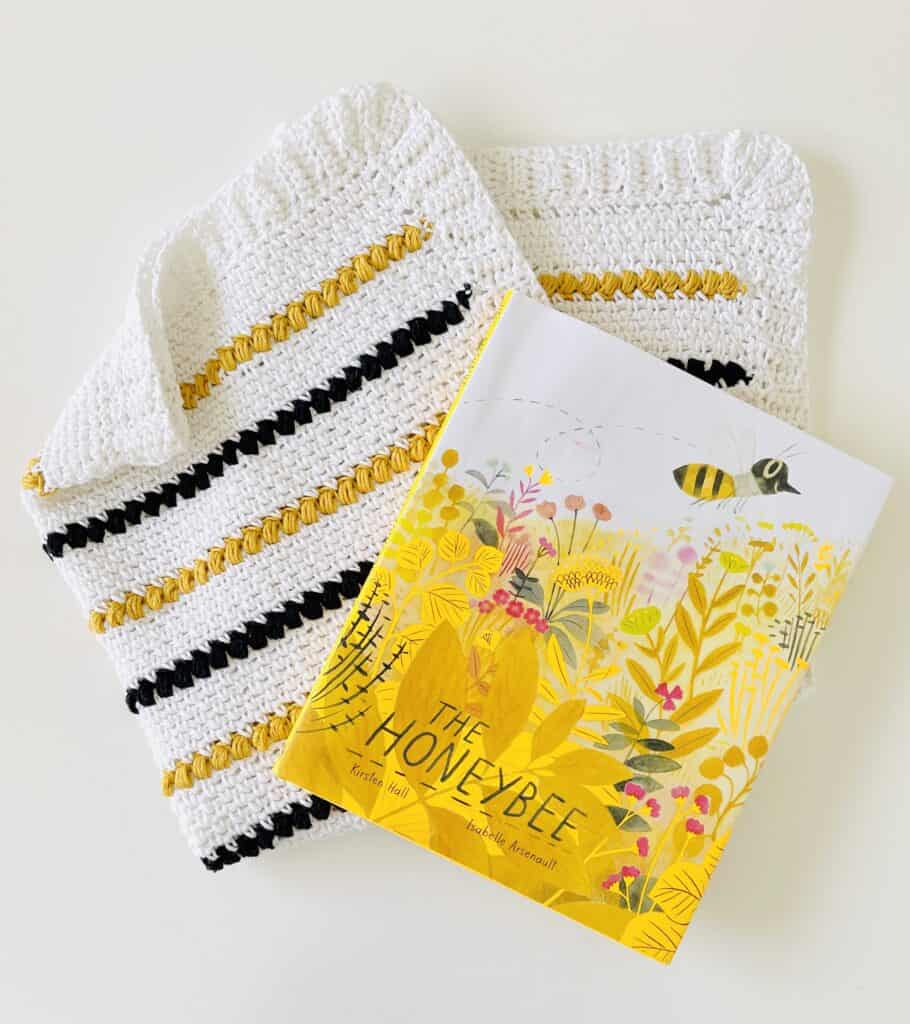
And I’ve also made one to go with a Bumble Bee book as a gift for my friend.
This one resembles my very first idea of having the stripes different colors.
tap here for the Bumble Bee Stripes Baby Blanket
I think you can tell I absolutely love this pattern!
Here is a video made by my awesome mom if you want to see how to work the stitches for this blanket before you get started!
Tap here or on the YouTube play button for the video tutorial
We also have a free printable pdf at the end of this post so be sure and scroll to the end to find it.
Now let’s get started with the pattern.
Materials
Yarn Bee Soft and Sleek (100% acrylic, 5 oz, 232 yds)
5 skeins Mauve
Size J/6.00mm hook, tapestry needle, scissors
Size
Finished size 30 in x 36 in (including tassels)
Stitches
Single Crochet (SC): Insert your hook, yarn over (YO) and pull up a loop, then YO and pull through two loops.
Puff Stitch: *YO, insert your hook, YO and pull up a loop. Repeat from * 3 more times, inserting your hook into the same space. YO and pull through all loops.
Pattern
Chain 120 (or any even number.)
ROW 1: Starting in the 4th chain from the hook, work a SC, CH 1. Skip the next chain then work another SC, CH 1. Continue working SC, CH 1 in every other chain. You should end with one SC in the last chain. CH 2 and turn.
ROW 2: Work a SC, CH 1 into the chain one space of the row below (in the space underneath the 4th chain from the hook). Skip the next stitch, then work a SC, CH 1 in the next chain one space. Continue working SC, CH 1 into the all the chain one spaces from the row below. End with a SC that is between the last stitch and the turning chain of the row below. Chain 2 and turn.
ROWS 3 – 5: Repeat row 2 (moss stitch).
ROW 6: Work this row in the same way you worked the previous rows, but replace each SC with a puff stitch. In other words, work a puff stitch into the chain one space of the row below (the same place where you would normally work your SC), then chain 1. Then work a puff stitch, CH 1 into the next chain one space. Continue working puff stitch, CH 1 into the all the chain one spaces from the row below, except when you reach the very last space – end with a SC that is between the last stitch and the turning chain of the row below. Chain 2 and turn.
Repeat rows 1 through 6 until you reach your desired length, then end with 5 rows of moss stitch to match the opposite end of the blanket. You should always have 5 rows of moss stitch in between each puffs row and you should always chain 2 and turn at the end of each row. I had enough yarn to have 16 puff rows total.
Also, when you are working the row right after the puff row, it can be kind of tricky to see where to insert your hook, but just remember to treat those puffs as if they were single crochets and to insert your hook into the chain one spaces on either side of them, just like the regular moss stitch.
Border and Tassels
When I finished the last five rows of moss stitch of my blanket, I worked one round of moss stitch (SC, chain one, skip one) around the outside of the blanket, working 3 SCs into each corner. Then when I reached the corner I started with, I slip stitched into the corner and tied off.
For the tassels, you can wrap your yarn around a notebook several times then cut it in half to make strands that are the same length, or just use measuring tape to cut several 9 to 10 inch strands.
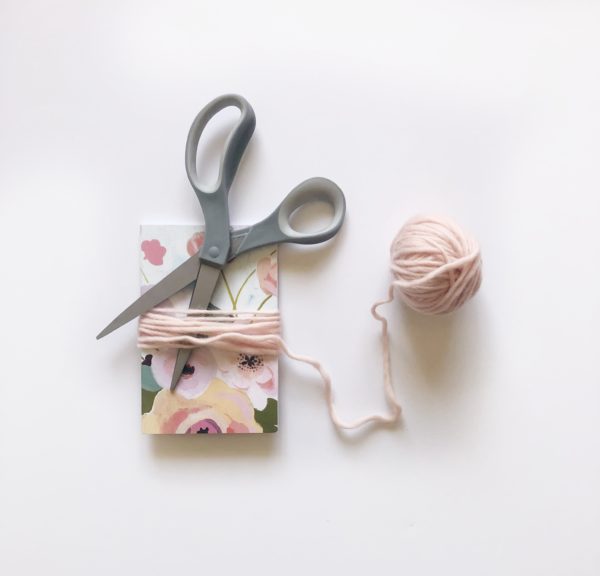
Take two to three pieces of yarn (or however many you want) and fold them in half. Insert the folded end into the chain space above your border row.
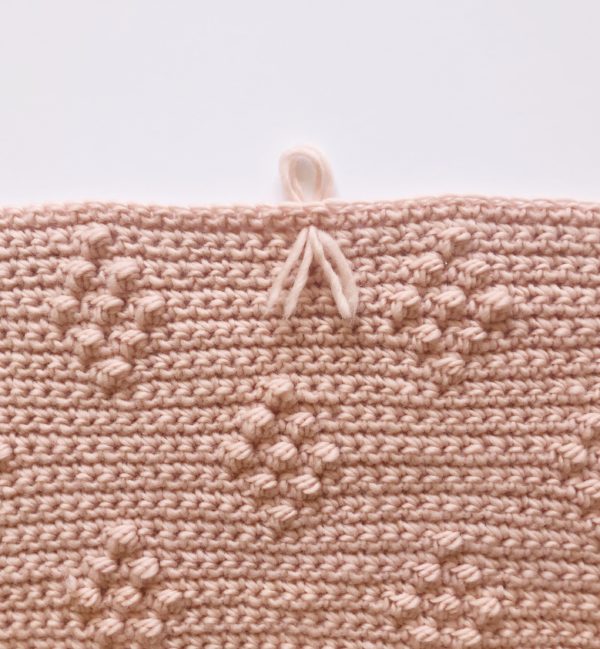
Pull the ends through the loop…
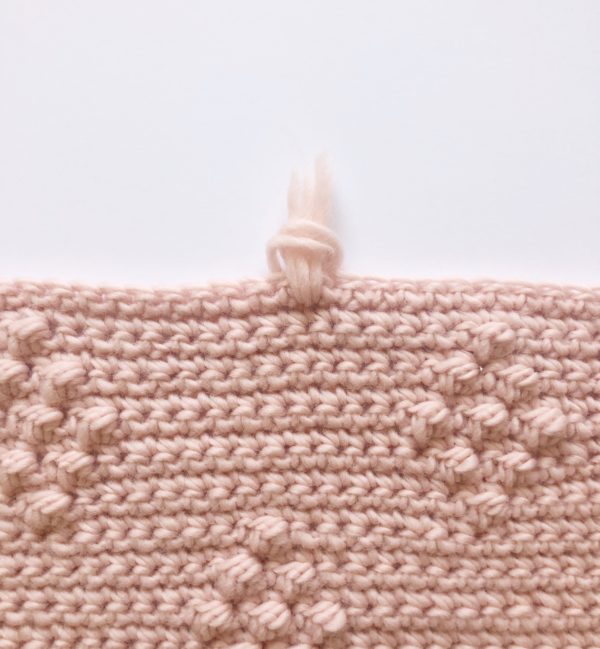
And pull tight to make a knot.
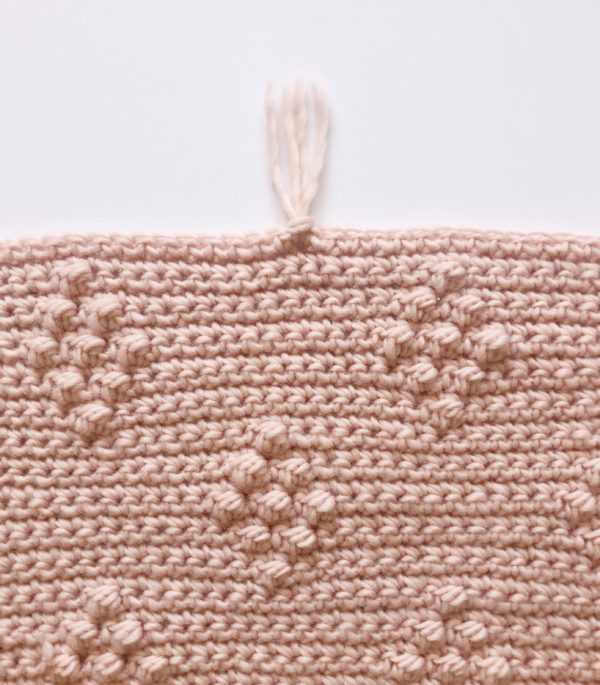
And that’s it! You can space them out however you wish, make them as thick or as thin as you like, and trim them to be however long you like (mine are about 3 inches long).
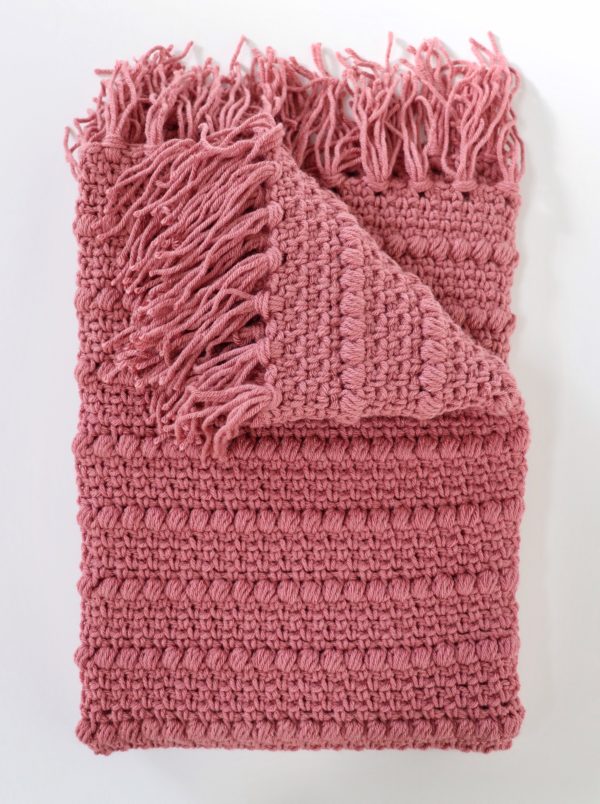
Thank you so much for coming to read this pattern; I hope you enjoy making this blanket!
When you’re finished, please come share a picture with us on Facebook or Instagram, we’d love to see!
xo, Hannah
Click here or on image below for printable pattern
Crochet Boho Puff Stripes Blanket
Materials
- 5 (5oz) balls of Yarn Bee Soft and Sleek in Mauve (size 4 acrylic yarn)
- Size J, 6mm hook
- Tapestry Needle
- Scissors
- Measuring Tape
- Finished size 30 x 36 inches (including tassels)
Instructions
Chain 120 (or any even number).
ROW 1: Starting in the 4th chain from the hook, work a SC, CH 1. Skip the next chain then work another SC, CH 1. Continue working SC, CH 1 in every other chain. You should end with one SC in the last chain. CH 2 and turn.
ROW 2: Work a SC, CH 1 into the chain one space of the row below (in the space underneath the 4th chain from the hook). Skip the next stitch, then work a SC, CH 1 in the next chain one space. Continue working SC, CH 1 into the all the chain one spaces from the row below. End with a SC that is between the last stitch and the turning chain of the row below. Chain 2 and turn.
ROWS 3 - 5: Repeat row 2 (moss stitch).
ROW 6: Work this row in the same way you worked the previous rows, but replace each SC with a puff stitch. In other words, work a puff stitch into the chain one space of the row below (the same place where you would normally work your SC), then chain 1. Then work a puff stitch, CH 1 into the next chain one space. Continue working puff stitch, CH 1 into the all the chain one spaces from the row below, except when you reach the very last space - end with a SC that is between the last stitch and the turning chain of the row below. Chain 2 and turn.
Repeat rows 1 through 6 until you reach your desired length, then end with 5 rows of moss stitch to match the opposite end of the blanket. You should always have 5 rows of moss stitch in between each puffs row and you should always chain 2 and turn at the end of each row. I had enough yarn to have 16 puff rows total.
Also, when you are working the row right after the puff row, it can be kind of tricky to see where to insert your hook, but just remember to treat those puffs as if they were single crochets and to insert your hook into the chain one spaces on either side of them, just like the regular moss stitch.
BORDER & TASSELS
When I finished the last five rows of moss stitch of my blanket, I worked one round of moss stitch (SC, chain one, skip one) around the outside of the blanket, working 3 SCs into each corner. Then when I reached the corner I started with, I slip stitched into the corner and tied off.
For the tassels, you can wrap your yarn around a notebook several times then cut it in half to make strands that are the same length, or just use measuring tape to cut several 9 to 10 inch pieces.
Take two to three pieces of yarn (or however many you want) and fold them in half. Insert the folded end into the chain space above your border row. Pull the ends through the loop…And pull tight to make a knot. And that’s it! You can space them out however you wish, make them as thick or as thin as you like, and trim them to be however long you like (mine are about 3 inches long).

