Post Update!
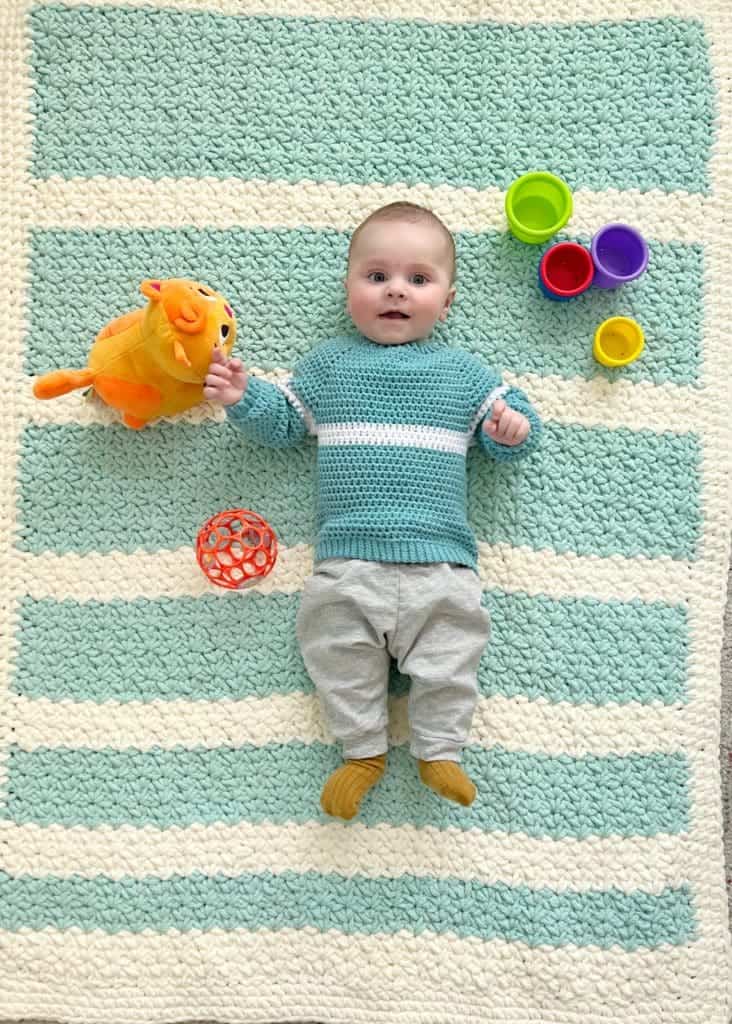
Baby James is enjoying the Bernat Blanket Sparkle Throw! It’s so fun to see the blankets and throws I made in hopes of being a grandma someday put to use.
Blanket yarn is squishy and soft. It works up very fast too. I think these make nice gifts for new moms, and we have enjoyed having a blanket to set the baby on to practice rolling over and tummy time.
Pattern with a free printable pdf is at the end of the post.
XO, Tiffany
P.S. The baby sweater James is wearing is a pattern coming soon!
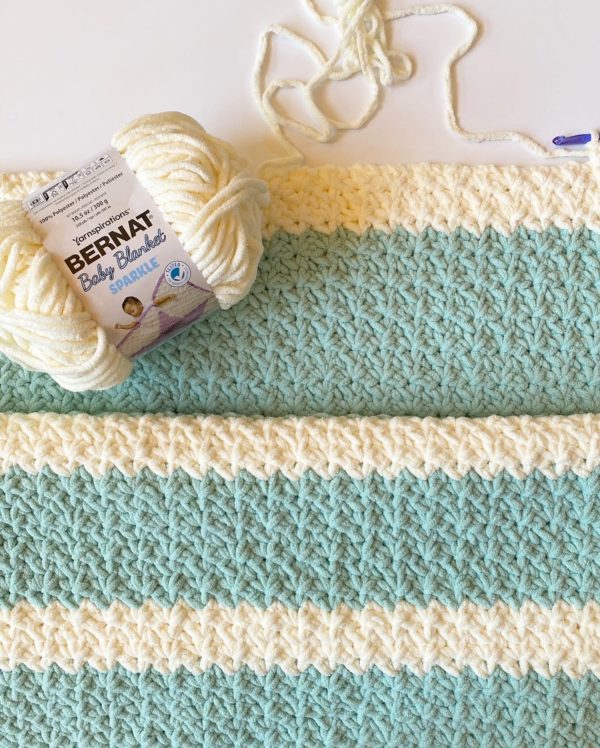
*Yarnspirations has sent us a new line of blanket yarn to try called Bernat Baby Blanket Sparkle!
It works up just like regular blanket yarn but has just a bit of sparkle to make this new yarn so fun for baby and kids.
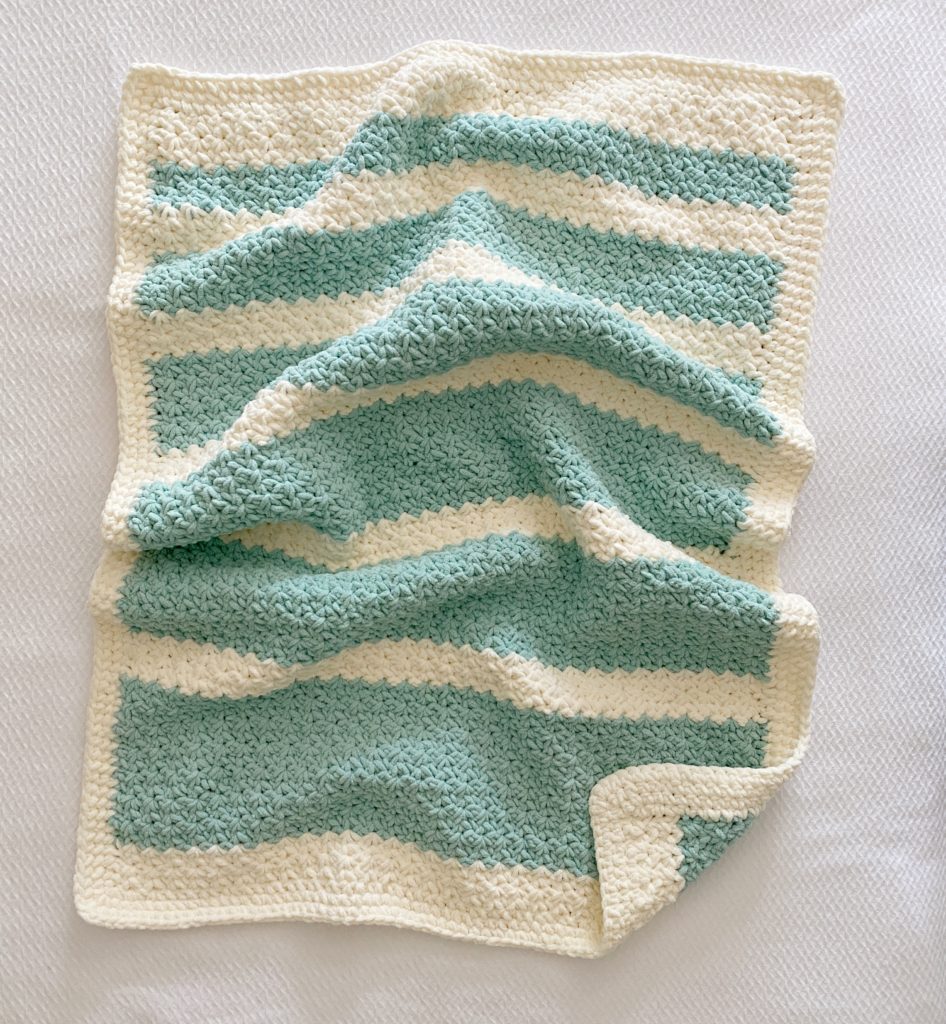
It’s soft and squishy and crochets up so fast. I used a size M-9mm hook and finished this blanket in about 8 hours total. (I worked just about 2 hours a day.)
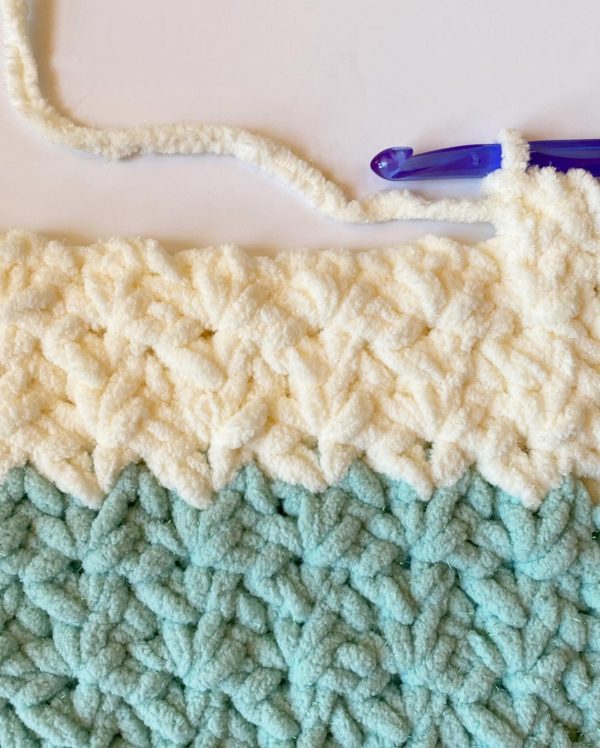
It’s hard to see in the photo above the bits of sparkle nestled into the yarn, but it’s there, I promise.
I decided to use the spider stitch, which is a combo of SC, CH 1, SC, to test this yarn. I love the stitch definition of that combo and hoped that it would still be just as beautiful in blanket yarn.
Materials
Bernat Baby Blanket Sparkle (100% polyester, 300 g/10.5 oz, 201 m/220 yds) tap name of yarn to see on Yarnspirations.com.
2 skeins Seafoam, 2 skeins Moonlight
Size M/9mm hook, scissors, large eye tapestry needle
Size
Finished child’s size throw 36 in x 52 in
Gauge 4 in = 8 st and 7 rows of pattern
Stitches
Single Crochet (SC): Insert hook into stitch, yarn over and pull a loop back through, yarn over and pull through two loops on hook.
Pattern
Chain 67 (or any ODD number if you’d like to adjust the size) with cream (Moonlight).
Row 1: Work “1 SC, CH 1, 1 SC” in the third chain from the hook. *Skip one chain. Work “SC, CH 1, SC” in the next chain. Repeat from * across the row until 2 chains remain. Skip one chain, SC into the final chain. CH 2 and turn.
Row 2: Work “1 SC, CH 1, 1 SC” into the first chain space that is in between the first set of SC, CH, SC of the row below. *Skip 2 stitches, work “1 SC, CH 1, 1 SC,” into the next ch space. Repeat from * across the row. Work 1 SC into the top of the turning chain, CH 2 and turn.
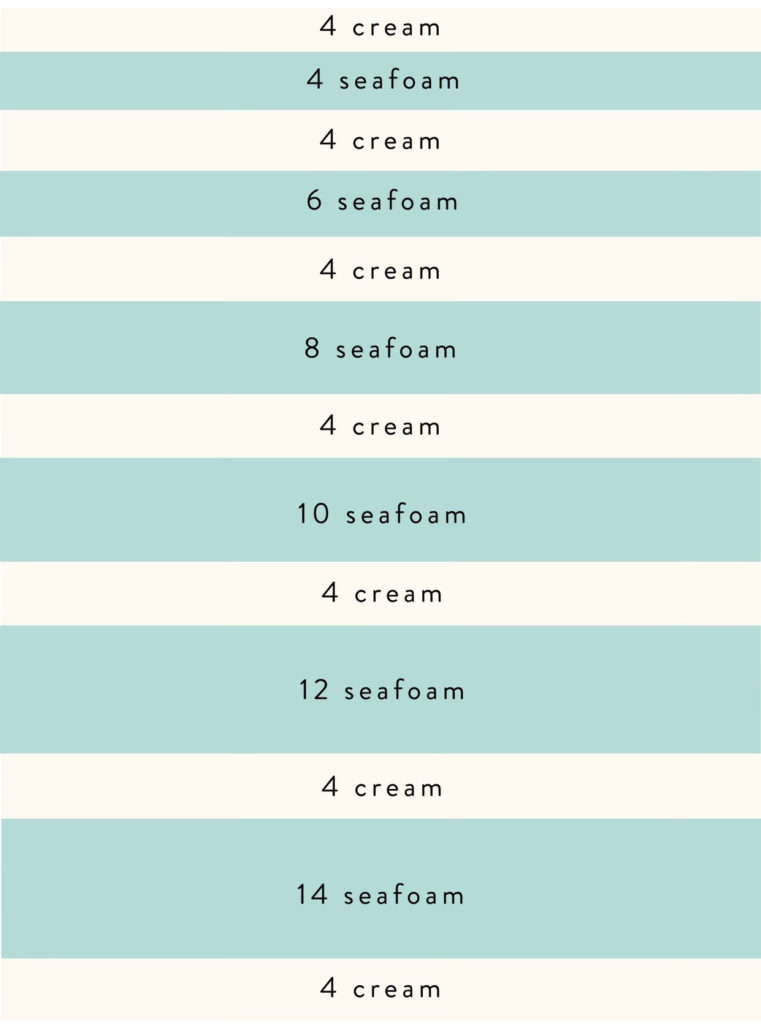
Repeat row 2 instructions for the remaining blanket, following the color changes according to the chart below:
(i.e. 4 rows cream, 4 rows seafoam, etc..)
Border
Before beginning the border, tie off and weave in all the ends.
Round 1: Pull up a loop in any corner, chain 1 and SC into that same space. Work 1 SC into each stitch as evenly as possible. (Generally 1 SC per the end of each row for the sides of the blanket.) Work 3 SC into each corner. Join with a slip stitch to the starting SC. CH 1, do not turn.
Round 2: Work 1 SC into each SC around, working 3 SC into the middle stitch in each corner. Join with a slip stitch to the starting SC, chain 1 and do not turn.
Repeat round 2 two or three more times. Join with a slip stitch at the final round, tie off and weave in all ends.
Thank you so much for stopping by! Come and show us your finished blanket in our Daisy Farm Crafters Group or use the hashtag #daisyfarmcrafts on your public posts, we share every Sunday into our stories.
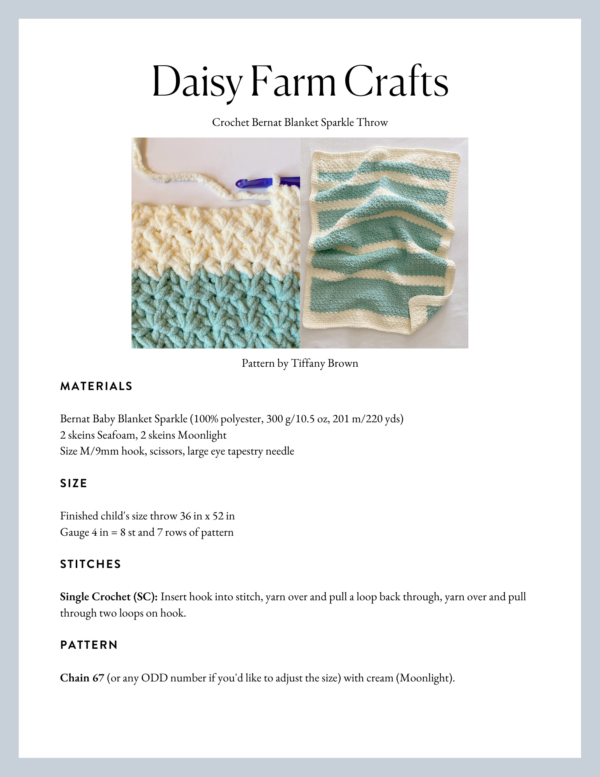
Click here or on image below for printable pattern
*Stitch Ambassadors for Yarnspirations; yarn has been provided by them.

