I have a super quick and easy hat pattern for you that you can use any yarn you’d like. However, the yarn I used is the new line from Red Heart called Heat Wave. Our sponsors at Yarnspirations sent us this yarn to try out and experiment with. It’s supposed to heat up when you go out into the sun.
Now, I live in Arizona, so we are sunny all the time, and when I tried this, the hat definitely heated up to even toasty-ier temps! I’ll be curious to hear back from you all that live in cold climates.
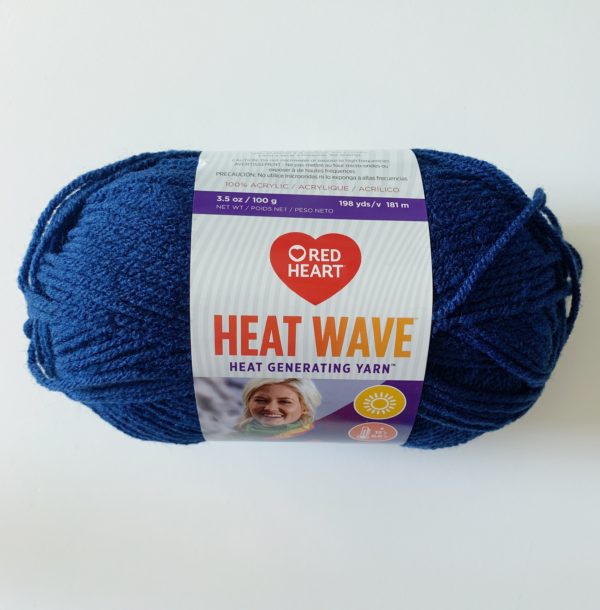
From the website: “Heat Wave is a revolutionary yarn that is activated by sunlight, even on a cloudy day, to keep you up to 12°F warmer.”
Sounds pretty awesome! Here’s what I did to make the hat.
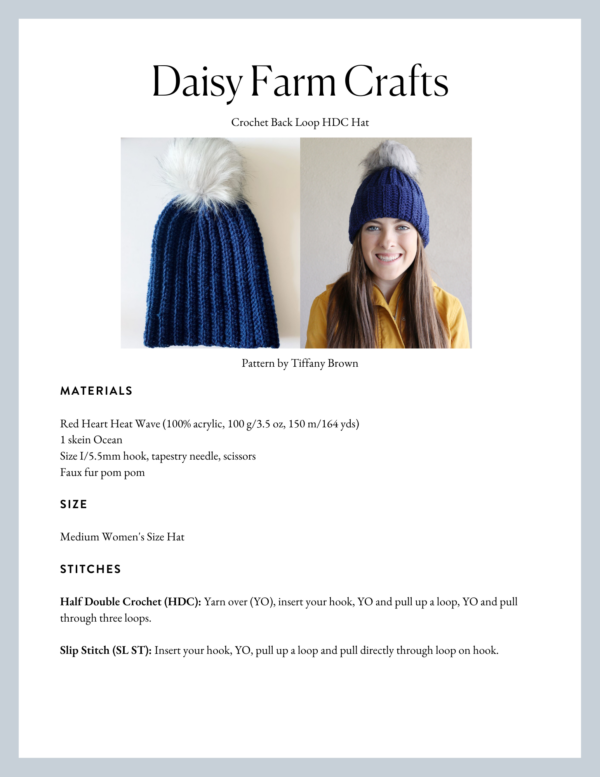
Materials
Red Heart Heat Wave (100% acrylic, 100 g/3.5 oz, 150 m/164 yds)
1 skein Ocean
Size I/5.5mm hook, tapestry needle, scissors
Faux fur pom pom
Size
Medium Women’s Size Hat
Stitches
Half Double Crochet (HDC): Yarn over (YO), insert your hook, YO and pull up a loop, YO and pull through three loops.
Slip Stitch (SL ST): Insert your hook, YO, pull up a loop and pull directly through loop on hook.
Pattern
There isn’t a pattern repeat. The best starting chain is one that is measured from the tip of your nose to the crown of your head. Or, measure that of the person you are making it for.
Chain 40. (This was my measurement.)
Row 1: In the 3rd chain from the hook, work 1 HDC. Work 1 HDC into each stitch across stopping 3 chains from the end. Work slip stitch into each of the last 3 chains. Chain 1 and turn.
Row 2: Work 1 slip stitch into the back loop of each of the next 3 stitches. Work 1 HDC into the back loop of each of the remaining stitches. Chain 2 and turn.
Row 3: Work 1 HDC into the back loop of each HDC across the row, work 1 slip stitch into the back loop of each of the remaining 3 sts. Ch 1 and turn.
Repeat rows 2 and 3 until your hat is approximately 17.5 inches wide. Or if you have a larger head work a few more rows.
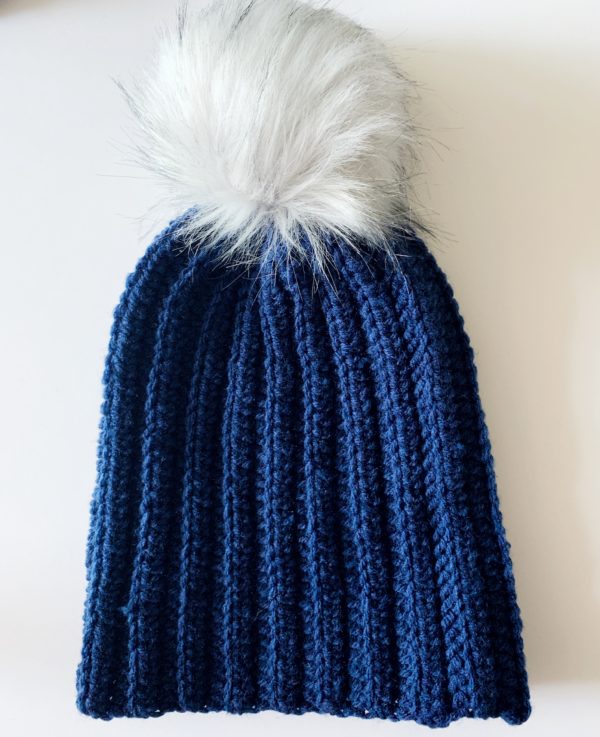
Your hat should look like this:
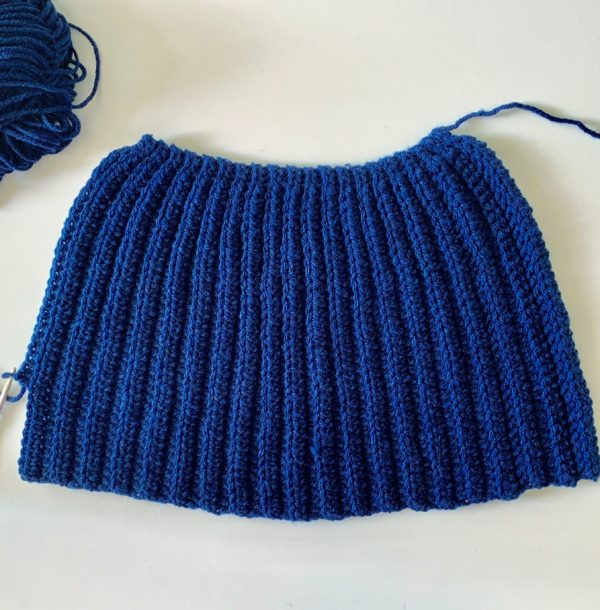
To finish:
Slip stitch the sides together and then weave in the ends tightening the top of the hat to gather it in further with one of the ends.
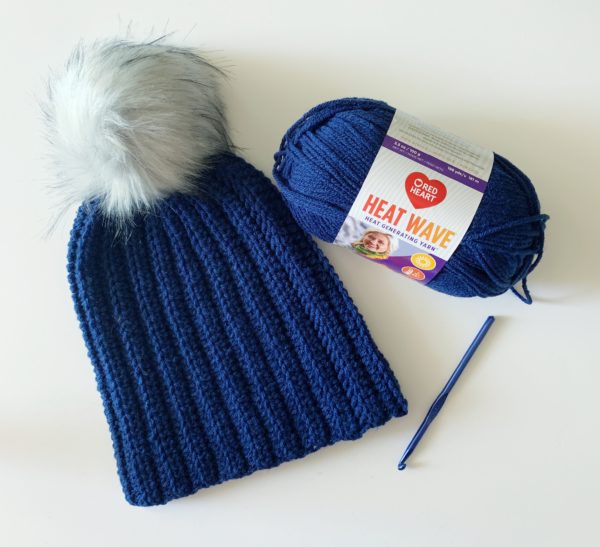
Attach a pom pom. Finished!
I love making easy peasy hats! You could make your starting chain even longer so you have a nice brim to fold up.

Thank you again to our sponsors in 2019 Yarnspirations.com for letting us try out this yarn! It has amazing stitch definition and worked up really well. I hope it keeps you warmer this winter.
xo, Tiffany
Click here or on image below for printable pattern