This pattern is now available as a free PDF pattern download from Yarnspirations – click here to see!
Hi there! It’s Hannah. A few months ago my mom started experimenting with the Catherine’s Wheel Stitch and as she started playing with different variations and modifications we had a hard time deciding which version we liked best, so we decided to just make them all :).
This is the first blanket my mom made that we called the Modified Catherine’s Wheel because she added some extra rows of DC in between the wheel rows:
Then she made the Catherine’s Wheel Waves Blanket, which has some extra rows of SC:
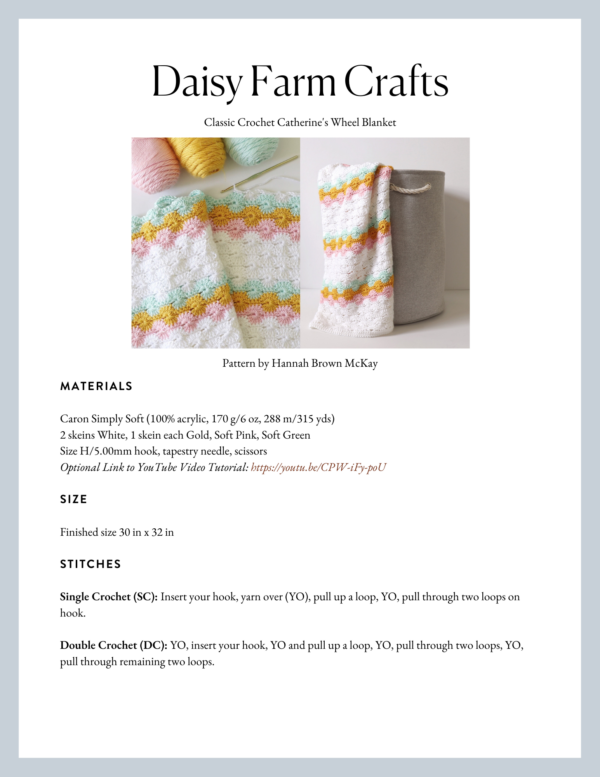
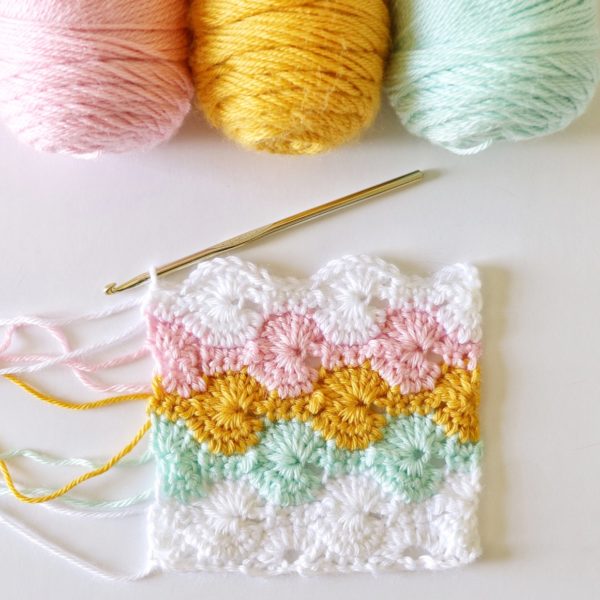
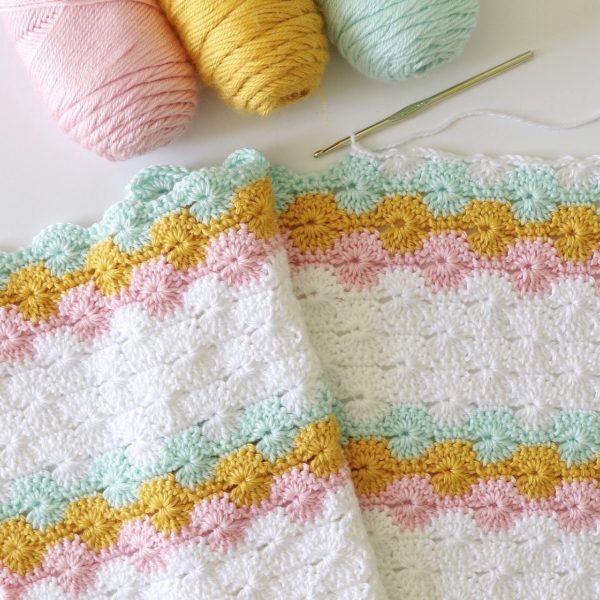
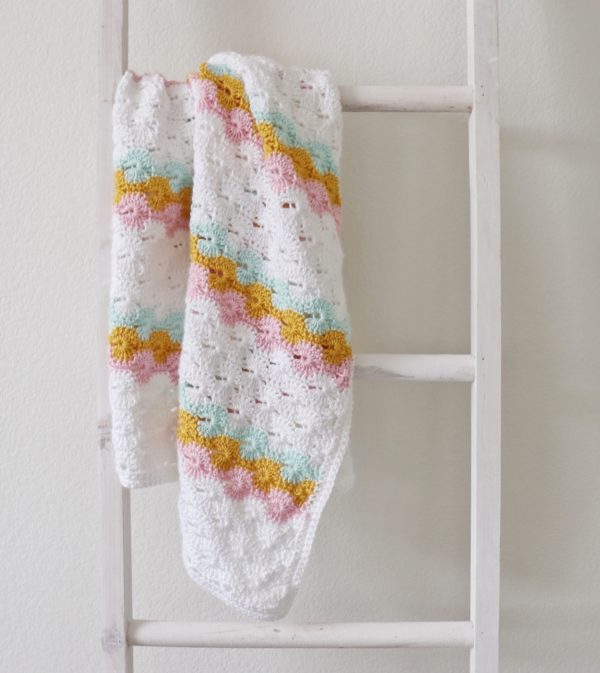
I decided to be the one to make the Classic Catherine’s Wheel blanket, and I have to say that this blanket really stretched my crochet skills. I’m kind of a lazy crocheter and I like patterns that don’t require a ton of concentration or counting so that I can crochet while listening to a book or watching a movie, but it was good for me to take some time to learn this new stitch, and I did start to memorize the pattern a little bit once I was farther into the blanket.
The written instructions for the pattern are below, but if you’ve never seen this stitch before, I’d strongly recommend watching the video below. We’ve done our best to explain things in the written pattern, but sometimes it’s hard to explain exactly where you need to insert your hook at the beginning and the end of the rows.
*Please note in Row 2, my mom forgot to ch 3 before working the first set of DC7tog. Follow the pattern along with the video, the written pattern is correct, you’ll see where she misses making the 3 chains when you watch the video.
Also, once you get started on the blanket, one thing that helped me was to have the Catherine’s Wheel Stitch page or the Daisy Farm Stitches Instagram open on my phone while I worked, so I could quickly scroll through the picture of each row and just have a little cheat sheet to remind me which row I was on – I included the pictures in this pattern as well so you can quickly reference them while you work!
Materials
Caron Simply Soft (100% acrylic, 170 g/6 oz, 288 m/315 yds)
2 skeins White, 1 skein each Gold, Soft Pink, Soft Green
Size H/5.00mm hook, tapestry needle, scissors
Size
Finished size 30 in x 32 in
Stitches
Single Crochet (SC): Insert your hook, yarn over (YO), pull up a loop, YO, pull through two loops on hook.
Double Crochet (DC): YO, insert your hook, YO and pull up a loop, YO, pull through two loops, YO, pull through remaining two loops.
Pattern
(Pattern repeat is 10 + 6 + 1. That means you can make a chain any multiple of 10, then add 6, then add one for the turning chain.)
Chain 137 in White.
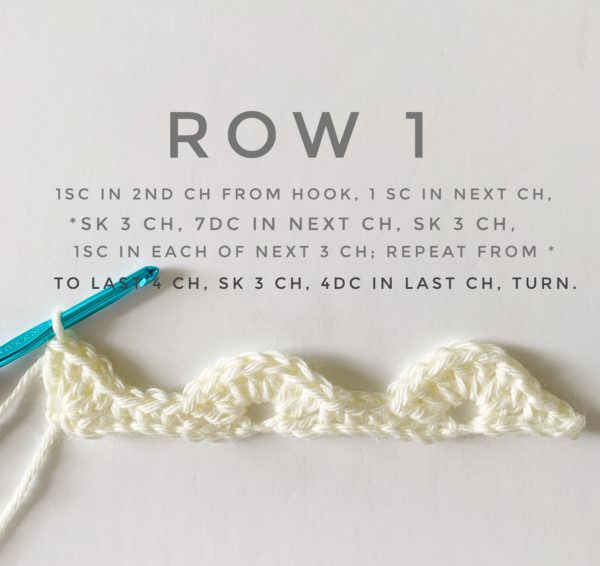
ROW 1: Work 1 SC in the 2nd chain from the hook. Work 1 SC into the next chain. *Skip over 3 chains, work 7 DC in the next chain. Skip 3 chains, 1 SC into each of the next 3 chains. Repeat from the * to the last 4 chains. Skip over 3 of them and work 4 DC into the very last chain on the row. Turn.
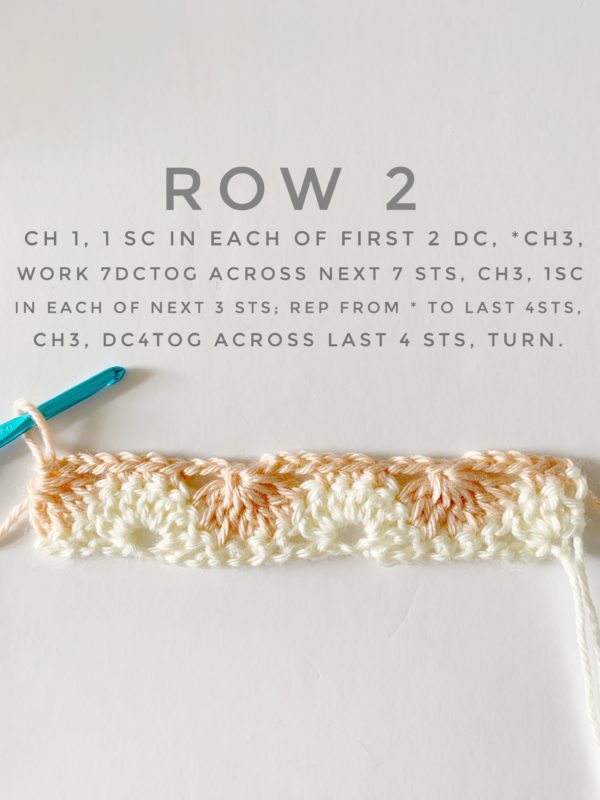
ROW 2: CH 1, 1 SC into each of the first two DC. *CH 3, work 7 double crochet together across the next 7 stitches.
(7DCtog= YO, insert your hook, YO and pull through, YO and pull through 2 loops on hook, *YO and insert your hook into the next stitch, YO and pull through, YO and pull through 2 loops on hook. Repeat from * 5 more times. When you have 8 loops on your hook, YO and pull through them all.)
CH 3, 1 SC in each of the next 3 stitches, Repeat from * to last 4 stitches. CH 3, DC4tog across last 4 stitches. Turn.
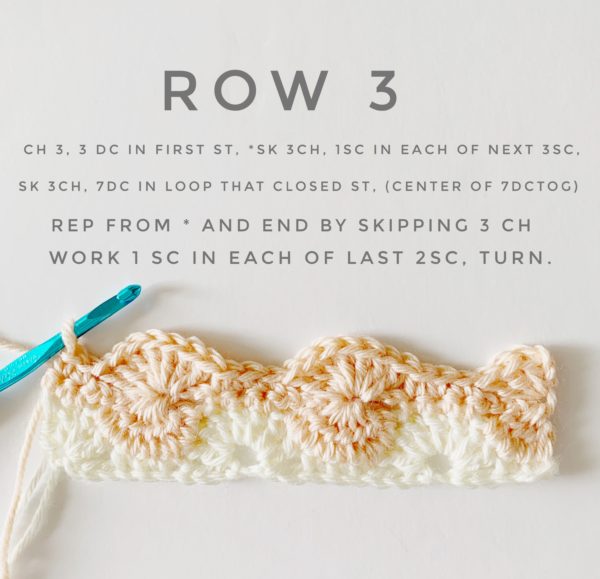
ROW 3: CH 3, 3 DC in first stitch. *Skip 3 chains, 1 SC in each of the next 3 SC. SK 3 chains, 7 DC in the loop that closed the 7DCtog, Repeat from * and end by skipping 3 chains, work 1 SC in each of the last 2 SC. Turn.
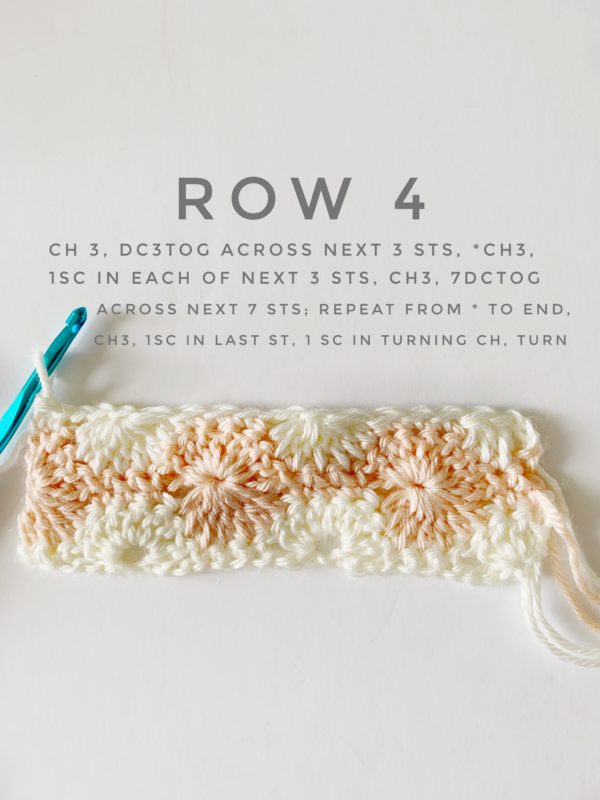
ROW 4: CH 3, DC3tog across the next 3 stitches, *CH 3, 1 SC in each of the next 3 stitches, CH 3, 7DCtog across the next 7 stitches, repeat from * to the ending 2 stitches. CH 3, 1 SC in last stitch, 1 SC in the top of the turning chain. Turn.
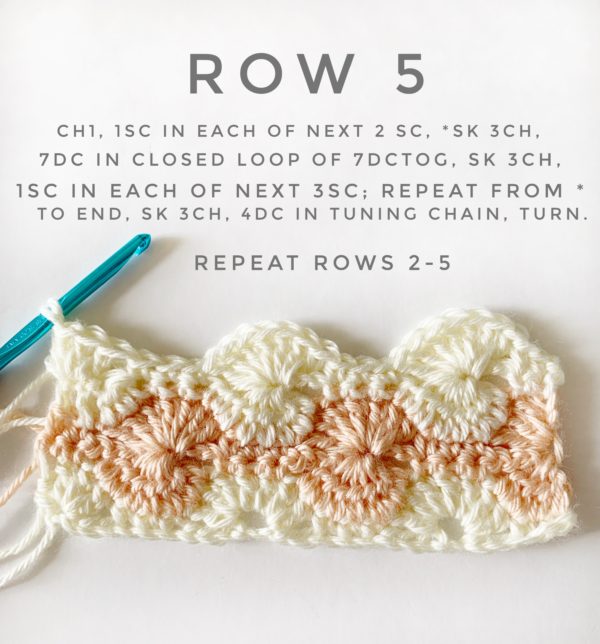
ROW 5: CH 1, 1 SC in each of the next 2 SC. *Skip 3 chains, 7 DC in closed loop of the 7DCtog. Skip 3 chains, 1 SC in each of the next 3 SC. Repeat from * to the end, skip over the last 3 chains and work 4DC into the top of the turning chain from the row below. Turn.
Repeat rows 2 – 5 for the pattern to continue. And, change colors however you wish!
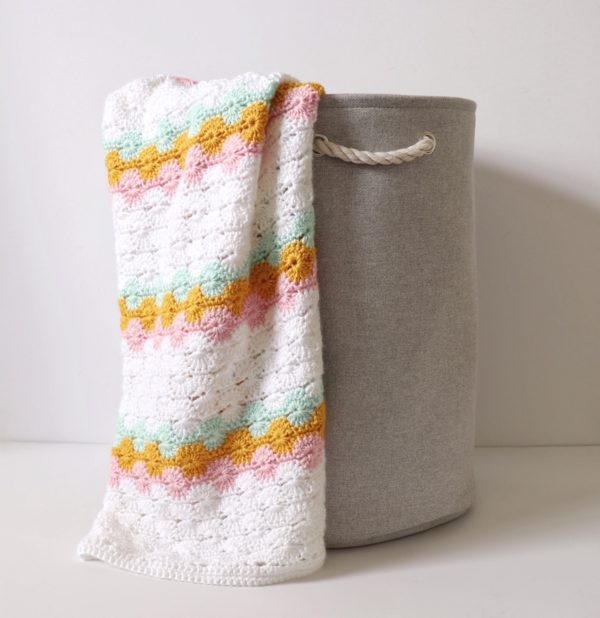
For my blanket, I worked 9 rows of White, then two rows each of Soft Pink, Gold, and Soft Green. Then I worked *8 rows of White, then two rows of each of the colors again, then repeated from * three more times. Then I ended the blanket with 9 rows of White to match the beginning.
Border
After I wove in all my ends with a tapestry needle, I added a simple SC border around the edge of the blanket.
To do this, pull up a loop in any corner with White and chain 1. *Then SC around the edge of the blanket, working 3 SCs into each corner. When you reach the corner you started with, slip stitch into the corner, then chain 1 and turn.
Repeat from * two more times or until you reach your desired border thickness. When you get back to the corner you started with, slip stitch into the corner and tie off.
After I finished my border, I laid my blanket out flat and used a spray bottle to get it wet and spread it out evenly. Then I let it dry overnight.
Thank you so much for coming to read this pattern, I hope you enjoy making this blanket! If this is your first visit to our blog, welcome! My mom and I are not professional crocheters (as you can probably tell), but we love to share the patterns for the projects we are working on!
My husband and I have been dealing with infertility for several years and we hope that one day one of these crochet blankets will be for our own little one, but until then, it feels so good to know that there are lots of other babies being welcomed into the world with a blanket made from one of our patterns :).
After you finished your blanket, please come share a picture with us on Facebook or Instagram using #daisyfarmcrafts, we’d love to see!
xo, Hannah
Click here or on image below for printable pattern