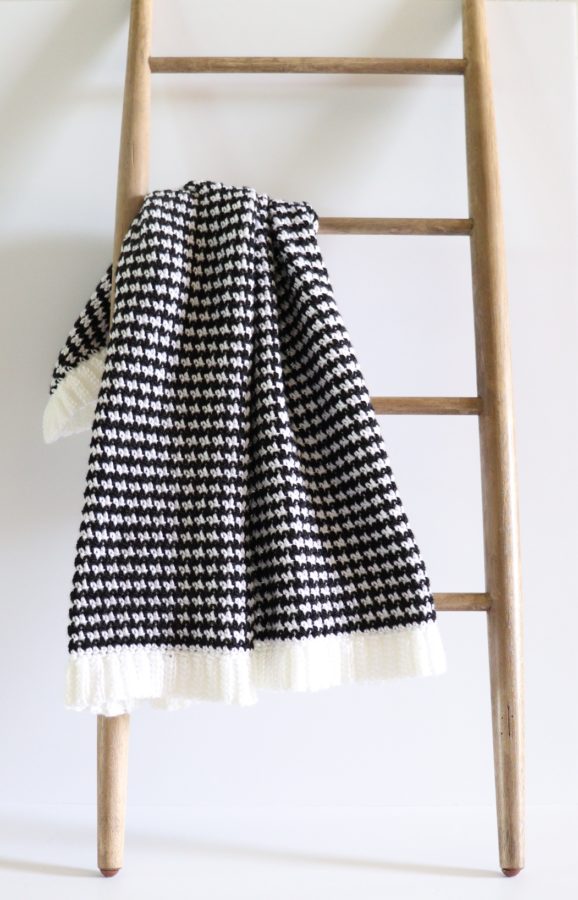
Is this blanket gorgeous or what?
One of our lovely followers used a blanket and border pattern all found on the Daisy Farm Crafts site and recreated it into her own design. (And then shared it to our Facebook Page with us so we could see.)
And I instantly fell in love!
Thank you so much to BettyAnn Reed. She is a follower of our Facebook Page and a member of the Daisy Farm Crafter Group and shared this photo a few weeks ago:
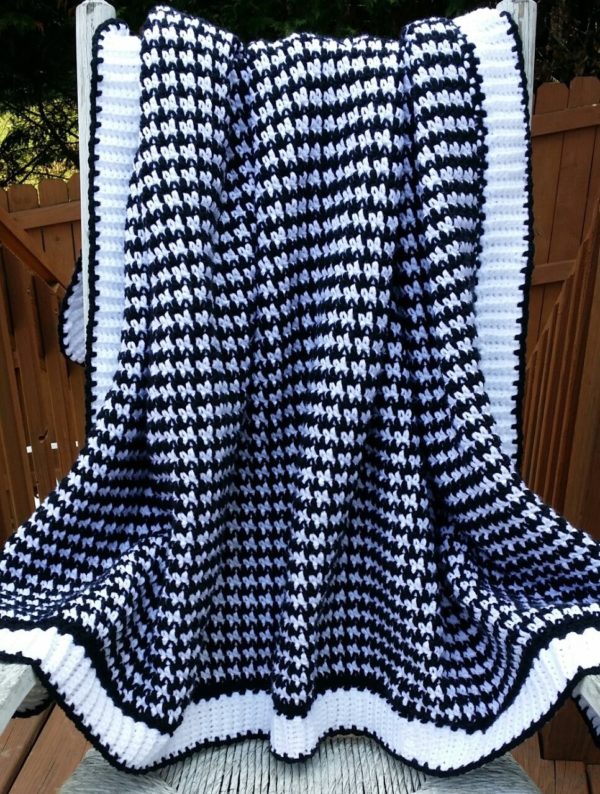
How could I not fall head over heels in love with her blanket? I couldn’t help myself.
Many other people fell in love as well. Her blanket had over 500 likes on our Facebook page,with a lot of comments asking her for the pattern and how she made this beauty!
It turns out she used the Griddle Stitch Gingham Pattern with the border from the Red Buffalo Check Blanket. But, she modified the gingham pattern by only carrying yarn along the row when you are not using it. So basically one row is made with black and you carry the white, and the next row is white and you carry the black.
So clever BettyAnn!
I messaged her to ask her if it was okay for me to make the blanket and then share this combined design of Daisy Farm patterns here on the website so everyone can learn how to make this version of a Griddle Stitch Blanket and she said absolutely yes!
Then Hannah and I decided that the best name for this blanket was the BettyAnn Sweater Blanket. It’s perfect, don’t you think?
I’m so excited to add a blanket like this to my collection of “hopeful to be a grandma someday” blankets. I can’t stop looking at the beauty of it. It’s absolutely stunning.
It means so much to me though and a symbol of this beautiful crochet community. I never in a million years would have dreamed that I’d be reaching out to so many across the whole wide world with crochet patterns. Yet, here we are, and because I wrote a griddle stitch gingham, and a border on the red buffalo, it inspired BettyAnn to create this gorgeous blanket that I am now adding to my collection and I feel connected to BettyAnn.
She told me that she hadn’t crocheted in years, but saw my purple gingham blanket and it inspired her to get out her hooks and give it a try. And now look at what she is inspiring me add to my collection. I just love it.
You all are so inspiring to me, and humble me to the core everyday. Enjoy this pattern, because I sure did. I loved making it every step of the way.
xo, Tiffany
Materials
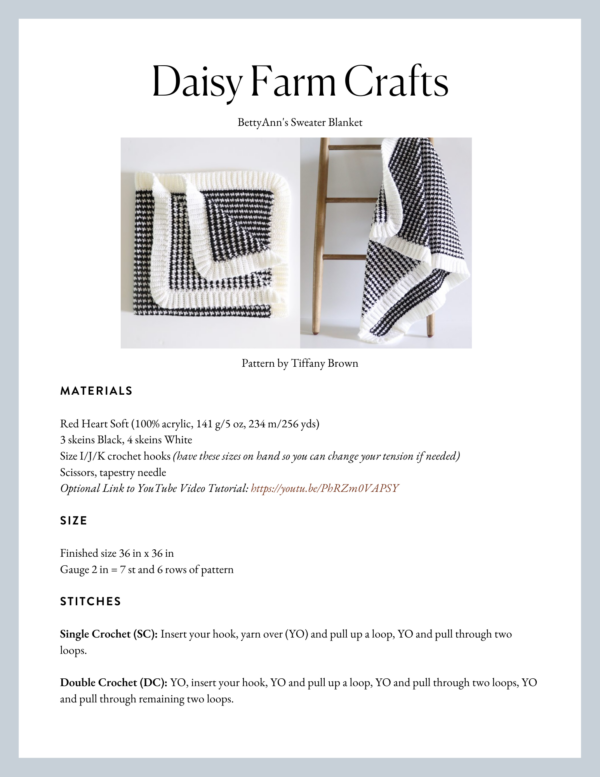
Red Heart Soft (100% acrylic, 141 g/5 oz, 234 m/256 yds)
3 skeins Black, 4 skeins White
Size I/J/K crochet hooks (have these sizes on hand so when you do a swatch you can change your tension if needed)
Scissors, tapestry needle
Size
Finished size 36 in x 36 in
Gauge 2 in = 7 st and 6 rows of pattern
Stitches
Single Crochet (SC): Insert your hook, yarn over (YO) and pull up a loop, YO and pull through two loops.
Double Crochet (DC): YO, insert your hook, YO and pull up a loop, YO and pull through two loops, YO and pull through remaining two loops.
Half Double Crochet (HDC): YO, insert your hook, YO and pull up a loop, YO and pull through three loops.
Pattern
Chain 111 with Black and with hook size needed to obtain gauge. (I used J. Any odd number will work if you want to make the blanket larger or smaller.)
ROW 1: In the second chain from hook, *work one single crochet (SC.) In the next stitch, work one double crochet (DC.) Alternate from * in each chain space. The last stitch you make should be a DC. Pull through with white on last stitch. Chain one and turn.
(I switched to the K size hook when I started carrying the yarn)
ROW 2: With White, work as row 1, carrying the black yarn along the row with you and crocheting over it. (Note, single crochets will work into the tops of the double crochets, and double crochets into the tops of single crochets.) Pull through with Black on the last stitch. Chain one and turn.
Until blanket measures approximately 34 inches, repeat rows 1 and 2. End with one row of Black. Tie off and weave in ends.
Border
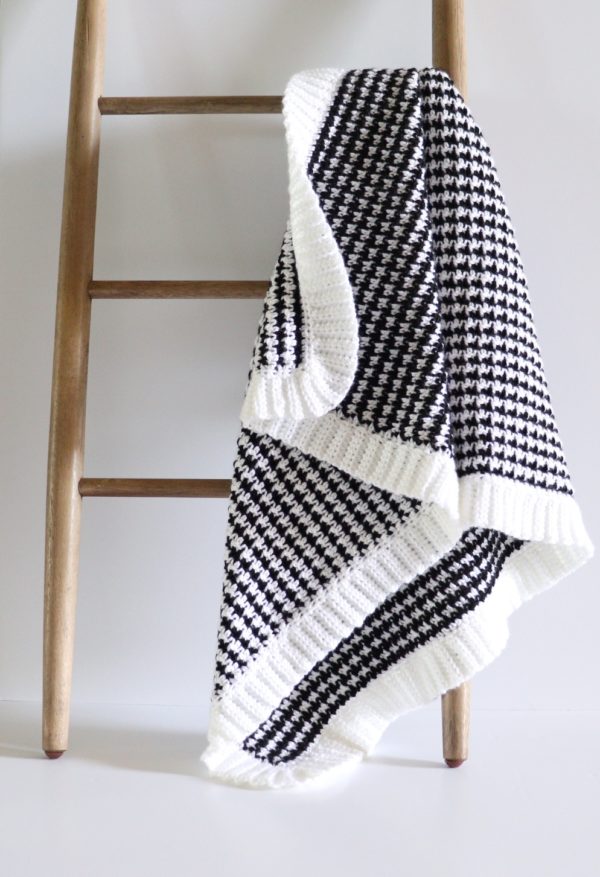
With White, pull up a loop in any corner and chain 1. Work 1 Half Double Crochet (HDC) into each stitch, work 3 HDC into the corner spaces, and work 1 HDC per row. Join with a slip stitch at the end of the row to the first HDC. (Note: BettyAnn in her version used Black for this round of border.)
(I switched to the I size hook)
Working in the same direction, chain 9, In the third chain from the hook, work HDC and then work HDC into each chain for a total of 7 HDC. Slip stitch into the next stitch that is on the border and the next stitch, turn, skip over the slip stitches and work 7 HDC into the back loops of the HDC you just made down the chain. CH 2 and turn. Work 7 back loop only HDC back down to the edge of the blanket, slip stitch into the next two spaces. Repeat in this manner down the side of the blanket.
When you reach the corner, instead of slip stitching over two times, slip stitch into the corner space three times in a row. Meaning, after you work up and down the HDC’s, slip stitch back into the same corner space, repeating three times. This will fan the work around the corner. Then you return to slip stitching over the next two spaces.
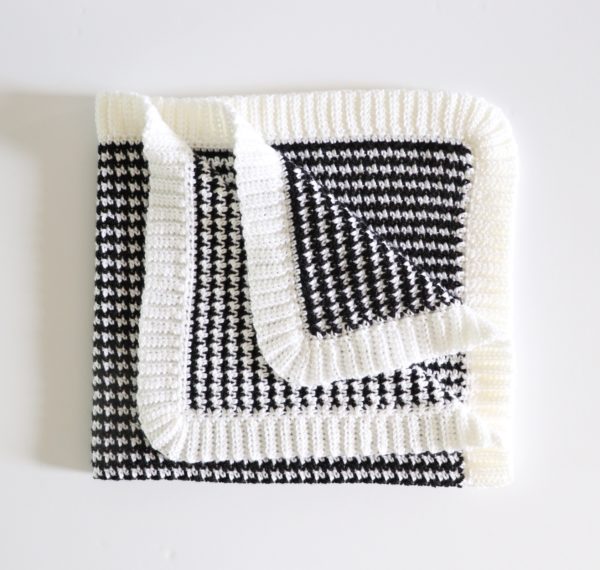
When you have gone all the way around the blanket, finish the last corner by slip stitching 3 times into the same space, then end on the outside edge of the blanket. Tie off leaving a long tail. Sew the last edge to the first edge of the border. Then weave in all remaining ends.
Optional finish by BettyAnn: With Black, work *one single crochet, one chain, repeat from * around the edge of the blanket.
If you’d like a video tutorial see below:

